
Low-clearance Skadis mount for nightstands
Obliczymy ostateczną cenę na podstawie wybranego pliku. Sprawdzisz ją i zaakceptujesz przed płatnością.
Zapisane na tym urządzeniu.

Mounts a Skadis pegboard to the outer side of a piece of furniture, with drilling and screws.
- Ocena
- 0 / 5
- Polubienia
- 1
- Pobrania
- 25
- Wydruki
- 0
- Wyświetlenia
- 210
- Oceny
- 0
Aktualizacja u źródła:
Informacje o modelu
- Źródło
- Printables
- Kategoria
- Bedroom
- Licencja
- Creative Commons — Attribution — Noncommercial — Share Alike
Backstory
I wanted to have some things easily grabbably reachable while in bed, e.g. bluetooth keyboard for watching movies from bed. So I decided to attach a Skadis to the side of my nightstand.
Model
This mount attaches into the right angle at the outer edge of furniture, like a tabletop or a nightstand. You'll probably want to print >1 of those - I'm currently using 2, one per edge of the Skadis.
Unlike obri's model, this attaches to the very edge of the furniture, and takes up much less space on the top side.
Unlike IKEA's official Skadis connectors, this does works for furniture that isn't a desk top. IKEA's thing assumes that you can clamp and squeeze the mounting surface from both sides which doesn't work for weirdly shaped tabletops or nightstands.
Prerequisites
You'll need to drill holes in your furniture.
You'll need, per each copy of this model:
- To attach the Skadis to the mount:
- 2x M5x25 countersunk machine screw, drive doesn't matter
- 2x M5 hex nut
- To attach the mount to the furniture:
- 3 M4 countersunk wood screws of the right length.
Regarding “right length”:
For the 2 wood screws that will go in from the top, you want a length of ~8 mm + however deep you want it to drill into the top of the furniture:
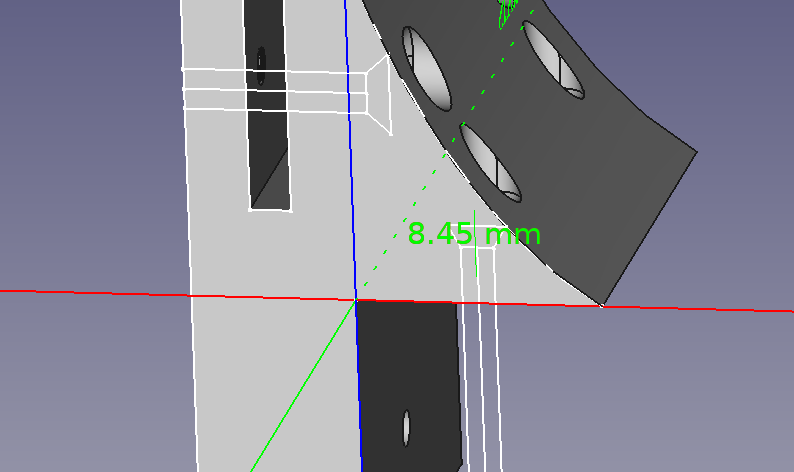
For my usecase, I used 35 mm.
For the 1 wood screw that'll go in from the back, use 20 mm + desired bite depth:
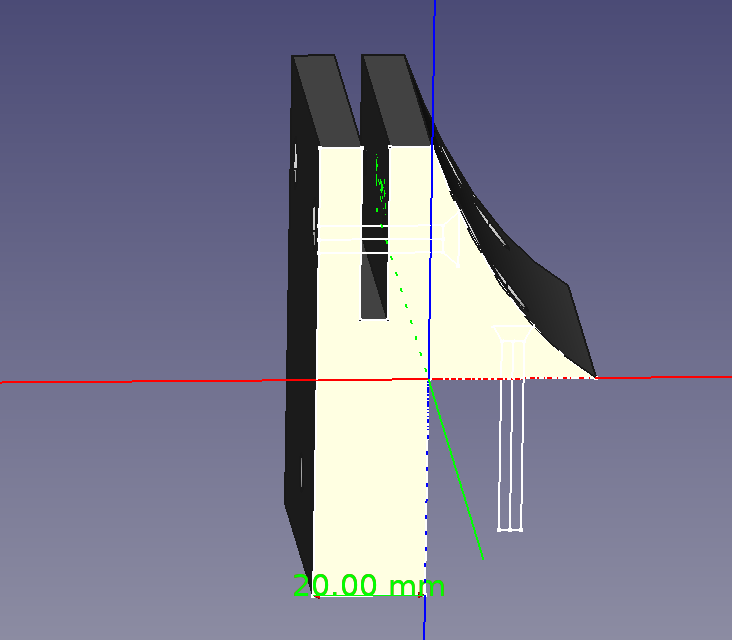
I believe I also used 35 mm here.
Installation
- Attach the Skadis to the mounts with the M5 screws and nuts.
- Put it where you plan to attach it.
- While pressing the mount into the right angle (to ensure a tight fit), use something to mark holes on the furniture through the holes for the wood screws. I'd recommend using masking tape and a scriber or manually sticking in a thin drill bit.
- Remove the mount & Skadis and drill appropriately sized and appropriately deep pilot holes where marked.
- Remove masking tape, if used. Put the mount over the holes, screw in the wood screws. Tada!
- There isn't much clearance for putting a drill over the holes, so it might be good to screw in the screws / finish screwing them manually with a screwdriver.
Caveats
I'm not a mechanical engineer and have zero idea how much load this can take. It's working OK-ish for me with a light load on the Skadis.