
Precise movement mechanism for a ZWO ADC
Obliczymy ostateczną cenę na podstawie wybranego pliku. Sprawdzisz ją i zaakceptujesz przed płatnością.
Zapisane na tym urządzeniu.
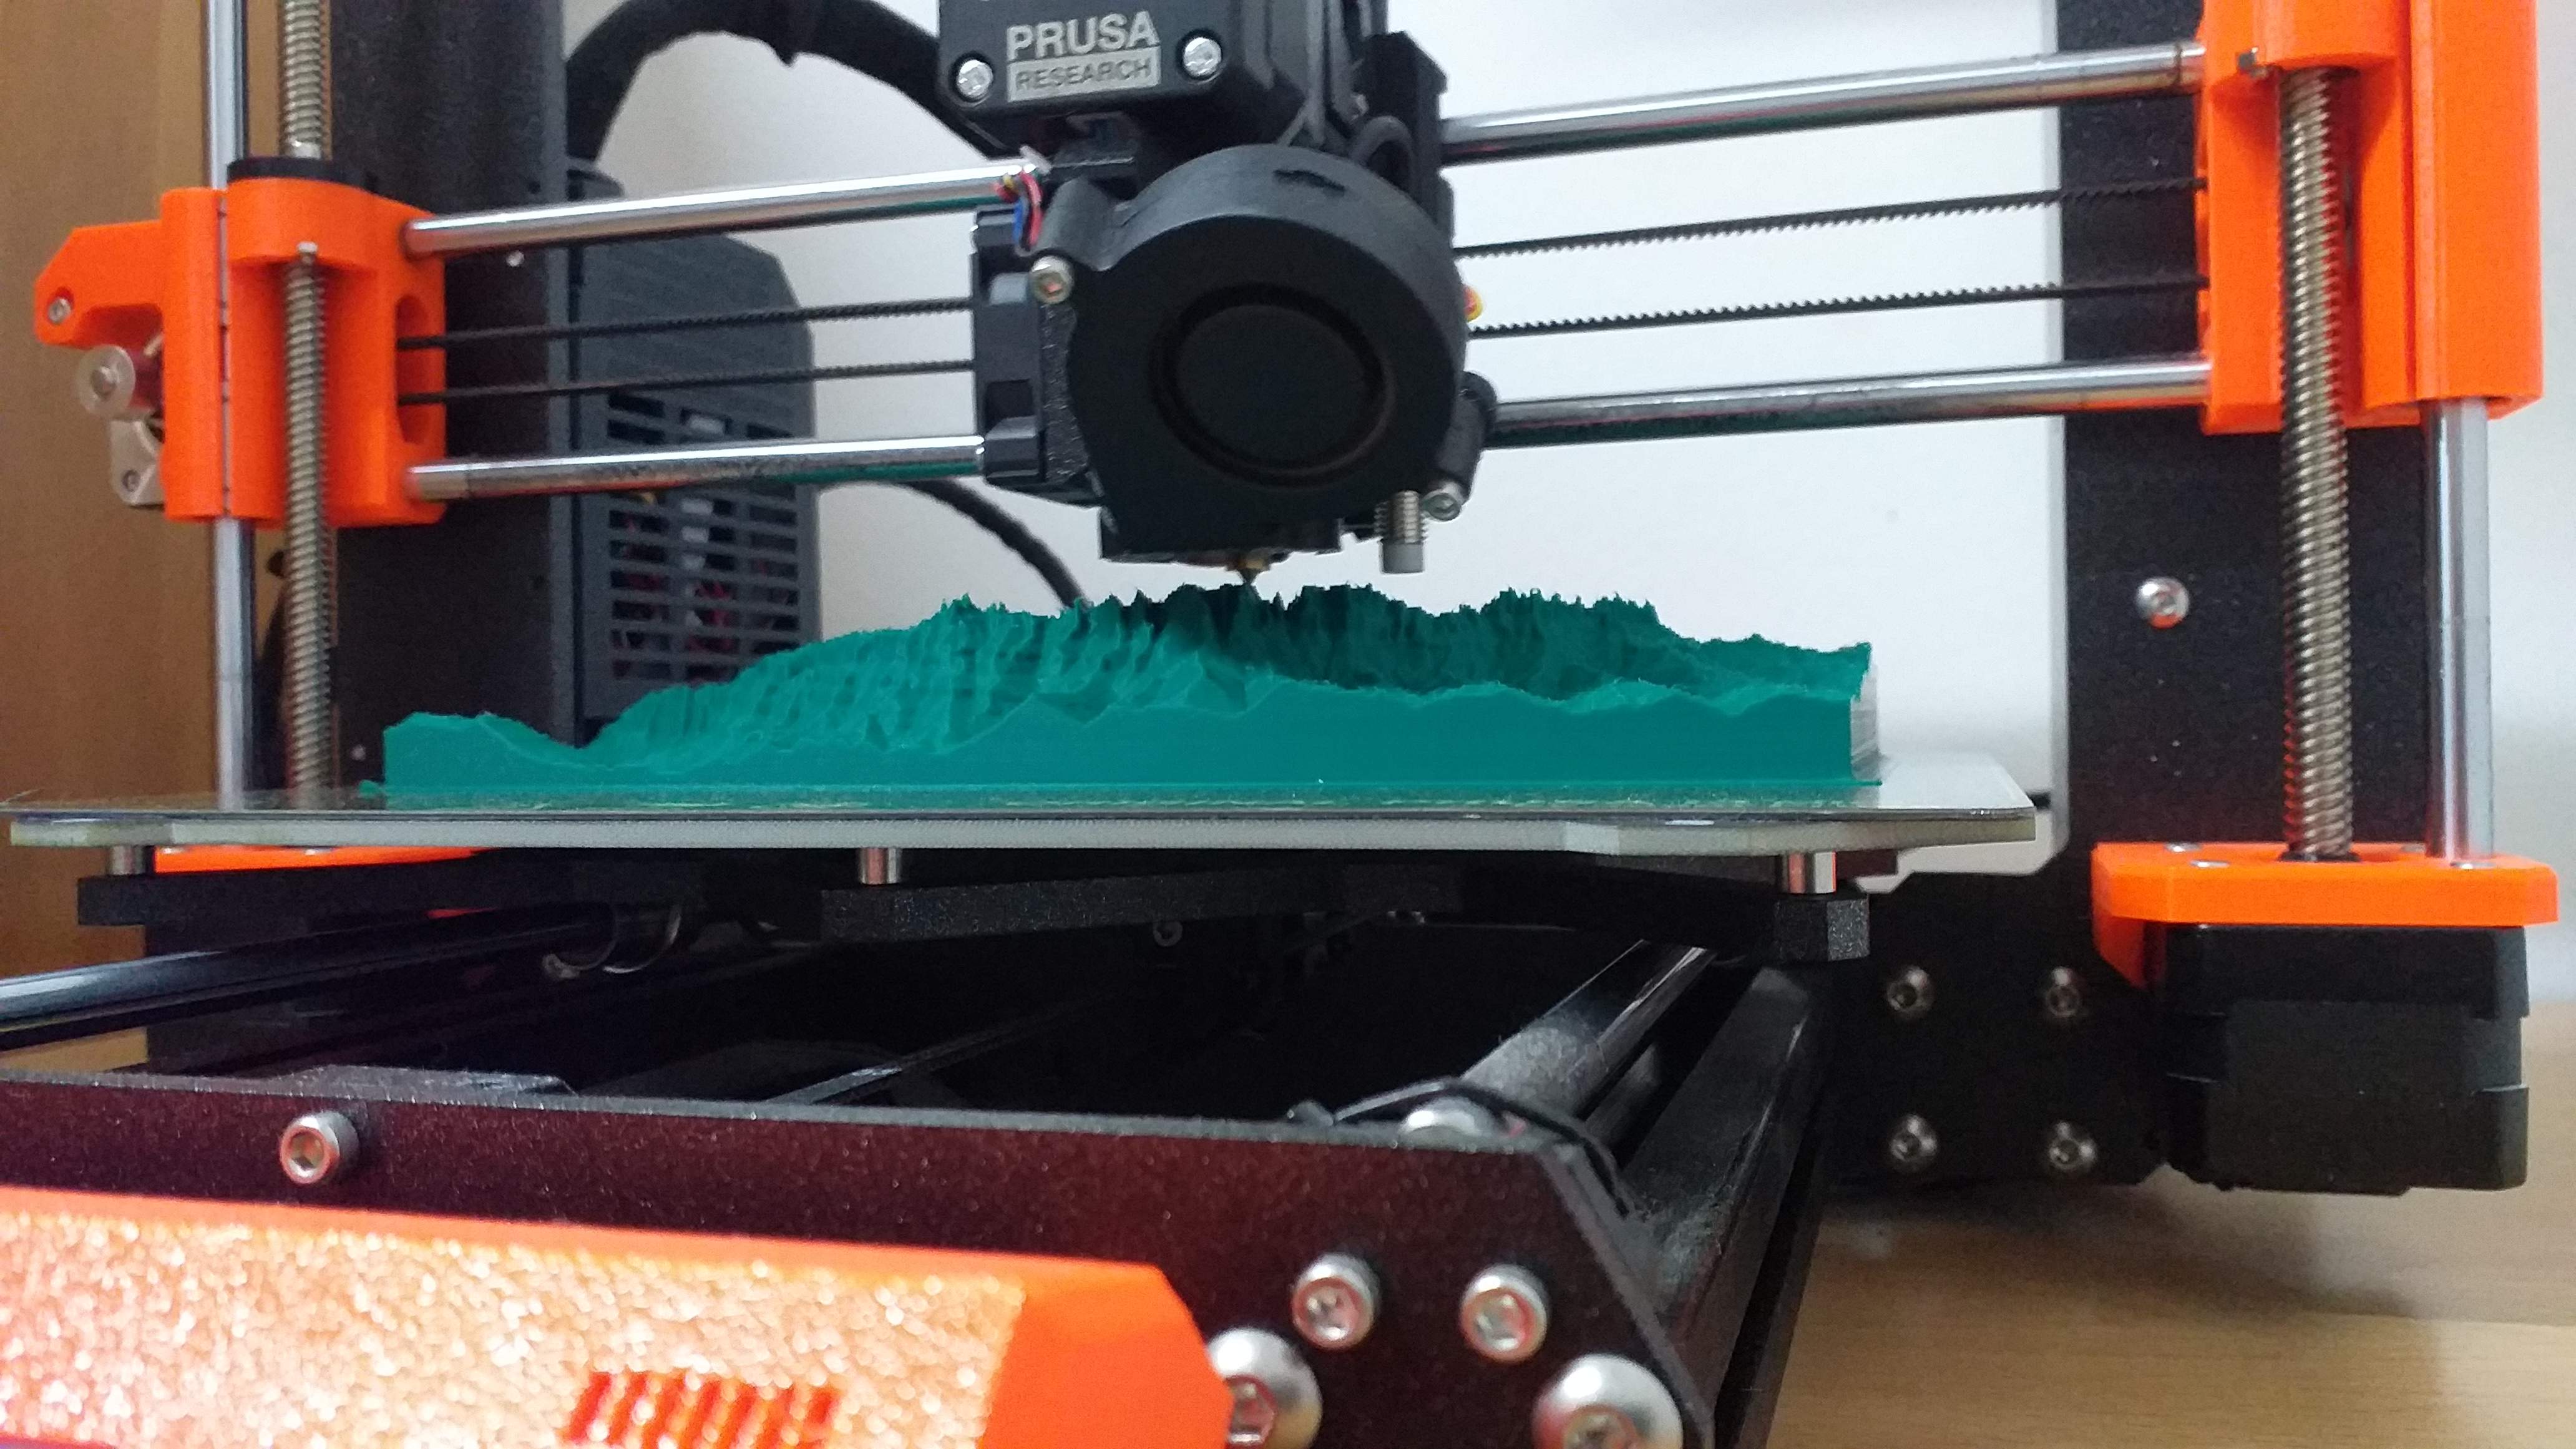
Mechanism to precisely synchronize the rotation of the prisms of a ZWO ADC.
- Ocena
- 0 / 5
- Polubienia
- 7
- Pobrania
- 37
- Wydruki
- 0
- Wyświetlenia
- 264
- Oceny
- 0
Aktualizacja u źródła:
Informacje o modelu
- Źródło
- Printables
- Kategoria
- Physics & Astronomy
- Licencja
- Creative Commons — Attribution — Noncommercial — Share Alike
Mechanism to precisely synchronize the rotation of the prisms of a ZWO ADC.
Solution to facilitate the use of the ZWO ADC, paying full attention to the capture monitor during centering.
To incorporate the mechanism into the ZWO ADC, only the actuation rods of the prisms must be disassembled. The ADC is not modified, so it can be disassembled and restored to the original factory version.
To ensure proper operation, the parts are printed without gaps and it may be necessary to sand the surfaces to ensure smooth rotation of the crowns (corona_interior.stl and corona_exterior.stl) on the ADC body.
With fine sandpaper, it is also convenient to remove the grain from the lateral surfaces of contact between the crowns.
The crowns and bevel pinion are printed at low speed to improve the result. In the case of the pinion, I printed 4 pieces to avoid overheating and then I chose the best one. In this case, I recommend layer height of 0.1 mm.
When placing the retaining ring, you will need to leave a minimum gap for the mechanism to turn smoothly without strain. You can use scraps of paper to measure the gap.

Assembly must be done by aligning the rods with the level ring brake. You have to make sure that the holes in the prisms are also aligned to be able to screw the rods.

Finally, check that it can be opened up to 180°.

The mechanism can rotate 60° with respect to the body of the ADC to facilitate its initial centering or to readjust it during the captures.

The retaining ring (anell_retencio.stl) has three holes that must be threaded to M4. It must be printed without supports and threaded very slowly so as not to melt the material with the heat. As an alternative, to avoid making the threads, you can use the ring_2 model (anell_retencio_2), held with a screw and nut. I like the first option much better.

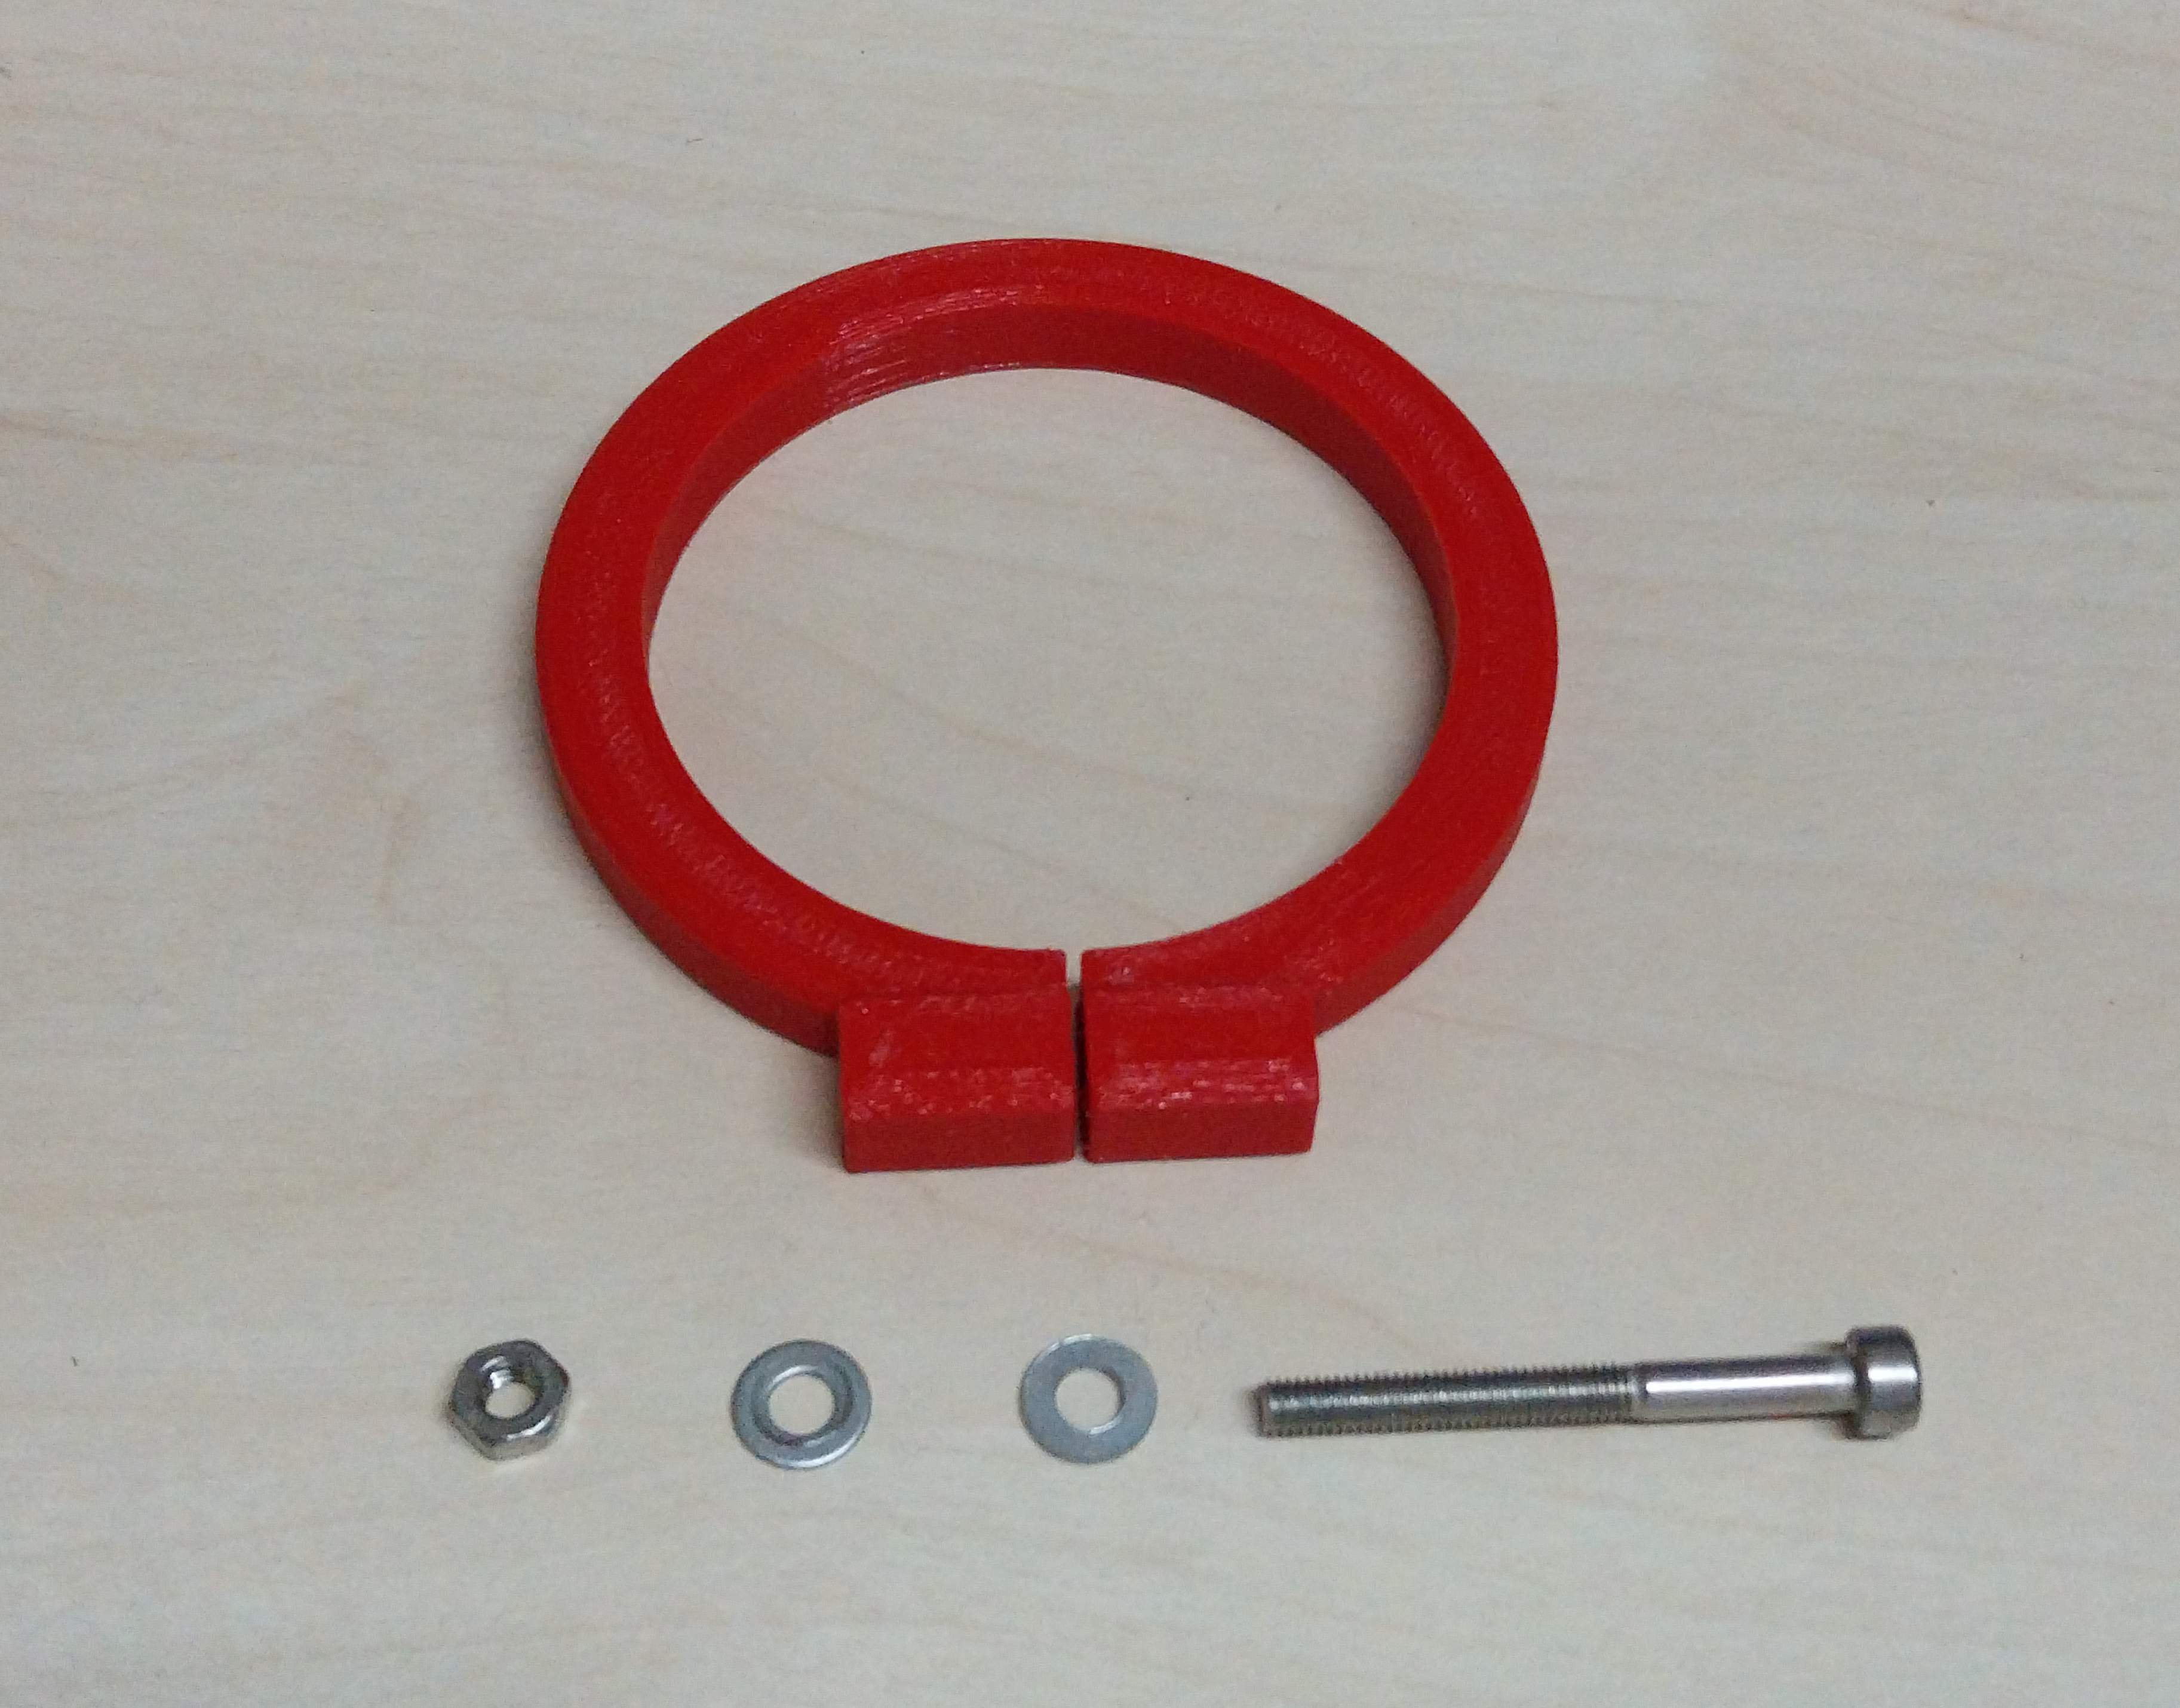
Necessary material:
x3 SCREW M4x6 (DIN 913 / ISO 4026) HEX SOCKET SET WITH FLAT POINT
Optional, only if retaining ring 2 is used:
x1 SCREW M3x30 (DIN 912 / ISO 4762
x1 NUT M3 PREVAILING TORQUE (DIN 985 / ISO 10511)
x2 WASHER M3 (DIN 125 / ISO 7089)
Assembly:
step 1:

step 2:

step3:

step4:

step 5:

step 6:
