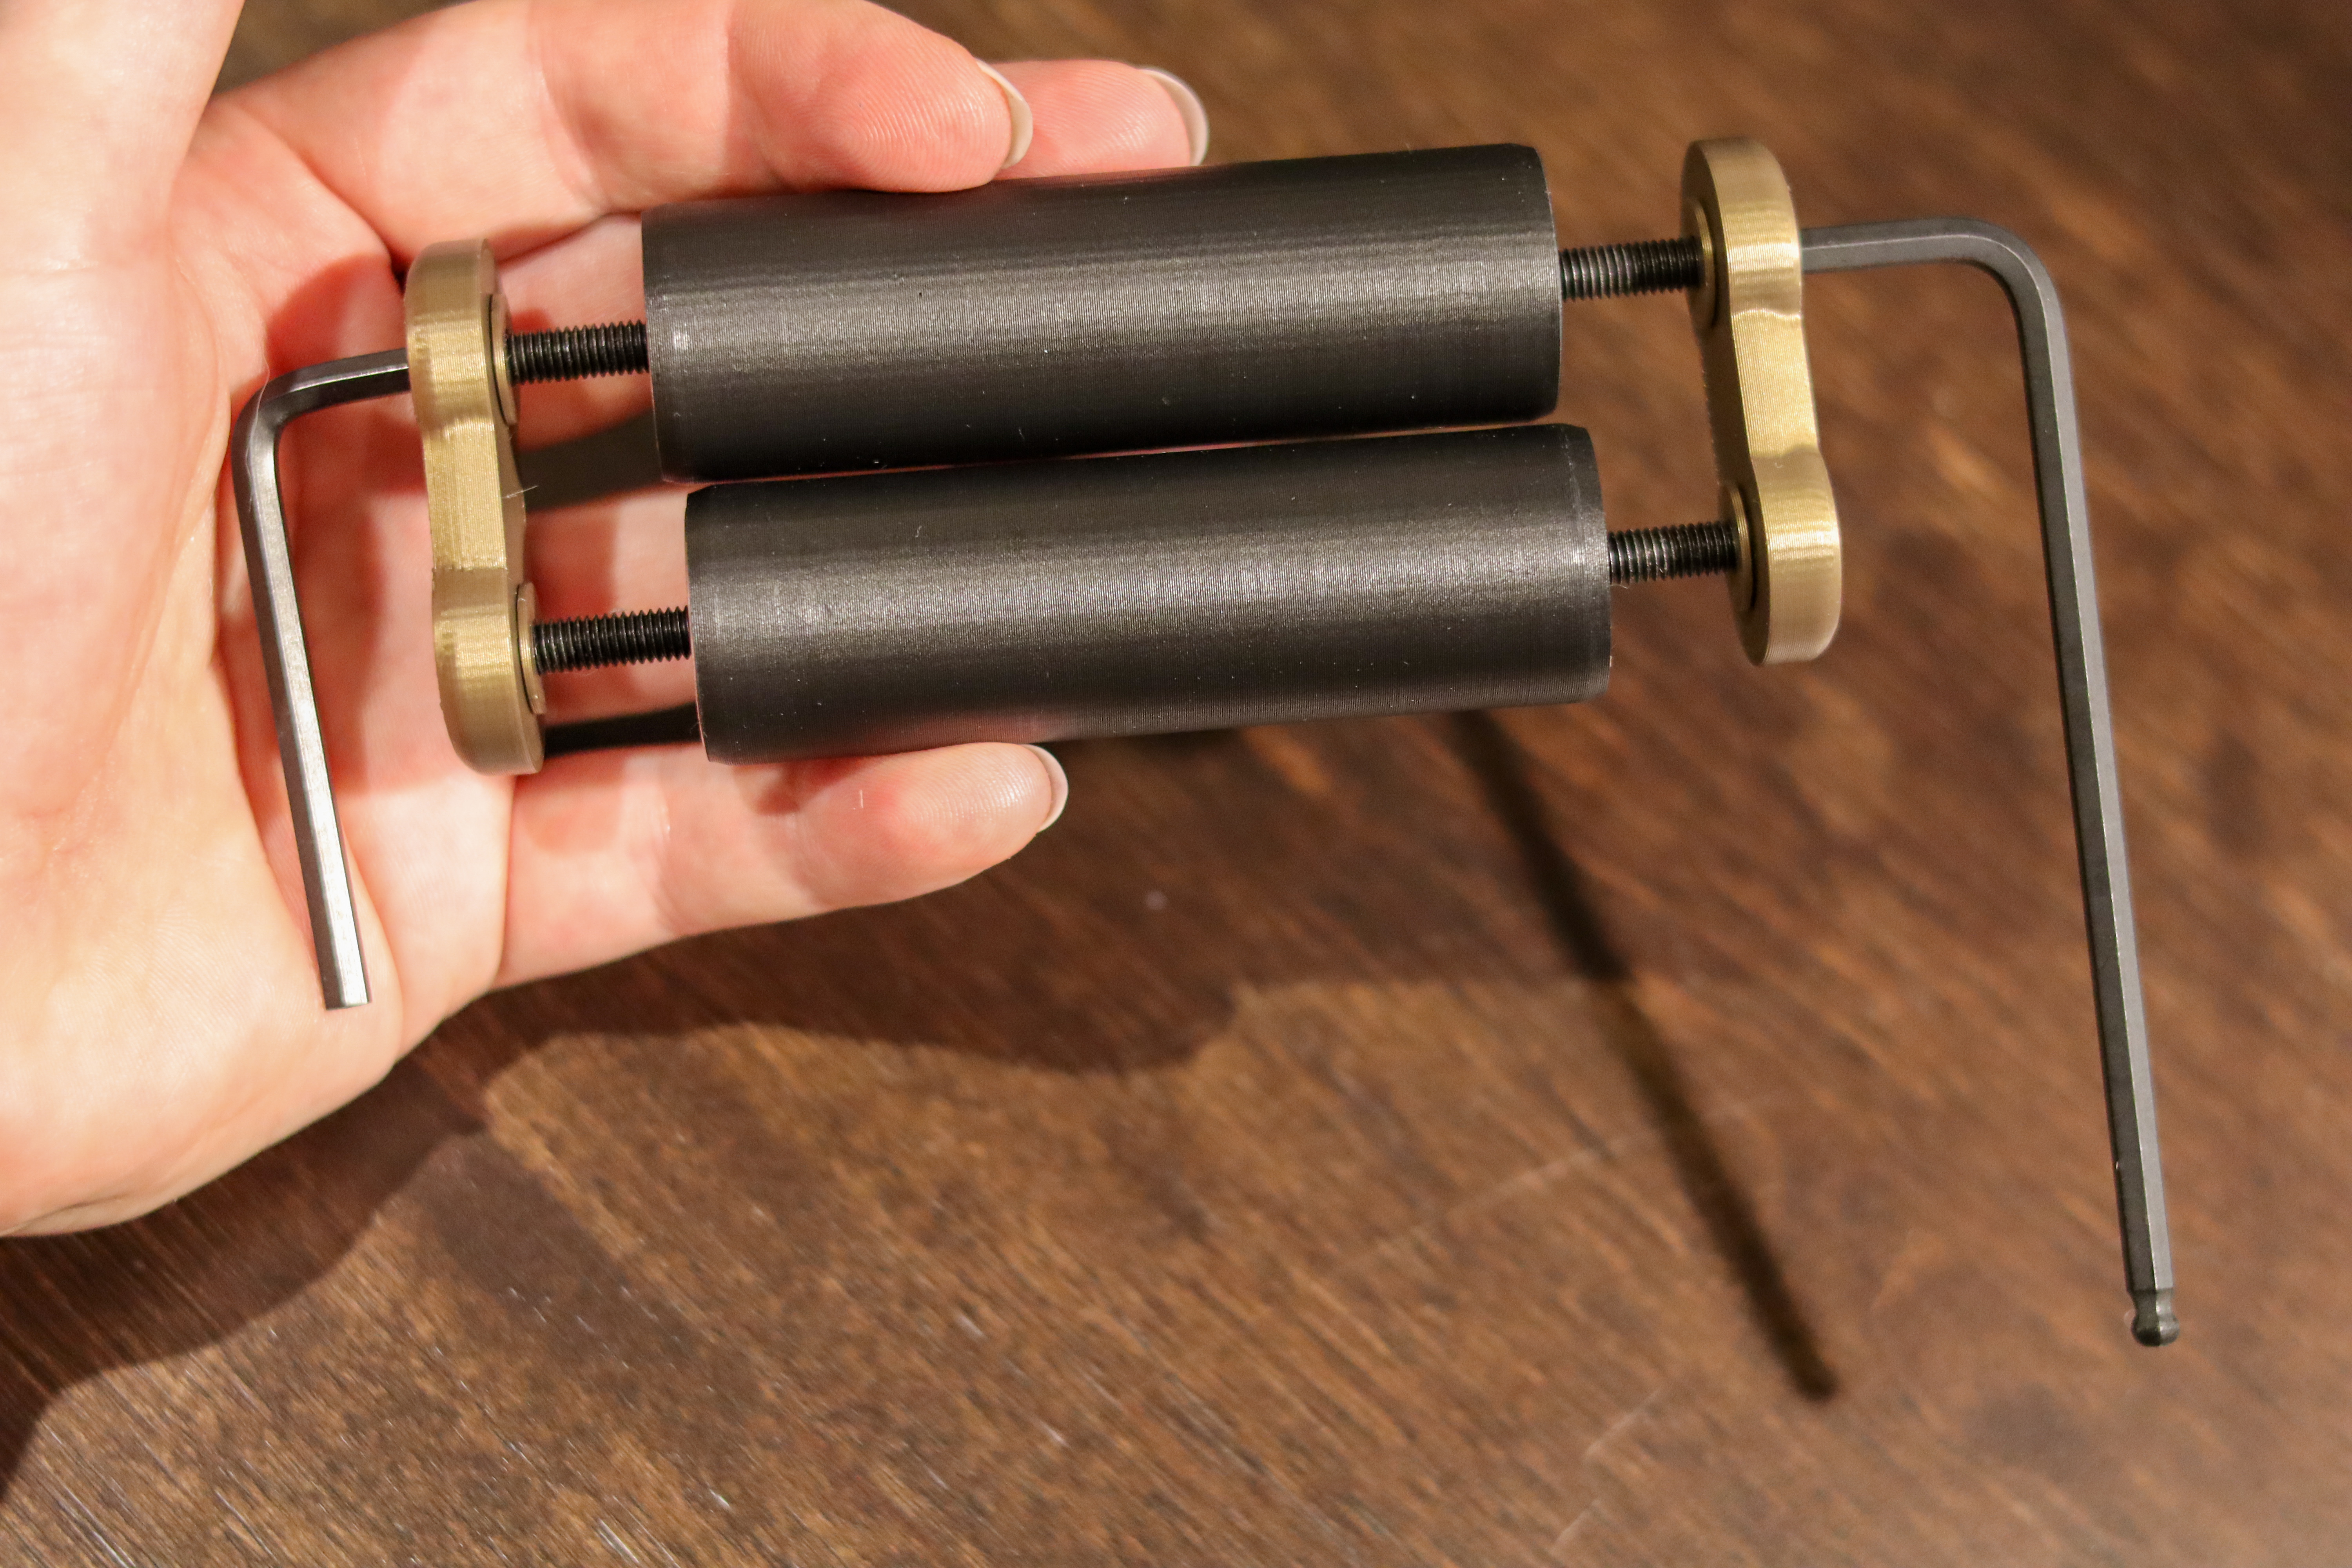
YOKO Roller Fidget - 608 Bearings
Obliczymy ostateczną cenę na podstawie wybranego pliku. Sprawdzisz ją i zaakceptujesz przed płatnością.
Zapisane na tym urządzeniu.

Found a lot of fidget rollers that came up short, so I ended up designing my own from scratch. Enjoy!
- Ocena
- 5 / 5
- Polubienia
- 38
- Pobrania
- 222
- Wydruki
- 2
- Wyświetlenia
- 944
- Oceny
- 2
Aktualizacja u źródła:
Informacje o modelu
- Źródło
- Printables
- Kategoria
- Other Toys & Games
- Licencja
- Creative Commons — Attribution — Noncommercial — Share Alike
After trying out most of the other fidget roller designs, I found most of them lacking in one way or another. Specifically none had the kind of solidity and stability I wanted from the design. So I got to prototyping and eventually came up with this design!
Requires these non-printed parts:
- 4x M5 x 20mm cap head screws
- 2x Hex keys for those screws
- 4x 608 bearings - the smoother the better
Requires these printed:
- 2x Roller
- 2x Axle
- 2x Endcap (use 1mm extra clearance version for fuzzy skin rollers or if rollers touch)
- 4x Washer
Print recommendations:
- 0.2mm layer height
- 0.4mm nozzle
- 15%+ infill (more for higher weight on the rollers if desired) - I use crosshatch
- Supports required for Axle only to support the overhang
- Recommend a brim on the rollers due to the small build plate contact area - inner brim at minimum if you want a perfect finish on that edge.
- Concentric top/bottom surface pattern
- The matte black roller in the photos was printed with fuzzy skin, 0.1mm thickness and point distance, experiment around!
Assembly:
1. Insert a bearing into one end of each roller by placing the bearing flat on a table and pressing the roller down on top of it.

2. Drip axle down into the roller. It will self-center on the bearing you have already inserted. Carefully line up the second bearing on top and press that in as well. Once the bearing is partially inserted you can flip the roller over and use the table to press it in the rest of the way.

3. Prepare the endcaps by inserting the M5 screws into the holes, then adding a washer over each one.

5. Line up both rollers with the screws and slide them into the ends of the axles. There's just enough extension to hold the whole thing up before you start threading them.

6. Once both endcaps are in place, grab both hex keys and put them on opposite sides of one roller. This is the trickiest part of the whole process, but after a number of tweaks I've found the current design to be fairly foolproof. Hold the hex key on one side while you turn the other. If you're using a harder PLA than the matte I've used here you may need to apply a bit of pressure to get the threading started.
Once it starts threading in, go for a few turns, then stop and switch the hex keys to the other roller to start that side. Keep switching back and forth until everything is snug. The inner race of the bearings should rest snugly on the shoulder of the axle on either side, with just a hair of clearance between the end of the roller and the endcap. The rollers should both move freely on the bearings.