
Springed Catcher - miniature painting handle
Obliczymy ostateczną cenę na podstawie wybranego pliku. Sprawdzisz ją i zaakceptujesz przed płatnością.
Zapisane na tym urządzeniu.
V1 is fully printable, springed and auto closing, miniature holder. V2 requires extra M3 screws and is sturdier.
- Ocena
- 5 / 5
- Polubienia
- 97
- Pobrania
- 627
- Wydruki
- 12
- Wyświetlenia
- 2603
- Oceny
- 6
Aktualizacja u źródła:
Informacje o modelu
- Źródło
- Printables
- Kategoria
- Other Ideas
- Licencja
- Creative Commons — Attribution — Noncommercial
Fully printable, springed and auto closing, miniature holder.
It can hold wide variety of bases - spanning from 20mm to 40mm (and more with a proper arms variant!)
This is part of larger collection of compatible (though less mechanical) parts - handles, elastic arms, bases which can be helpfull in miniatures painting hobby.
https://www.printables.com/model/1035039-painting-arm-stand-handle
Published a new new design that uses planetary gears to open/close:
https://www.printables.com/model/1375080-planetary-catcher-miniature-painting-handle
New V2:
>> V2 is located in "SpringedCatcherV2" (see assembly file)
>> M3 update for the V1 is in “SpringedCatcher - M3 update” (see assembly guide in other files)
>> The V1 conversion to Planetary is in "SpringedToPlanetary - conversion" (see assembly guide in other files)
NOTE: The three above ALL require M3 screw and one or two M3 nuts to complete the assembly.
For the V1:
>> ALL elements and variants are included in the "ALL elements + variants" printing profile and COLLECTION file.
>> Set of elements required to build a complete handle is the "SpringedCatcher - SET" printing profile and DEFAULT SET file.
---
Updates:
- New updated design - SpringedCatcher V2
- now it uses M3 screw which greatly improves build sturdiness
- Updated SpringedCatcher V1
- added extra parts that allow to update V1 to use M3 bolts as well
- SpringedCatcher conversion to Planetary
- alongside completelty new design (link), it's possible to reuse V1 parts and with adapter prints, convert it into PlanetaryCatcher
- SpringV2 - updated and taller design, which allows for wider twist without loosing much of tension strength.
- it can fit the V1 design, though you might need to ditch the clip, that originally separated spring from the hub.
- Thread - separate model, that can be locked in to the build, with a second M3 nut and longer M3 screw.
- New Tower handle design
- a bit more comfortable design if you tend to cusp the catcher in your palm.
- Updated handles
- with sunken thread, made to be compatible with Thread model.
- extra fuzzy skin modifiers to improve gripability


---
- Added optional Arm Rests with mountable bases.
- additional variants and STL files are uploaded to https://www.printables.com/model/1035039-painting-arm-stand-handle
- Updated and smoothed Gourd Handles geometry
---
- Added STLs files for the default set and variants
- sorry, I've not realised some slicer can't open 3MF files :/ I gotta try more slicers, other than bambu/orca and all too similar forks.
- sadly the modifers (fuzzy skin, varied walls loops and infill) can't be configured in STLs.
- I'd still advice adding extra walls on the gourd handle on the whole model or more optimal: top part. Too thin 3d printed threads like to snap unexpectedly; also I had the thin neck of the gourd brake in one prototype, as this part is prone to stress as we hold and manipulate the handle it'll benefit from extra filament.
---
- Improved Arms geometry - they should be less prone to print failures or even printed without brims (which are “on” by default, and need to disabled manually in the slicer).
- Some initial layers were contracting and causing corners to raise up, which extruder could caught on and rip them from the bed. Now it prints much more evenly.
- Added Filler element, similar to Expander but thinner, which can be used to secure 4 cuts on the shaft from braking during assembly.
- Added a micro geometry on the shaft to trick slicer into applying outer brim only.
- New assembly guide revision.
---
- Added a new Rotating base and revised assembly guide (see new COLLECTION file).
- See after printing tips on how to “brake” to rotate it.
---
- Tweaked the Shaft, Fixed Base and Expandert to minimize the jiggle effect
- Items needed for the upgrade (you'll find them in default set as well as collection):
- Shaft (with 4 cuts on both ends)
- Fixed Base (taller and with cuts for expanders)
- 2x Expanders (new ones are slightly wider)
- Items needed for the upgrade (you'll find them in default set as well as collection):
This time having thin pliers or something alike to push the expanders through is a good idea.
- Now the connection should be more robust. Though the total build will be slightly taller - had to add extra thickness to the base; also now it requires expanders to lock it in place.
- The expanders are slightly wider and will need more force to ge them through - at the same time it puts the 4 cuts on the other end of the shaft at risk. Be careful while assembly so they won't brake off. Having something soft (like a mouse pad) to cushion them while mounting cross rail helps.
- New assembly revision added
---
- added slightly revised assembly guide and single cut shaft variant
---
Some of modular extensions:
- Handles included in this set are Gourd and Wide Gourd - with hollowed handle, so it can be easily weighted down.
- Or instead it can be used together with wide base from the https://www.printables.com/model/1035039-painting-arm-stand-handle
- Springed Catcher doesn’t have to be fixed to the handle, instead via ThreadedHub it can be combined with Rotatable Hub (33mm thread) from the https://www.printables.com/model/1035039-painting-arm-stand-handle
- Need to fit large base into the handle? Try Long Arms variant - included in this project.
- this effectively increases the range up to around 72mm base
- with some effort in the slicer, it can be extended for even wider bases :P
- this effectively increases the range up to around 72mm base
The spring is modelled to be quite bulky and it provides a good grip:
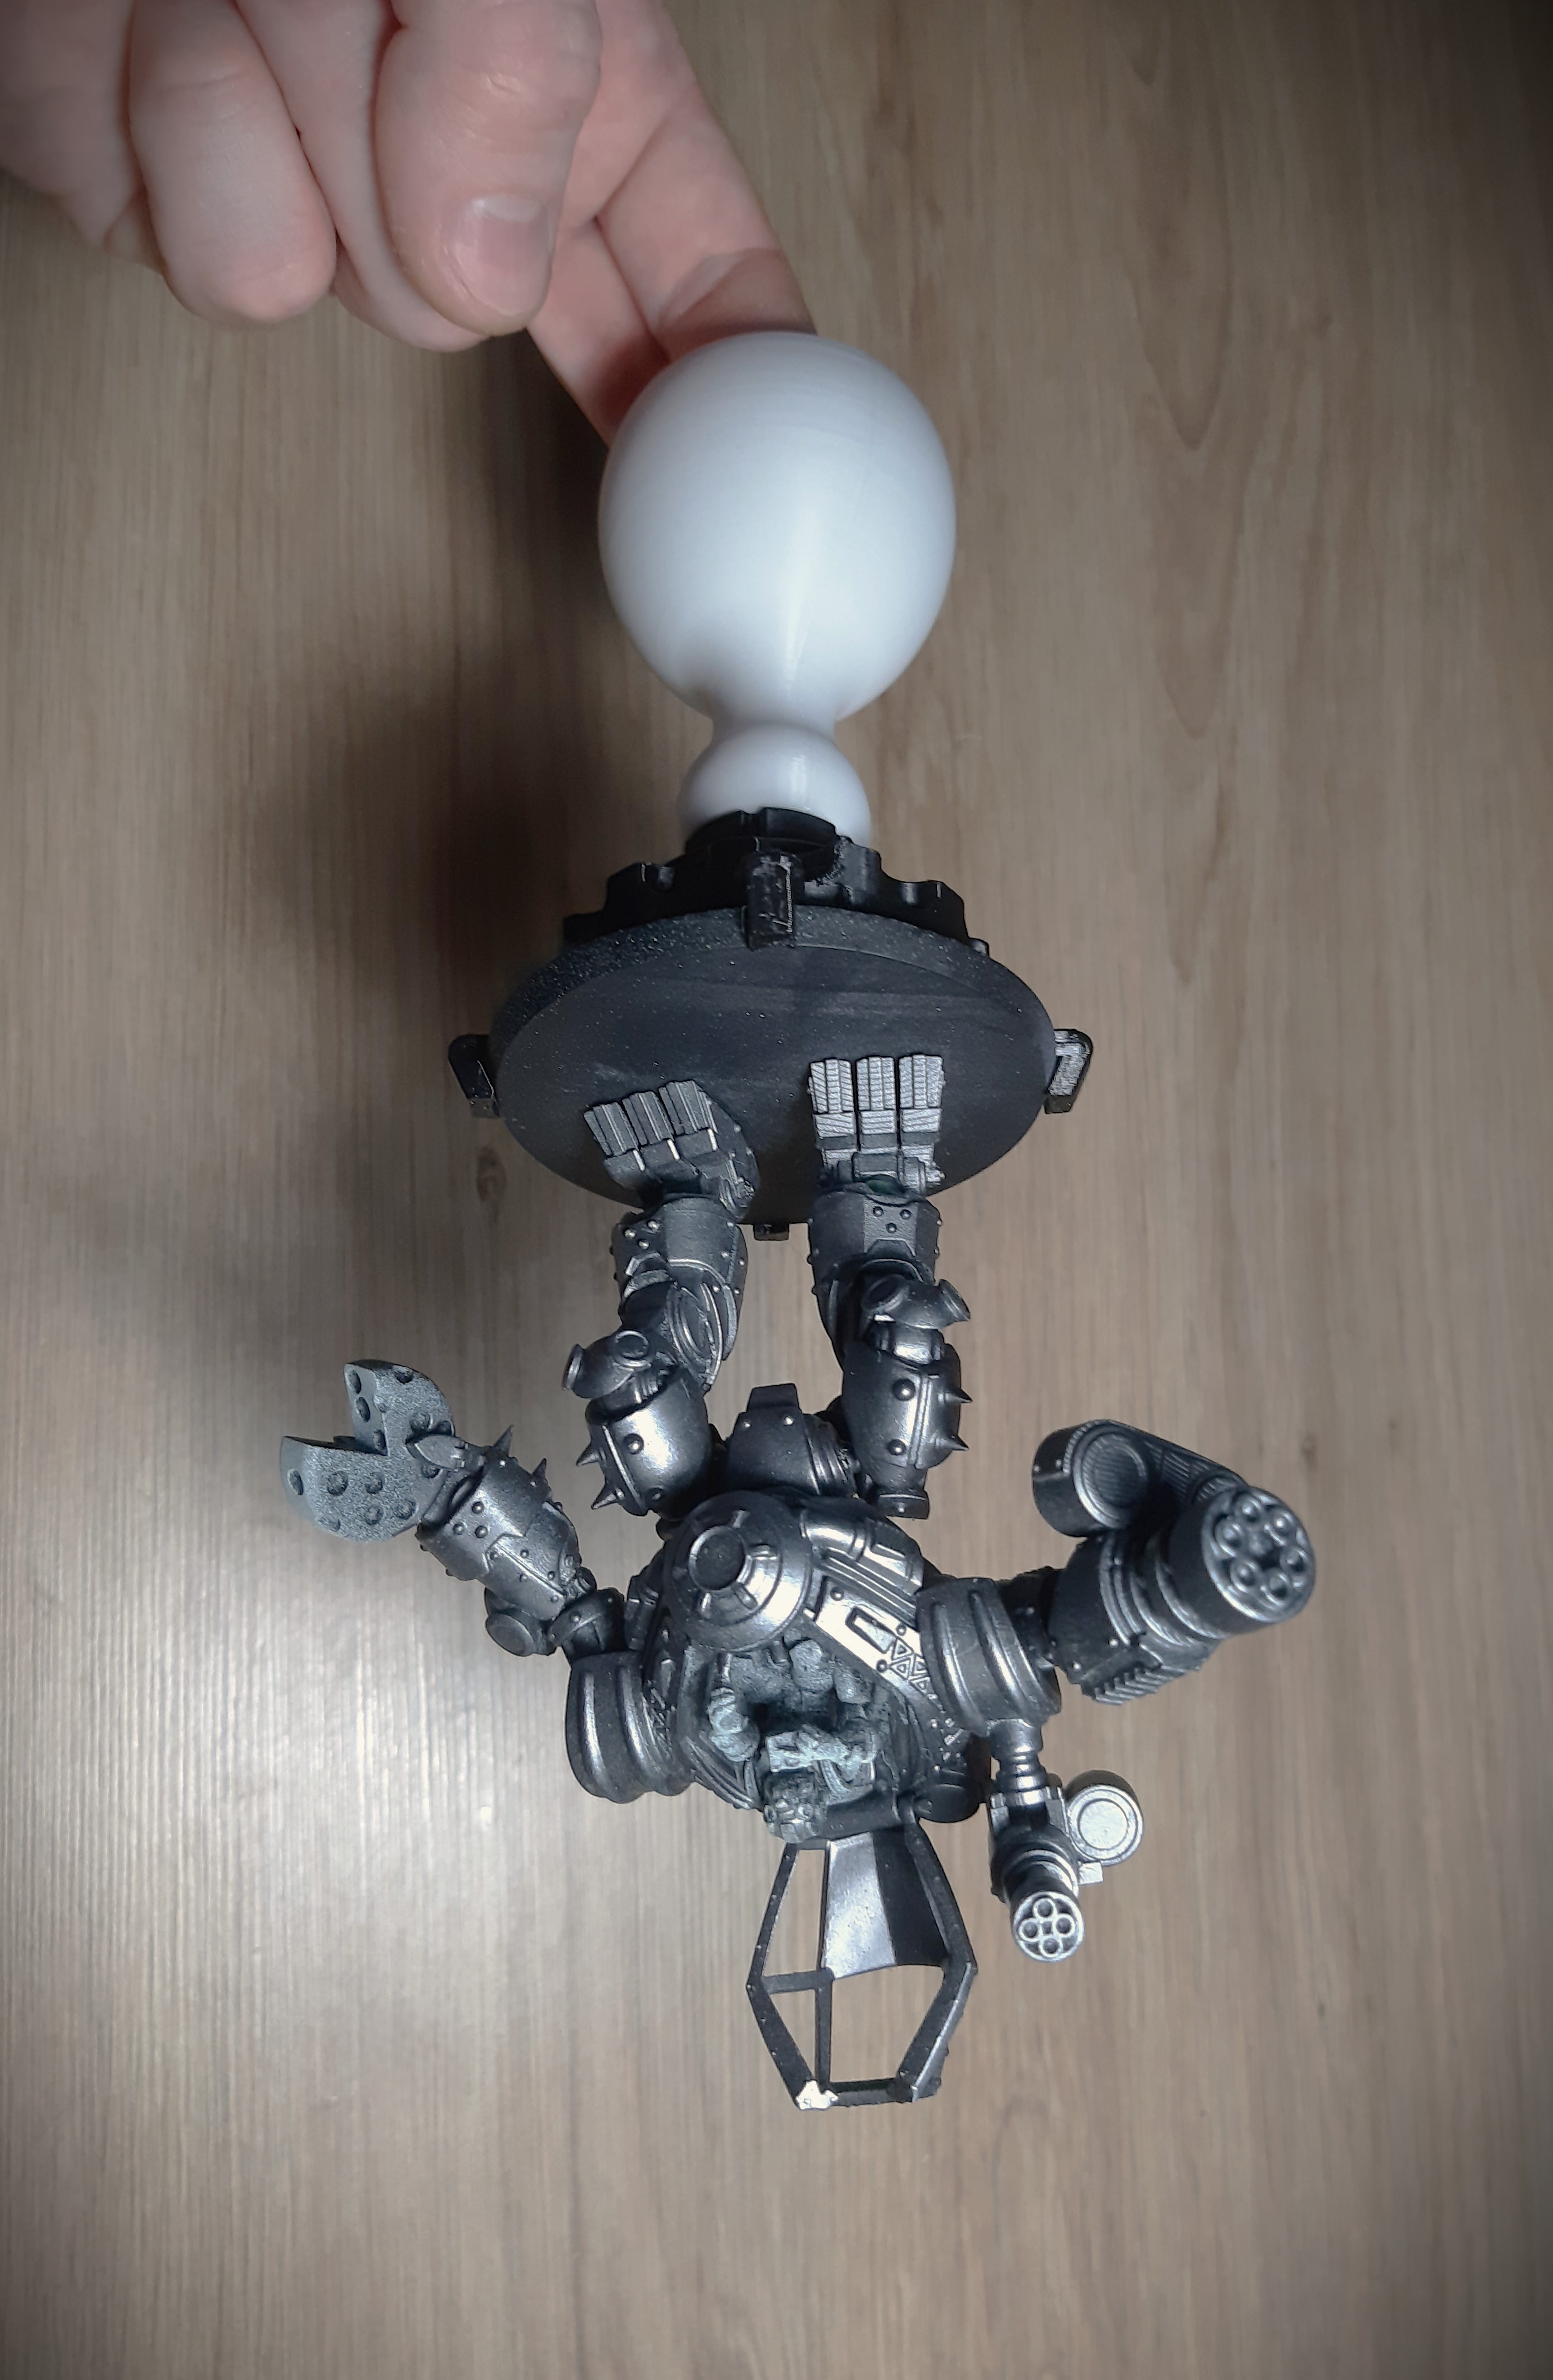
The above example might be an overkill (over 50g of resin printed mini), our usual 28mm/32mm are held quite robustly:
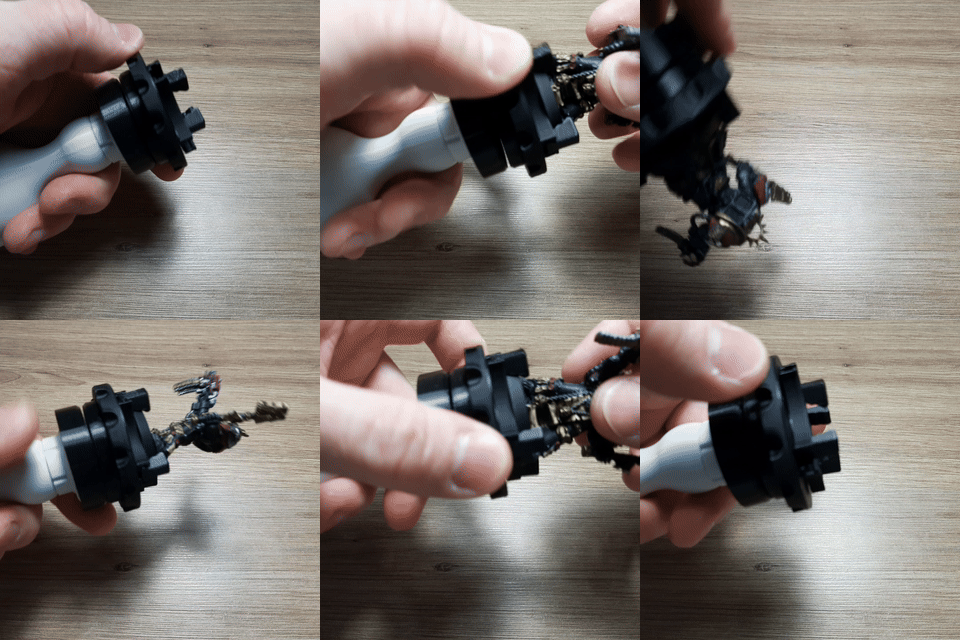
Modularity is the key. Is the handle too light? No problem, just weight it down. Is the mini too large it's close to falling anyway? Just thread in a wide base.
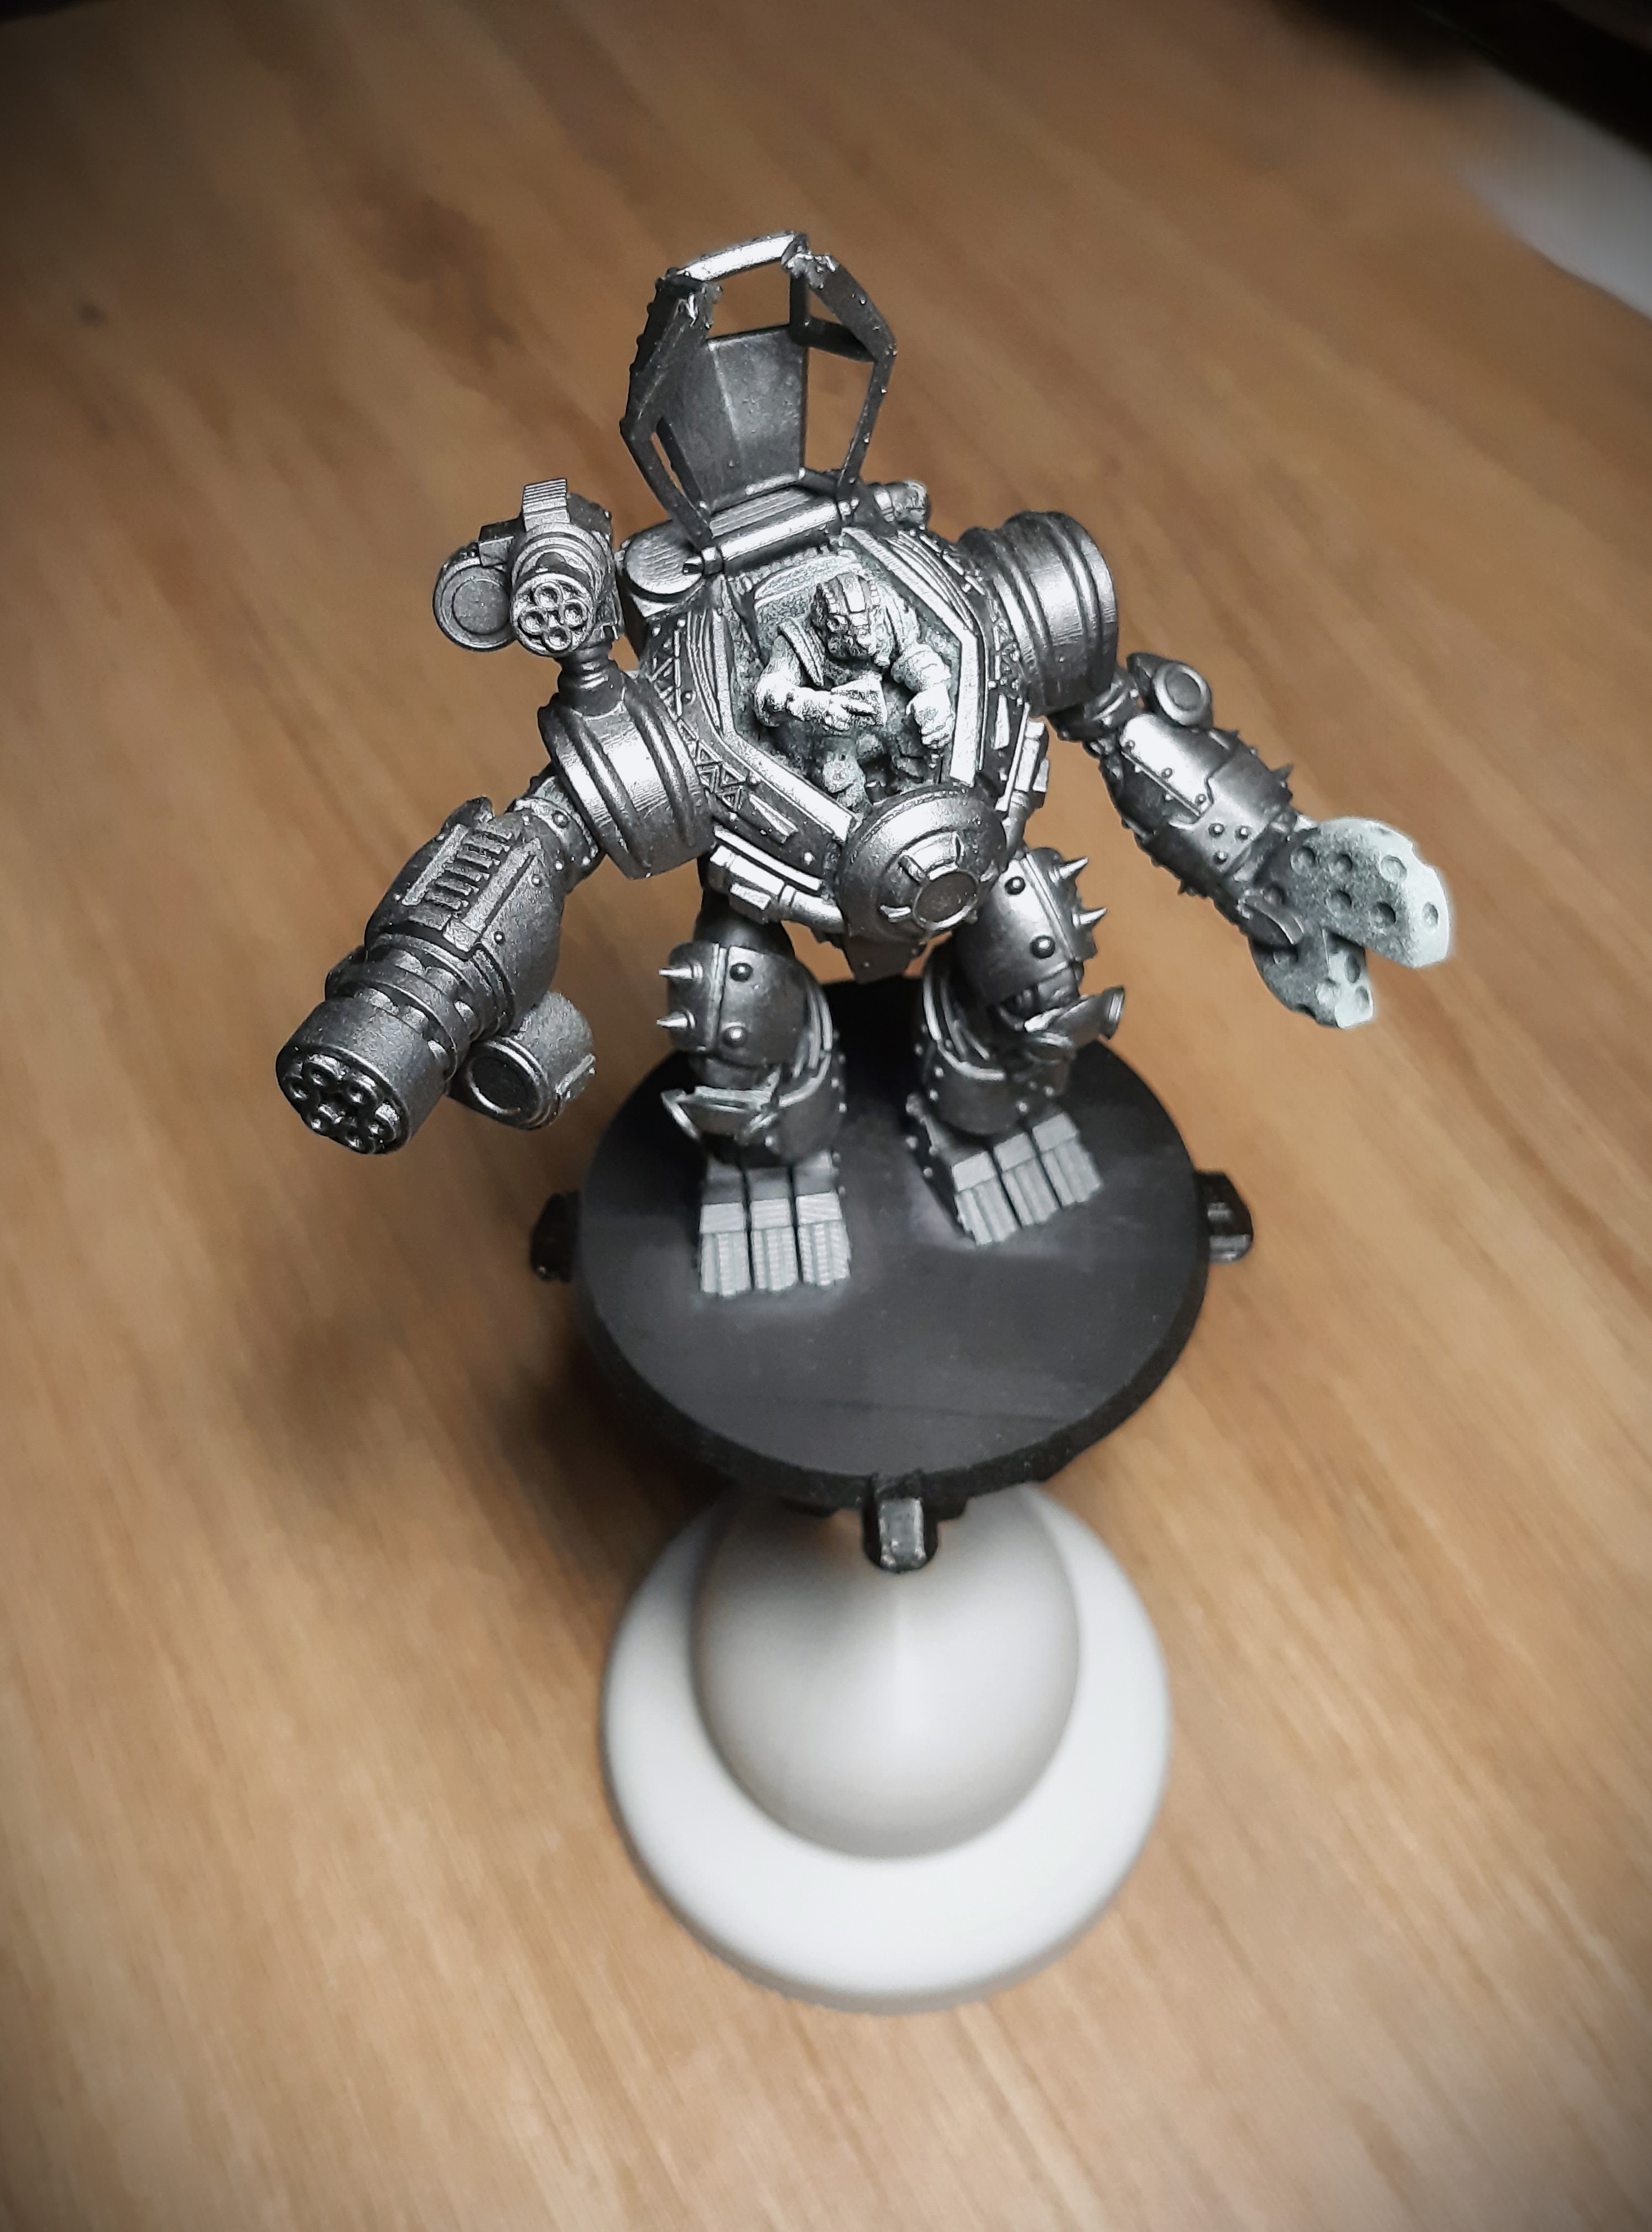
Compared to Citadel MK2 it is slightly larger:

But if you're used to this particular model and size, then good news, you can print an adapter and connect the Springed Catcher to MK2:

Gourd handle has two basic variants - regular and wide. Both have hollow space with a threaded cap, which can be filled with something to weight down the handle (making it harder to knock over).
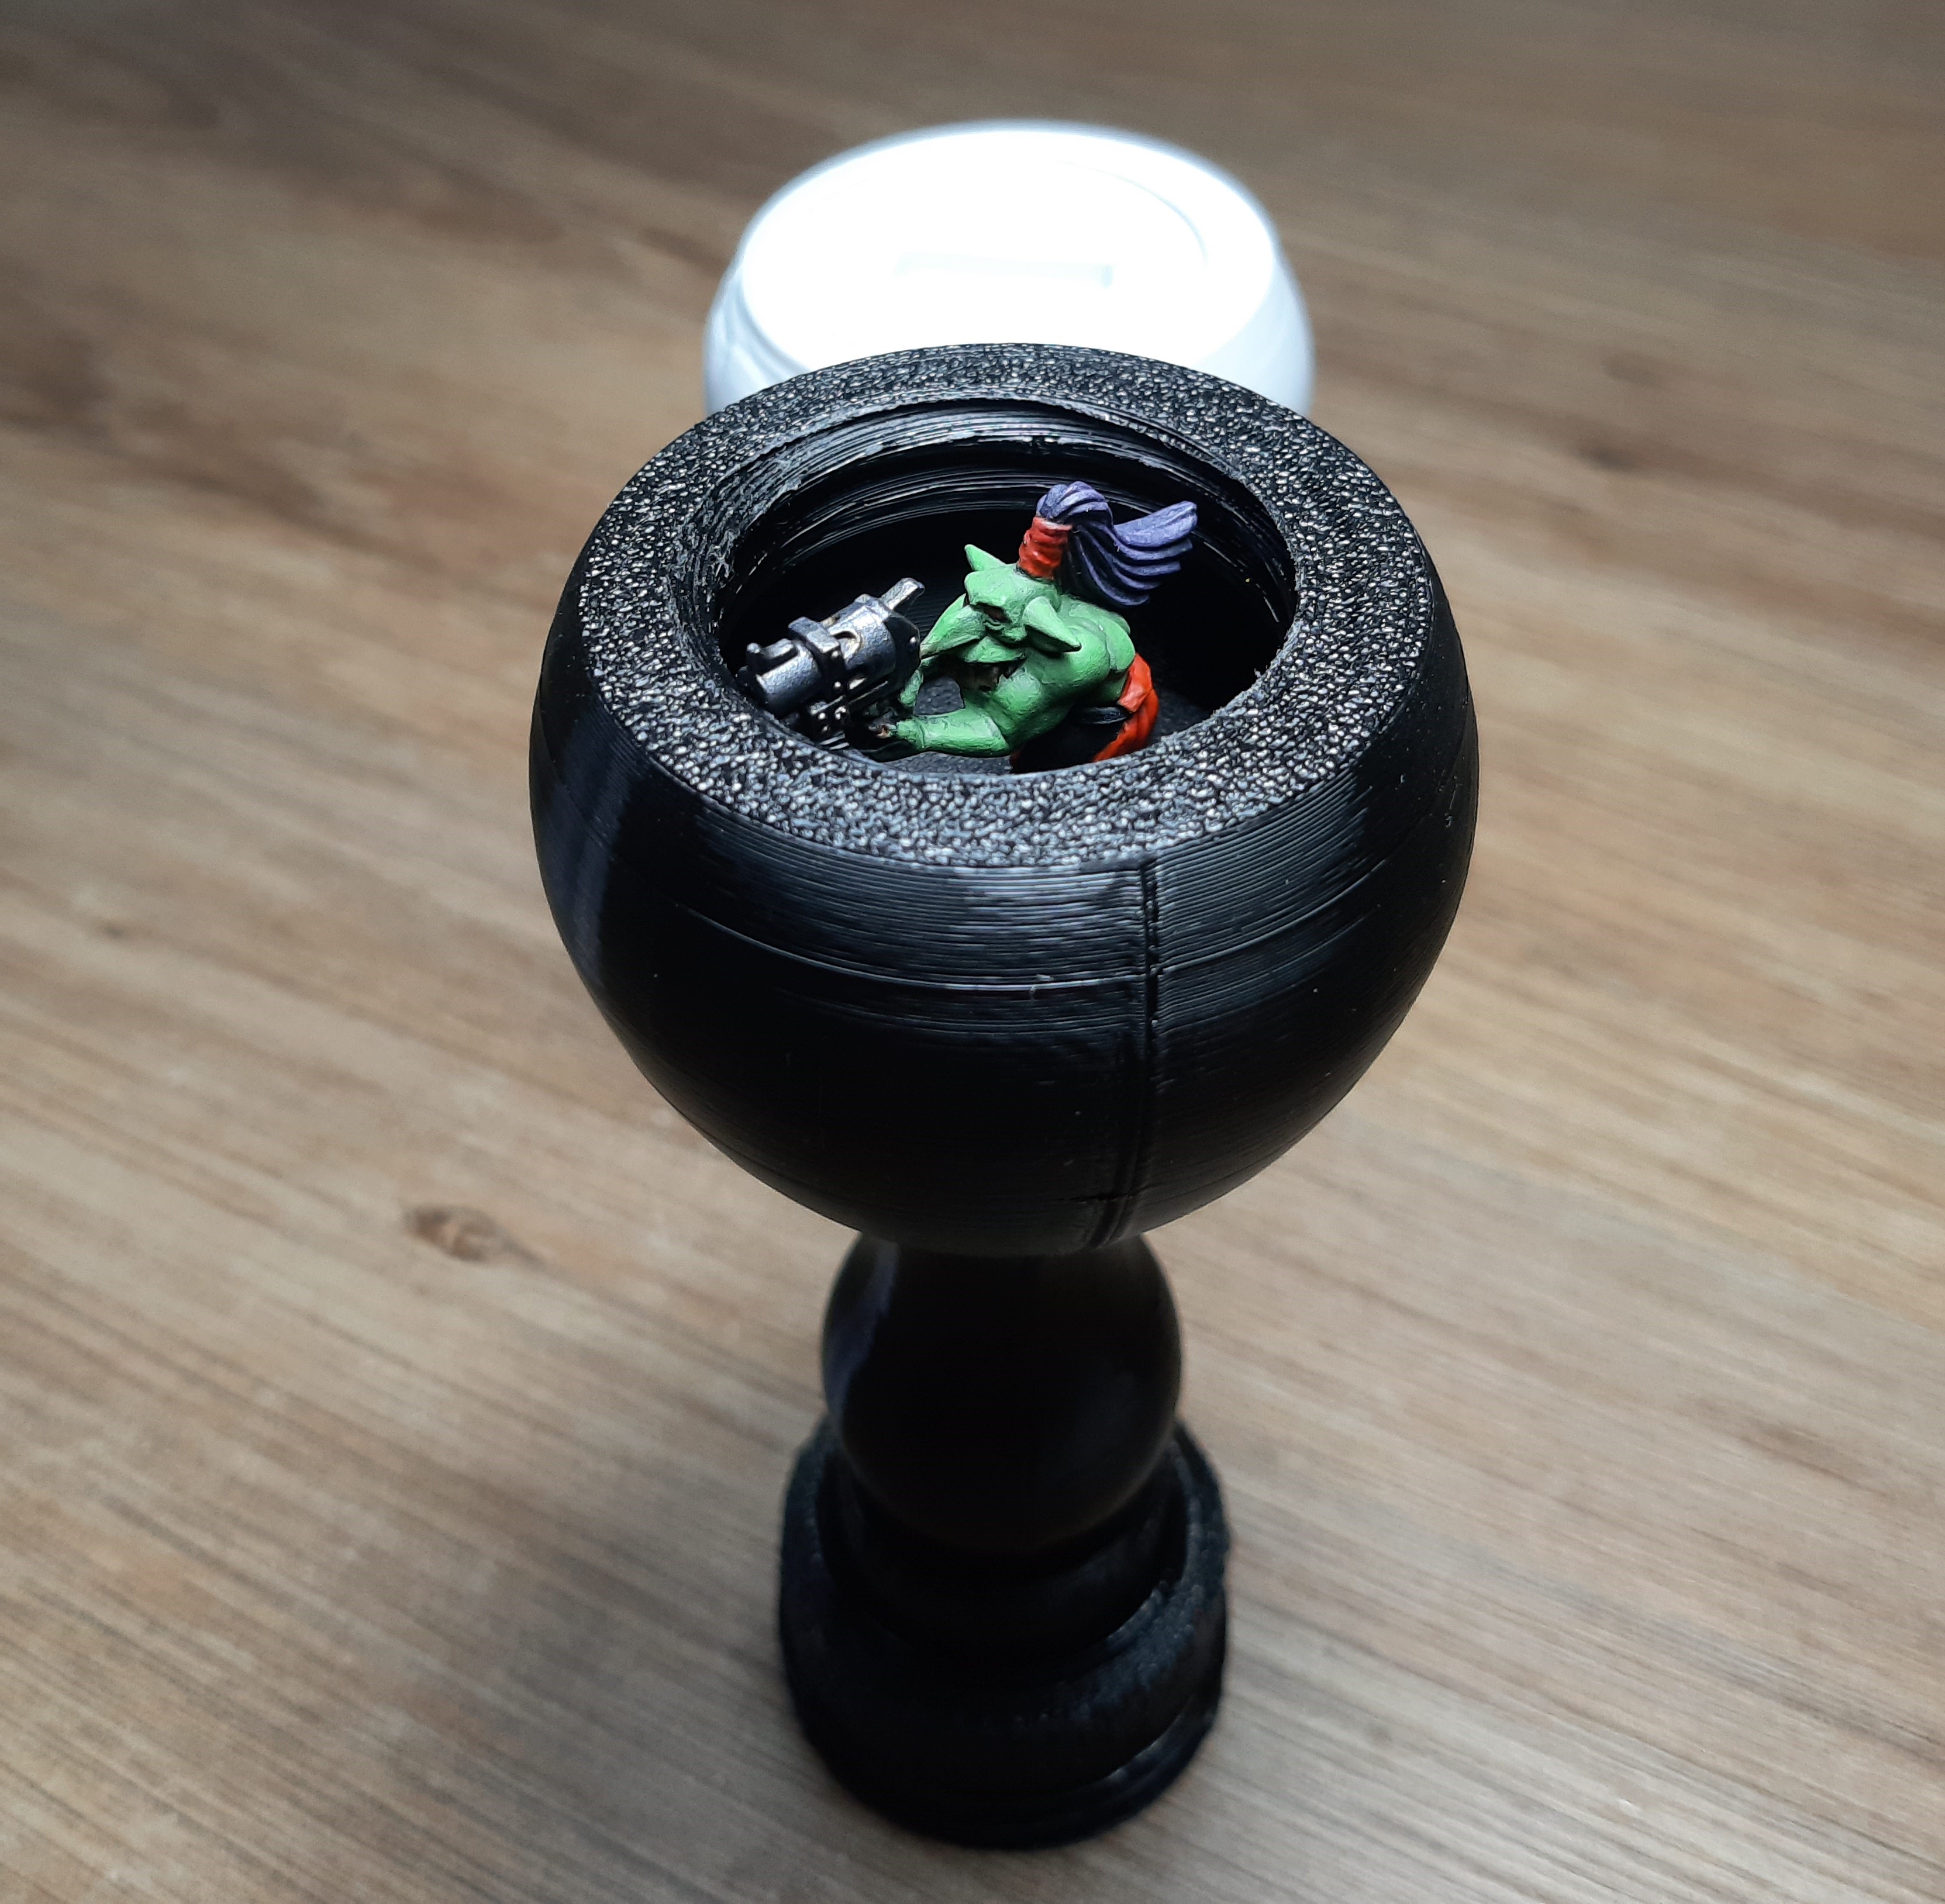
Extensibility
This model is part of larger collection, which all modules are made to work together.
Main connection method is threads and screws - 33mm for large hubs, and 8mm for smaller elements.
So if you want to add an adapter or new element it's fairly easy to create new models :)
Note:
All outside facing threads (screws) should have face offset applied (this helps with dimension inaccuracies). While inner can be left with their default settings.
- -0.5mm (on thread most extruded, vertical face)
- -0.3mm (all other faces, both slopes and one vertical closes to the thread cylinder))
What's great you can use the elements to prototype different kinds of holders or whatever might be useful at the moment, or maybe an idea that came to you in a dream. Like “The Tentacle” holder below:

Printing:
- designed with 0.20mm layer height
- print with PLA
- and PETG for the spring
- although PLA will work too (see below)
some small elements tend to be ripped off by the extruder - mainly arms and shaft
- like always: clean the build plate with soap :P
- but also try applying outer brim
- and maybe bump the bed temperature by 5-10 degrees
- (the included 3mf profiles are already confired to use brim)
All models were developed and tested on 0.20mm layer height with both PLA and PETG - as it’s fast and produces fairly smooth and clean prints. Printing in lower heights shouldn’t cause any issues.
PLA is fine for almost all elements except the spring. It will work, but compared to PETG it will be less flexible, require more force to wind, and can start giving in if kept in tensed position for too long (good old PLA creep).
I’ve tested the spring durability by leaving the arms in open position for few hours. PLA spring will lose it’s strength after around 4h-6h (up to over 20h which doesn’t seem to make a difference). PETG on the other hand, kept it shape, spring still managed to pull the arms to close position and held miniatures in its grip.
BUT if you only have PLA it will still work. Just don’t leave your minis in the handle overnight. And even if, the spring can be rejuvenated with a bit of heat (see Repairing PLA springs paragraph in the assembly doc).
Items to print (V2):
- RailsBody V2
- RotatingSpiral (V3)
- Spring V2
- FixedHub V3
- SpringShaft_sideways
- 3x SlidingArg_Tight
- HexInsert_Rounded
- (optional) Thread

Hardware required (V2):
With separate Thread model:
- 1x M3 30mm screw (countersunk head)
- 2x M3 nut
Without Thread:
- 1x M3 16mm screw (countersunk head)
- 1x M3 nut
(optional):
- 2x M10 nuts - to weight down Tower handle
Items to print (V1):
- 4x Arms (come in different shapes)
- 2x Clips
- 1x Shaft
- 1x Filler (optional, secures 4 cuts on shaft from braking)
- 1x Expander
- 1x Cross Rail
- 1x Spring (best to use PETG)
- 1x Spiral Chasis
Either of:
- 1x Fixed Threaded base
- 1x Citadel adapter
- 1x Rotating base
Optional:
- 1x Gourd Handle
- 1x Gourd cap
Assembly instructions - see the attached pdf.
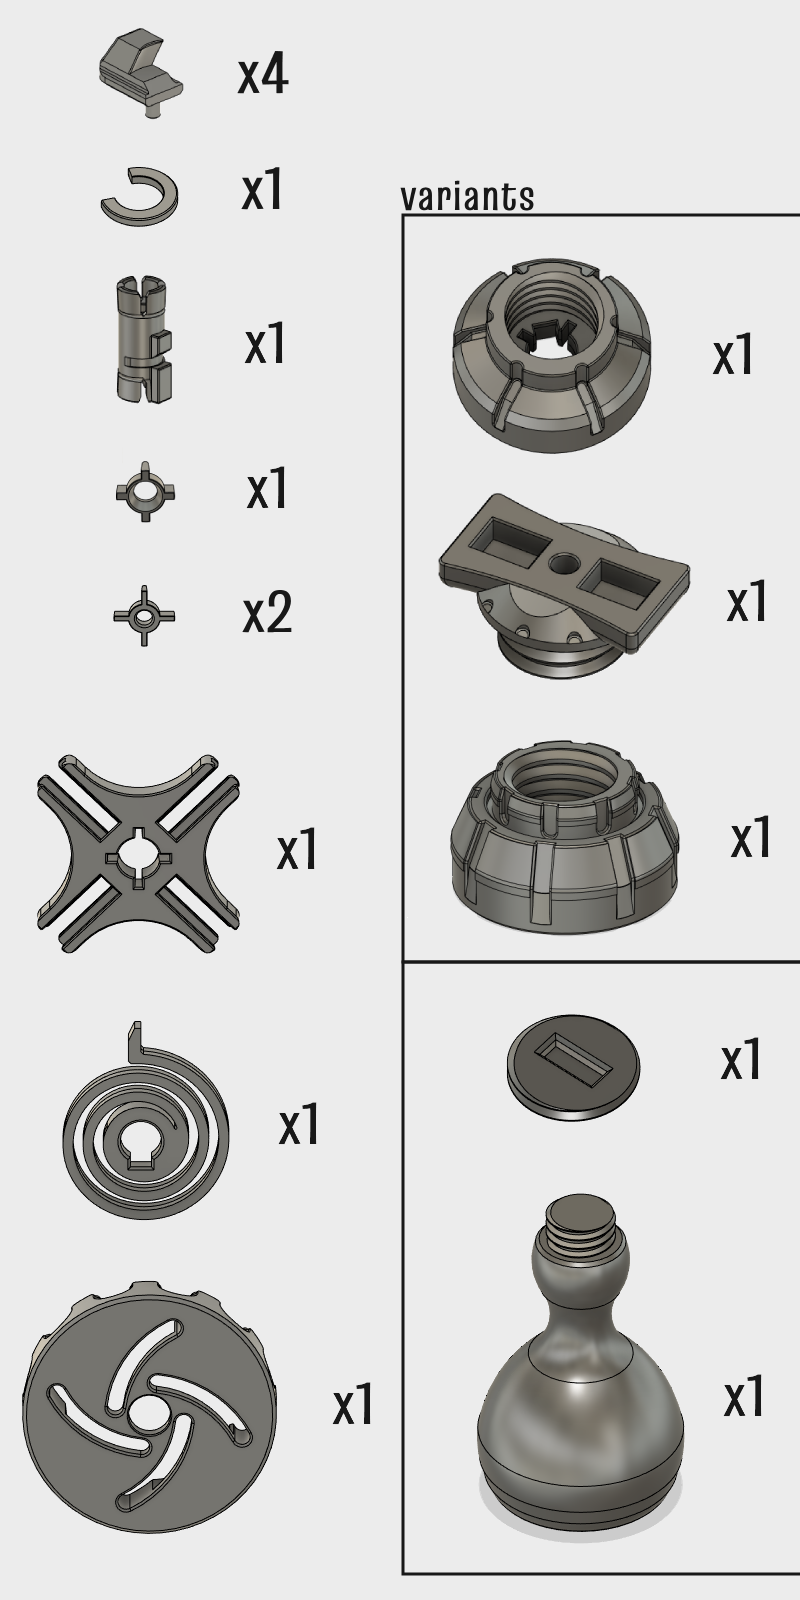
Assembly instructions - see the attached pdf.
---
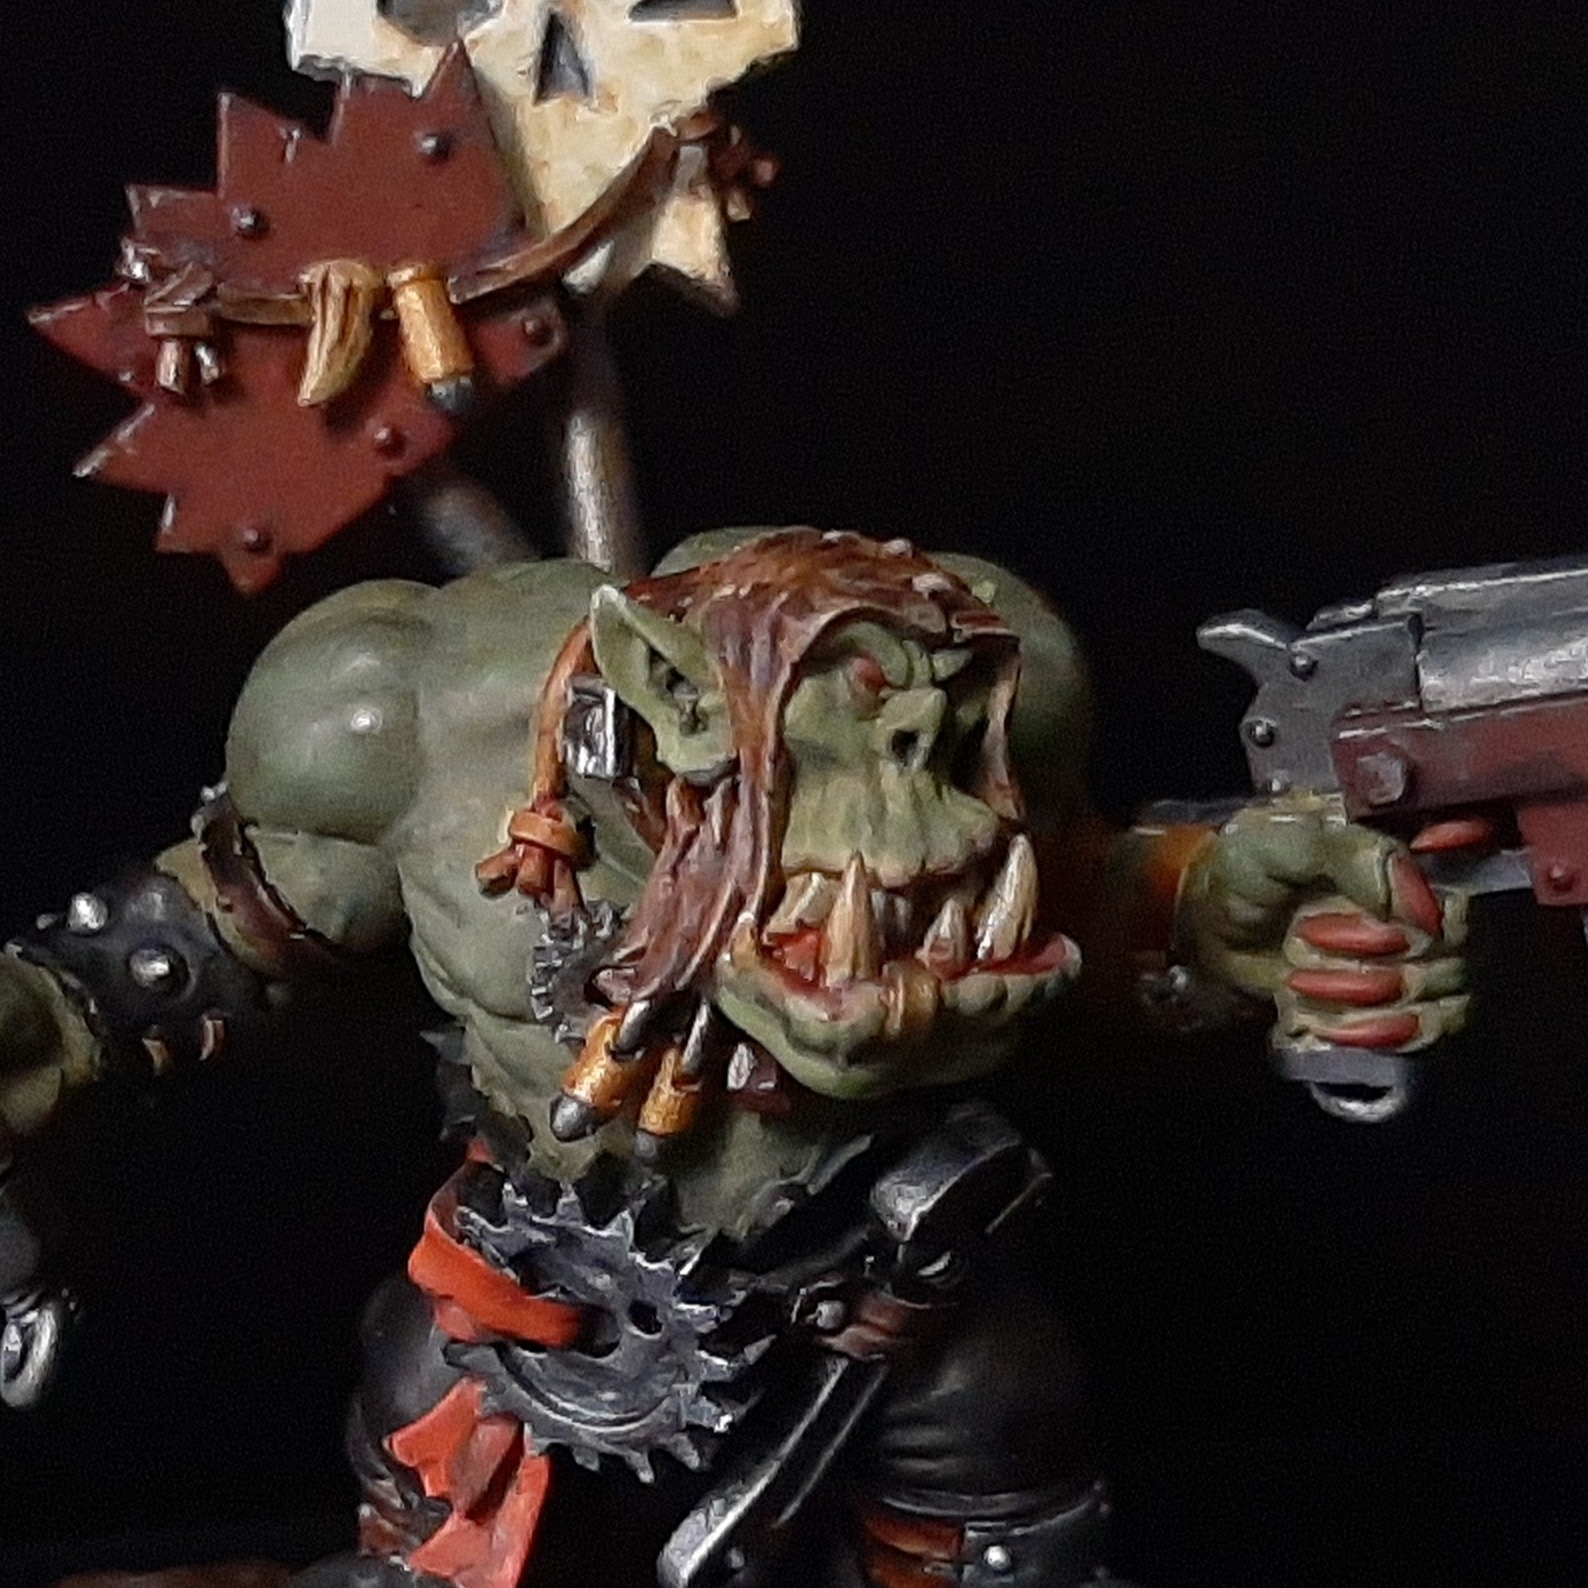
Miniatures showcased on the pictures:
- Black Orc Warlord with great axe by Avatars of War
- Ragegutta Mega Armor by Smuggler Boutique
- Socratis Knights (dismembered) and Raticus Clanker by Station Forge
- Chaplain (well a “Patriarcha”) from the damn purple site…
- Gretchin - finally, an official GW model :)