
1 / 1
Modular Hangboard for Climbing Finger Strength Training
Zamów wydruk tego modelu
Obliczymy ostateczną cenę na podstawie wybranego pliku. Sprawdzisz ją i zaakceptujesz przed płatnością.
Zapisane na tym urządzeniu.

To avoid having to print massive prints I designed my own hangboard system.
- Ocena
- 5 / 5
- Polubienia
- 34
- Pobrania
- 83
- Wydruki
- 1
- Wyświetlenia
- 1291
- Oceny
- 1
Aktualizacja u źródła:
Informacje o modelu
- Źródło
- Printables
- Kategoria
- Indoor Sports
- Licencja
- Creative Commons — Attribution — Noncommercial
SzczegółyPliki (17)Wydruki i komentarze (Wydruki: 1) (Komentarze: 1)Remiksy (1)Kolekcje (50)Powiązane
This is a modular hangboard system for training finger strength and finger health for rock climbing and bouldering.
This modular hangboard system is made to be supported by a wood board in the back.
I glued two pine boards of 18mm together to get enough depth for the screws to grab on.
What is provided:
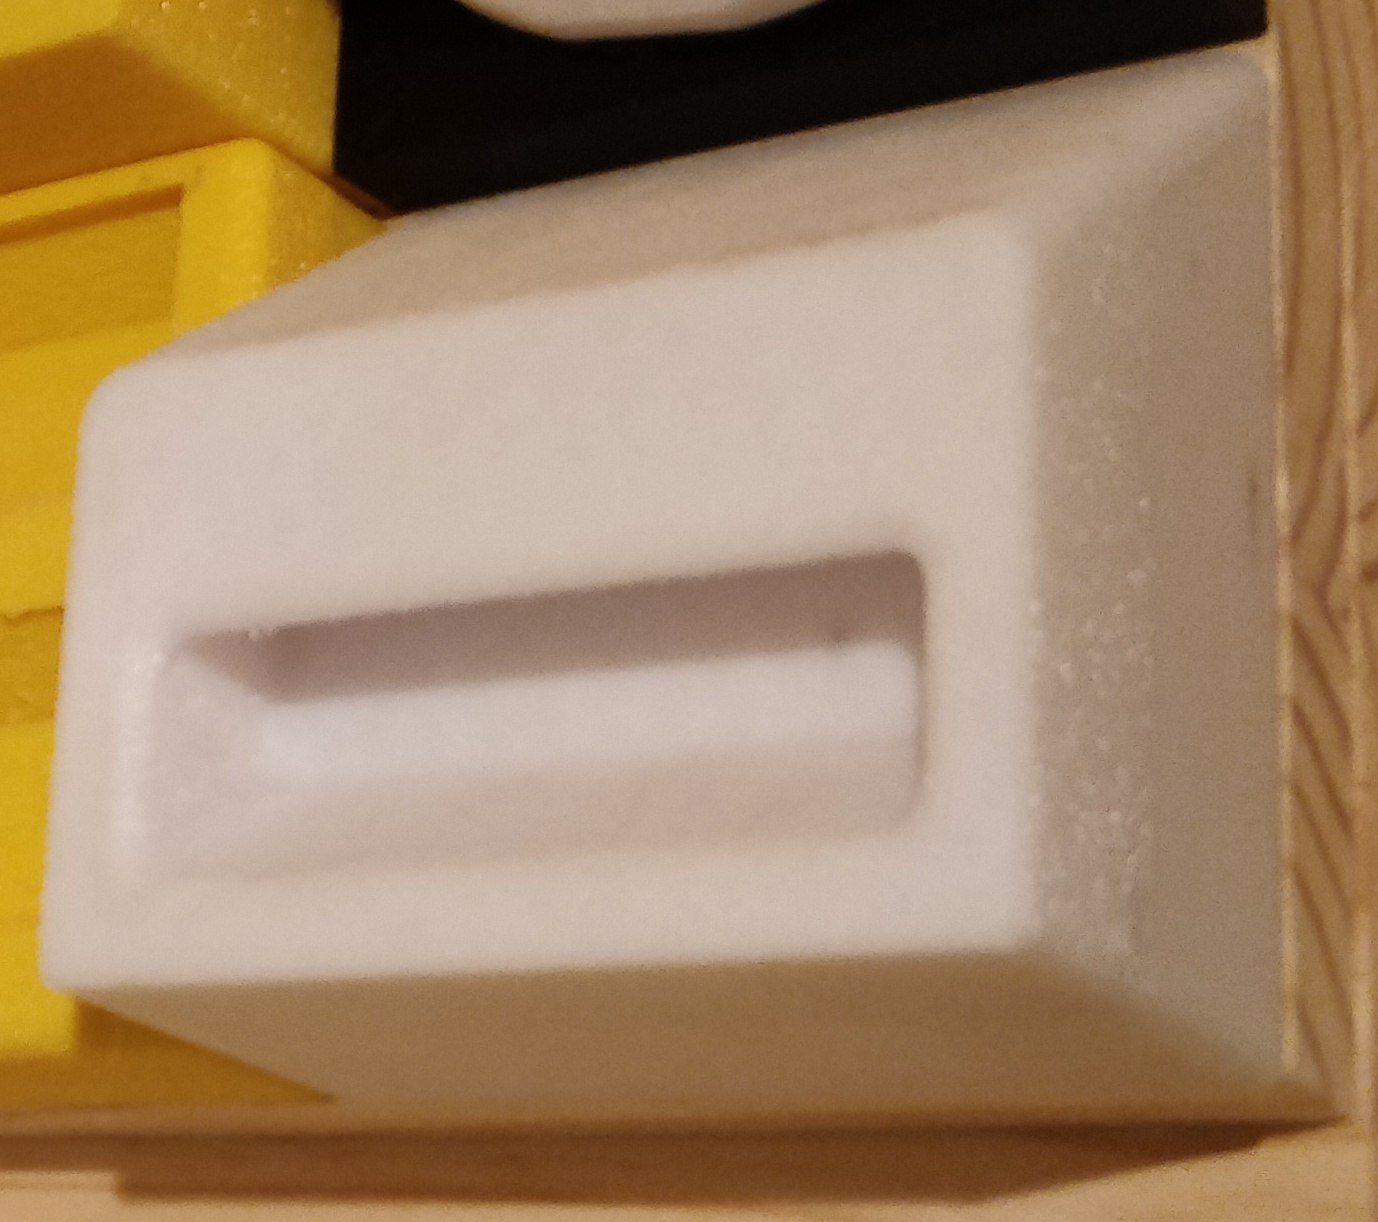
- Top+pocket sloper modules, oriented horizontally, of each of those angles:
- 20 degrees
- 35 degrees
- 45 degrees

- 10mm + 15mm + 20mm two and single finger pocket module

- 10mm + 15mm + 20mm 4-finger edge module

- Rotatable ("SloperC") dual angle slopers, that can also be used as mixed sloper/pinch/gaston exercices depending on the rotation you select. Those are held by a large bolt, allowing to chose the needed angle.
- 25 and 30 degrees
- 35 and 40 degrees
- For those, you need extra hardware, see below
- To print them, split the STL using your slicer and print as 2 parts.
- A “baller”, that is a round ball shaped submodule for the rotatable slopers base platform
- A “Claw” training, a bit experimental. Those are currently a bit needlessly painful on the tip of the fingers.
- A drilling template STL in order to easily position the screws on your board
How to print + post process:
- I'd recommend minimum 5 or 6 walls, with some strong infill. I like to use honeycomb because it is a non-crossing infill allowing consistent fast printing, Here 25% to 30% should be ok.
- Use fuzzy skin 0.3mm/0.3mm. In some cases this can be sped up by only applying it at certain height ranges or with a volume modifier (example in 3mf files)
- Use a rough wood rasp on the areas where you'll place your fingers to make the surface sticky.
If you want to design your own compatible modules, the dimensions are as follows:
- Each block is W10cm x H11cm
- The screws are at a distance of:
- 20mm from the sides
- Top row : 20mm from the top
- Bot row : 30.4mm from the bottom (Because of the extra space for the screw attachment)
- If you want a base platform model, you can just cut off the front of the 4-finger edge model.
- If you want a base notched rotatable platform model, you can also just cut off the front of the rotatable slopers.
🔩 Hardware needed:
- 4x 3mm to 5mm shaft countersunk wood screws per module (You could risk only using the two top ones for each, but I didn't)
- Thick wood board with the dimensions of your choosing, depending on what you want to practice and the layout you chose
- e.g. 80cm x 22cm for an 8x2 grid of modules. On my photo I have extra to attach it to the wall without having to hide the screws behind the modules
- If you want to use the adjustable sloper or “baller”, you need for each 1x M10x50 to M10x60 bolt and 1x M10 nut+washer. You'll also need a socket wrench able to reach inside the hole to tighten it.
🧵 PETG/ABS recommended
✔ Can be printed without supports