
xTool RA2 Rotary Erhöhung *** xTool RA2 Rotary riser
Obliczymy ostateczną cenę na podstawie wybranego pliku. Sprawdzisz ją i zaakceptujesz przed płatnością.
Zapisane na tym urządzeniu.

xTool RA2 Rotary Erhöhung *** xTool RA2 Rotary riser
- Ocena
- 5 / 5
- Polubienia
- 65
- Pobrania
- 390
- Wydruki
- 2
- Wyświetlenia
- 2183
- Oceny
- 3
Aktualizacja u źródła:
Informacje o modelu
- Źródło
- Printables
- Kategoria
- Tools
- Licencja
- Standard Digital File License
Version 1: Erhöhung um 26,4 mm, z.B. für einen xTool M1 Ultra
Version 2: Erhöhung um 46,4 mm, z.B. für “meinen” xTool S1, allerdings habe ich keine Standarderhöhung
ACHTUNG !!!
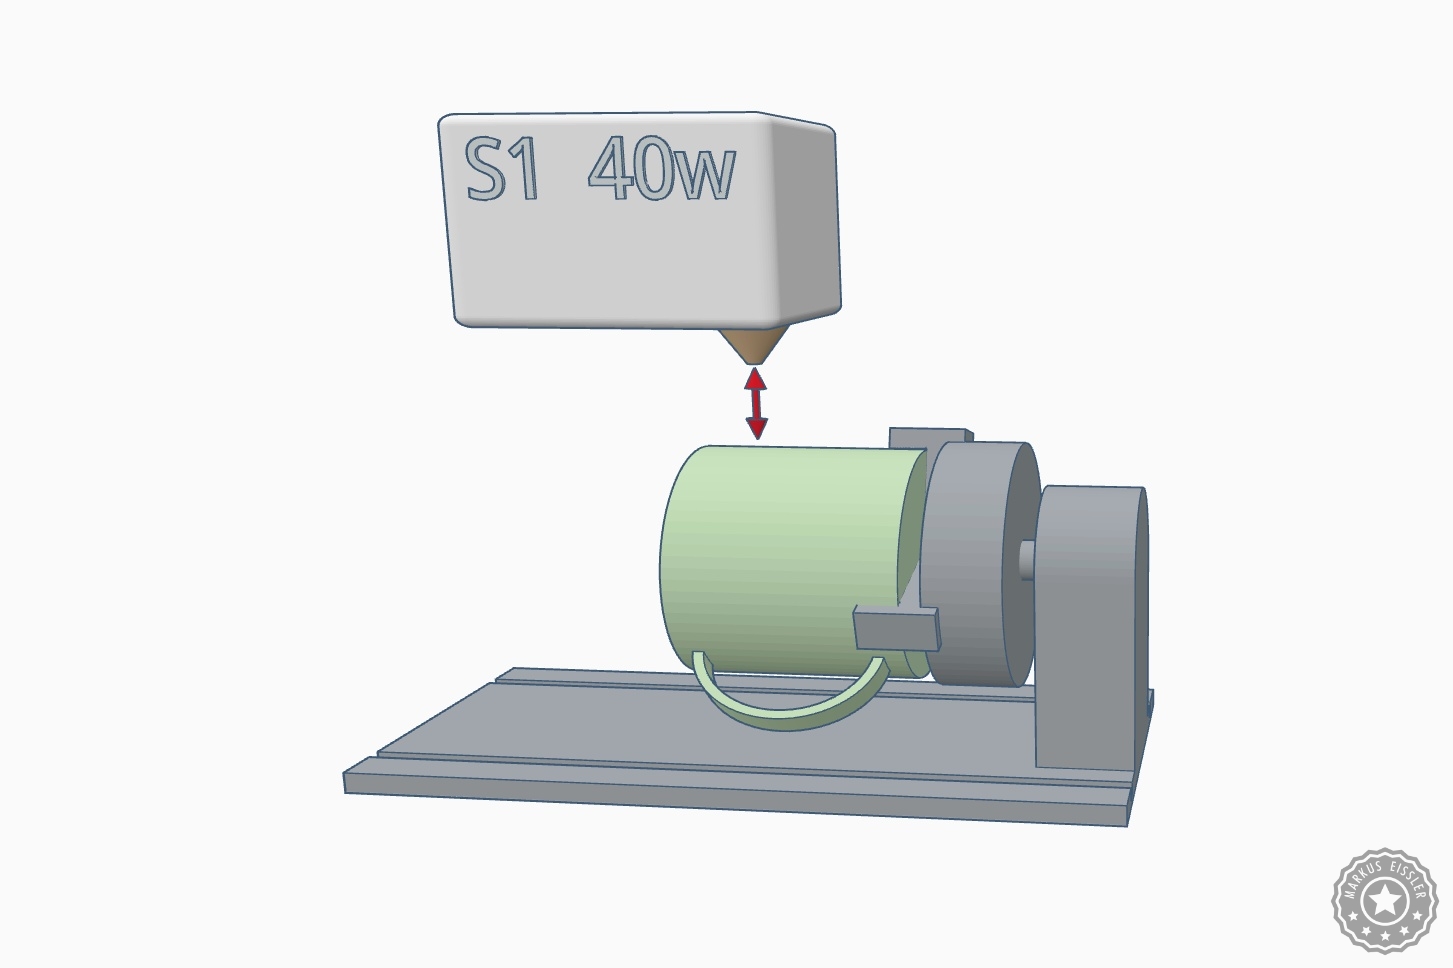
- Ich empfehle unbedingt vor dem Ausdruck die individuellen Bedingungen am Laser nachzumessen.
- Da diese Erhöhung gerne für Tassen mit Henkeln genutzt wird, spannen Sie eine bevorzugte Tasse mit Henkel ein, und addieren Sie die entsprechende Rate der Erhöhung auf die oberste Höhe der Tasse dazu, und schauen, ob der Laserkopf noch darüber passt.
- Sollte das niedrigste Mass nicht genügen, ist Ihr Aufbau bisher nicht geeignet, und Sie müssen leider vorerst auf meine Erhöhungen verzichten - Schade
Gedruckt mit PETG, 30 % Füllung, verwenden Sie Ihre 2 xTool-Schrauben + Unterlegscheiben + Muttern auf der Oberseite, zusätzlich benötigen Sie 2x M3x 15-18 mm Schrauben für die Grundplatte, und extra Teile wie auf den Fotos abgebildet.
++++++++++++++++++++++++++++++++++++++++++++
Version 1: Increase by 26.4 mm, e.g. for an xTool M1 Ultra
Version 2: Increase by 46.4 mm, e.g. for “my” xTool S1, but I have no standard riser
ATTENTION !!!
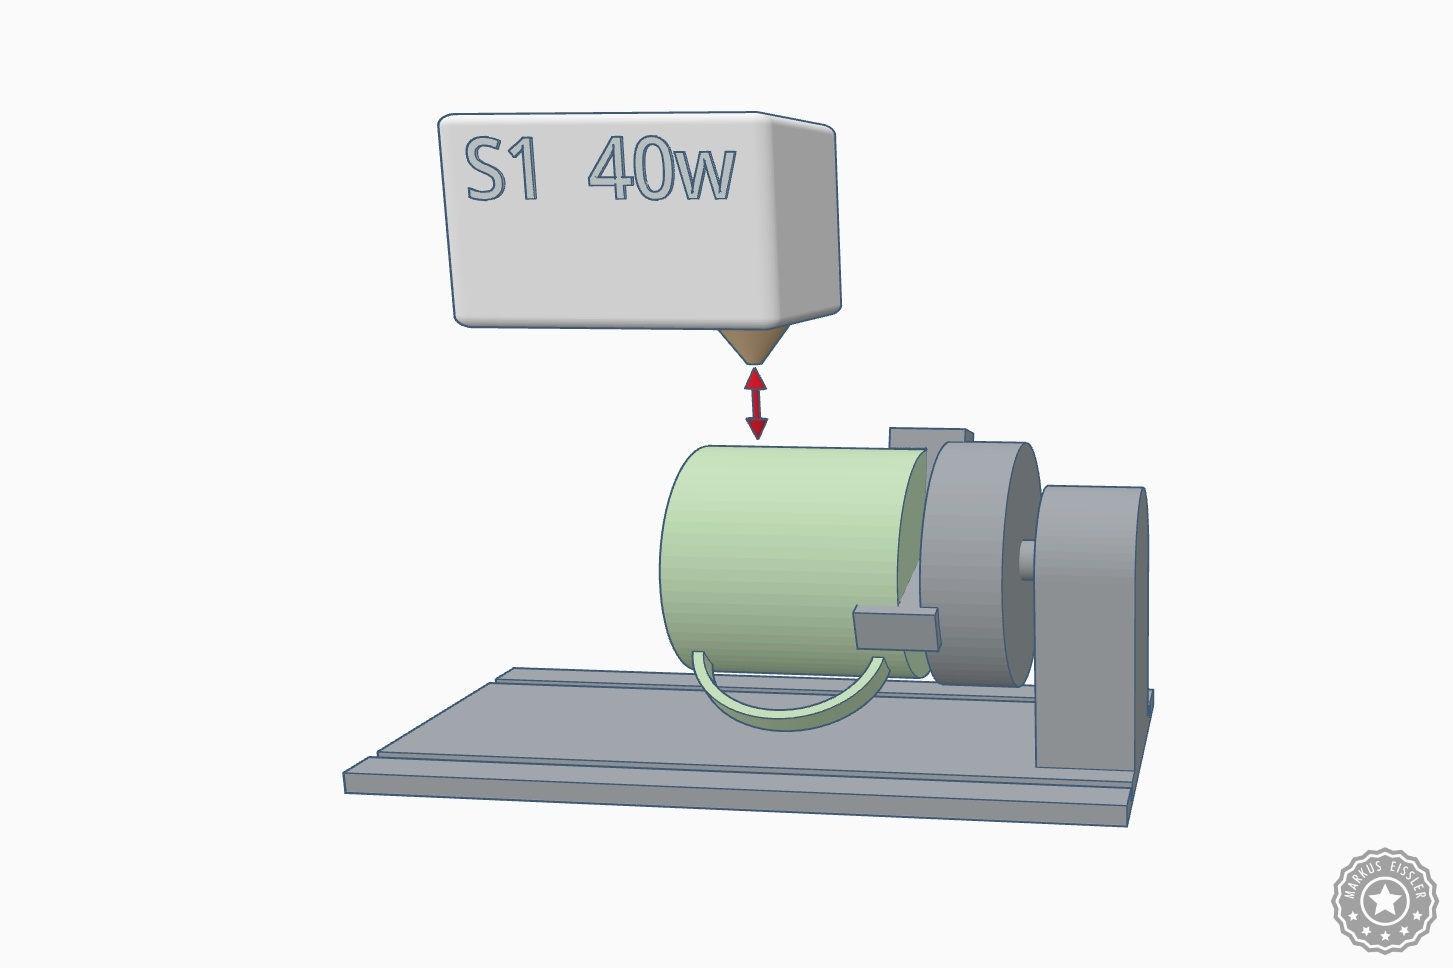
- I recommend that you measure the individual conditions on the laser before printing.
- Since this increase is often used for cups with handles, tighten a preferred cup with handles, and add the appropriate rate of increase to the top height of the cup, and see if the laser head fits over it.
- If the lowest scale is not enough, your construction is not yet suitable, and you unfortunately have to do without my increases - To bad
Printed with PETG, 30% infill, use your 2 xTool screws + washers + nuts on top, in addition you need 2x M3x 15-18 mm screws for the base plate, and extra parts as shown in the photos.