
Improved Wyze Camera Mount for Prusa XL and EnXLosure
Obliczymy ostateczną cenę na podstawie wybranego pliku. Sprawdzisz ją i zaakceptujesz przed płatnością.
Zapisane na tym urządzeniu.

A Wyze Camera holder for the Prusa XL. Especially useful with the EnXLosure
- Ocena
- 4,667 / 5
- Polubienia
- 6
- Pobrania
- 55
- Wydruki
- 3
- Wyświetlenia
- 473
- Oceny
- 3
Aktualizacja u źródła:
Informacje o modelu
- Źródło
- Printables
- Kategoria
- Accessories
- Licencja
- Creative Commons — Attribution — Noncommercial — Share Alike
This is an improved version of my previous mount, with increased stability. With the previous version, high speed jerky extruder movements could end up with too much vibration. This version is much sturdier.
Love my Wyze cam to monitor prints. Love my enXLosure. But the two don't really cooperate well. Without the enXLosure you can just put the camera on one of the front corners, with a magnetic hold. But with the enXLosure, due to the angle of its top part, there's no space to mount the somewhat bulky Wyze inside.
Here's a mount that attaches to the outside of the top 3030 extrusion and looks through the acrylic side of the top hat. It can of course be used without the enXLosure as well. Should also work with the Prusa enclosure but I don't have one, so can't confirm it.
Bill of Materials
A Wyze Camera—this model is sized for v3.
1x M4 T-nut (same as used to mount the spool holders). E.g.: M4 Roll in Spring T Nuts,3030/4040 Series Universal with Spring Sheet,Roll in Spring Loaded T Nut,Carbon Steel Nickel-Plated for Aluminum Profile with 8mm Groove Depth (30/40-Series,30 Pcs)
1x M4x12 or M4x10 screw
1x M3x4x5 brass heat-set insert (same as used to build the enXLosure). E.g.: uxcell knurled Insert Nuts, 120Pcs M3 x 4mm L x 5mm OD 3D Printing Brass Nuts Female Threaded Inserts Brass Heat Set Insert Embedment Nut
1x M3x10 screw
Print and Assembly
No special instructions. See 3mf for suggested orientation. No supports needed.
- Insert the brass insert into the hole in the base of the “holder” part. Use a soldering iron set to about 20 degrees higher than used for printing to press them in. If you're new to brass inserts, check out CNCKitchen's excellent writeup.

- Attach the “attachment” part to the “holder” using the M3x10 bolt. Slide the Wyze cam into the “holder”.
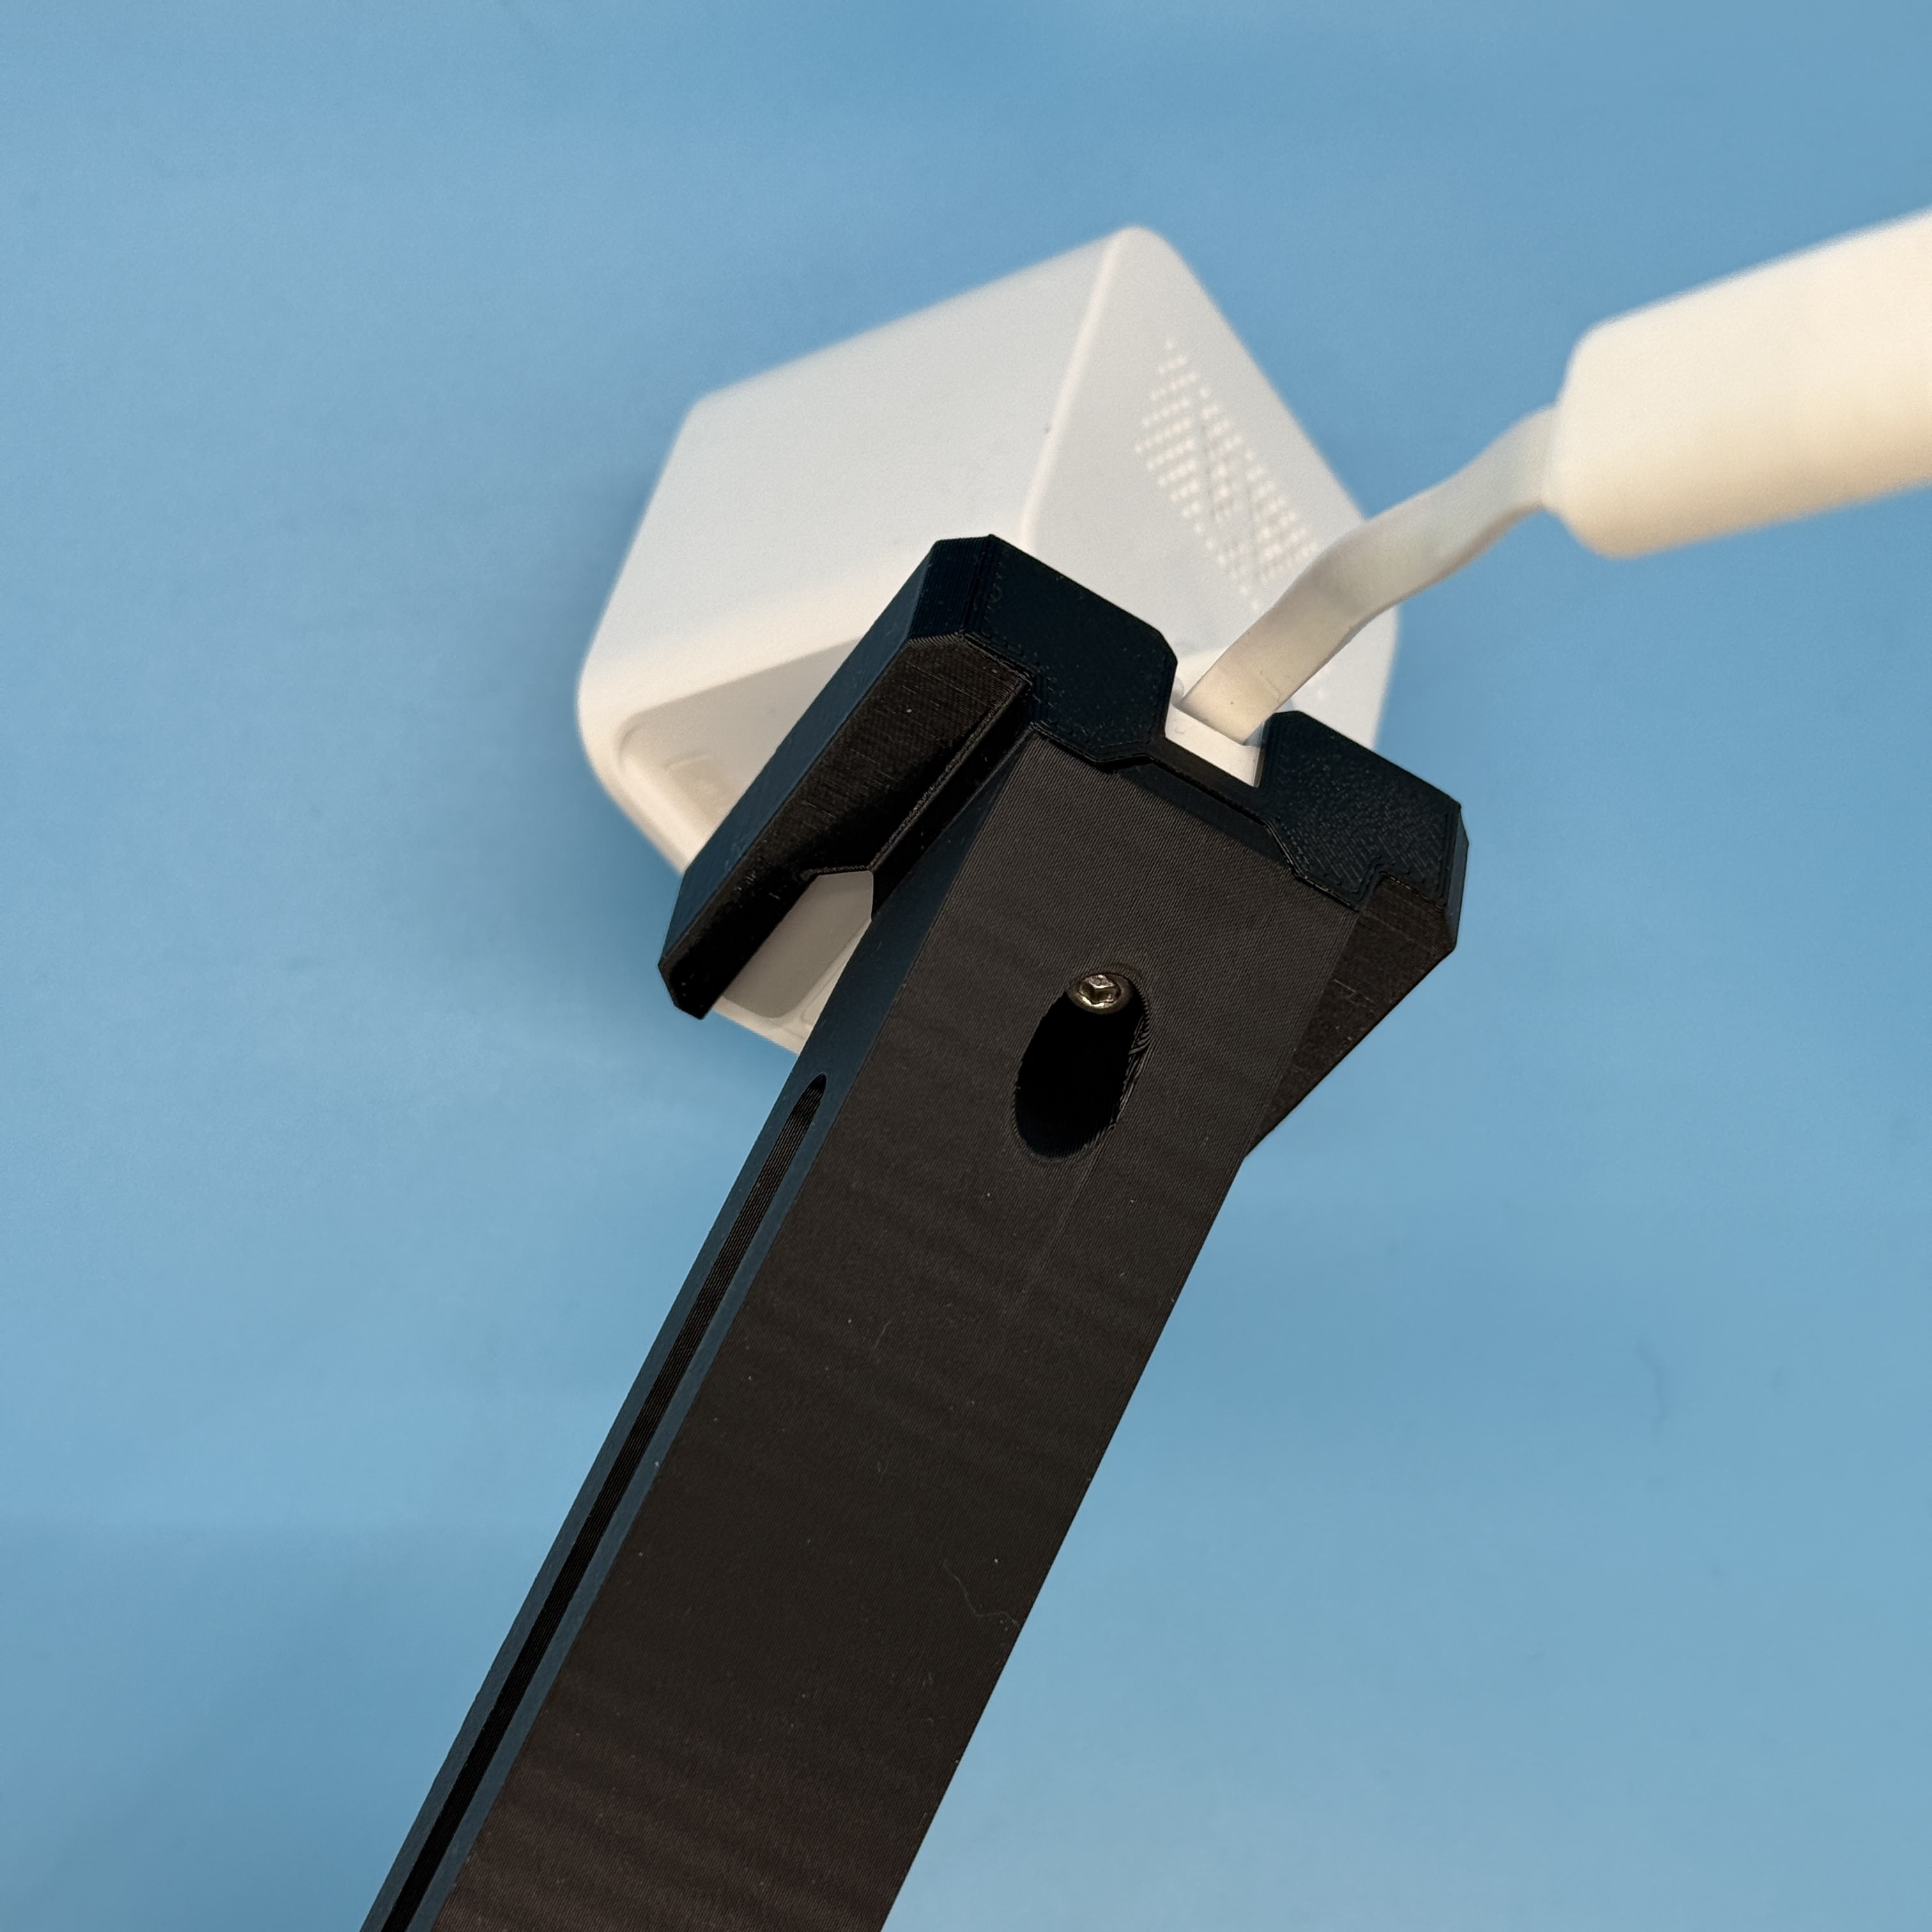
- Insert the T-nut into side of the top 3030 extrusion rail.

- Attach the cam mount by pushing the M4 screw into the base of the “attachment” part and securing it into the T-nut. Before tightening, move the assembly along the rail to the best position.

STEP file included.
If you like what I'm doing…
… consider buying me a coffee or joining my Club.