
Ribbed Fishing Lure
Obliczymy ostateczną cenę na podstawie wybranego pliku. Sprawdzisz ją i zaakceptujesz przed płatnością.
Zapisane na tym urządzeniu.
Informacje o modelu
- Źródło
- Printables
- Kategoria
- Outdoor Sports
- Licencja
- Creative Commons — Attribution — Noncommercial — Share Alike
Required for assembly:
4 x 6 mm lead split shot
3 x screw eyes or twist wires.
Super Glue
Clear coat, I use C&W lure epoxy or UV resin, you can also get a spray can of varnish and give it a couple of coats. Without a clear coat, water will eventually leak inside and ruin the action.
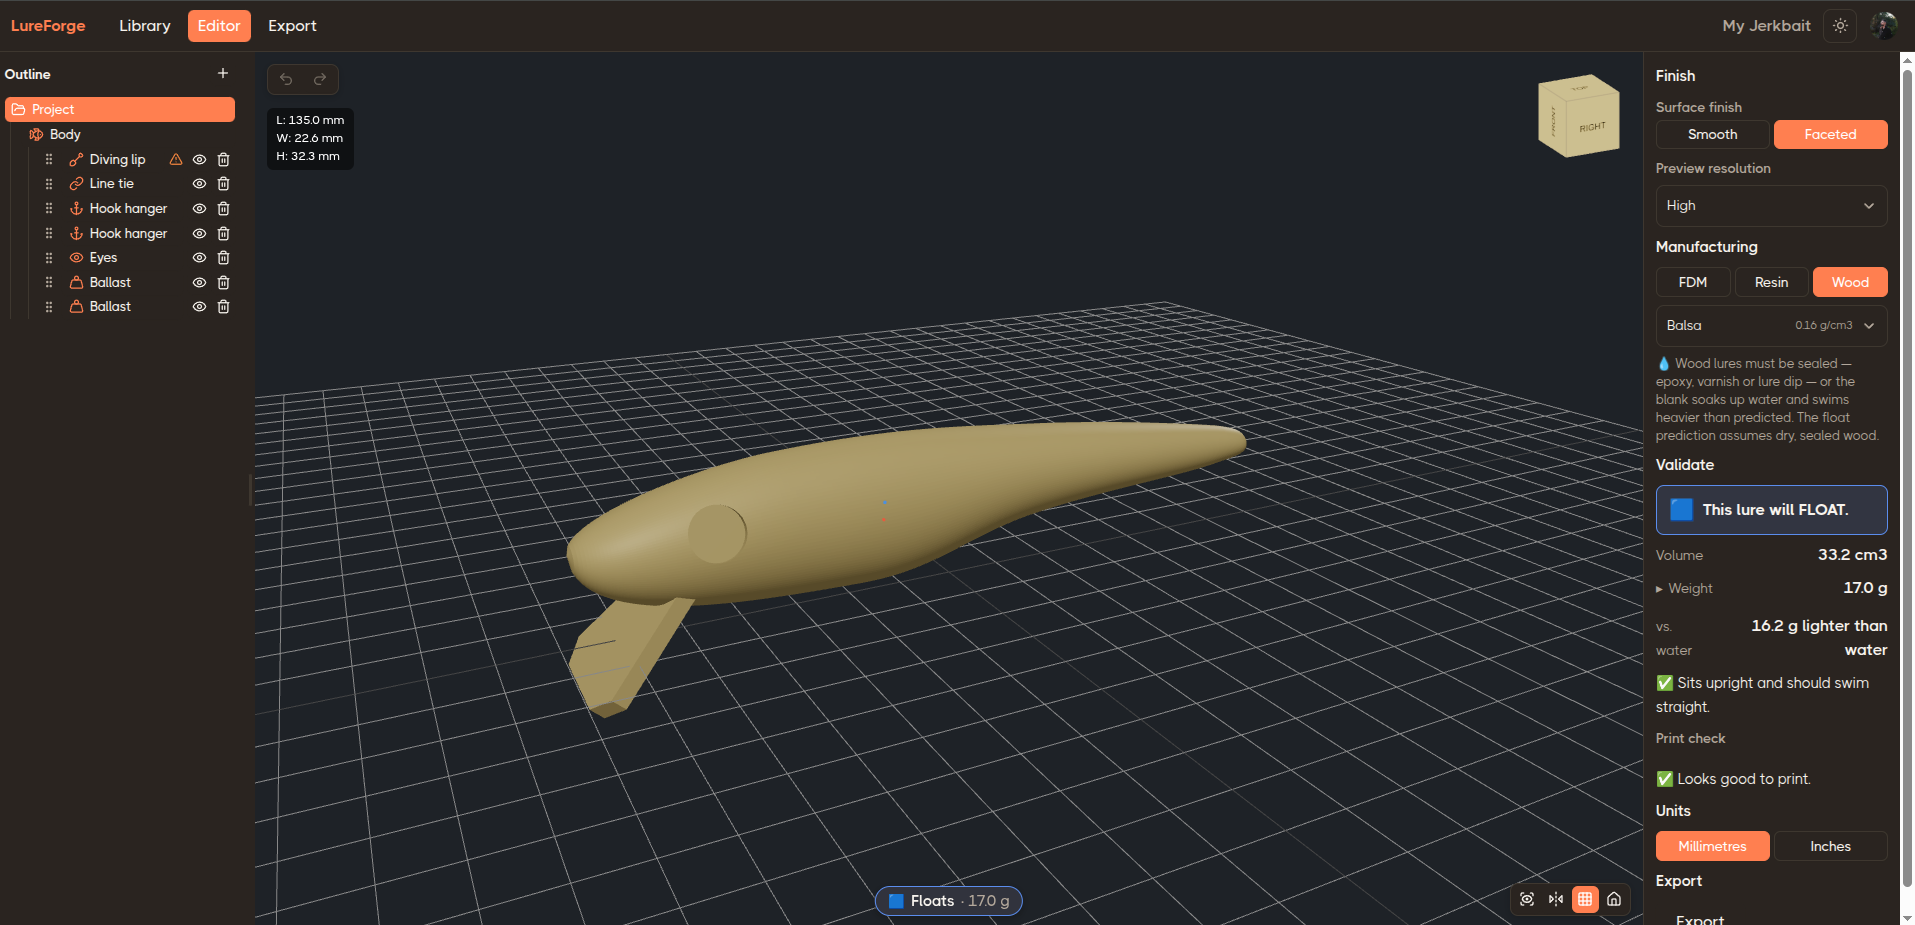
Checkout LureForge, the beginner friendly lure making app, create your lure, make sure it floats/sinks, and export it as an STL or a 2D template for wood carving.
Printing instructions:
If you use Bambu Studio, download the 3mf file, change the printer and filament to what you have and you should be fine.
Layer height: 0.2 mm
Wall loops: 2 for the body, 3 for the lip
Infill: 15%
Infill pattern: Rectilinear or Grid
Minimum infill threshold: 0
Material: ABS, you can print with PLA or PETG but it will be a sinking lure
Supports: non, the model is pre-supported
I recommend printing the eyes using a 0.2 mm nozzle at 0.1 mm layer height for the best print quality.
You need to add a couple of pauses to embed the weight into the lure. If you used the same print orientation and layer height as mentioned above then the pauses will be:
Pause 1: Layer 247 at 49.4 mm. Insert 2 split shots
Pause 2: Layer 357 at 71.4 mm. Insert 2 split shots
Assembly:
Glue the lip and screw eyes to the lure body using super glue.
Optional: Paint the lure with your favorite lure pattern.
Print and paint the eyes.
Glue in the eyes.
Give it a couple of clear coats.
Put on some hooks and enjoy your brand new lure.