
Neon Shruggie
Obliczymy ostateczną cenę na podstawie wybranego pliku. Sprawdzisz ją i zaakceptujesz przed płatnością.
Zapisane na tym urządzeniu.
Informacje o modelu
- Źródło
- Printables
- Kategoria
- Home Decor
- Licencja
- Creative Commons — Attribution
What you need
- Cuttable LED Neon Strip. Preferable cut units: 5cm. I used this one
- Base plate I used wood 20x87cm
- Soldering Iron, Wire, …
- Drill, pliers, …
Disclaimer
- This is not the typical “Print-And-Done” project there is quite some more effort involved to get this to the finished sign
- You should know how to solder and have some basic understanding of how such neon strips work, I cannot give detailed instructions on how to do the wiring
- Read the instructions before assembling so that you are not surprised by a step
Instructions
1. Print the parts
2. Cut the Neon Strip to the required sizes (multiples of 5cm should roughly fit but please test before cutting so you get the best results). Metal Pliers worked well for me.
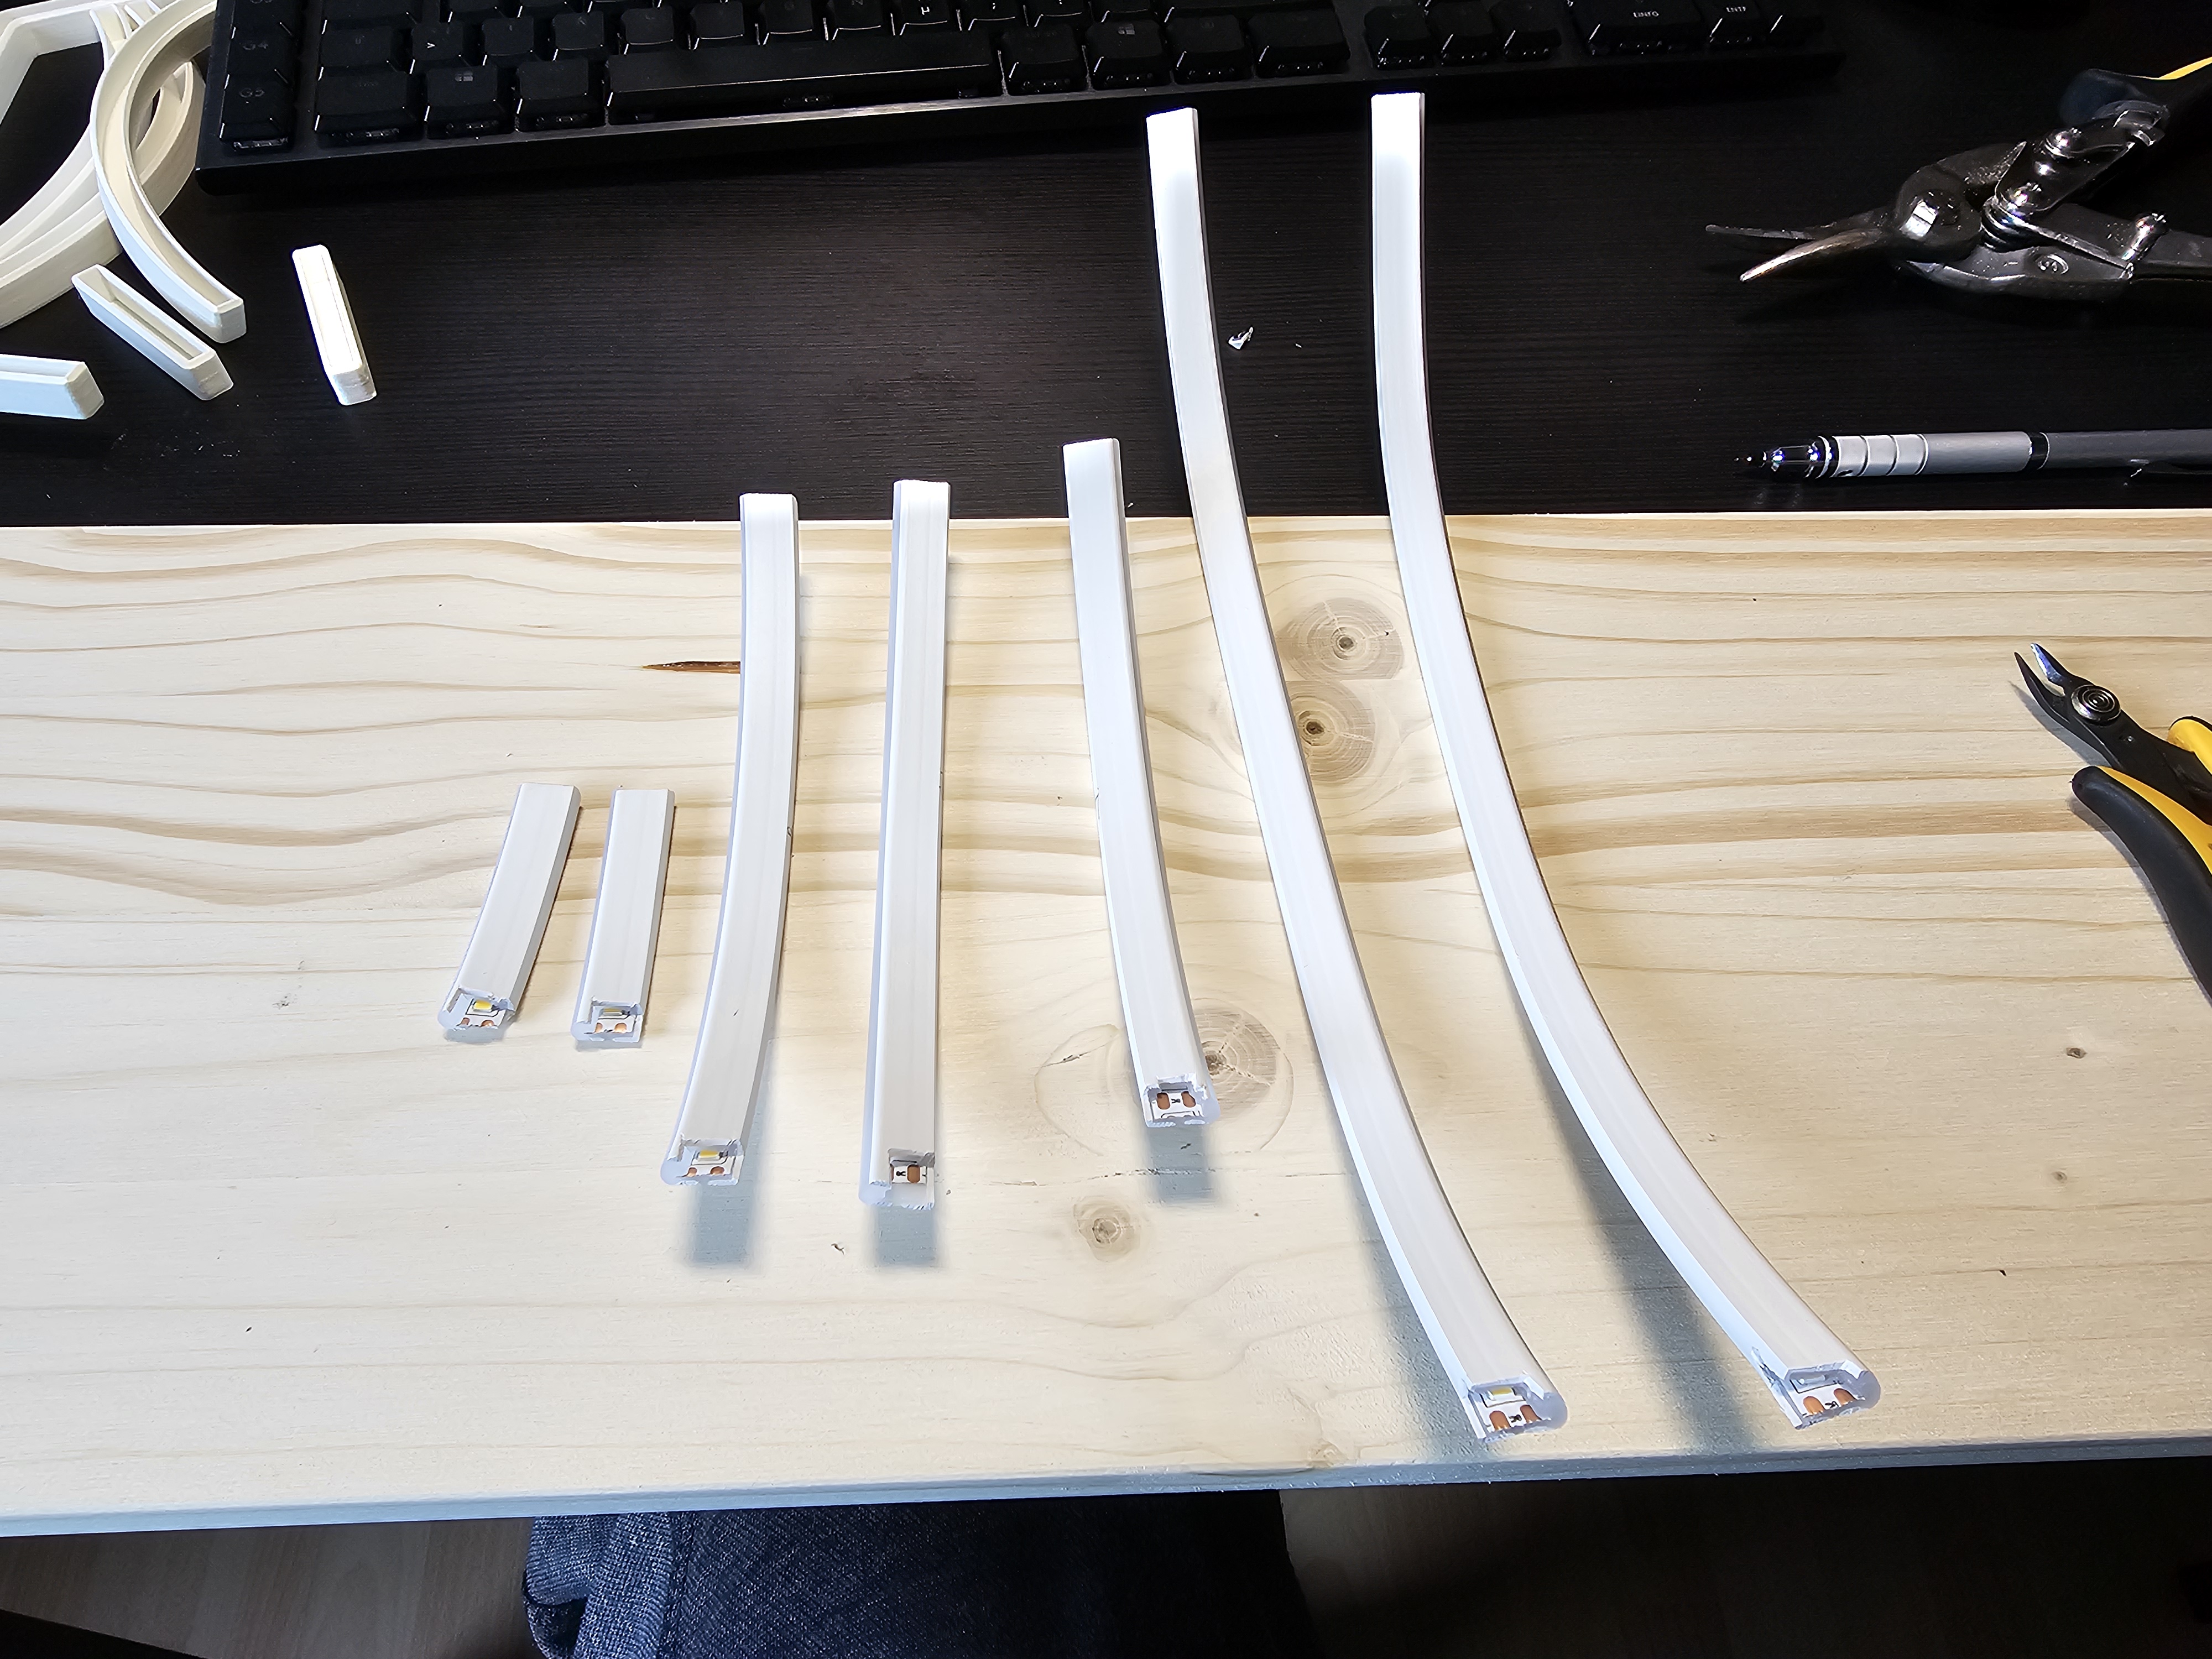
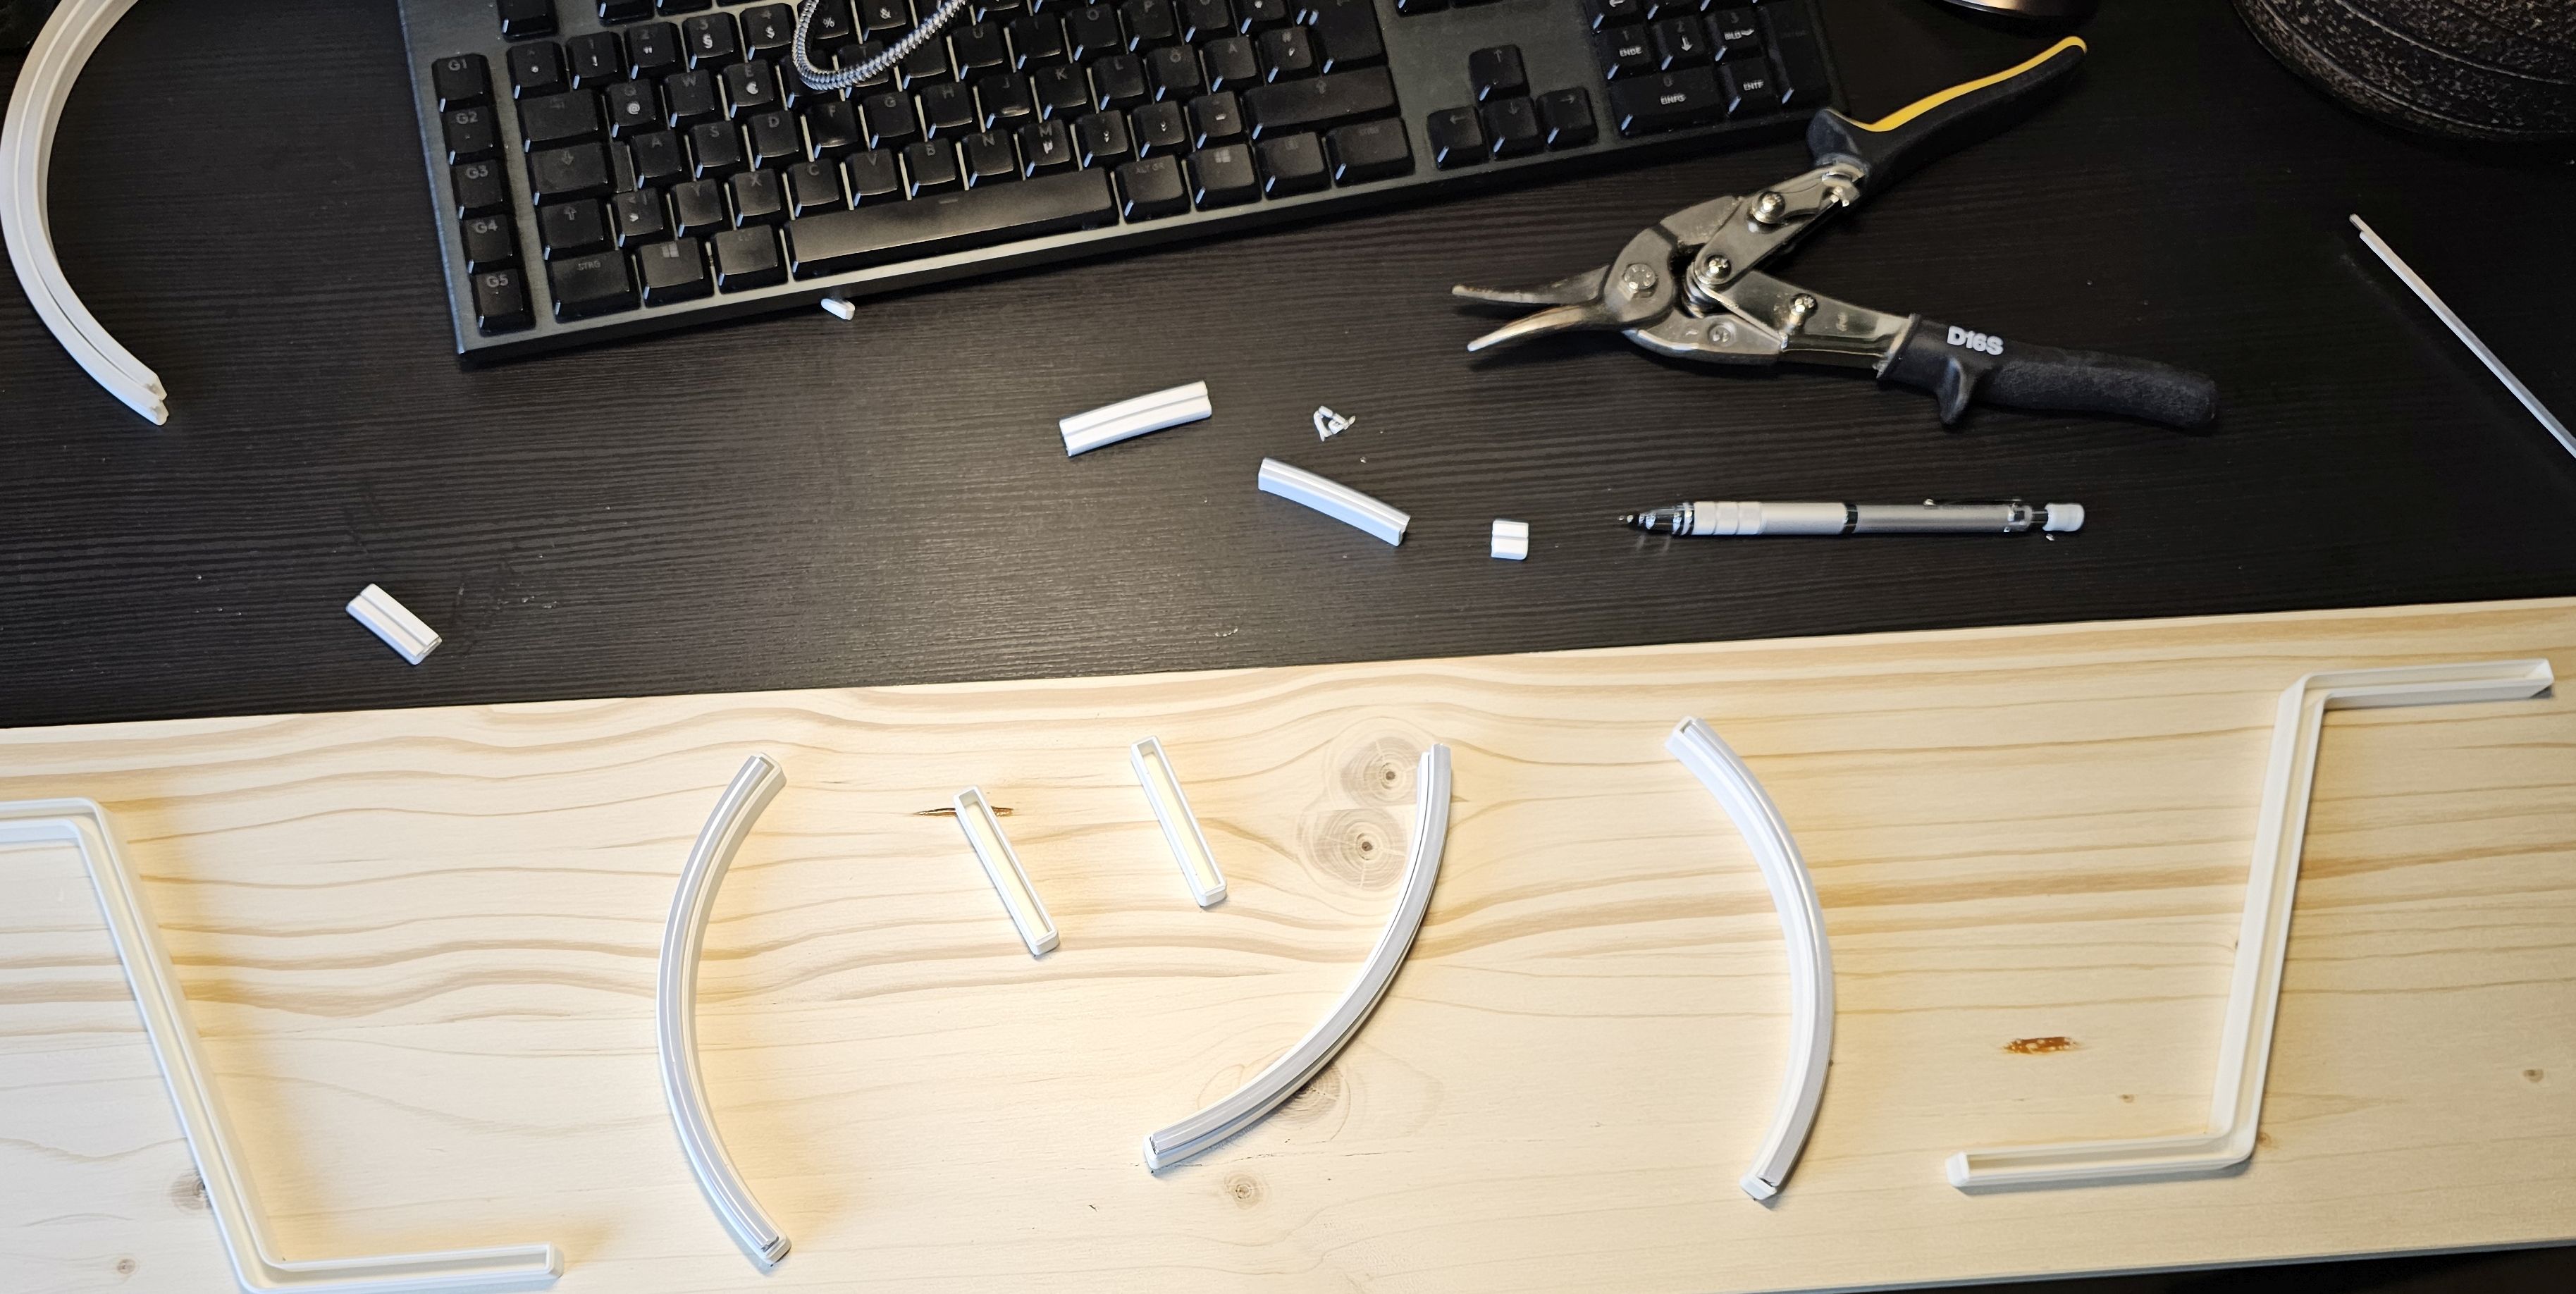
3. Lay out the shruggie on your base. Trace the shapes onto your board.
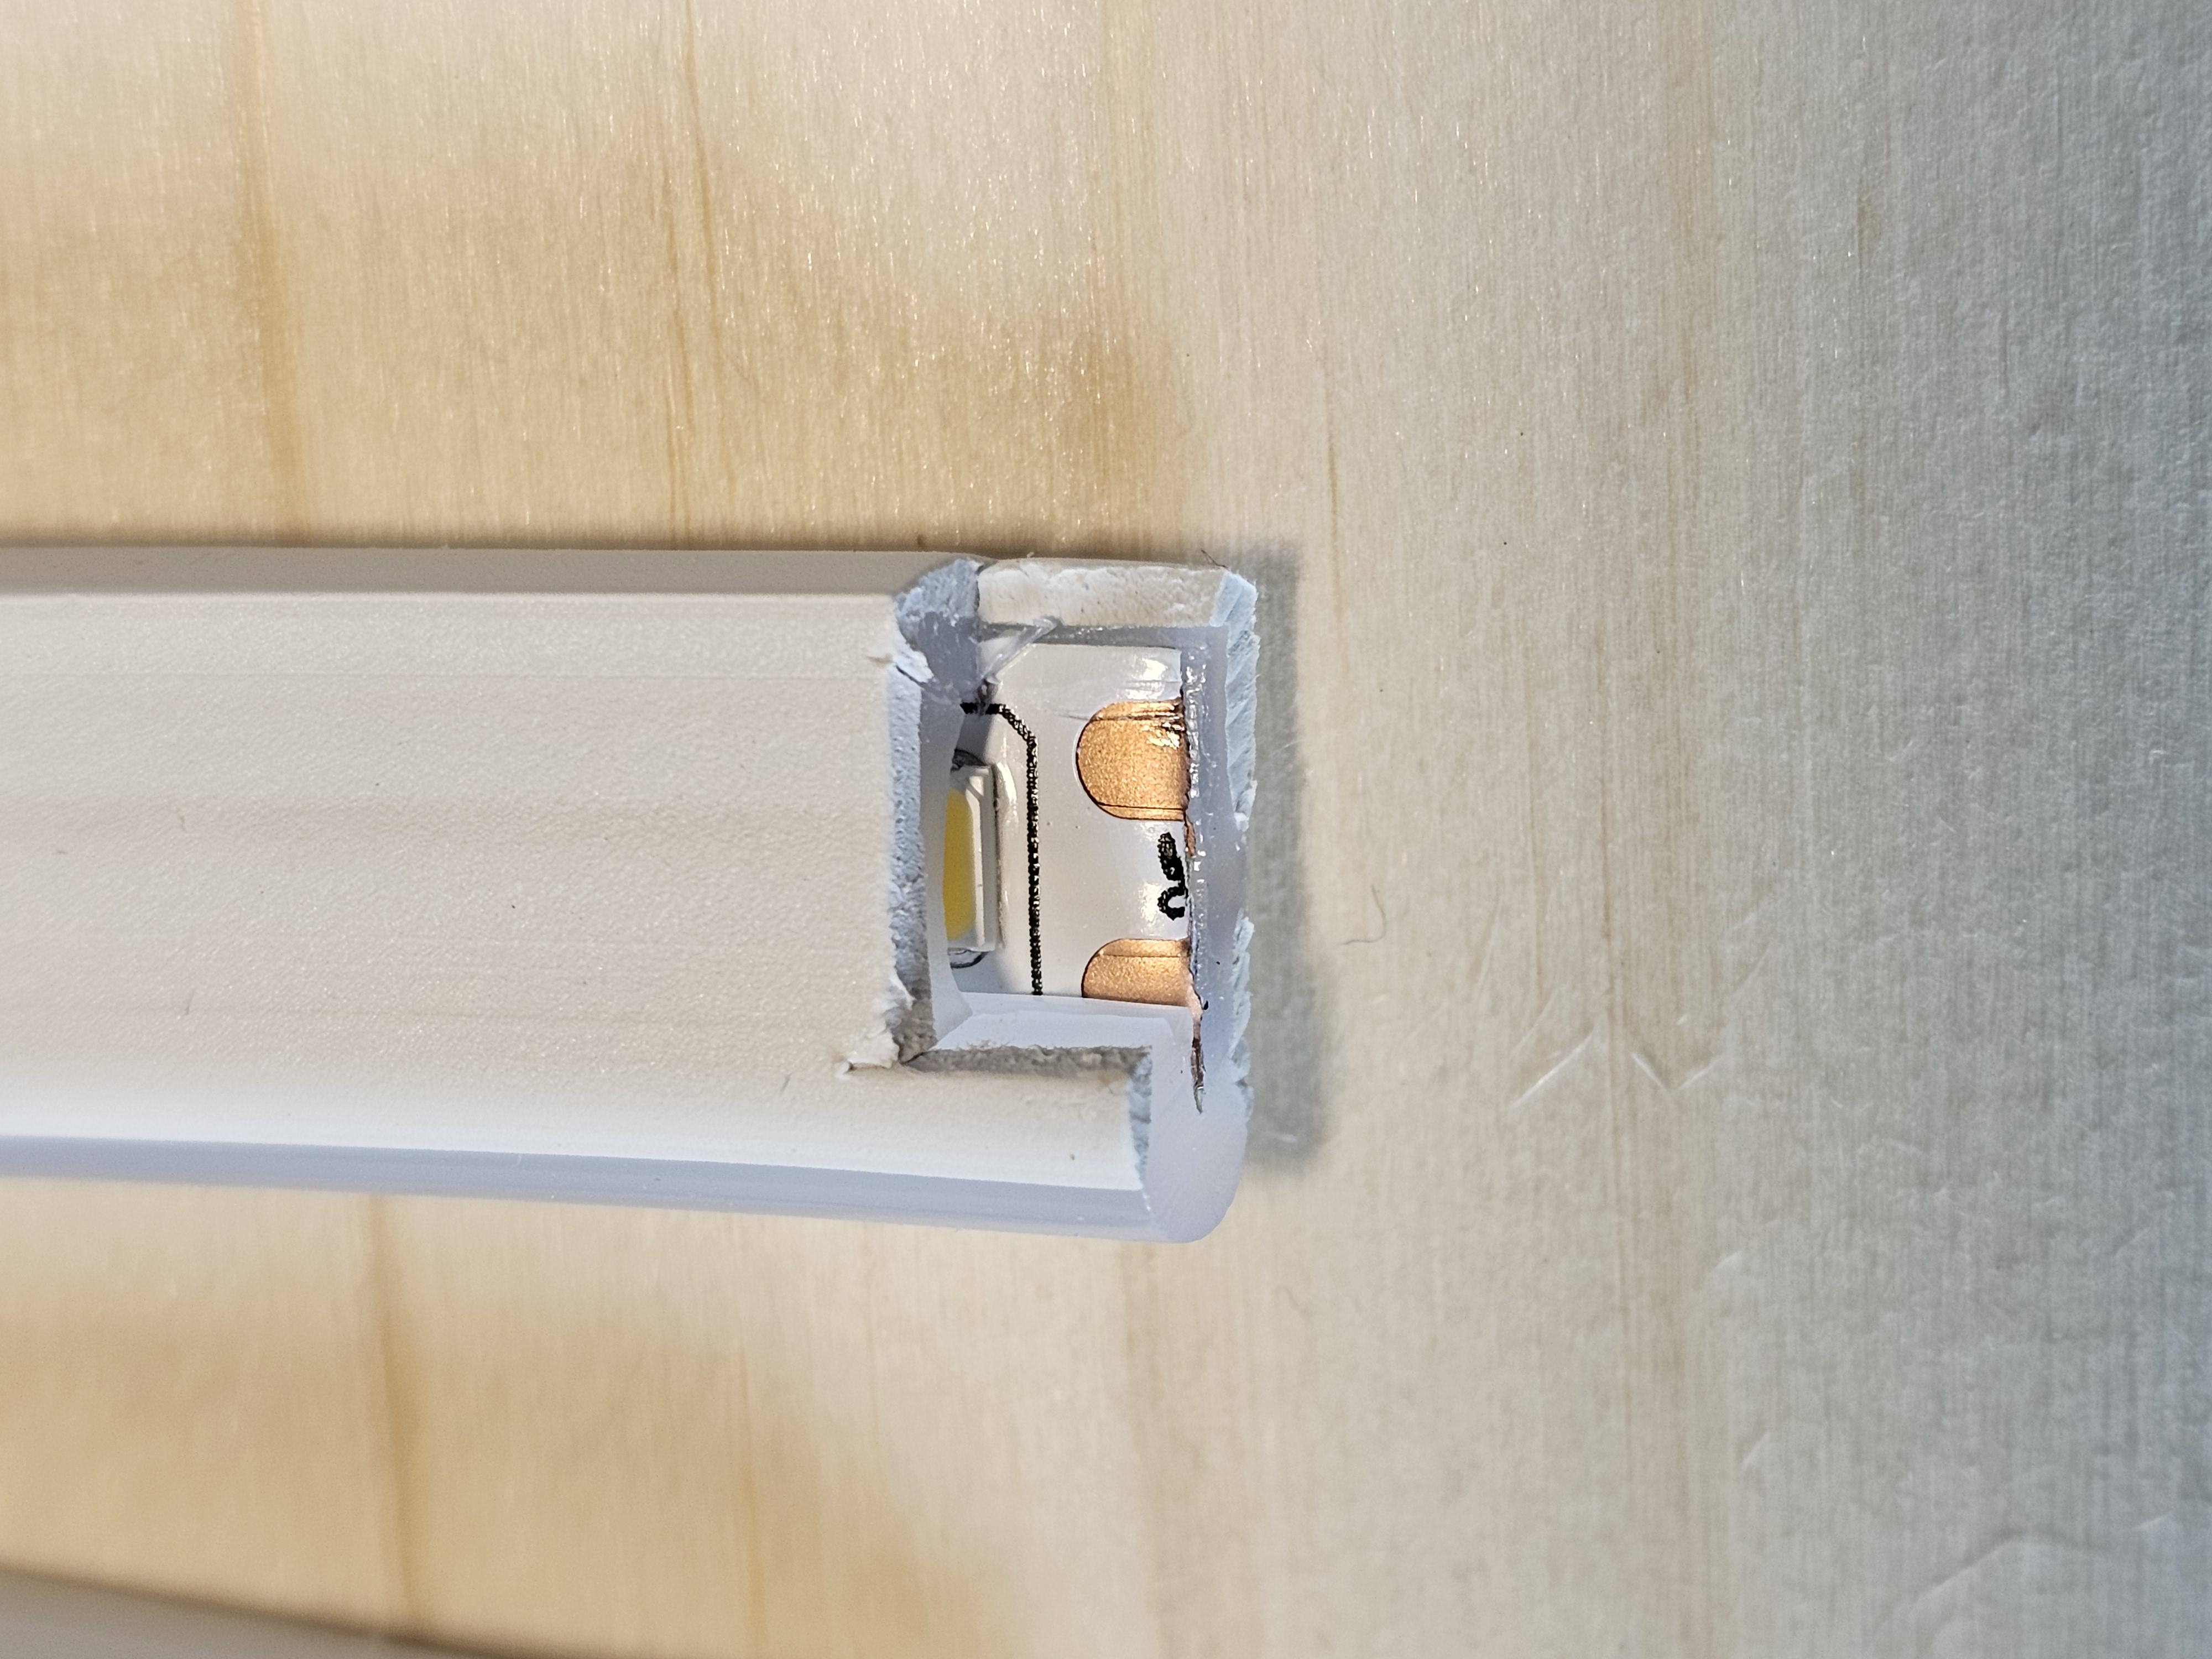
4. Prepare the neon strips: Cut a hole to the contact pads and solder onto them
5. Drill through respective positions on the board and the shape (there are no holes modeled in but that leaves flexibility
6. Push the Neon stripes into the enclosures and lead the wire through the holes
7. [optional :-)] Erase the tracings
8. Connect all wires on the back
9. Test if it works
10. Glue the shruggie shapes to the front
11. Clean up the wires in the back and enjoy