
Venom & Spider-man Basketball - multi part sculpture
Obliczymy ostateczną cenę na podstawie wybranego pliku. Sprawdzisz ją i zaakceptujesz przed płatnością.
Zapisane na tym urządzeniu.

I made this model based on the comic book cover (Venom #35 Marvel 2021 200 Kael Ngu Spider-Man Basketball Slam Dunk…
- Ocena
- 0 / 5
- Polubienia
- 17
- Pobrania
- 60
- Wydruki
- 0
- Wyświetlenia
- 939
- Oceny
- 0
Aktualizacja u źródła:
Informacje o modelu
- Źródło
- Printables
- Kategoria
- Sculptures
- Licencja
- Creative Commons — Attribution — Noncommercial — NoDerivatives
I made this model based on the comic book cover (Venom #35 Marvel 2021 200 Kael Ngu Spider-Man Basketball Slam Dunk Variant) after finding it amusing. If there is sufficient interest in this model, I'd be willing to revisit it and add new swappable pieces (for example, swapping venom with miles, swapping spiderman for gwen, different platforms, etc)
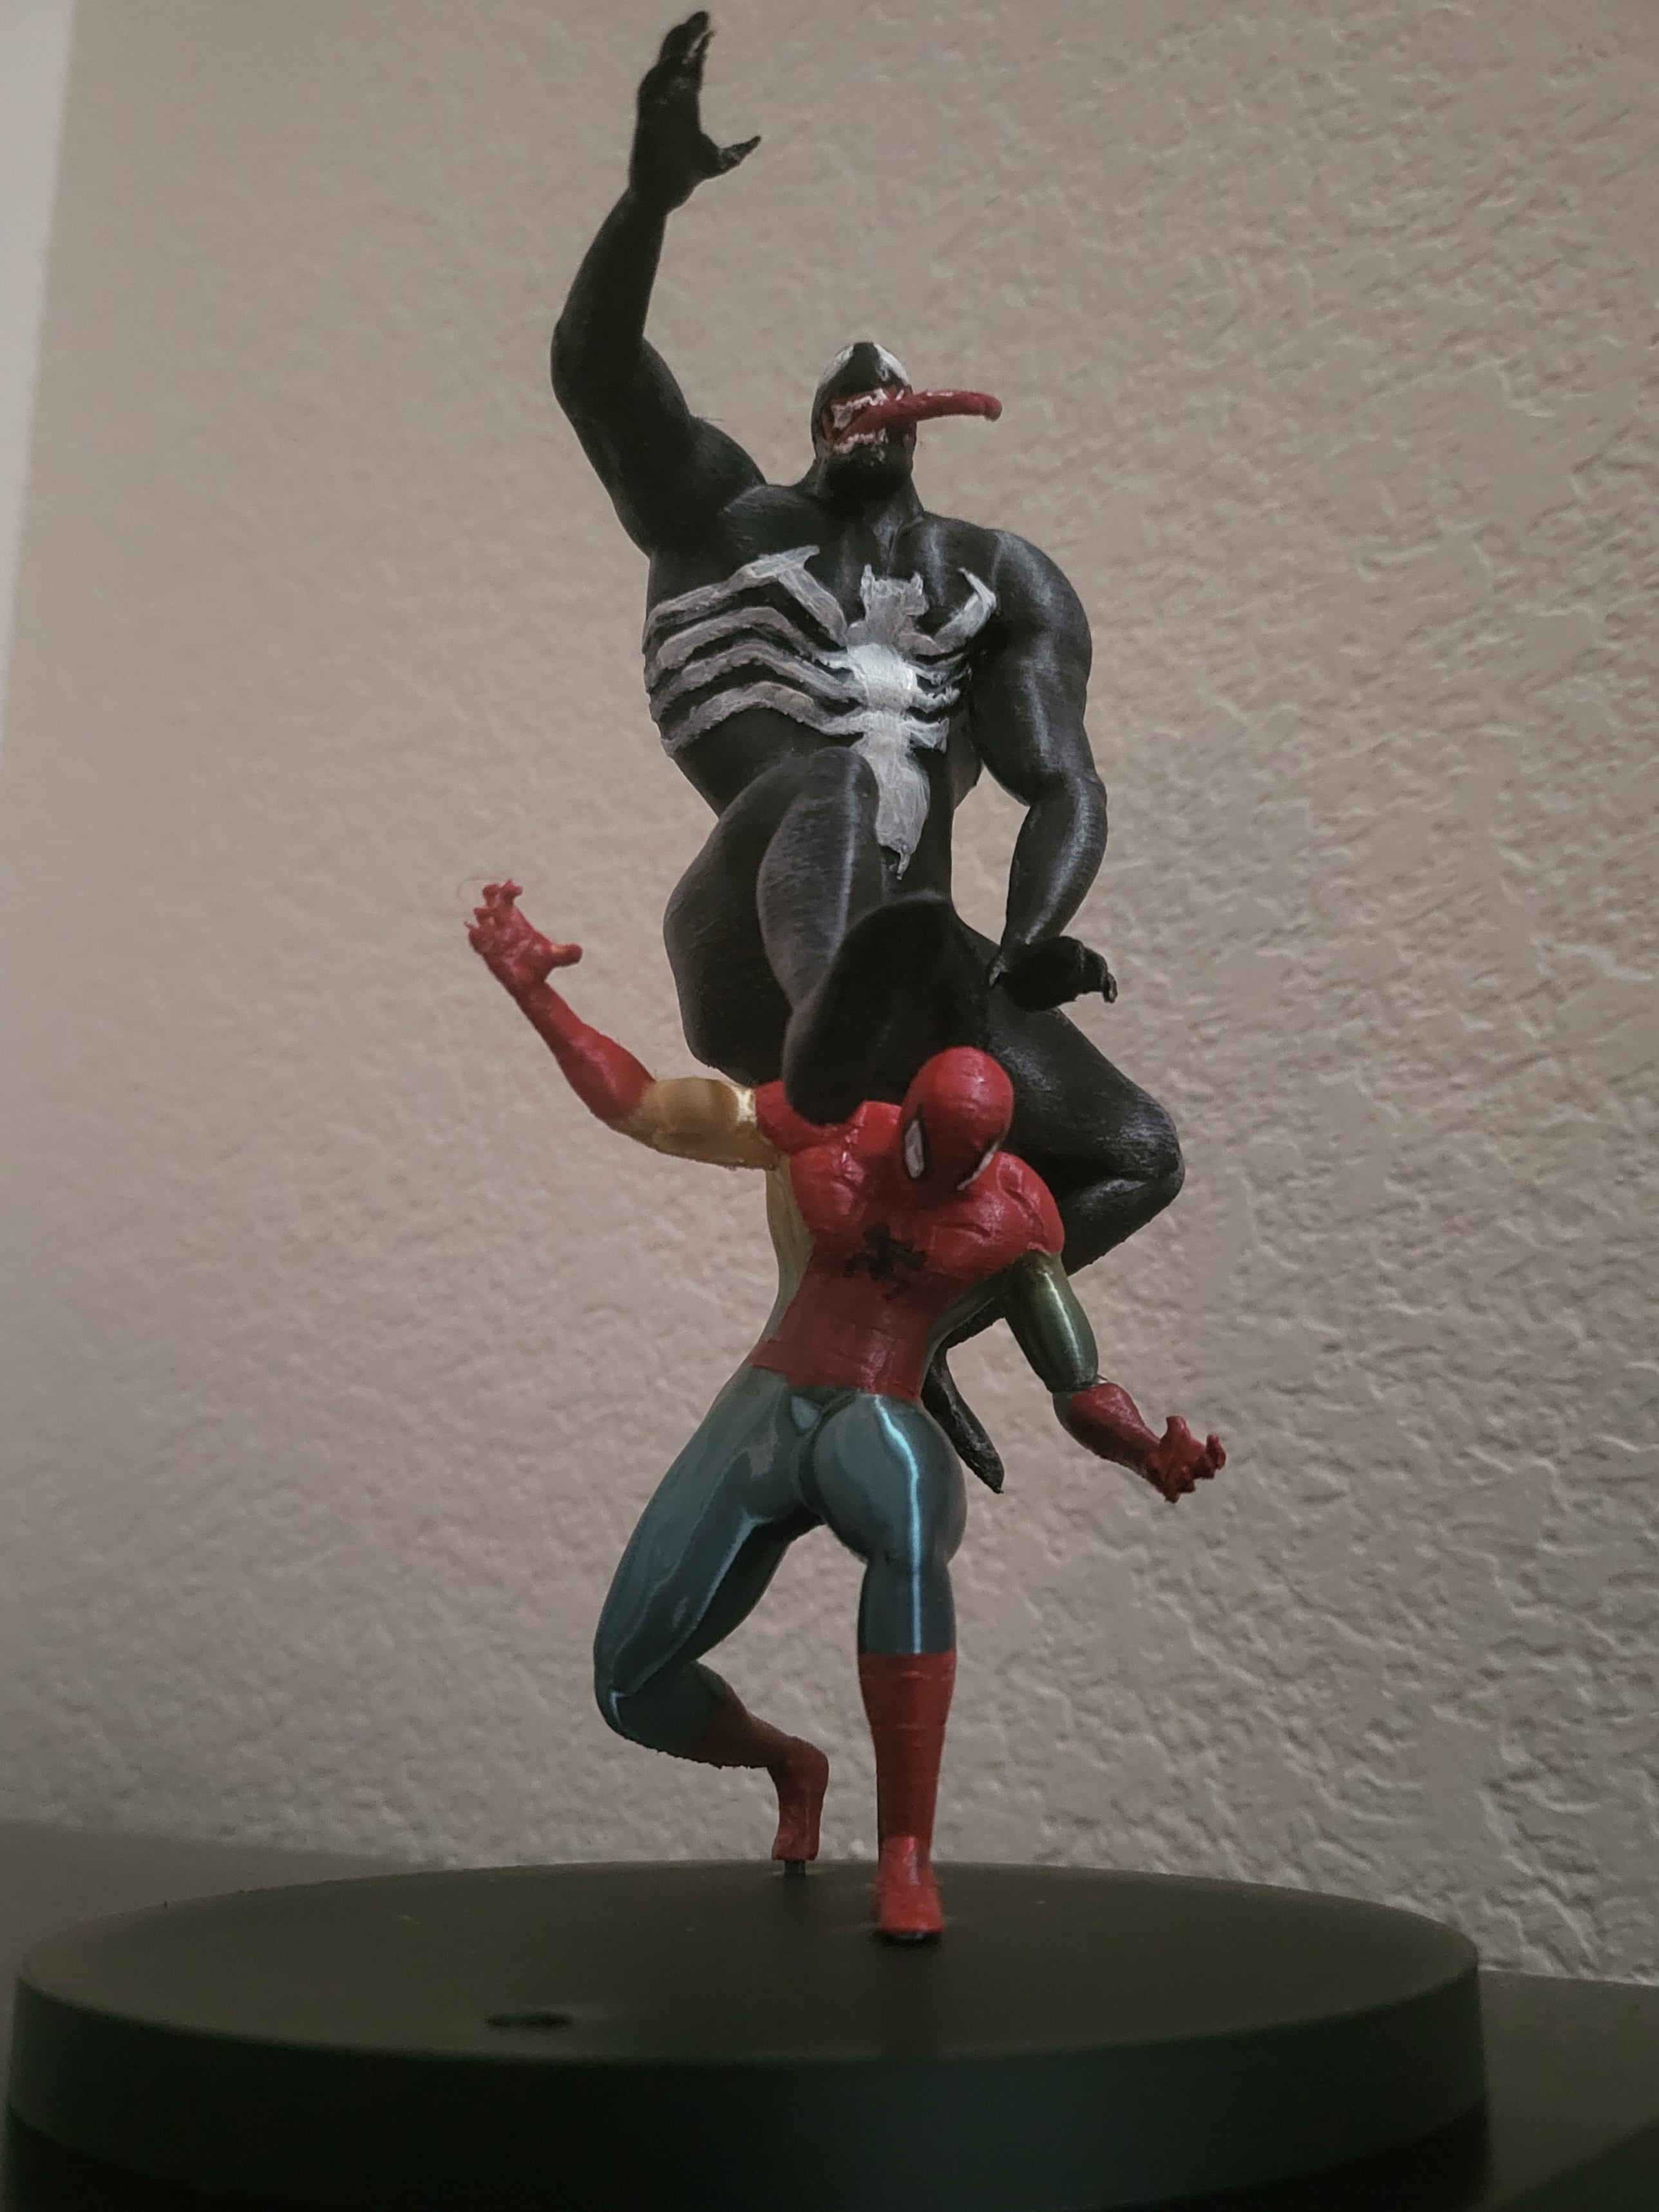
Paint Job without Hoop
Paint and Assembly
Painting and Assembly Instructions
Painting Tips:
If you’re planning on painting the model—which I highly recommend as it’s a fun and rewarding activity—you should paint all the parts before assembly. For the best effect, consider printing the model in black silk filament for Venom, as it adds a shiny finish. This way, you’ll only need to paint the logo, face, teeth, and tongue. For Spider-Man, print using blue silk filament and paint red areas for his mask, gloves, boots, and chest.
A Note on Smaller Models:
If you print the model at a small scale, as I did, don’t bother painting the webbing on Spider-Man—it looks fantastic even without it. Additionally, printing too small can make the supports tear the fragile fingers of Spider-Man or Venom. I printed my model at 150% size with a 0.16mm layer height and 20% infill to ensure durability.
Venom Stand Enhancement:
To enhance the overall look of the model, I recommend printing the Venom stand using transparent filament or clear resin for a striking effect.
Assembly Instructions:
Assembling the model is straightforward:
1.Attach Spider-Man to the base.
2.Attach Venom to the Venom stand, then place the stand onto the base.
3.Glue the hoop to the board, and then glue the board to the pole.
4.Insert the pole into the base.
5.You can glue the ball to Venom’s hand or place it inside the basket on the hoop. The ball is designed to fit securely either way.
Assembly Tip:
I recommend gluing the pole to the board first before attaching the hoop for added stability.
Painting Reflection:
I’m not great at painting, but I think my paint job came out well overall. However, there were some flaws in my model that I had to work around. For instance, the Venom stand came out slightly warped, causing Venom to get stuck halfway through assembly and not push all the way into place. Despite these imperfections, I’m happy with how it turned out, and I encourage you to embrace any small challenges you encounter—they add character to the finished piece!
Project Reflection:
So far, this model has been the most enjoyable project I’ve worked on. It marked a personal challenge for me as I ventured into creating a multi-piece sculpture that displays a cohesive "scene." Spider-Man was the harder of the two characters to design, primarily due to the webbing detail, which caused several crashes in Blender during the design process. Despite these challenges, the satisfaction of bringing the characters and their dynamic interaction to life made it all worthwhile.
Enjoy the process and have fun assembling and painting this exciting project!
Category: Sculptures