
Voron Stealthburner BTT CAN board ESD shield
Obliczymy ostateczną cenę na podstawie wybranego pliku. Sprawdzisz ją i zaakceptujesz przed płatnością.
Zapisane na tym urządzeniu.
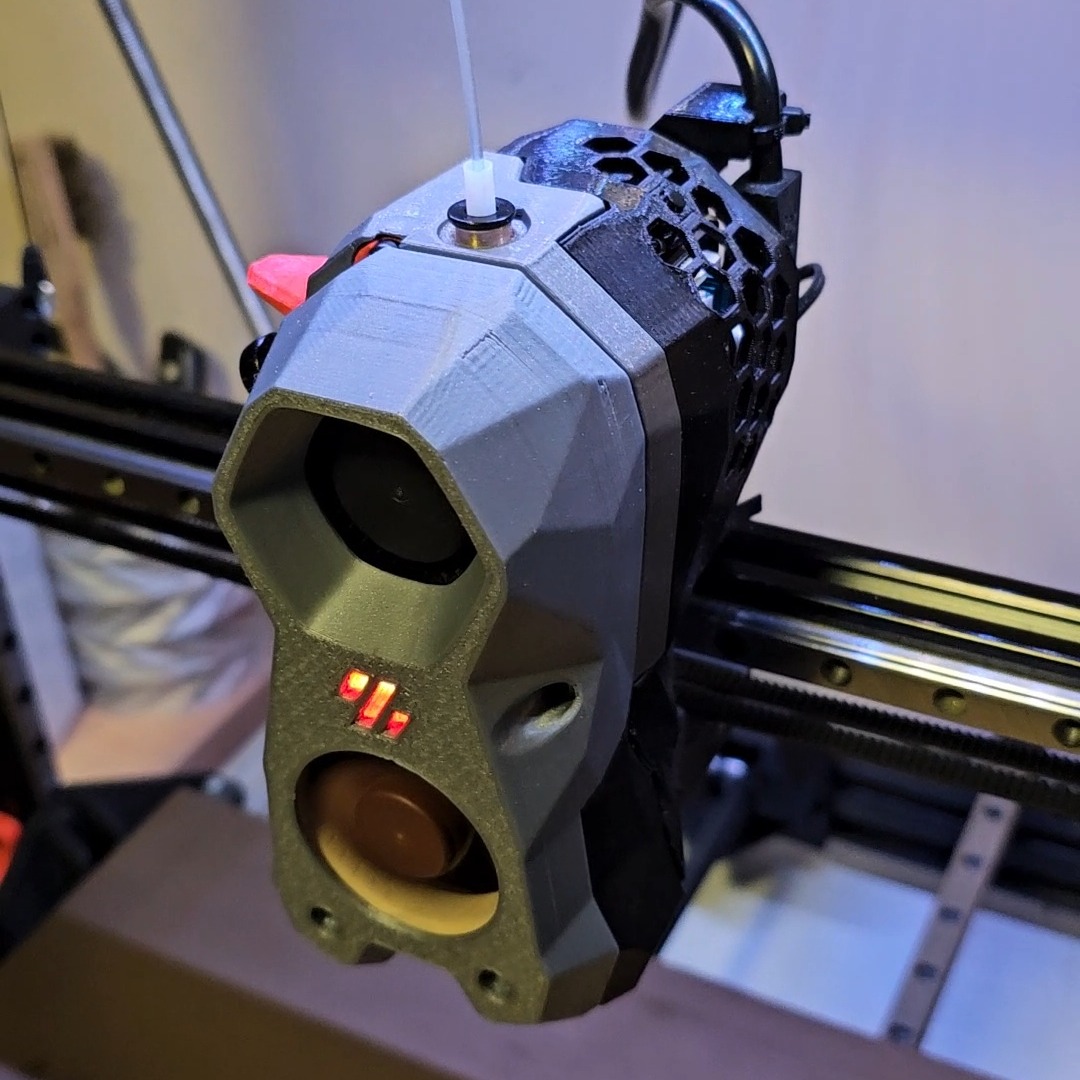
The final solution to the infamous "TMC 'extruder' reports error: GSTAT: 00000001 reset=1(Reset)" outage.
- Ocena
- 5 / 5
- Polubienia
- 46
- Pobrania
- 139
- Wydruki
- 0
- Wyświetlenia
- 1179
- Oceny
- 1
Aktualizacja u źródła:
Informacje o modelu
- Źródło
- Printables
- Kategoria
- Voron Parts & Upgrades
- Licencja
- Creative Commons — Attribution — Share Alike
2025.01.21 UPDATE:
On Galileo 2 extruder side, the shape 2mm shorter, so that the grounding rectangular part of the shaft lies more accurately on the extruder side
The problem is caused by the EMP (Electro Magnetic Pulse) generated by the electrostatic spark, which mostly disturbs the TMC driver chip and causes it to lose step count and the clipper stops with the error "TMC 'extruder' reports error: GSTAT: 00000001 reset=1(Reset)".
You can use this thin sheet as a template or glue a layer of conductive foil (tinfoil) directly on it.
The foil does not need to be perforated above the hole, because the screw will perforate it and therefore the contact of the foil with the retaining screw will be more secure.
I have uploaded more information with pictures to the BigtreeTech Github channel:
https://github.com/bigtreetech/EBB/issues/47#issuecomment-2565711089
- Print the “BTT EB 2209 CAN Shield.stl”
- Cut off the part that is unnecessary for your extruder type
- Glue to aluminium foil to lower side
- Cut the foil around the shield (The holes no cut out)
- Fold up the small protective tab that shields the stepper motor connector
- Screw the shield below the CAN board on extruder body (drill through the foil with the screw)
- Fold and tape the protruding tab over the axle
- Wire the top screw galvanically to the GND leg of the CAN connector and solder it there
- Check if there is an electrical connection between the axis shield sqare part and GND
The pictures illustrate the operations