
Icarus toolhead (Anycubic Vyper)
Obliczymy ostateczną cenę na podstawie wybranego pliku. Sprawdzisz ją i zaakceptujesz przed płatnością.
Zapisane na tym urządzeniu.
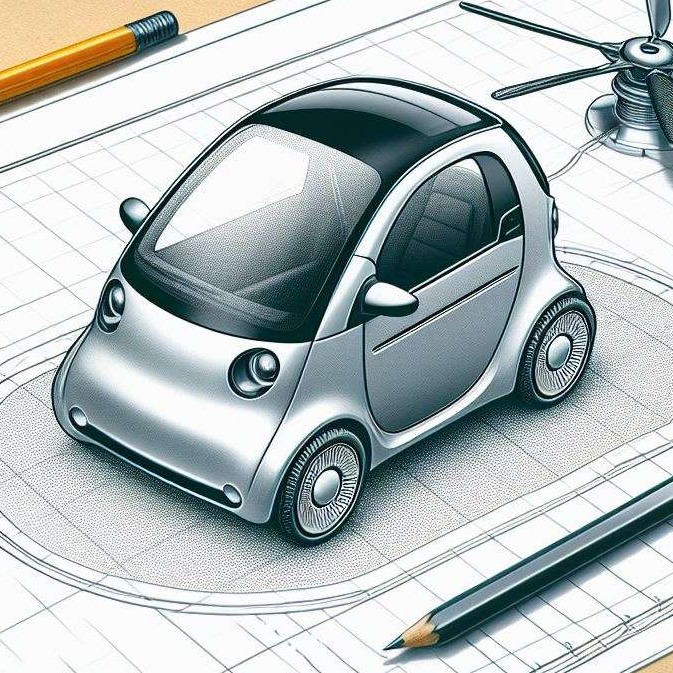
This is a toolhead I have been developing for a while made for the anycubic vyper.
- Ocena
- 0 / 5
- Polubienia
- 6
- Pobrania
- 28
- Wydruki
- 0
- Wyświetlenia
- 311
- Oceny
- 0
Aktualizacja u źródła:
Informacje o modelu
- Źródło
- Printables
- Kategoria
- Anycubic Parts & Upgrades
- Licencja
- Creative Commons — Attribution — Noncommercial
DISCLAIMER !
This custom toolhead is still in development, the cooling system is quite basic and probably wont be sufficient for high speed printing.
Updates log :
Beta :
- Fixed every obvious problems I had with the alpha like the printhead being too close to the bed or the lack of visibility for the printing.
- The hotend leave now more space between it and the bed and had its useless volume reduced
- The 50mm Fan got changed for the stock 40mm one since it was too powerfull and cause the revo 6 to use way too much energy to keep the heat.
- the screw hole near the pcb plug got reworked since it was getting in the way and now the toolhead fits perfectly
- I also discovered that the screen might get in the way of the printhead, u will need to adjust the screen height ( I personnaly dont use it since I changed for klipper )
- Also reworked the cooling ducts, should be better but I'm not sure, anyway the current ducts aren't adapted for fast prints, should stay below 100mm/s
alpha:
Icarus was made to be equipped with a direct drive system currently made for the sherpa mini (and other extruder with the same mounts) and the E3D revo 6 hotend. For the hotend I use an adapter remixed by HerzZorro that allow me to keep the old levelling system and also the whole PCB.
link for the adapter : https://www.printables.com/model/188325-remix-anycubic-vyper-adapter-for-v6-e3d-v10-upgrad
Icarus is divided in 2 parts, the front and the back the front is pretty obvious to print and the back must be printed with support only for the 4 top surfaces and the fan duct.
-----------------------------------------------------------------------------------------------------
For the toolhead you will need :
- 10 M3 insert I personally use this one : https://www.amazon.fr/dp/B08BCRZZS3?ref=ppx_yo2ov_dt_b_fed_asin_title
- 6 M3x14 (At least) flat head socket cap screw (not forced to but that is what is used and the front part have fase made for it
- 8 M4 x 20 mm cylindrical head
- 8 M4 Nut
- 1 5015 blower fan
Print settings :
- Infill 7%
- Crosshatch (3D honeycomb)
- 2 or 3 walls as you want
- Use heat resistant materials for the back part because I am not sure the cooling part will handle the heat by being this close to the nozzle, currently trying how pla behave on long prints