
Flair Espresso Signature Portafilter Handle v2
Obliczymy ostateczną cenę na podstawie wybranego pliku. Sprawdzisz ją i zaakceptujesz przed płatnością.
Zapisane na tym urządzeniu.
Mainly useful for easily knocking out dregs, but also nice for handling the portafilter.
- Ocena
- 0 / 5
- Polubienia
- 4
- Pobrania
- 24
- Wydruki
- 0
- Wyświetlenia
- 240
- Oceny
- 0
Aktualizacja u źródła:
Informacje o modelu
- Źródło
- Printables
- Kategoria
- Kitchen
- Licencja
- Creative Commons — Attribution
v2 update:
- More fine STL export → smoother circles.
- Stronger wood screw support.
- Alternative with no wood required - leather or other handle still recommended.
- Screws to connect the two parts swapped to the other side.
I love my flair espresso press (if you somehow landed here without knowing what it is -
https://flairespresso.com/product/the-flair-classic/ ), but it is notoriously tedious to knock out the dregs.
This print provides the remedy! It envelops the portafilter in a robust PETG case that can either connect to a wooden handle or directly has the handle made out of PETG:

Version with the wooden handle; in v2, the screws connecting the two halves of the case are on the other side.

v2, and the handle also out of PETG.
I haven't yet used it very much, but so far it has held up to knocking out pretty fine dregs in less than three knocks! The idea is to hit the contraption on the wooden part, against your waste bin.
Making
Wooden handle

Note: I had an earlier version of the PETG break around the screw holding the wood; I made the corresponding part stronger and increased the recommended vertical perimeters to 5. That one I haven't tested much yet. Since the screw also started to loosen, I decided to switch to a fully PETG handle, especially since this is more accessible anyway.
Extra materials needed
- Wooden cylinder, 25-30mm diameter (nominal is 28mm), 10cm length. Note that I additionally wrapped my handle in leather. This protects the wood from knocking damage and looks extra classy IMO 😎.
- Two M3x20 metal screws, not counter-sunk.
- One 3-5mm diameter wood screw (I used 4 x 30), counter-sunk.
Assembling
- Pre-drill a hole with 1mm diameter less than the screw in the wooden cylinder. To find the center, consider printing the right tool for the job ;) : https://www.printables.com/model/888202-center-finder .
- Screw the wood and the corresponding print part first!
PETG handle

Since v2, the handle is also available in full PETG. Since I'm putting leather around it, I did not invest much into texture, this could be a potential new feature for v3 (I'm thinking extra part out of woodfill).
As I already had the leather, I went for a round handle, but the disadvantage is that it makes the bottom of the resulting PETG print pretty ugly:

That's fine when covered in leather, but in case you want to stick to pure PETG, I also added a version with a flat bottom.
Printing guide
I printed this with the following parameters:
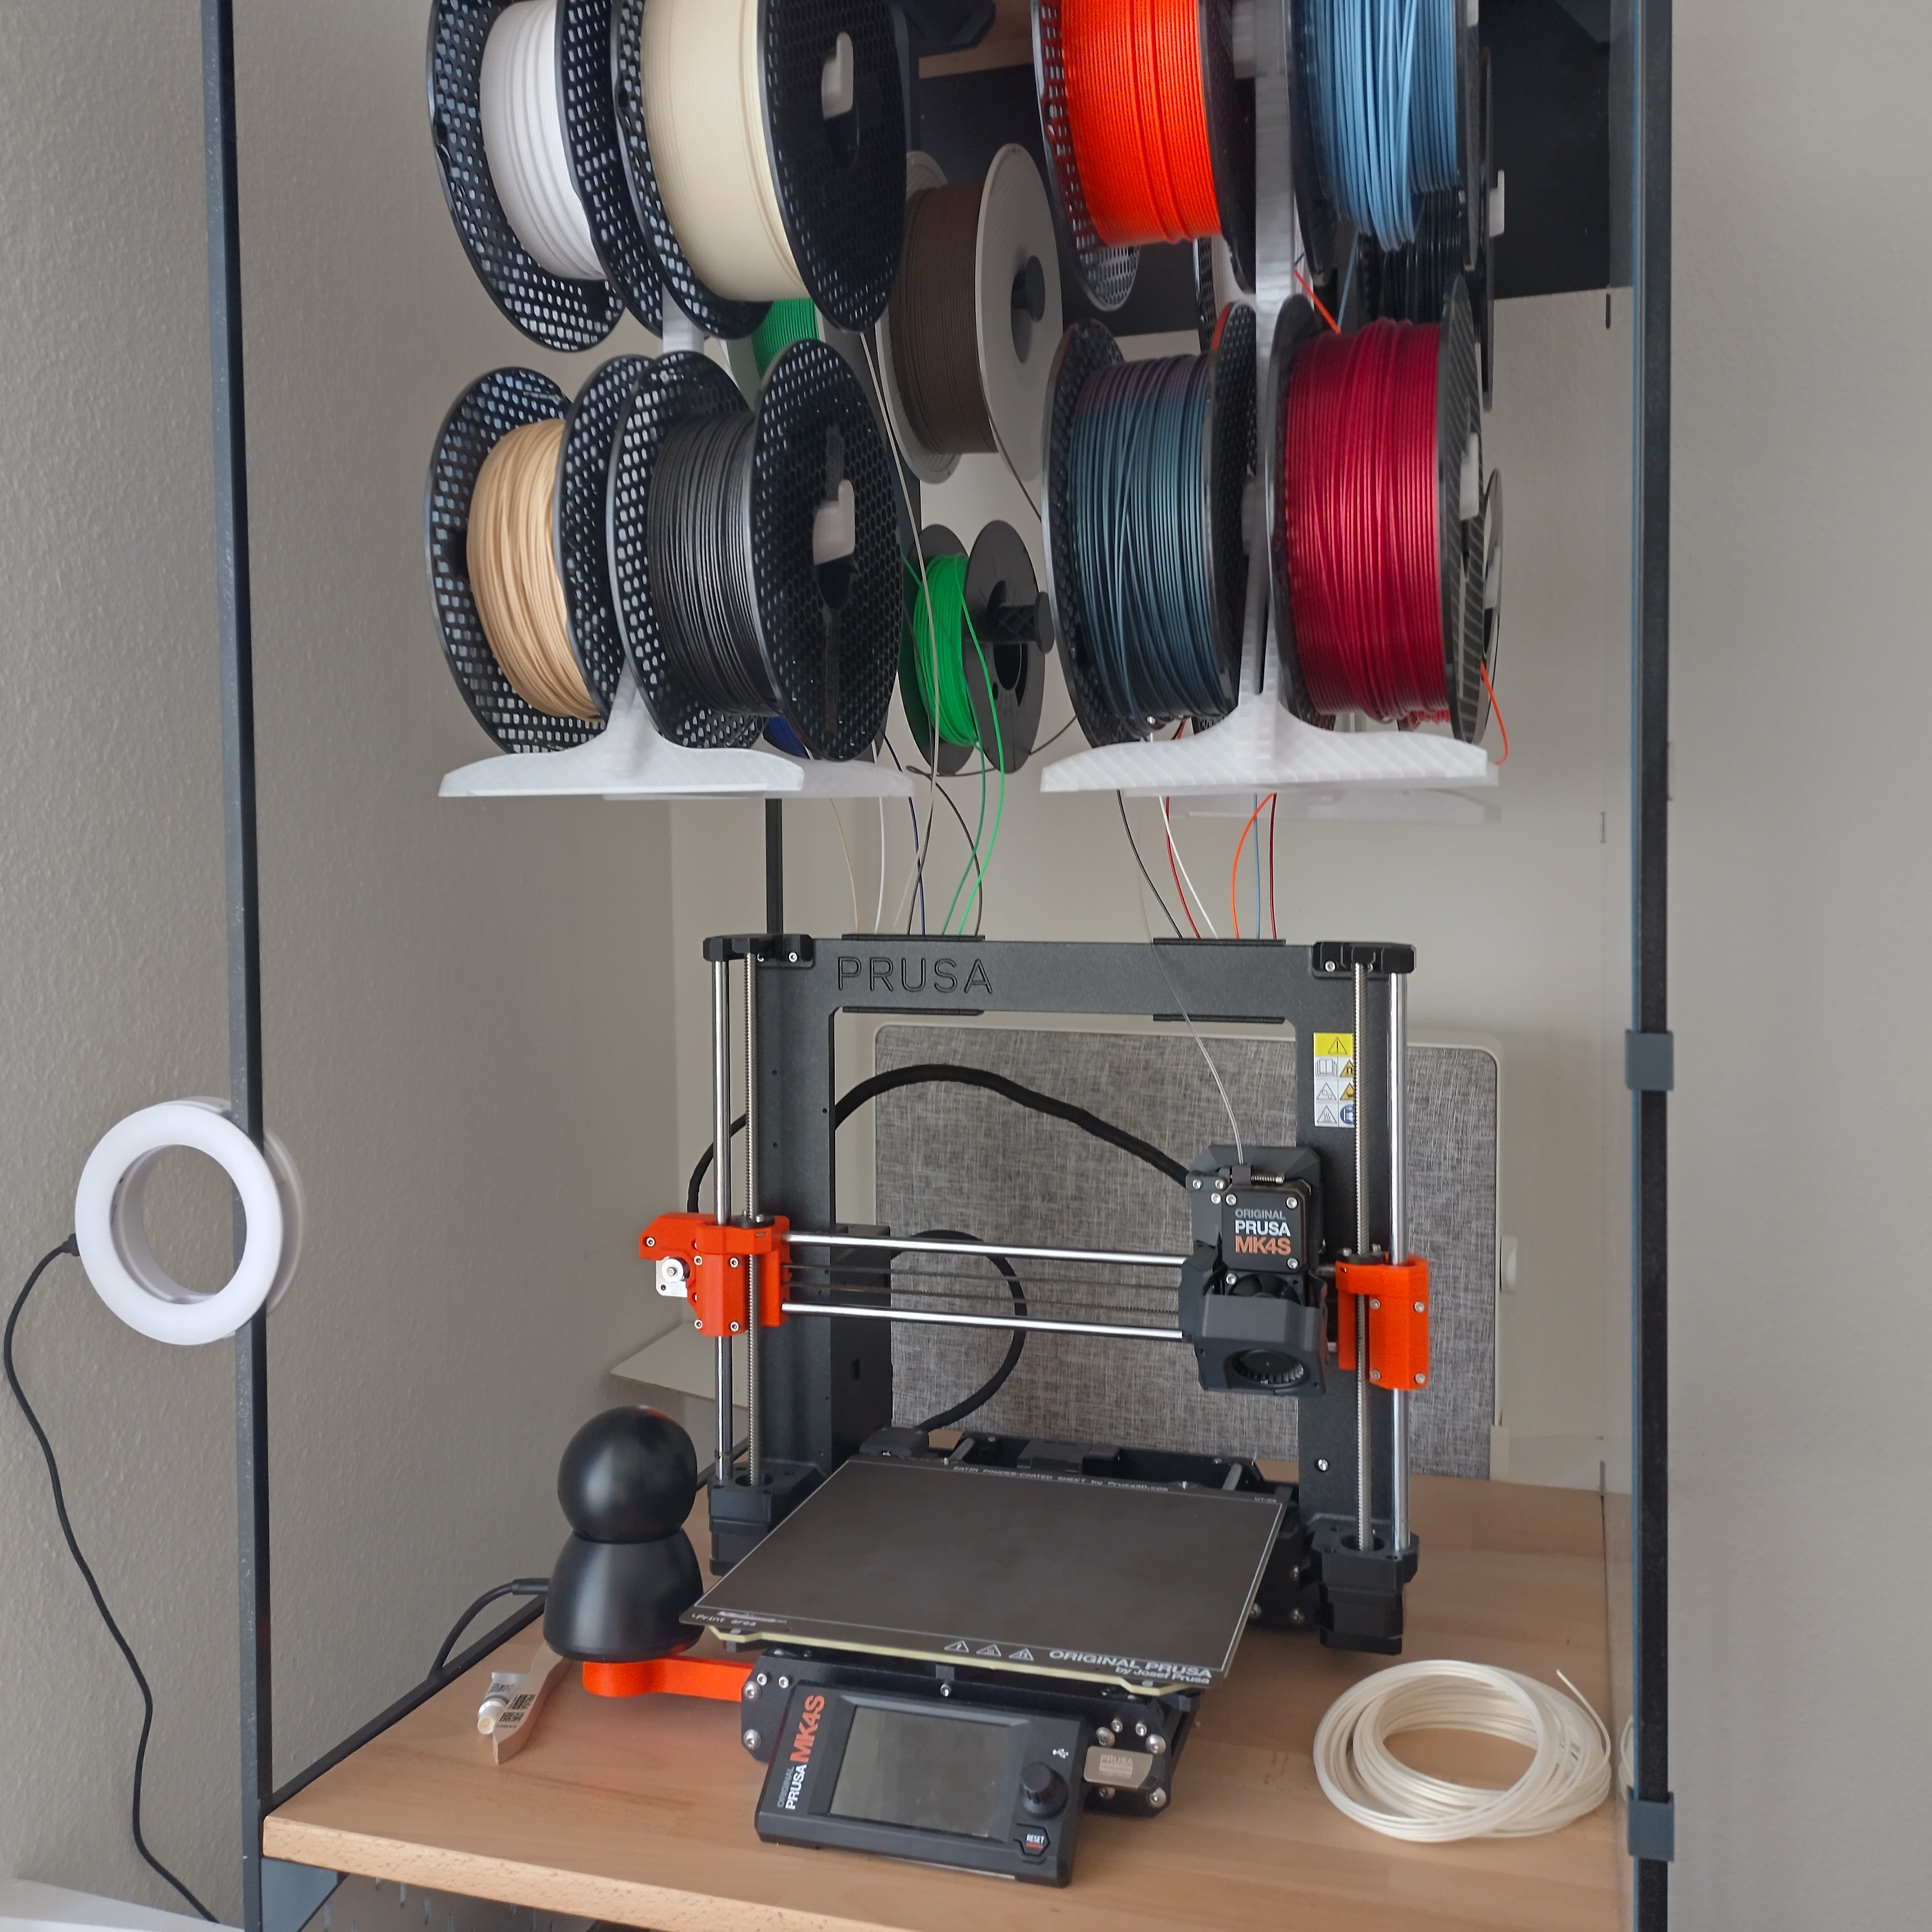
- Prusa MK4S
- https://www.prusa3d.com/product/prusament-petg-anthracite-grey-1kg/
- 0.4mm nozzle, standard 0.1mm FAST DETAIL profile with “Support on build plate only” selected in the plater menu; 5 perimeter veritcal shell.

Corresponding 3mf files are attached.