
Sharon Eagle Key Chain
Obliczymy ostateczną cenę na podstawie wybranego pliku. Sprawdzisz ją i zaakceptujesz przed płatnością.
Zapisane na tym urządzeniu.
Are you looking to have more eagle pride? This eagle keychain is the perfect way to do so!
- Ocena
- 0 / 5
- Polubienia
- 4
- Pobrania
- 23
- Wydruki
- 0
- Wyświetlenia
- 91
- Oceny
- 0
Aktualizacja u źródła:
Informacje o modelu
- Źródło
- Printables
- Kategoria
- Accessories
- Licencja
- Creative Commons — Attribution — Noncommercial
This is a fun little eagle model to make with only 5 pieces being super easy to put together and print out. It is a smaller accessory with the dimensions being 9x7x2.5 cm, this fits within the restraint box being 225cm squared.
Assembly:
- First you need to start the assembly process by gathering all of your pieces together, you will need to gather your eagle base which should be maroon, the gold of the eagle which should include the stripe in the back, the eye of the eagle and the beak, and lastly the white hair of the eagle.

2. You want to grab your maroon eagle base and at the eye in - because after you won't be able to get it out.
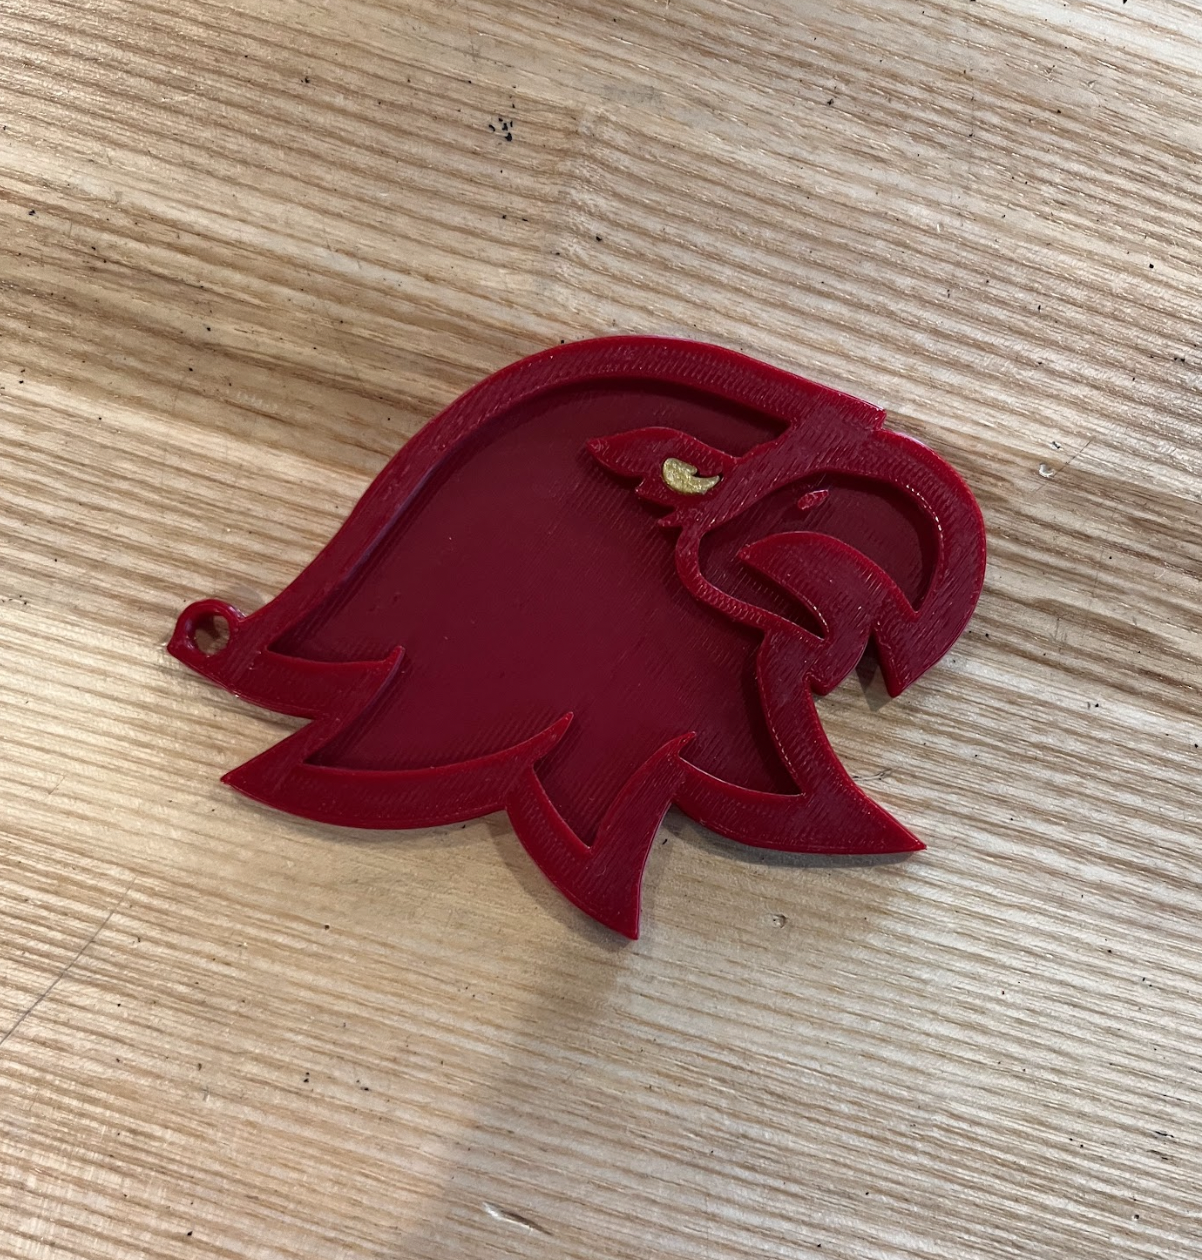
3. Add superglue to the areas around where you'll put you other parts, you want to make sure that you don't add too much because it will go out through the cracks in the sides when you put your pieces in - it'll make a big mess so be careful.

4. Add the gold beak of the eagle in the corresponding spot in the front part of the eagle - it should be a tight fit so watch out for any super glue coming out through the sides

5. Add the gold stripe to the bottom of the eagle because of the small/skinny areas are - less chance of breaking the smaller parts if you put them in first and make sure that this is all the way to the edge of the eagle for less of a buffer.

6. Add in the white main hair color of the eagle and press down everything until the superglue dries. This will leave you with a cool eagle that is multi colored and an awesome way to represent your school!

Design choices:
Honestly there wasn't whole lot to complain about because the designs were pretty easy to do along with pretty easy construction, but I started out by importing an image of the eagle and I traced in onto an extruded rectangle.

Next I converted the eagle into a new sketch where I then extruded the outer parts of the rectangle leaving the eagle behind with the sketch left on it.

I then started to individually convert in each sketch to make an offset then an extrude cut to make individual pieces. Though when converting one of the middle sketches I had a problem with it not lining up with the sketch not being complete so i simplified the sketch and I from the converted the entity and made a cut.


I then added a big circle in the back to allow the front of the eagle to hang down with a following circle in the middle of the first one which then you'll extrude, allowing someone to attach a chain or link to the end of the eagle.

Finally I added fillets to the front of the eagle to make it look better and more realistic instead of blocky, these final steps made it look a lot better compared to the original blocky figure of the non filleted eagle along with the looks the fillets made the hole in the back more sturdy and better for holding a hook because an arch is better than a square area for holding weight.

Overall, this project was very fun and with great guidance from my teacher it made the eagle very easy to make and this eagle was very easy and cool to see, this eagle is also very customizable with the colors with each person being able to change and swap the colors to make your own colored eagle. Overall very fun project!