
Steam Vault
Obliczymy ostateczną cenę na podstawie wybranego pliku. Sprawdzisz ją i zaakceptujesz przed płatnością.
Zapisane na tym urządzeniu.
Informacje o modelu
- Źródło
- Printables
- Kategoria
- Puzzles & Brain-teasers
- Licencja
- Creative Commons — Attribution — Noncommercial — NoDerivatives
Steam vault – print, assembly & dissembly guide
CAUTION – An important part of the construction process happens during printing!
Step 1 - print “push” part
Very important – do not skip this step!
The “push” part must be printed before starting the print for the “main” part.
Step 2 - print “main” with a pause and insert “push” part
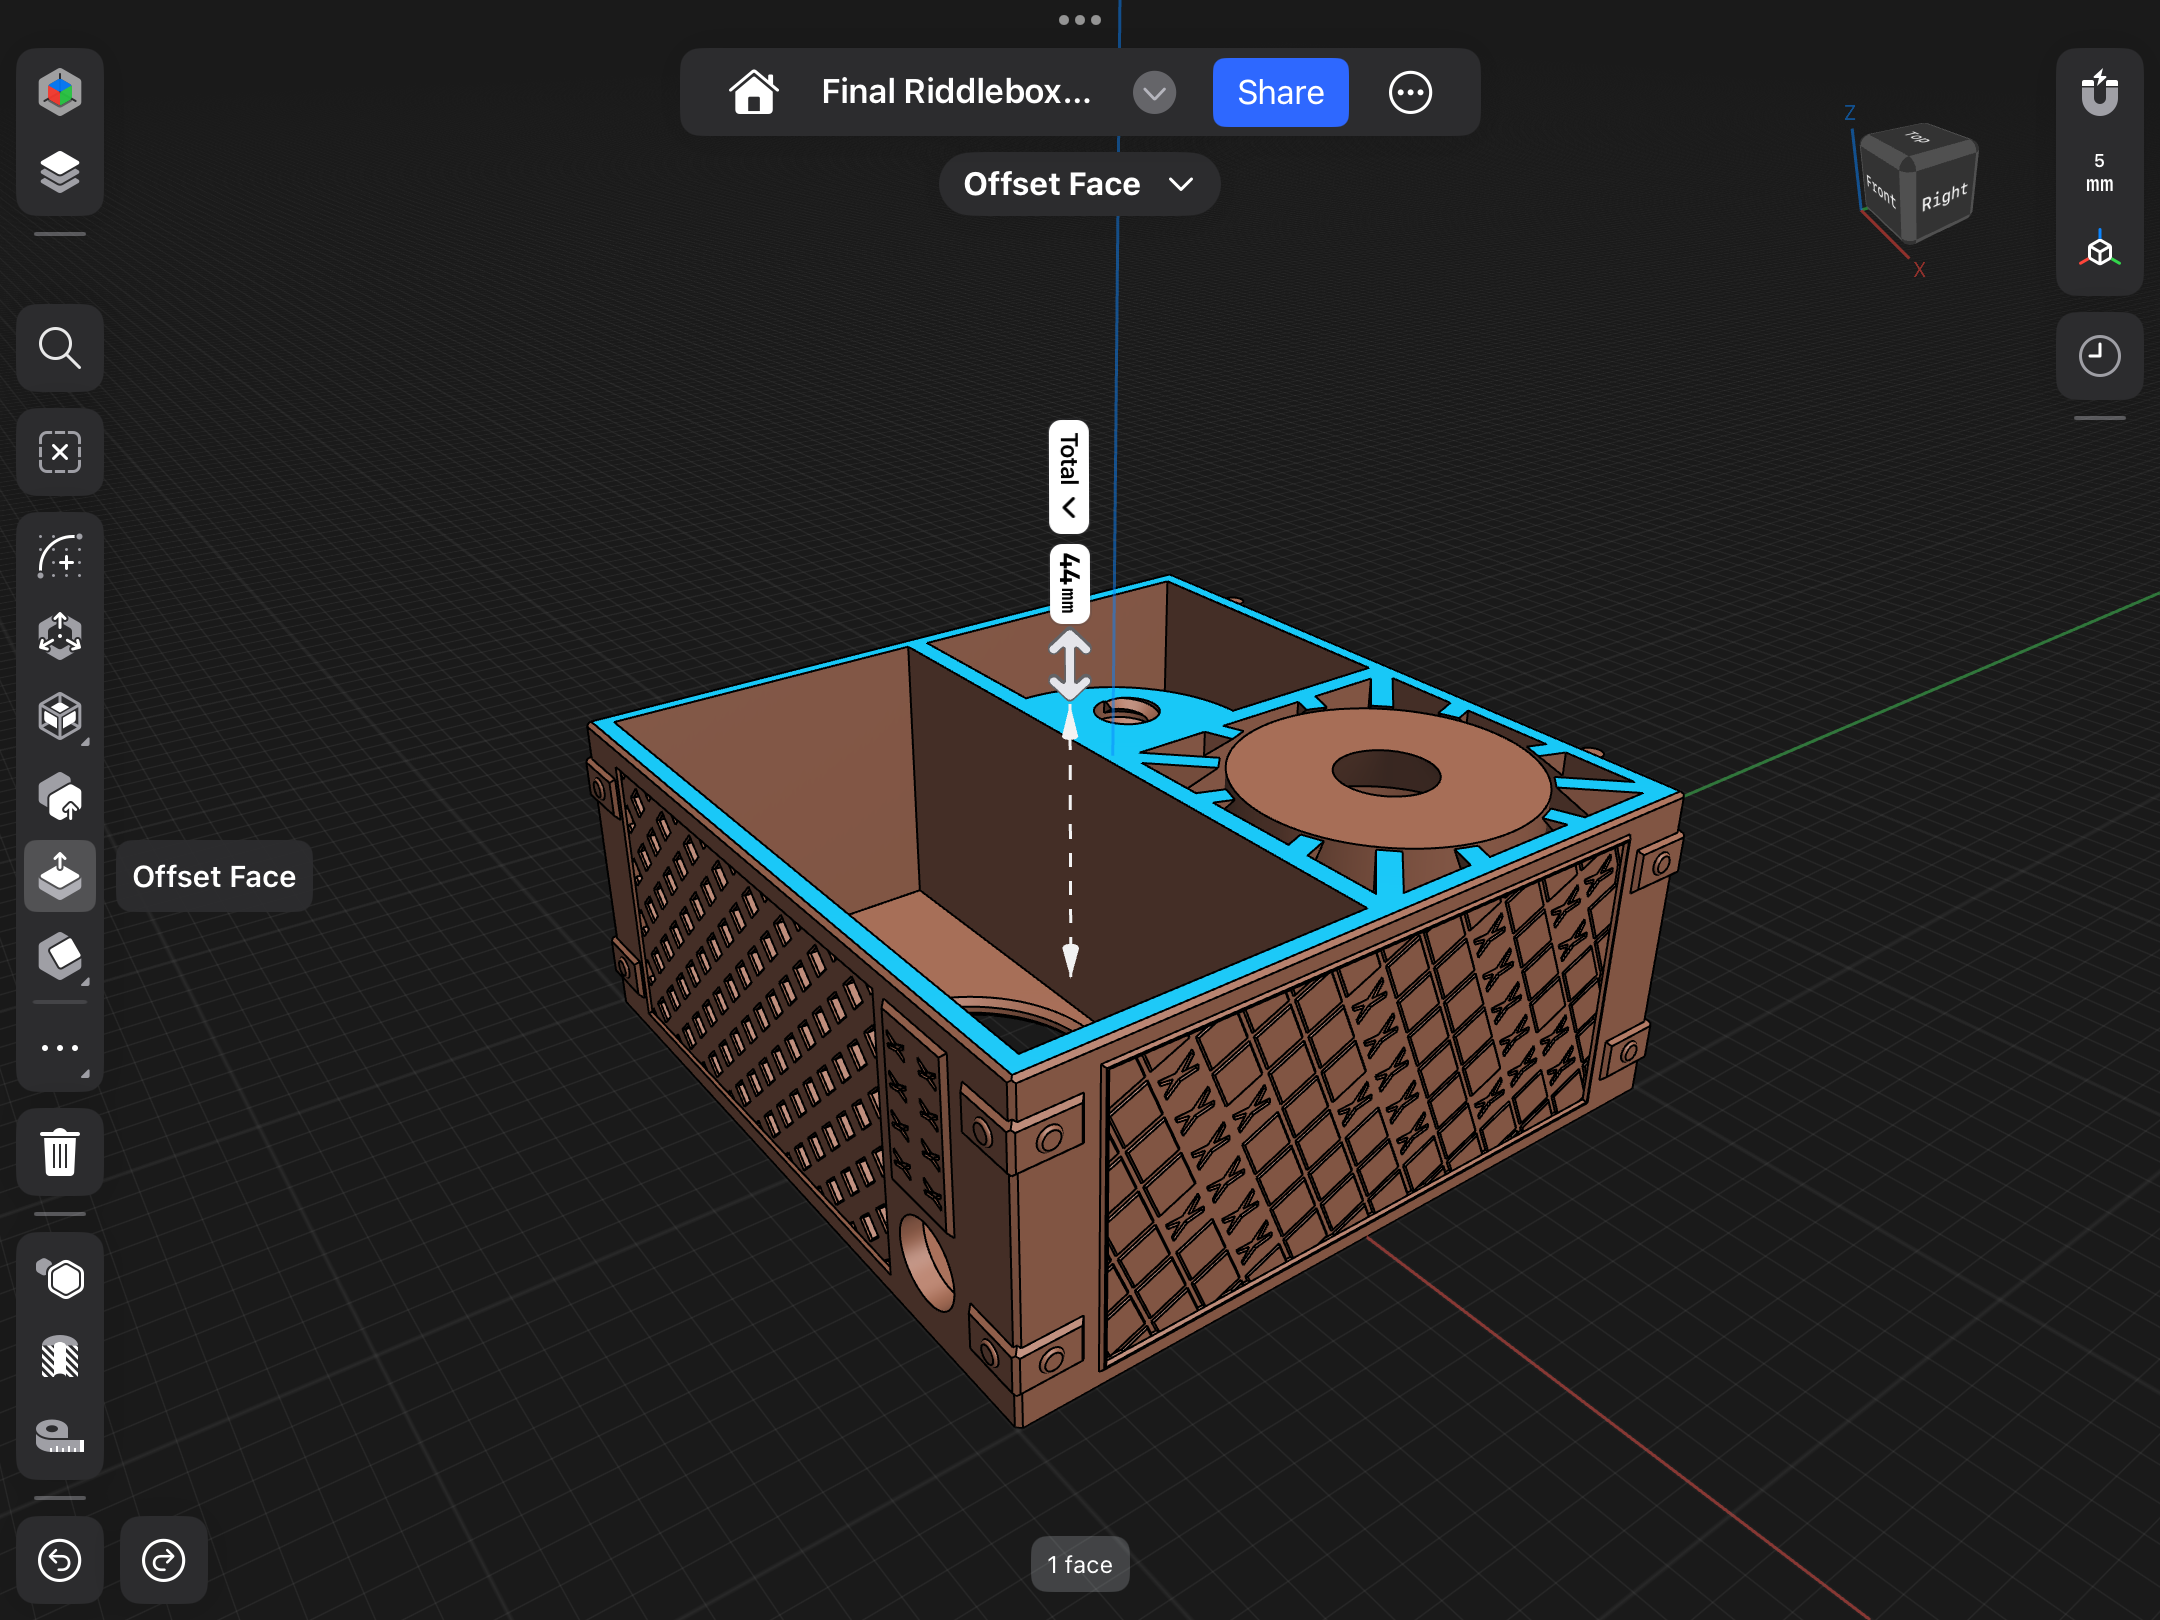 Print the “main” part up to 44 mm – set the pause in the slicer at 44.2 mm. |  Have the “push” part ready … |
 … and insert it. Ensure that the thread on the “push” part will be aligned correctly with the hole in the “main” part before inserting it. |  Now, let the printer complete the job! |
Print-Settings
Layer height: 0.2mm
Infill:
- 100%: screw 1.stl, screwdriver 1.stl, screw 2.stl and screwdriver 1.stl
- 10%: everything else
Supports: none!
Assembly
Before starting, prepare your gift and place it in the open compartment, which will be sealed during the first two steps.
Now, follow the guide.
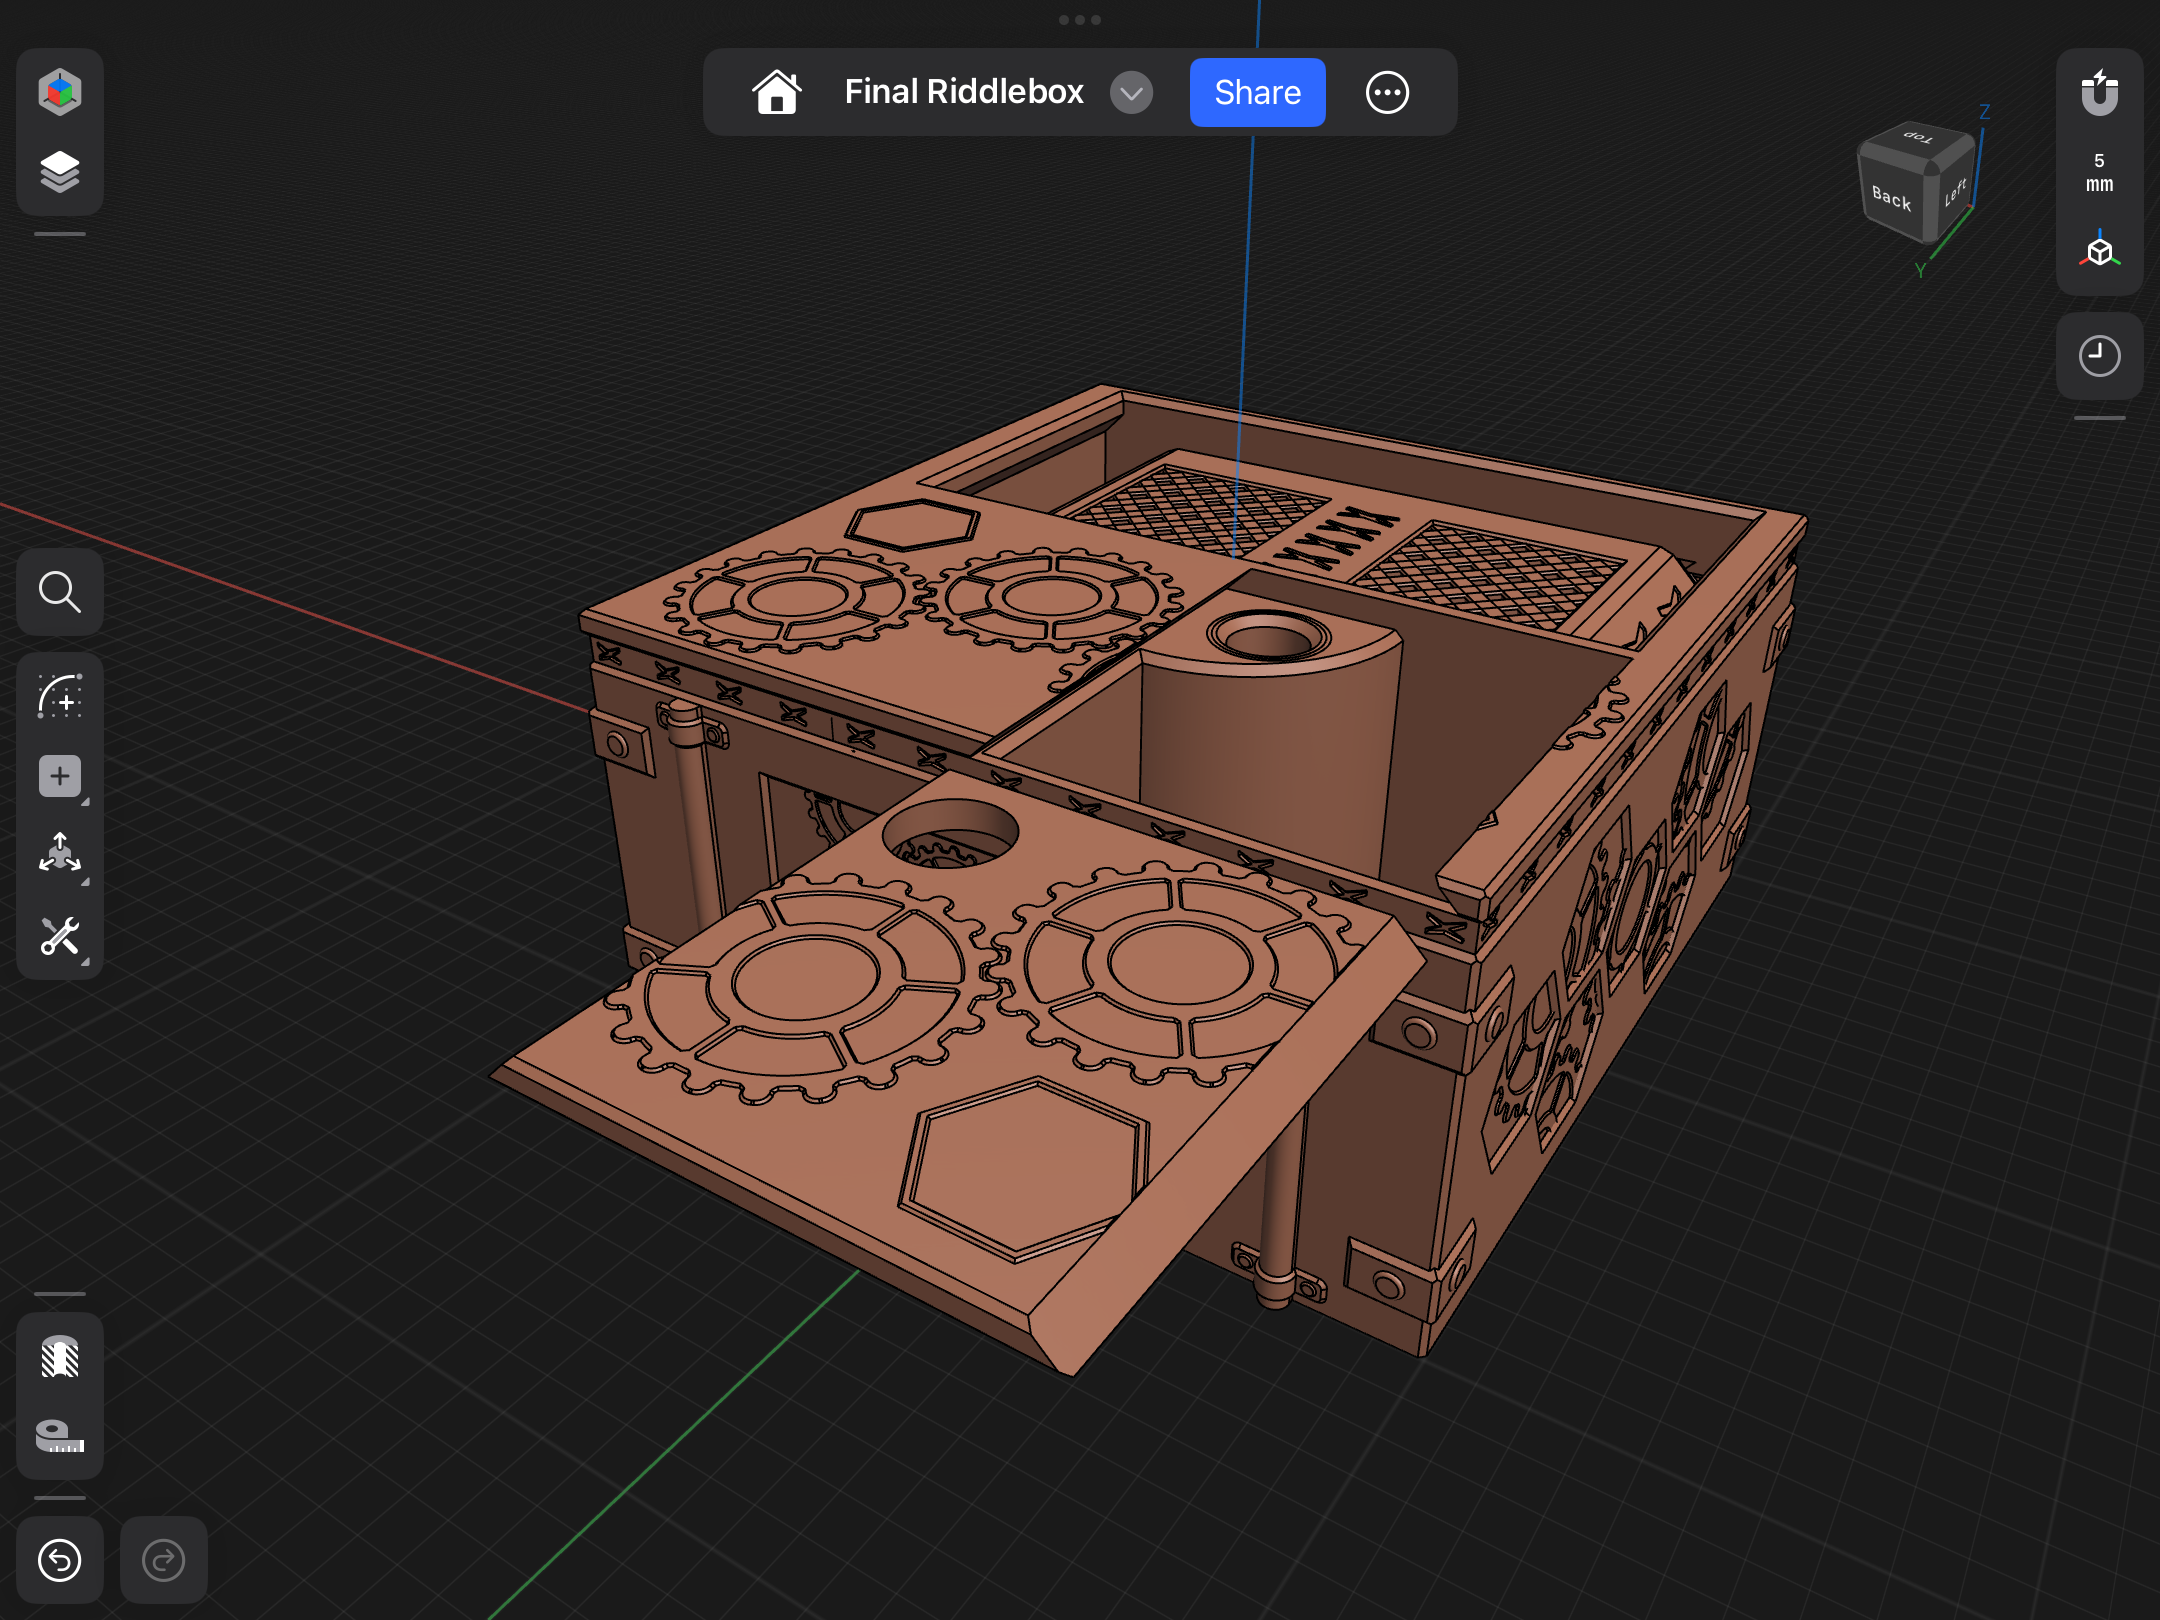 If you have already inserted your gift, you can now prepare the "top" part … |  … and insert it. Make sure to align the thread on the “main” part with the hole in the “top” part." |
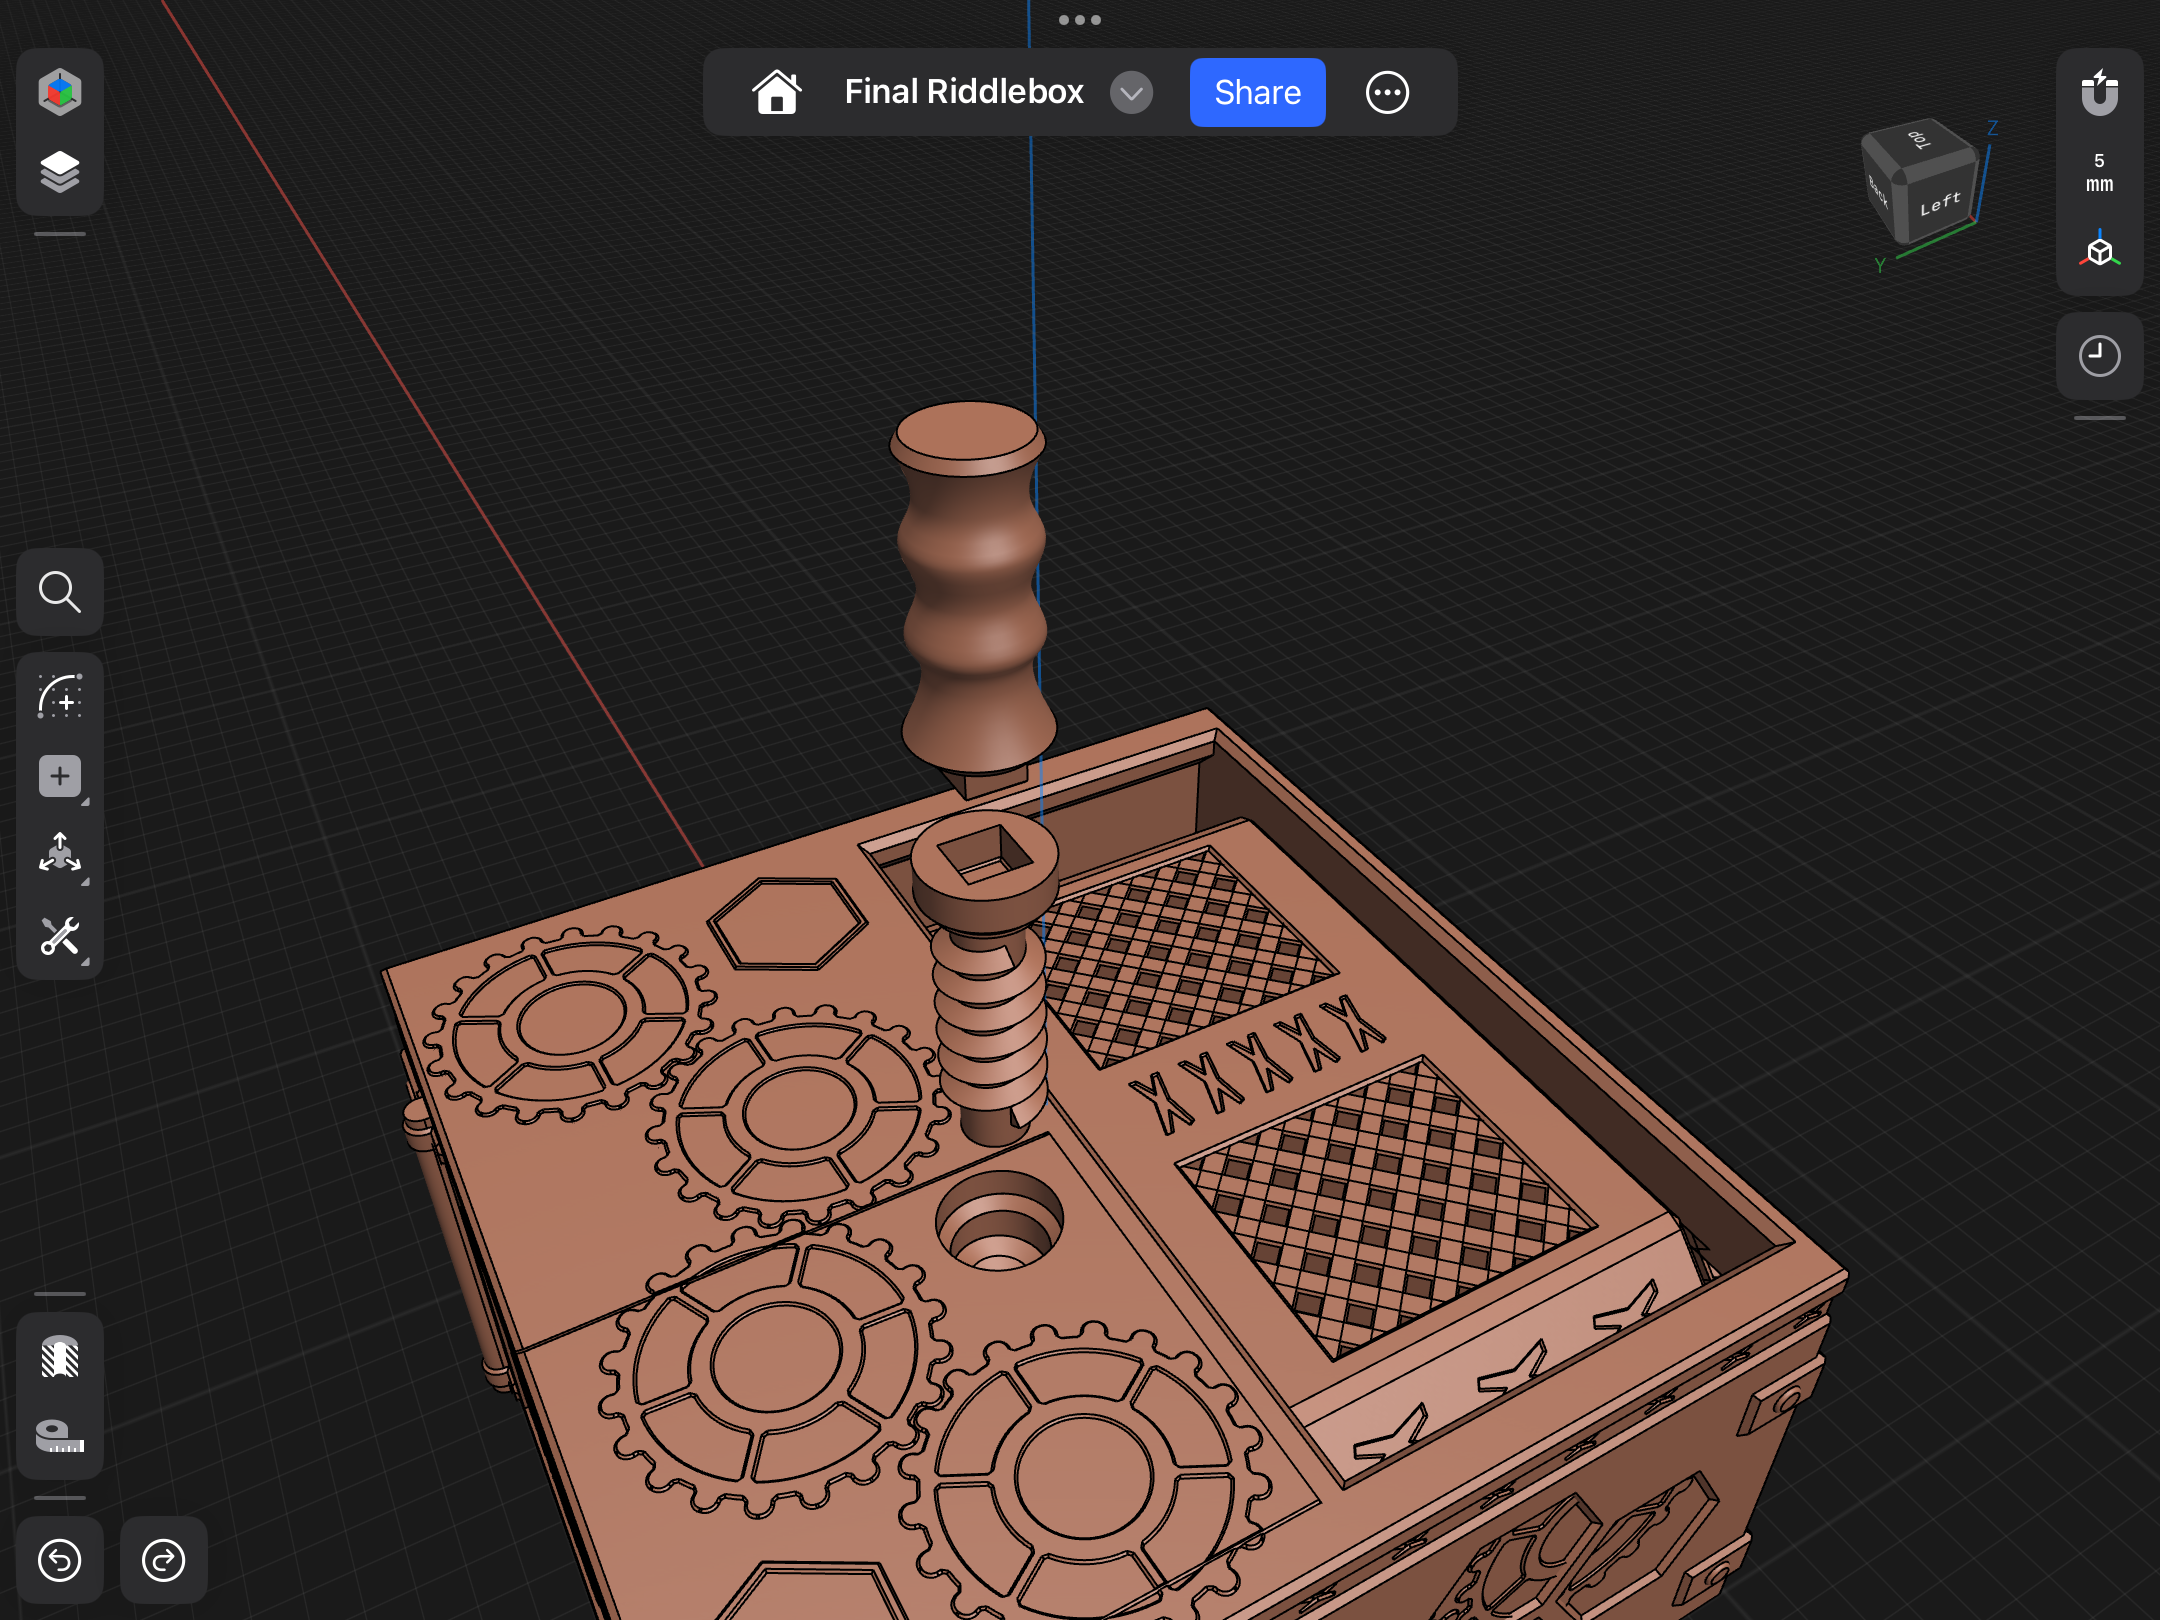 Prepare the screw and the screwdriver with the square ("screw 2" and “screwdriver 2”) ready … |  … and turn the screw in. |
 Push the “push” part to the top using the hole at the bottom of the “main” part … | 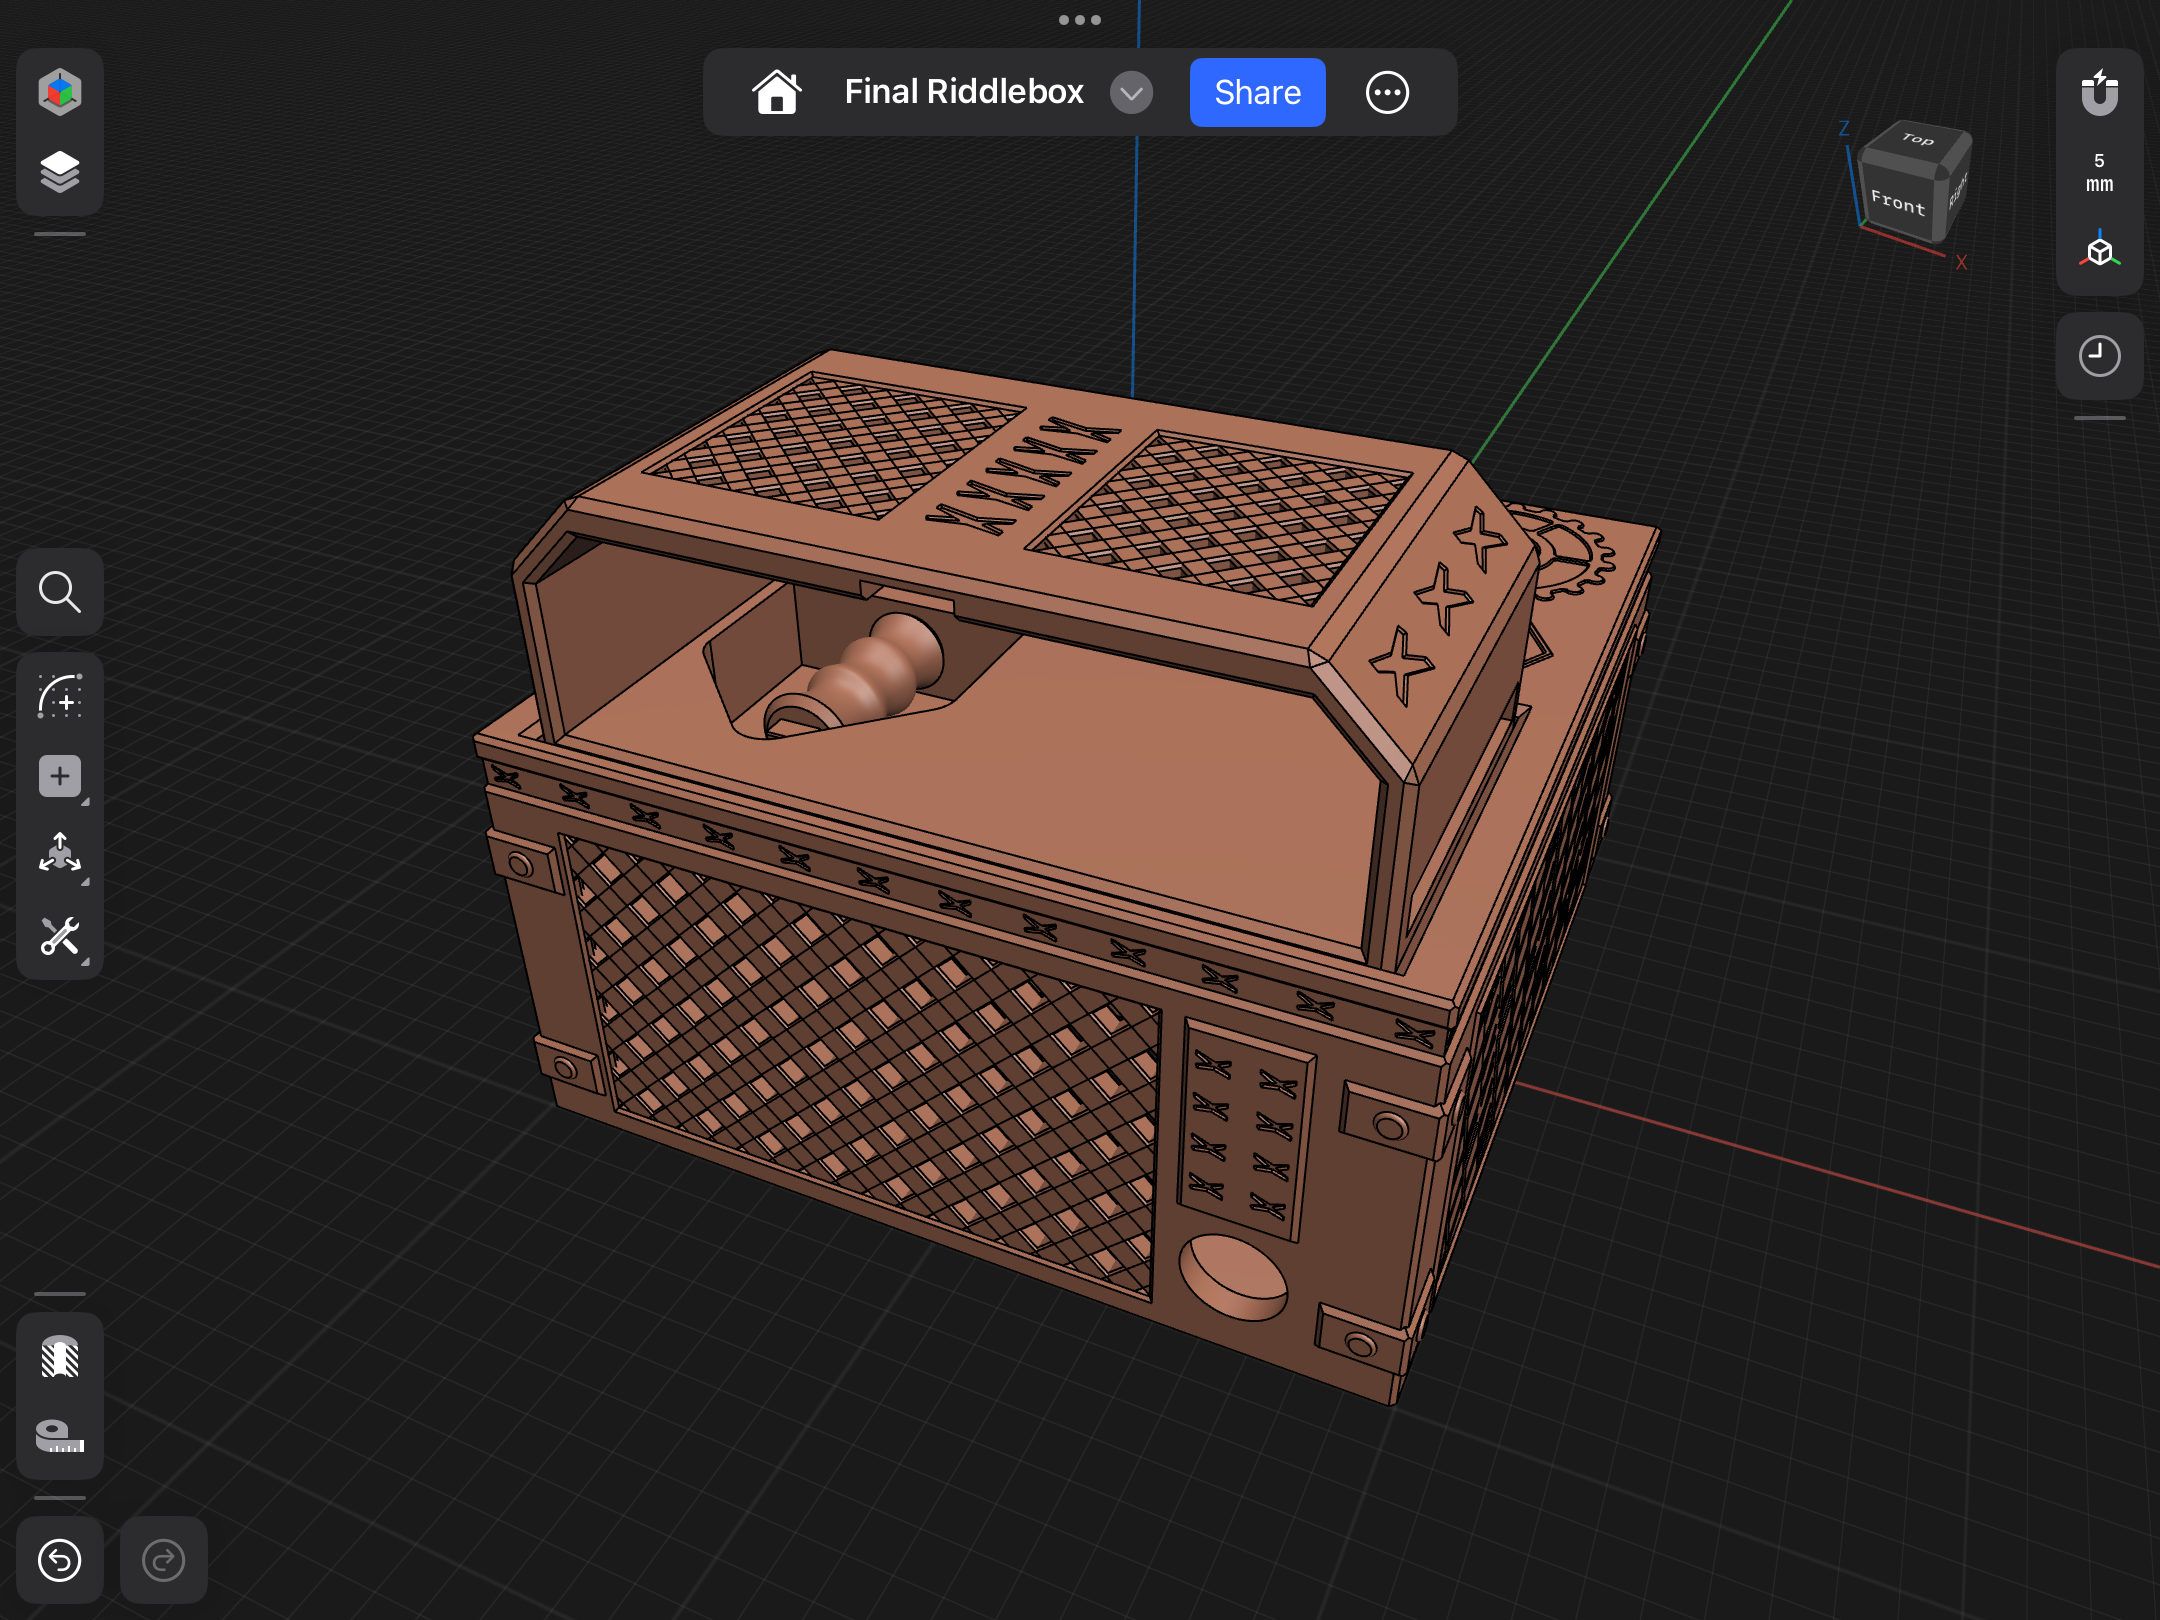 … and insert the screwdriver with the square (“screwdriver 2”) into the hole. |
 Prepare the “slider 2” part … | 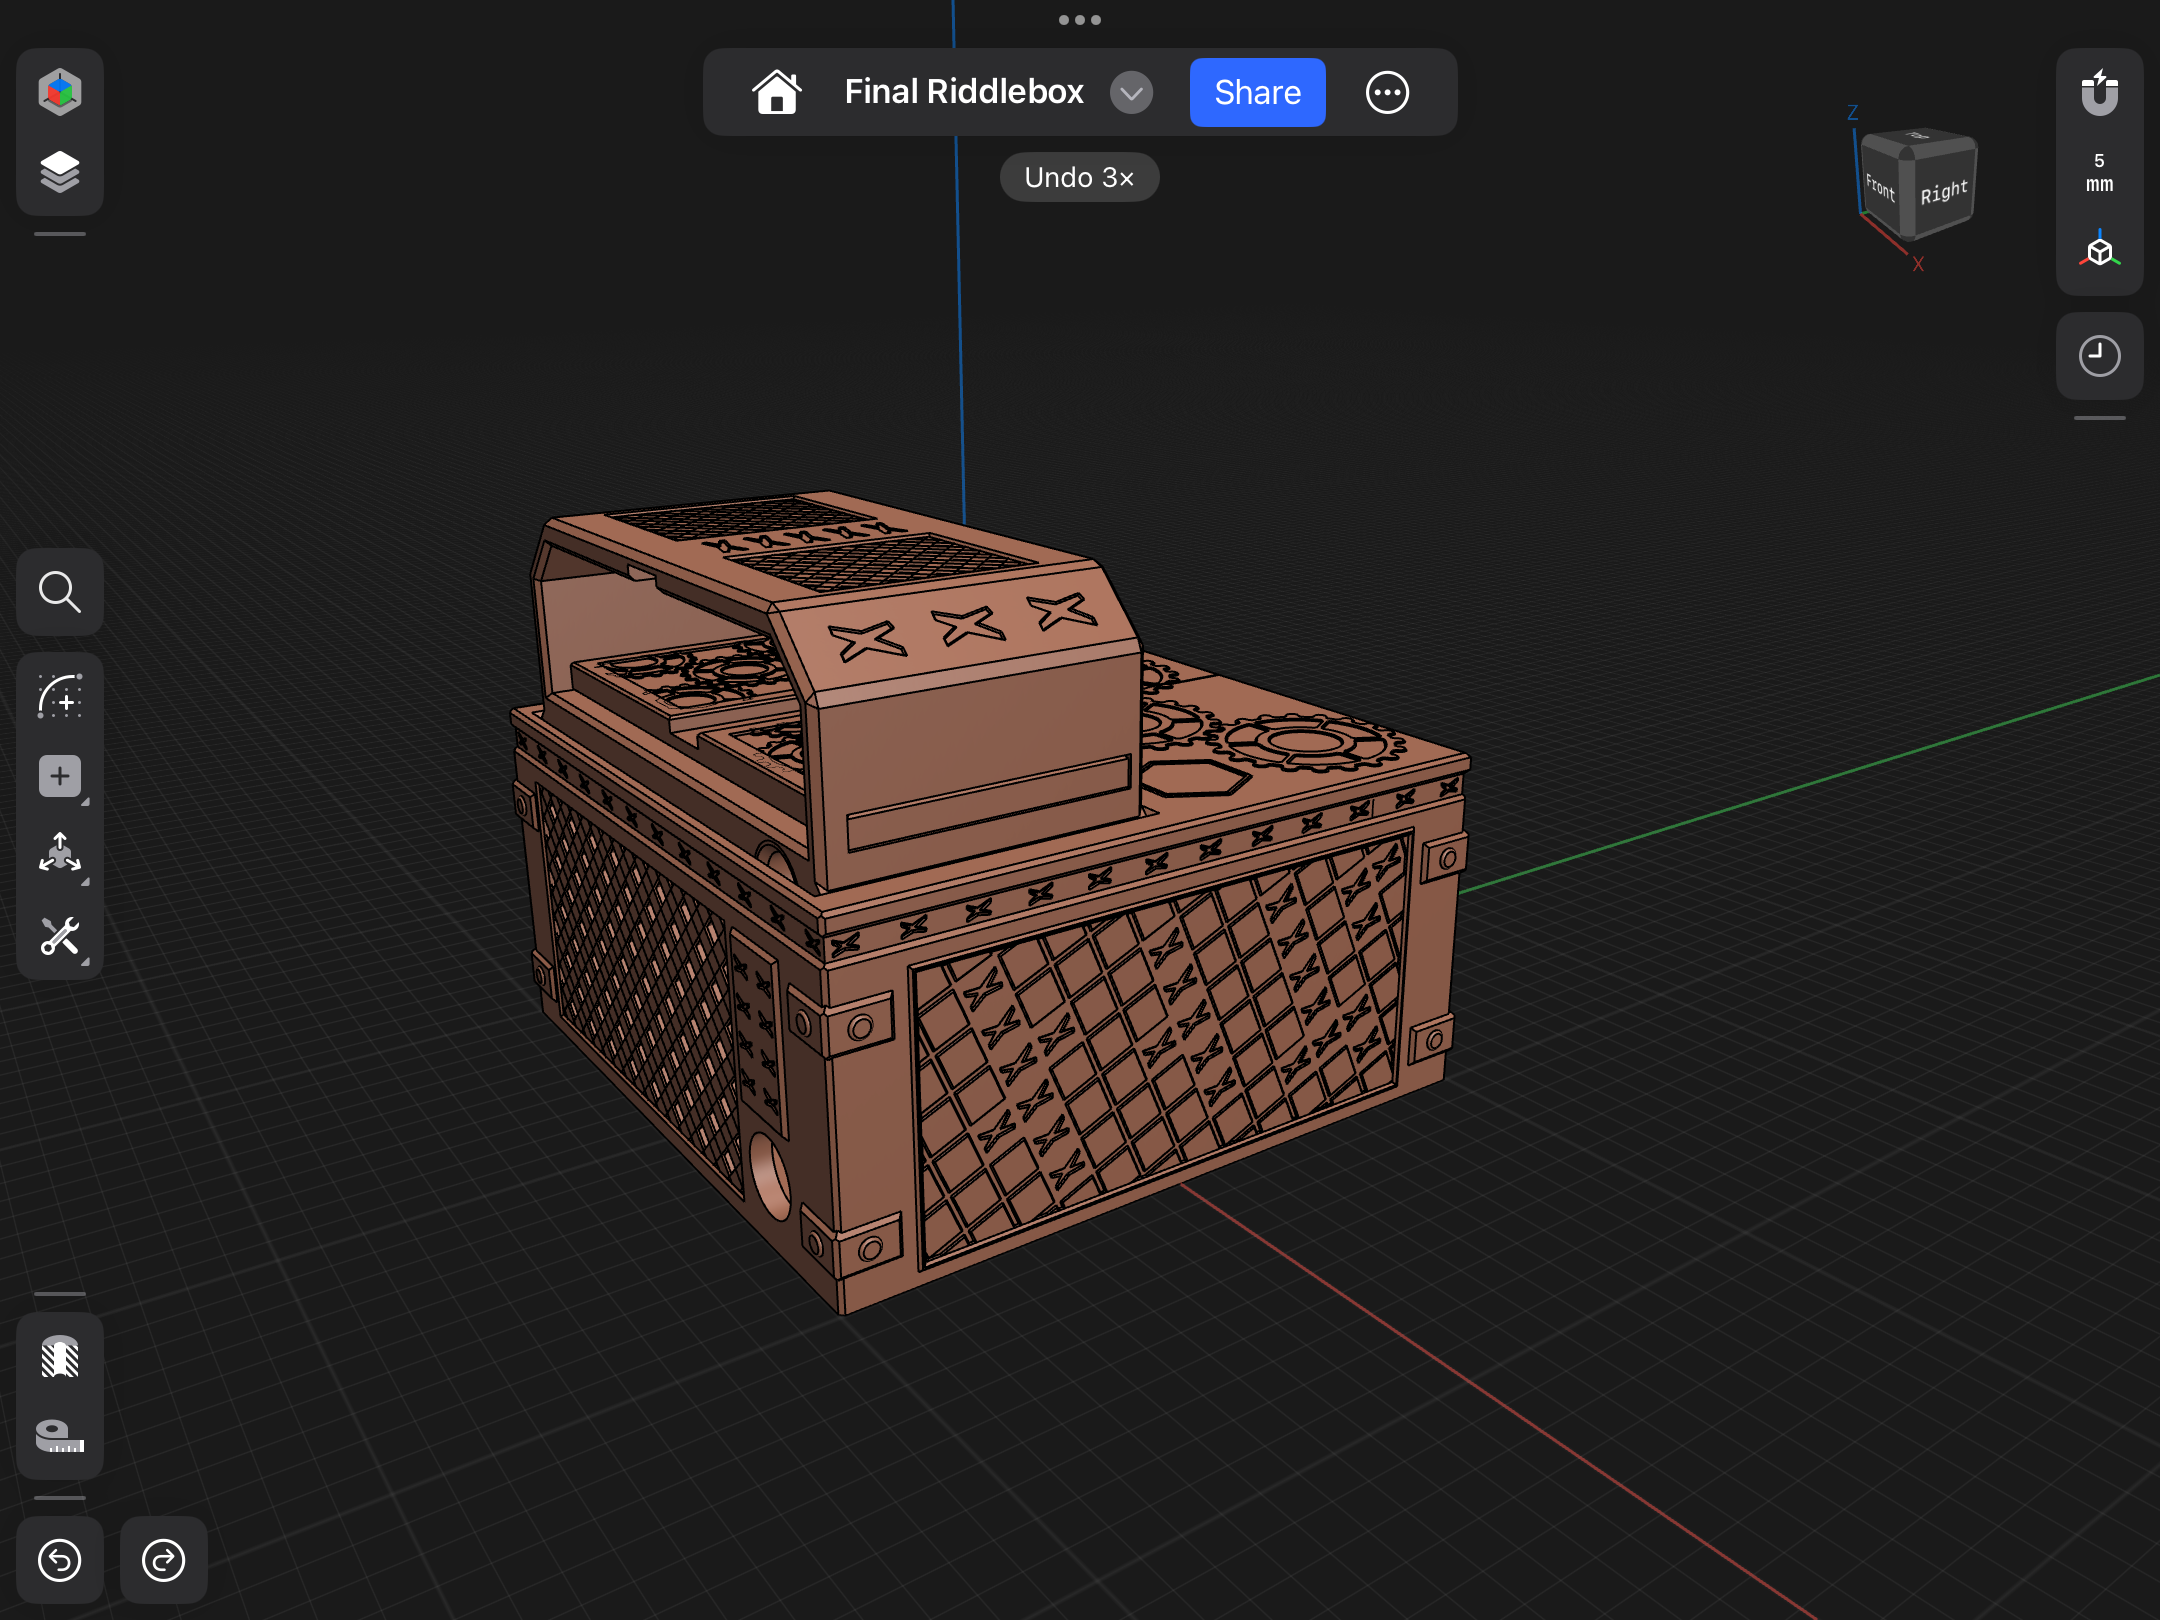 … and insert it in the slot. Pay attention to the orientation – the narrower edge goes in first. |
 Prepare the “slider 1” part … |  … and insert it in the slot. |
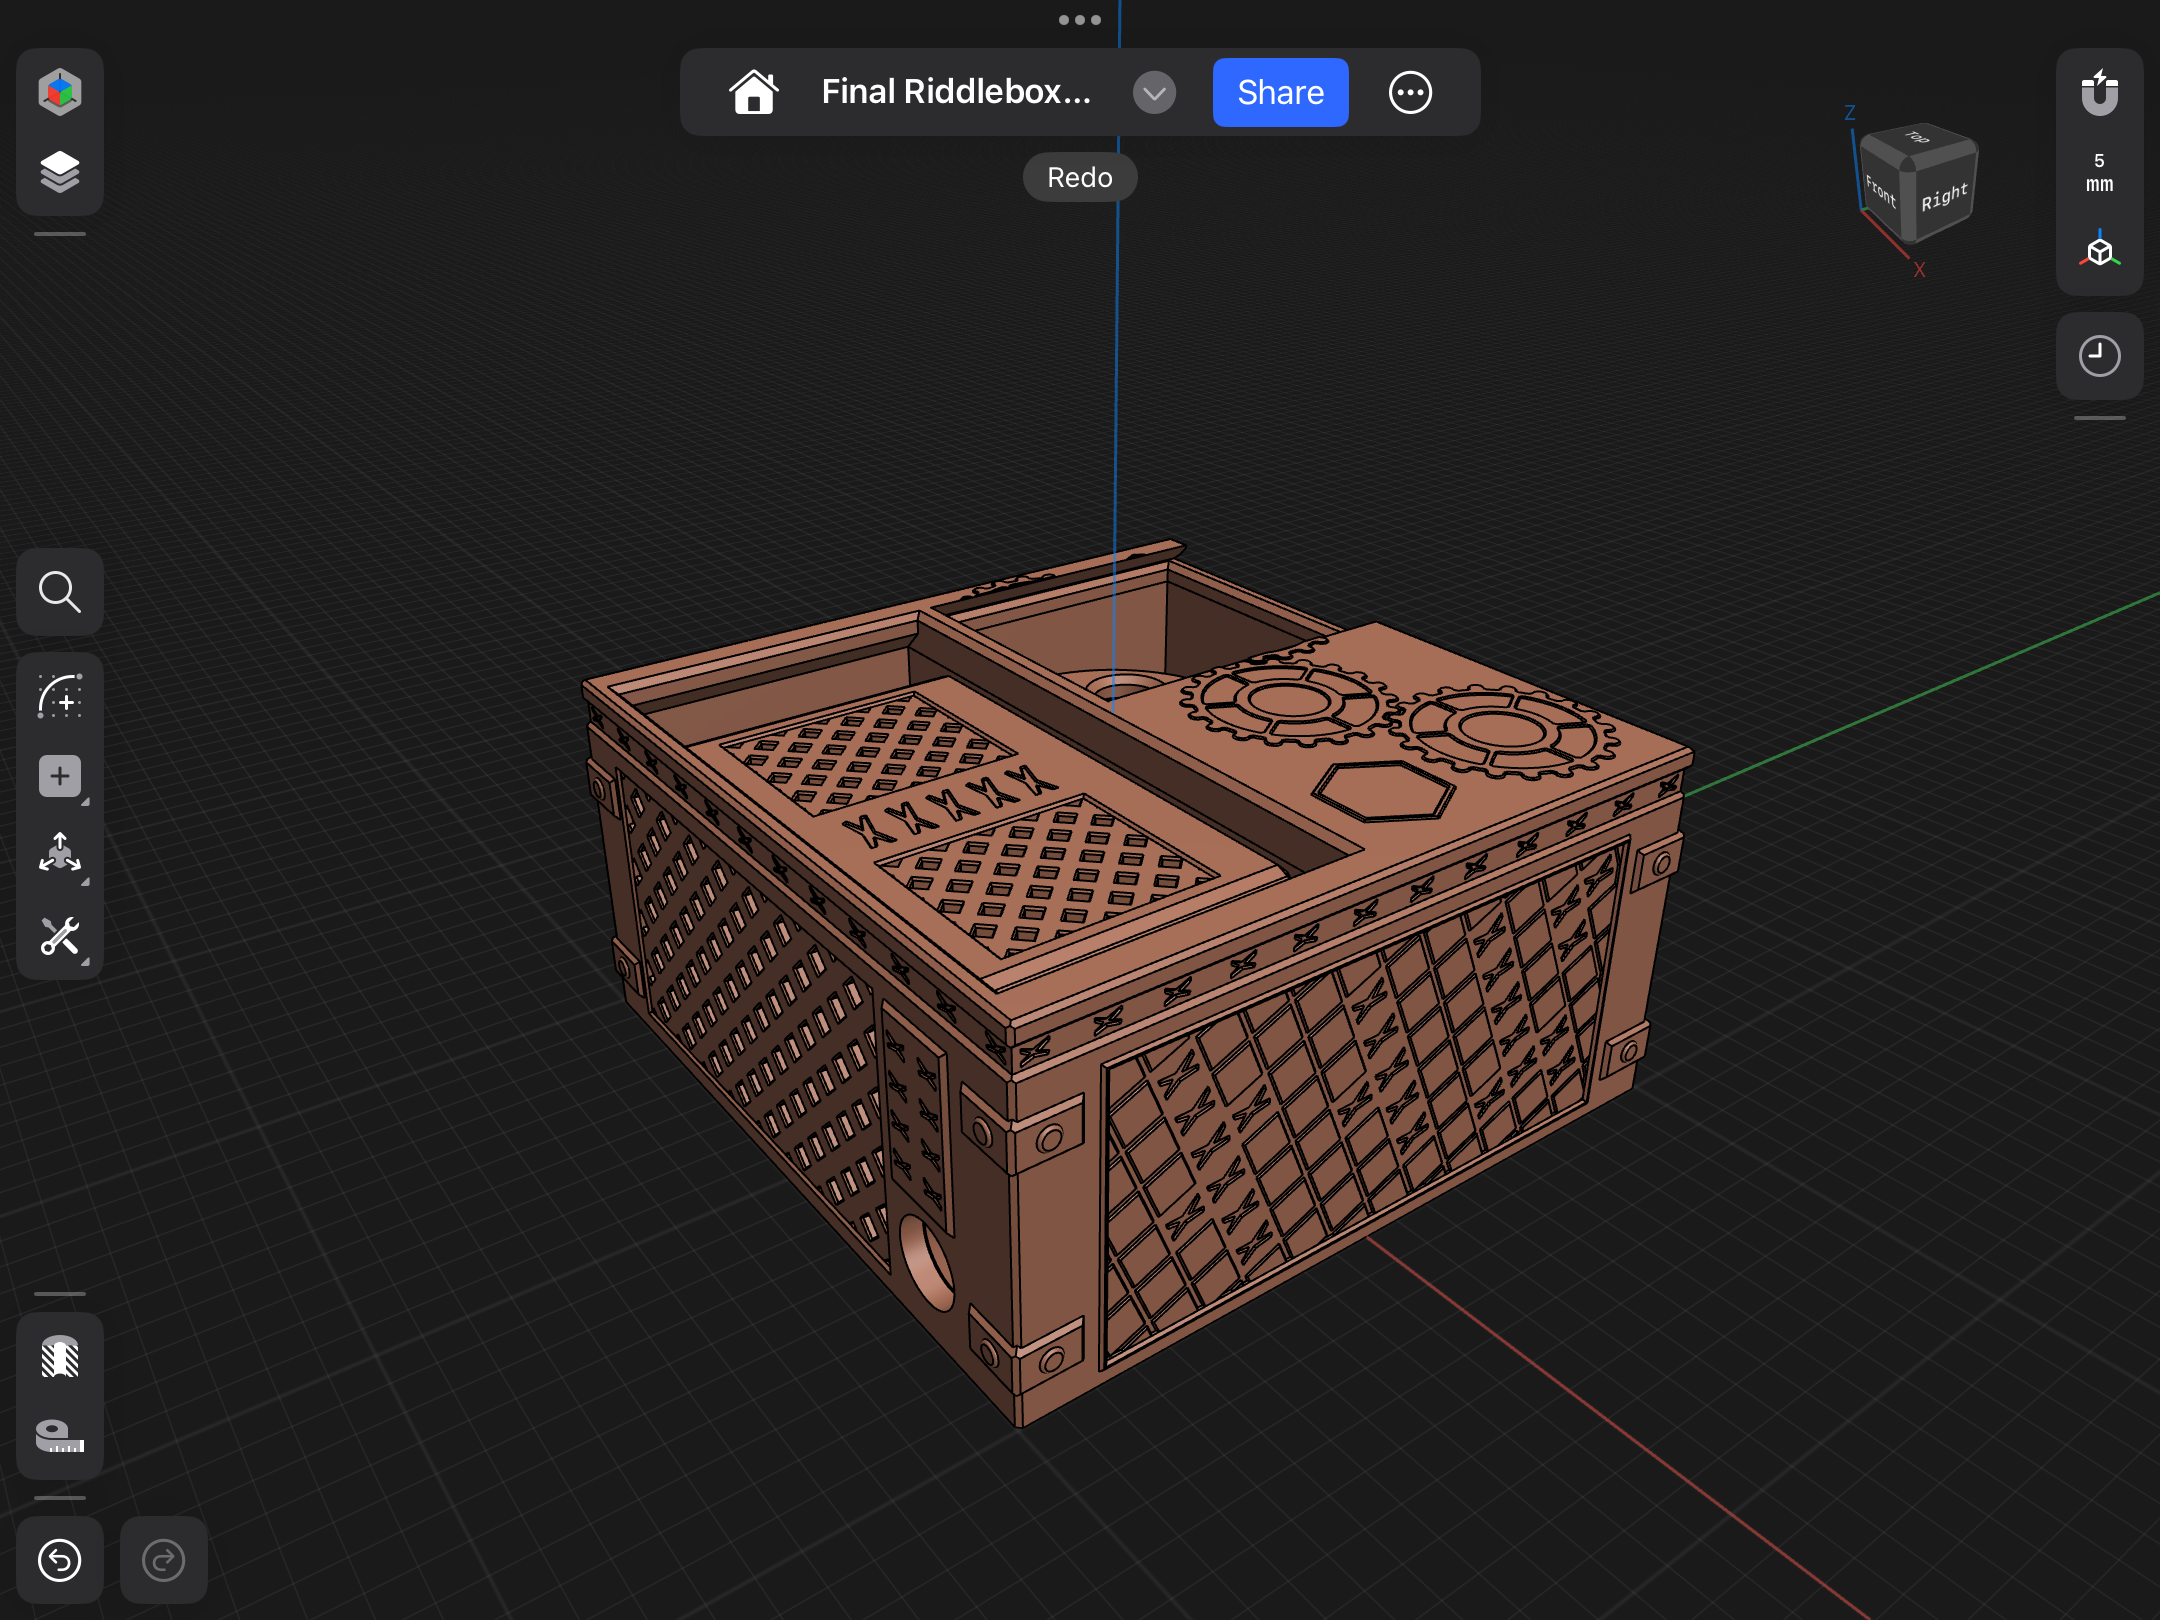 Push the “push” part down. | 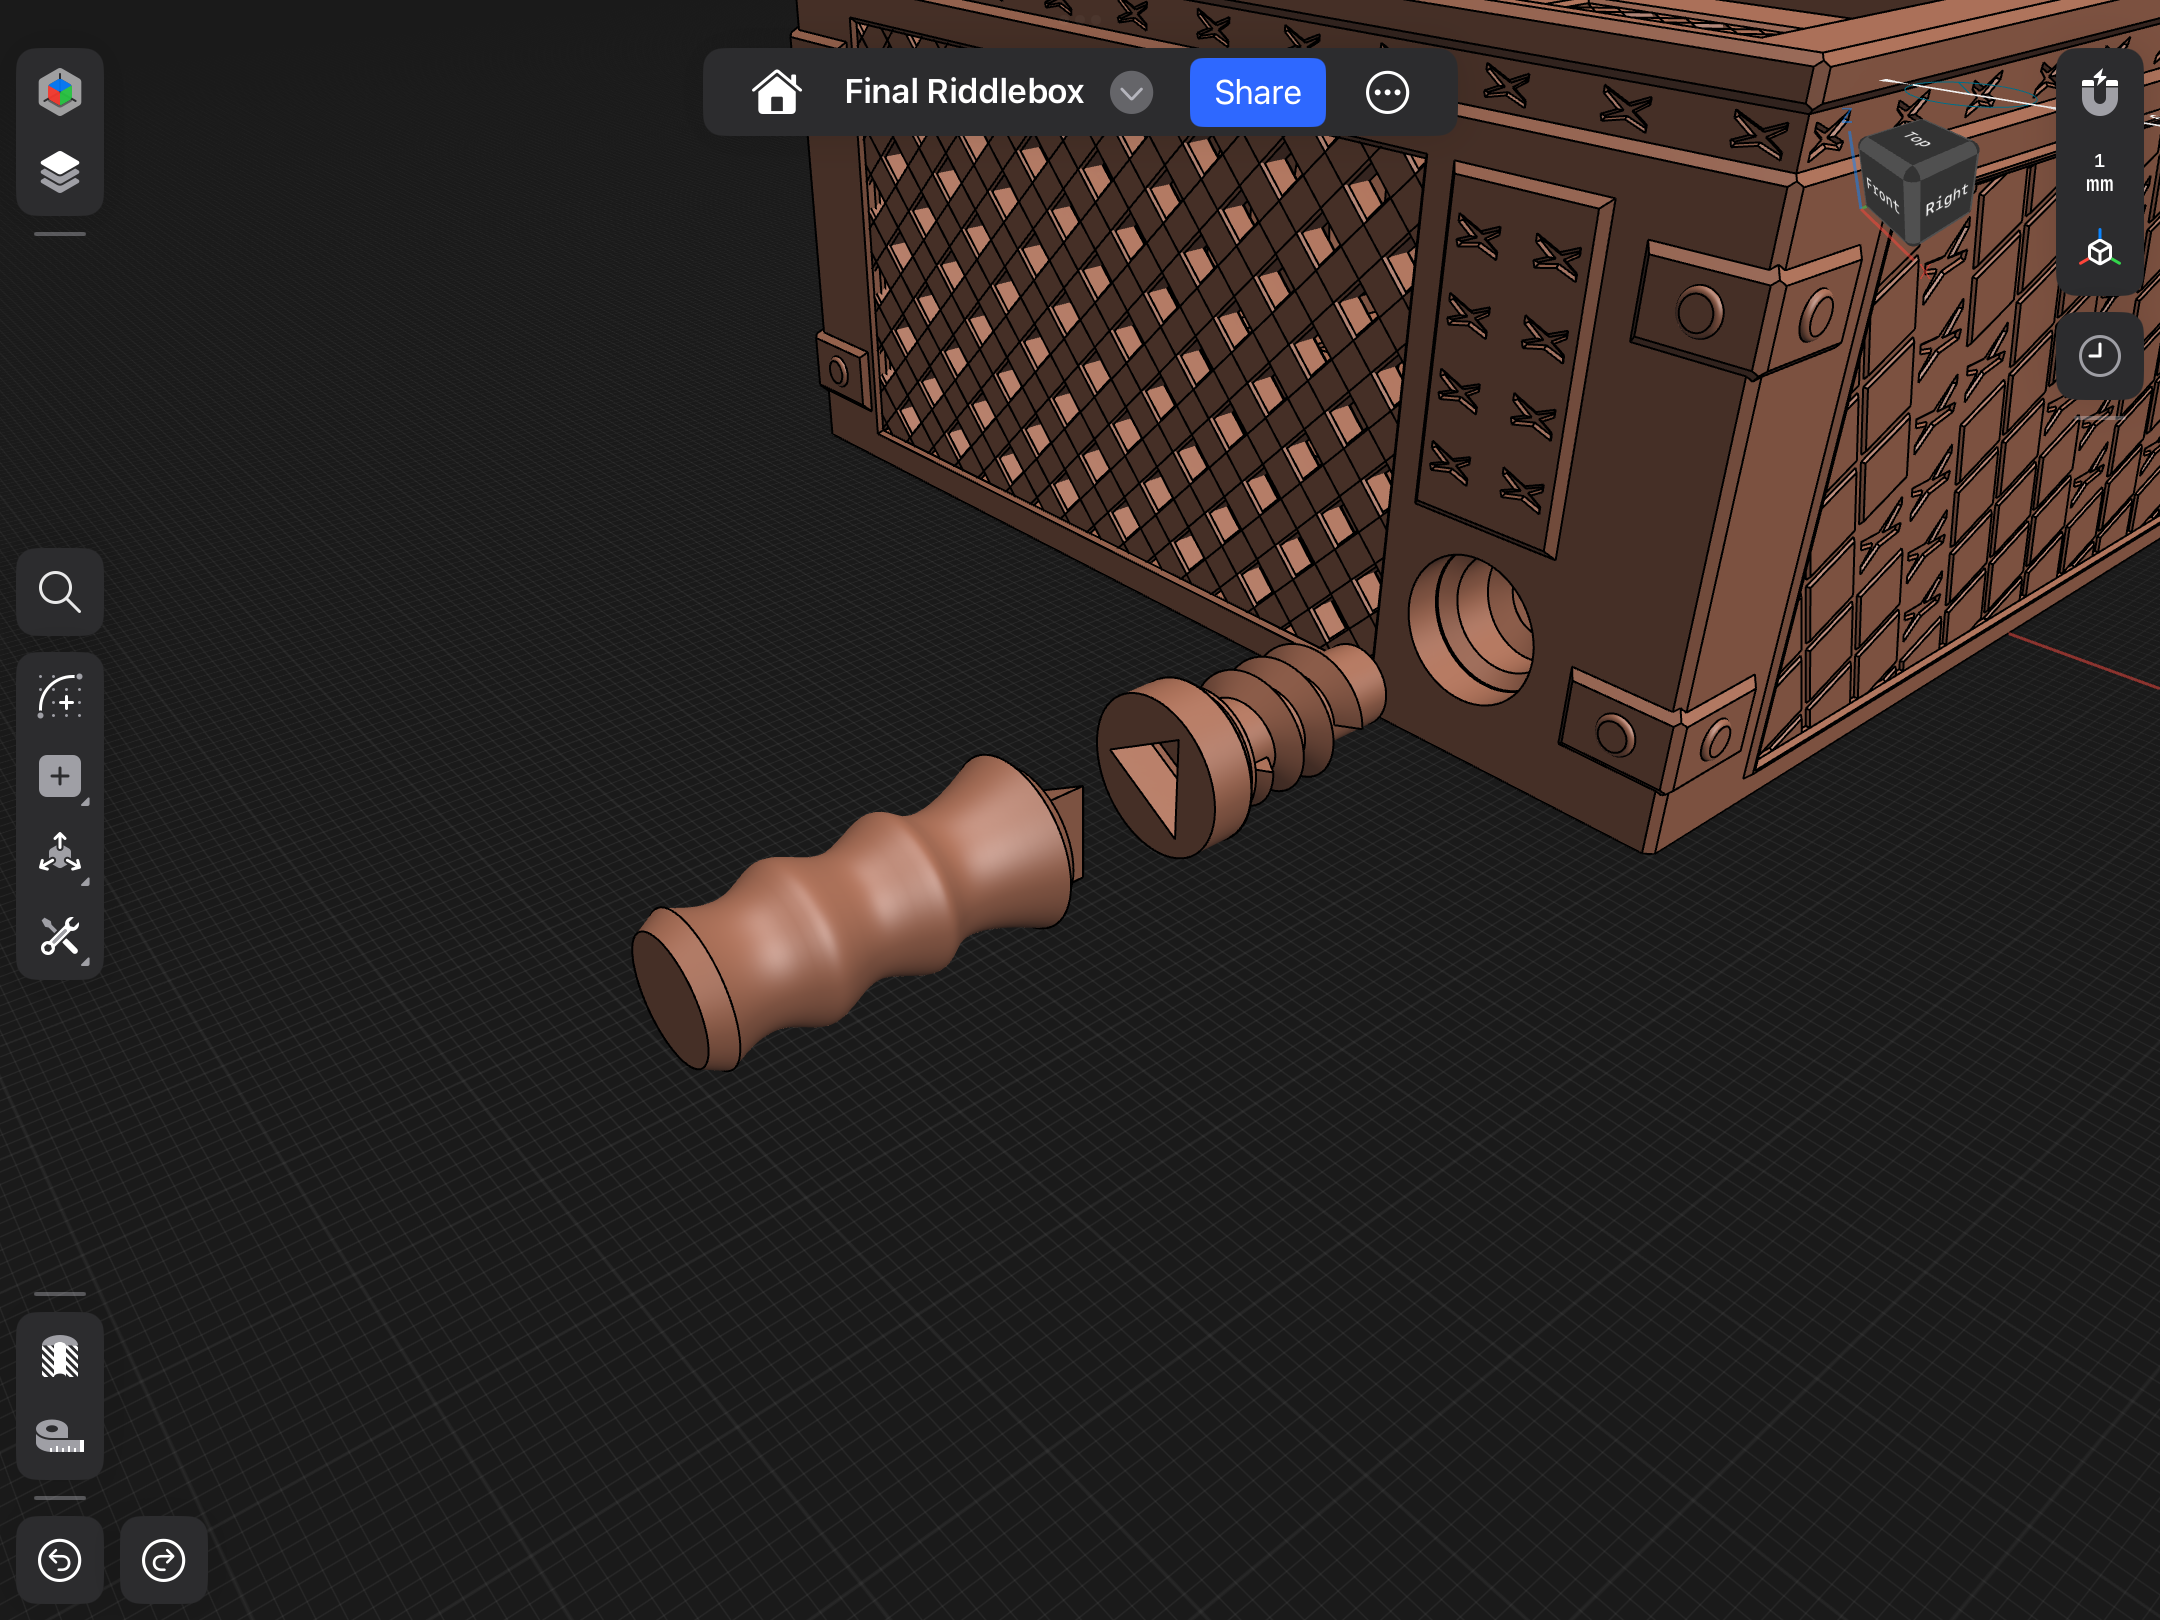 Prepare the screw and the screwdriver with the triangle ("screw 1" and “screwdriver 1”) … |
 … and turn the screw in. | 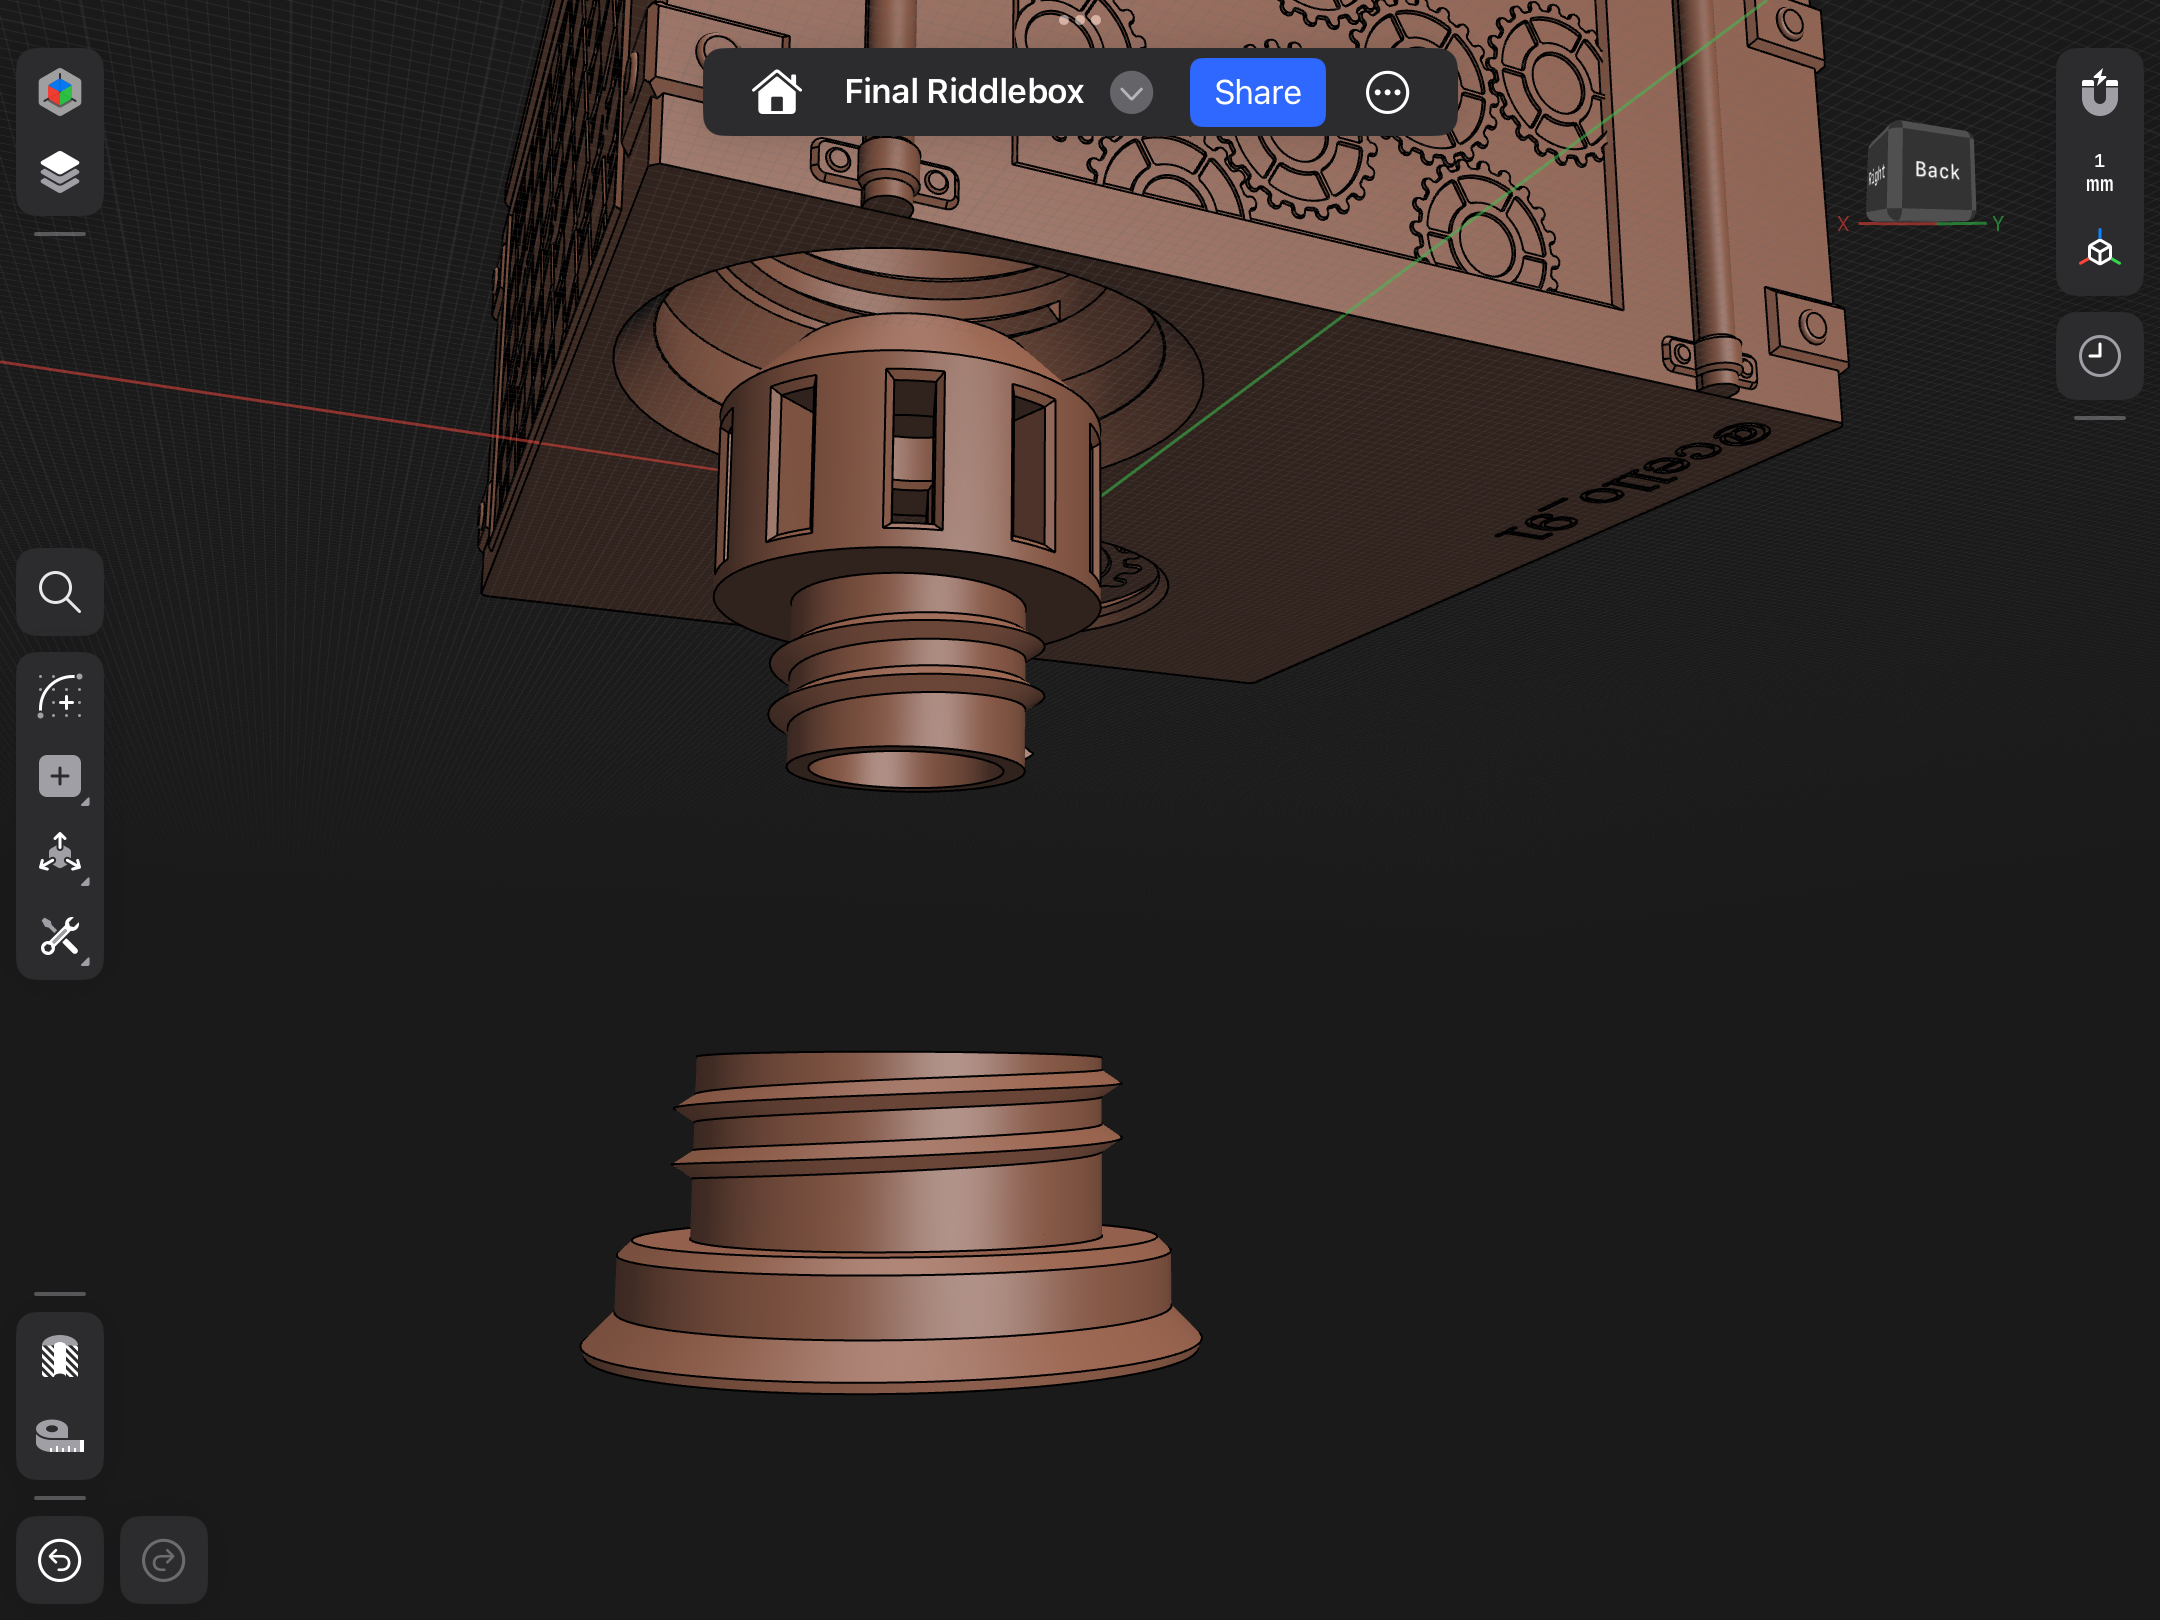 Prepare the two parts of the big screw ("big screw part 1" and “big screw part 2”), … |
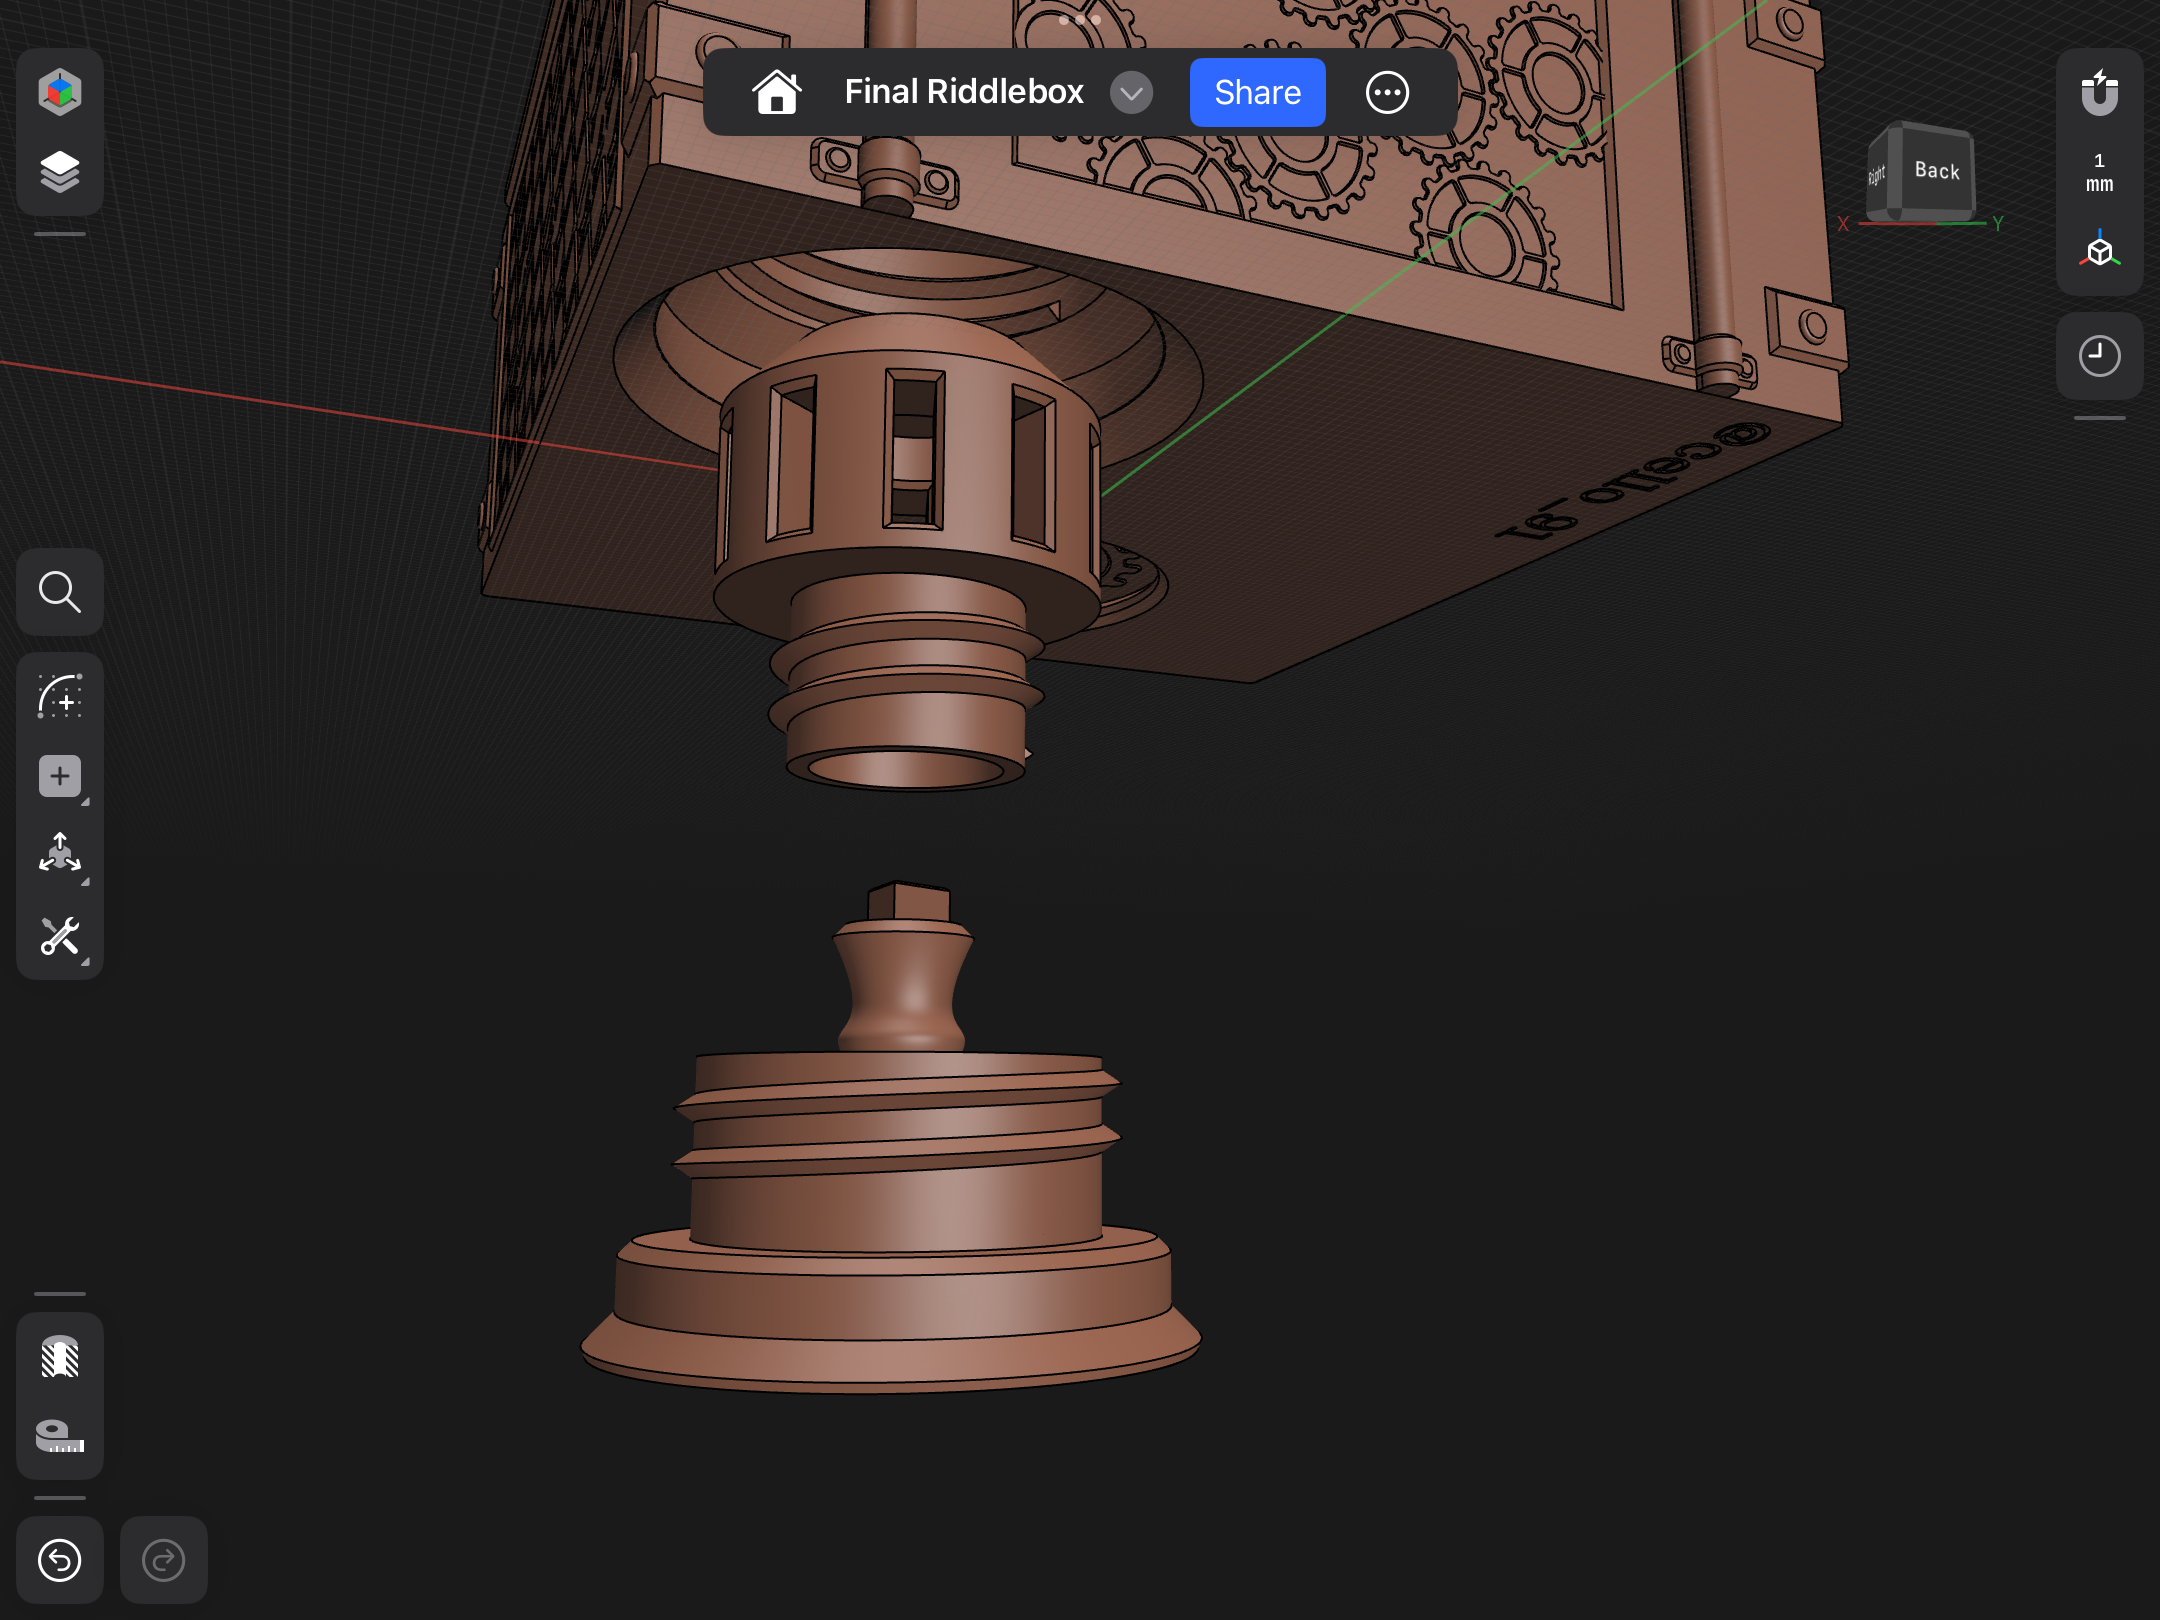 … insert the screwdriver with the triangle (“screwdriver 2”) … | 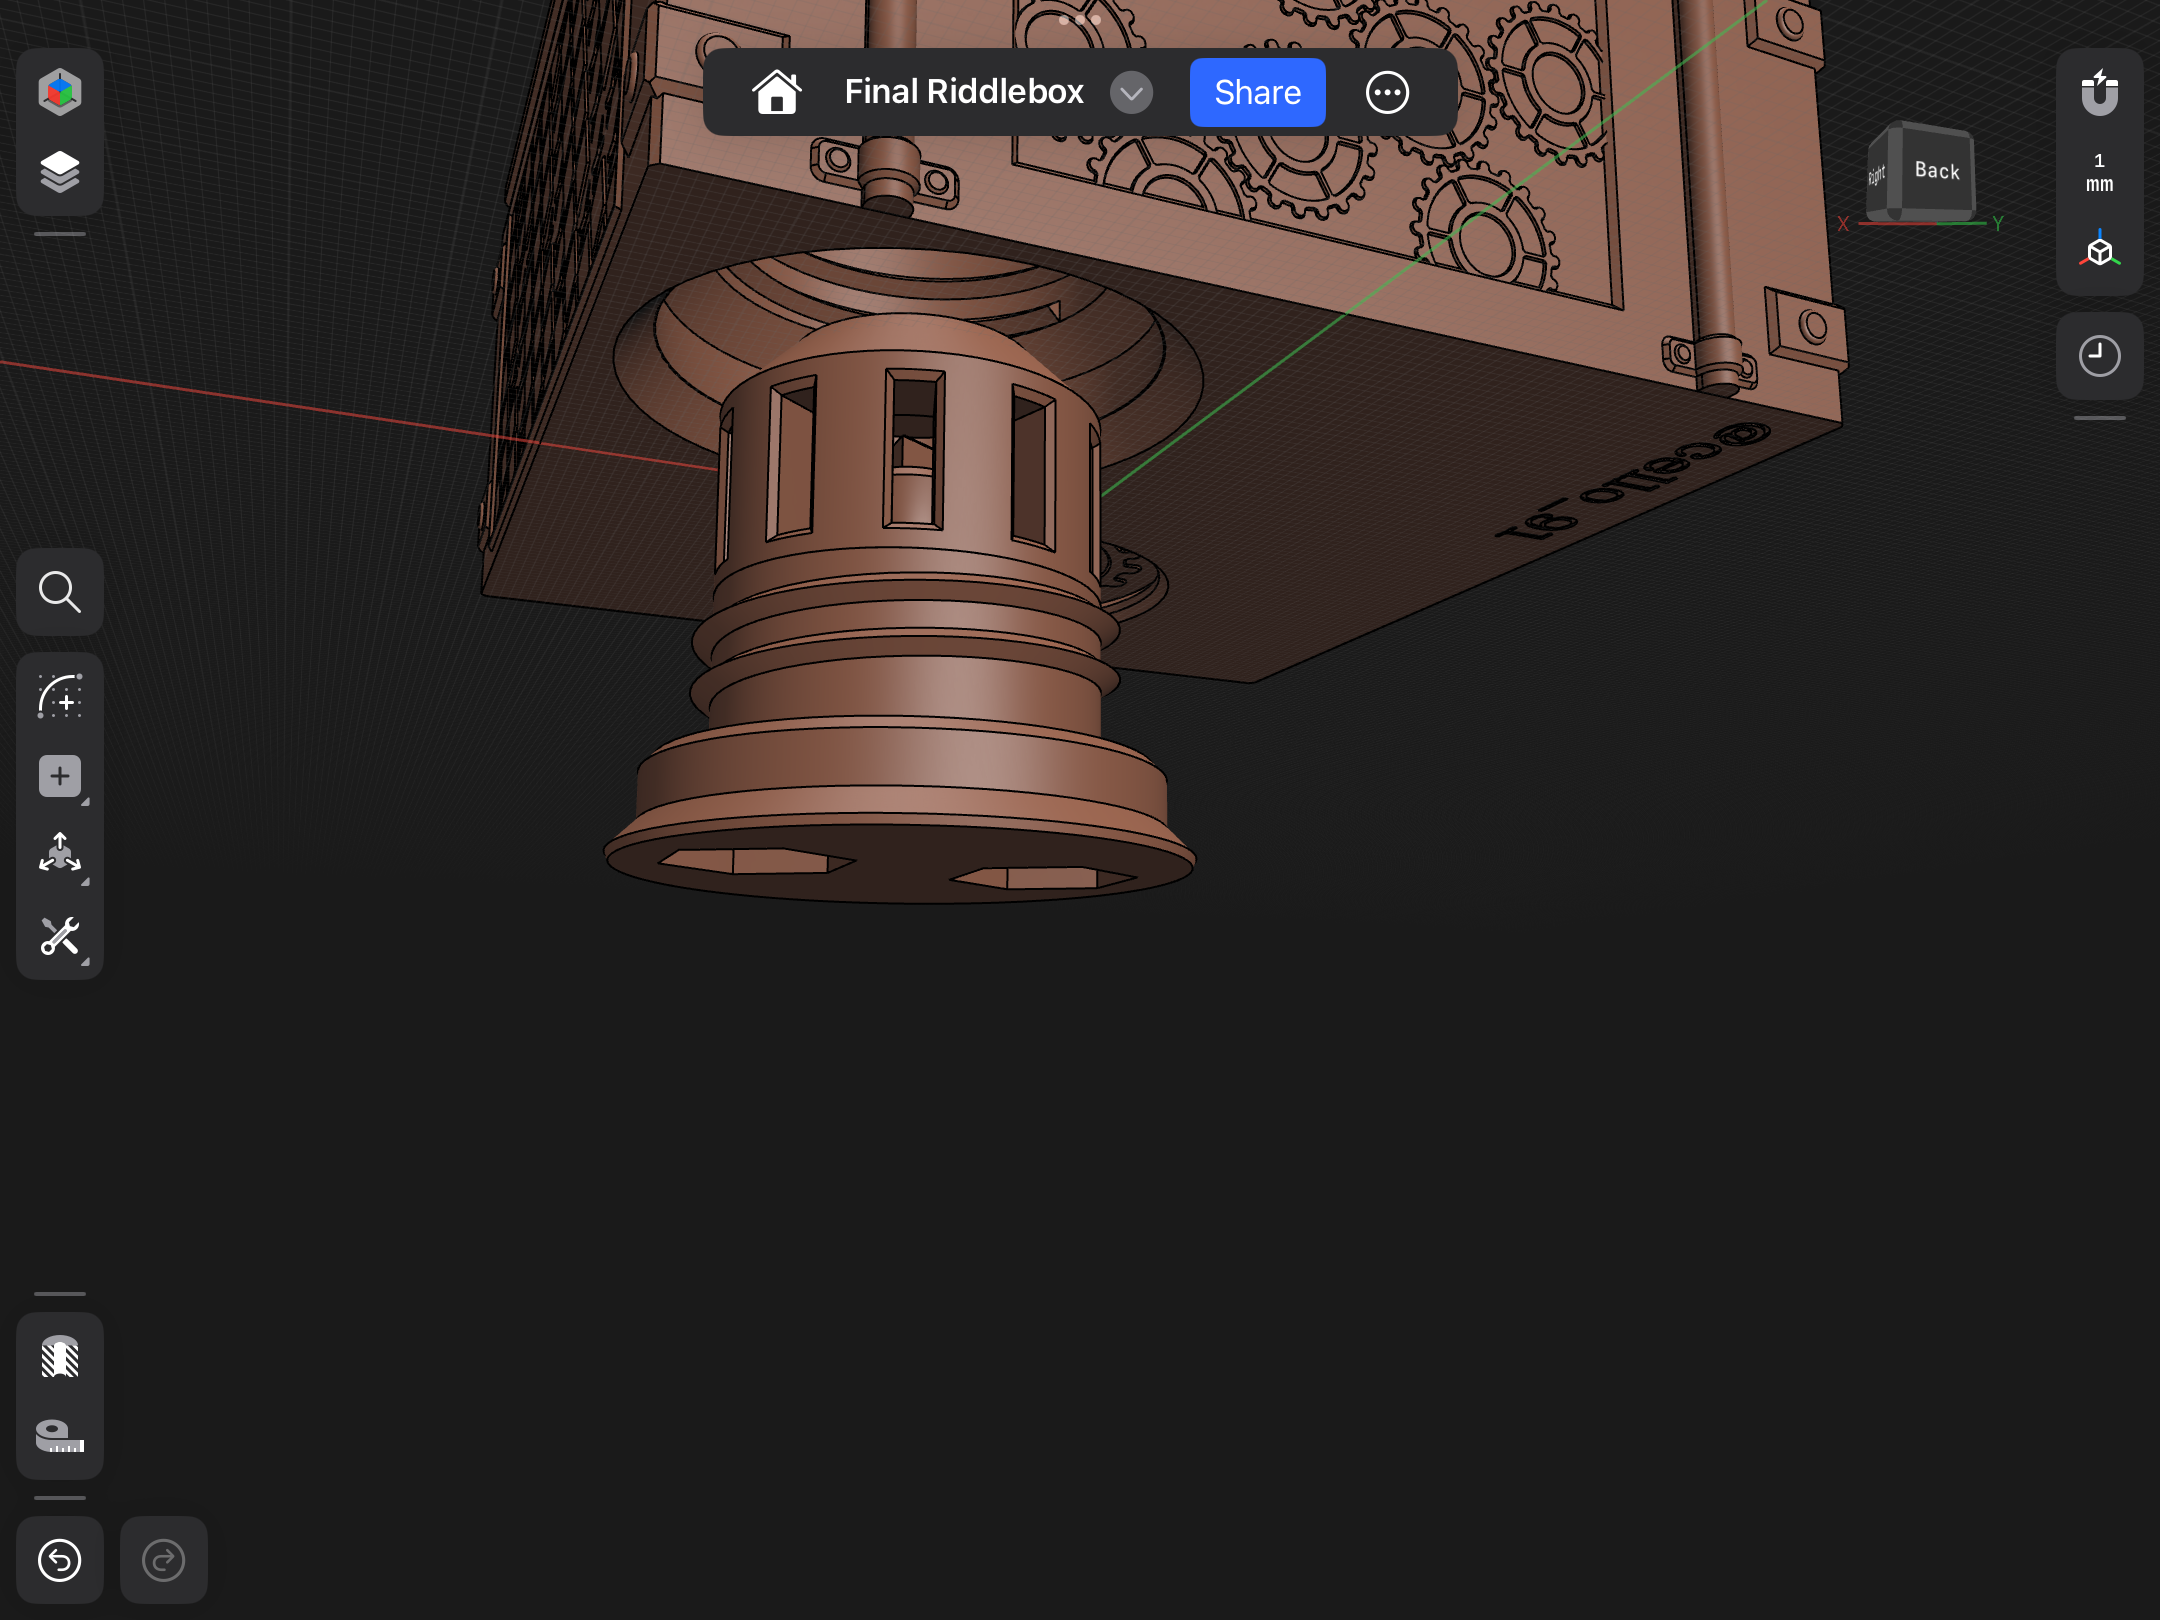 … and screw them together, ensuring the screwdriver remains inside as you tighten the big screw. |
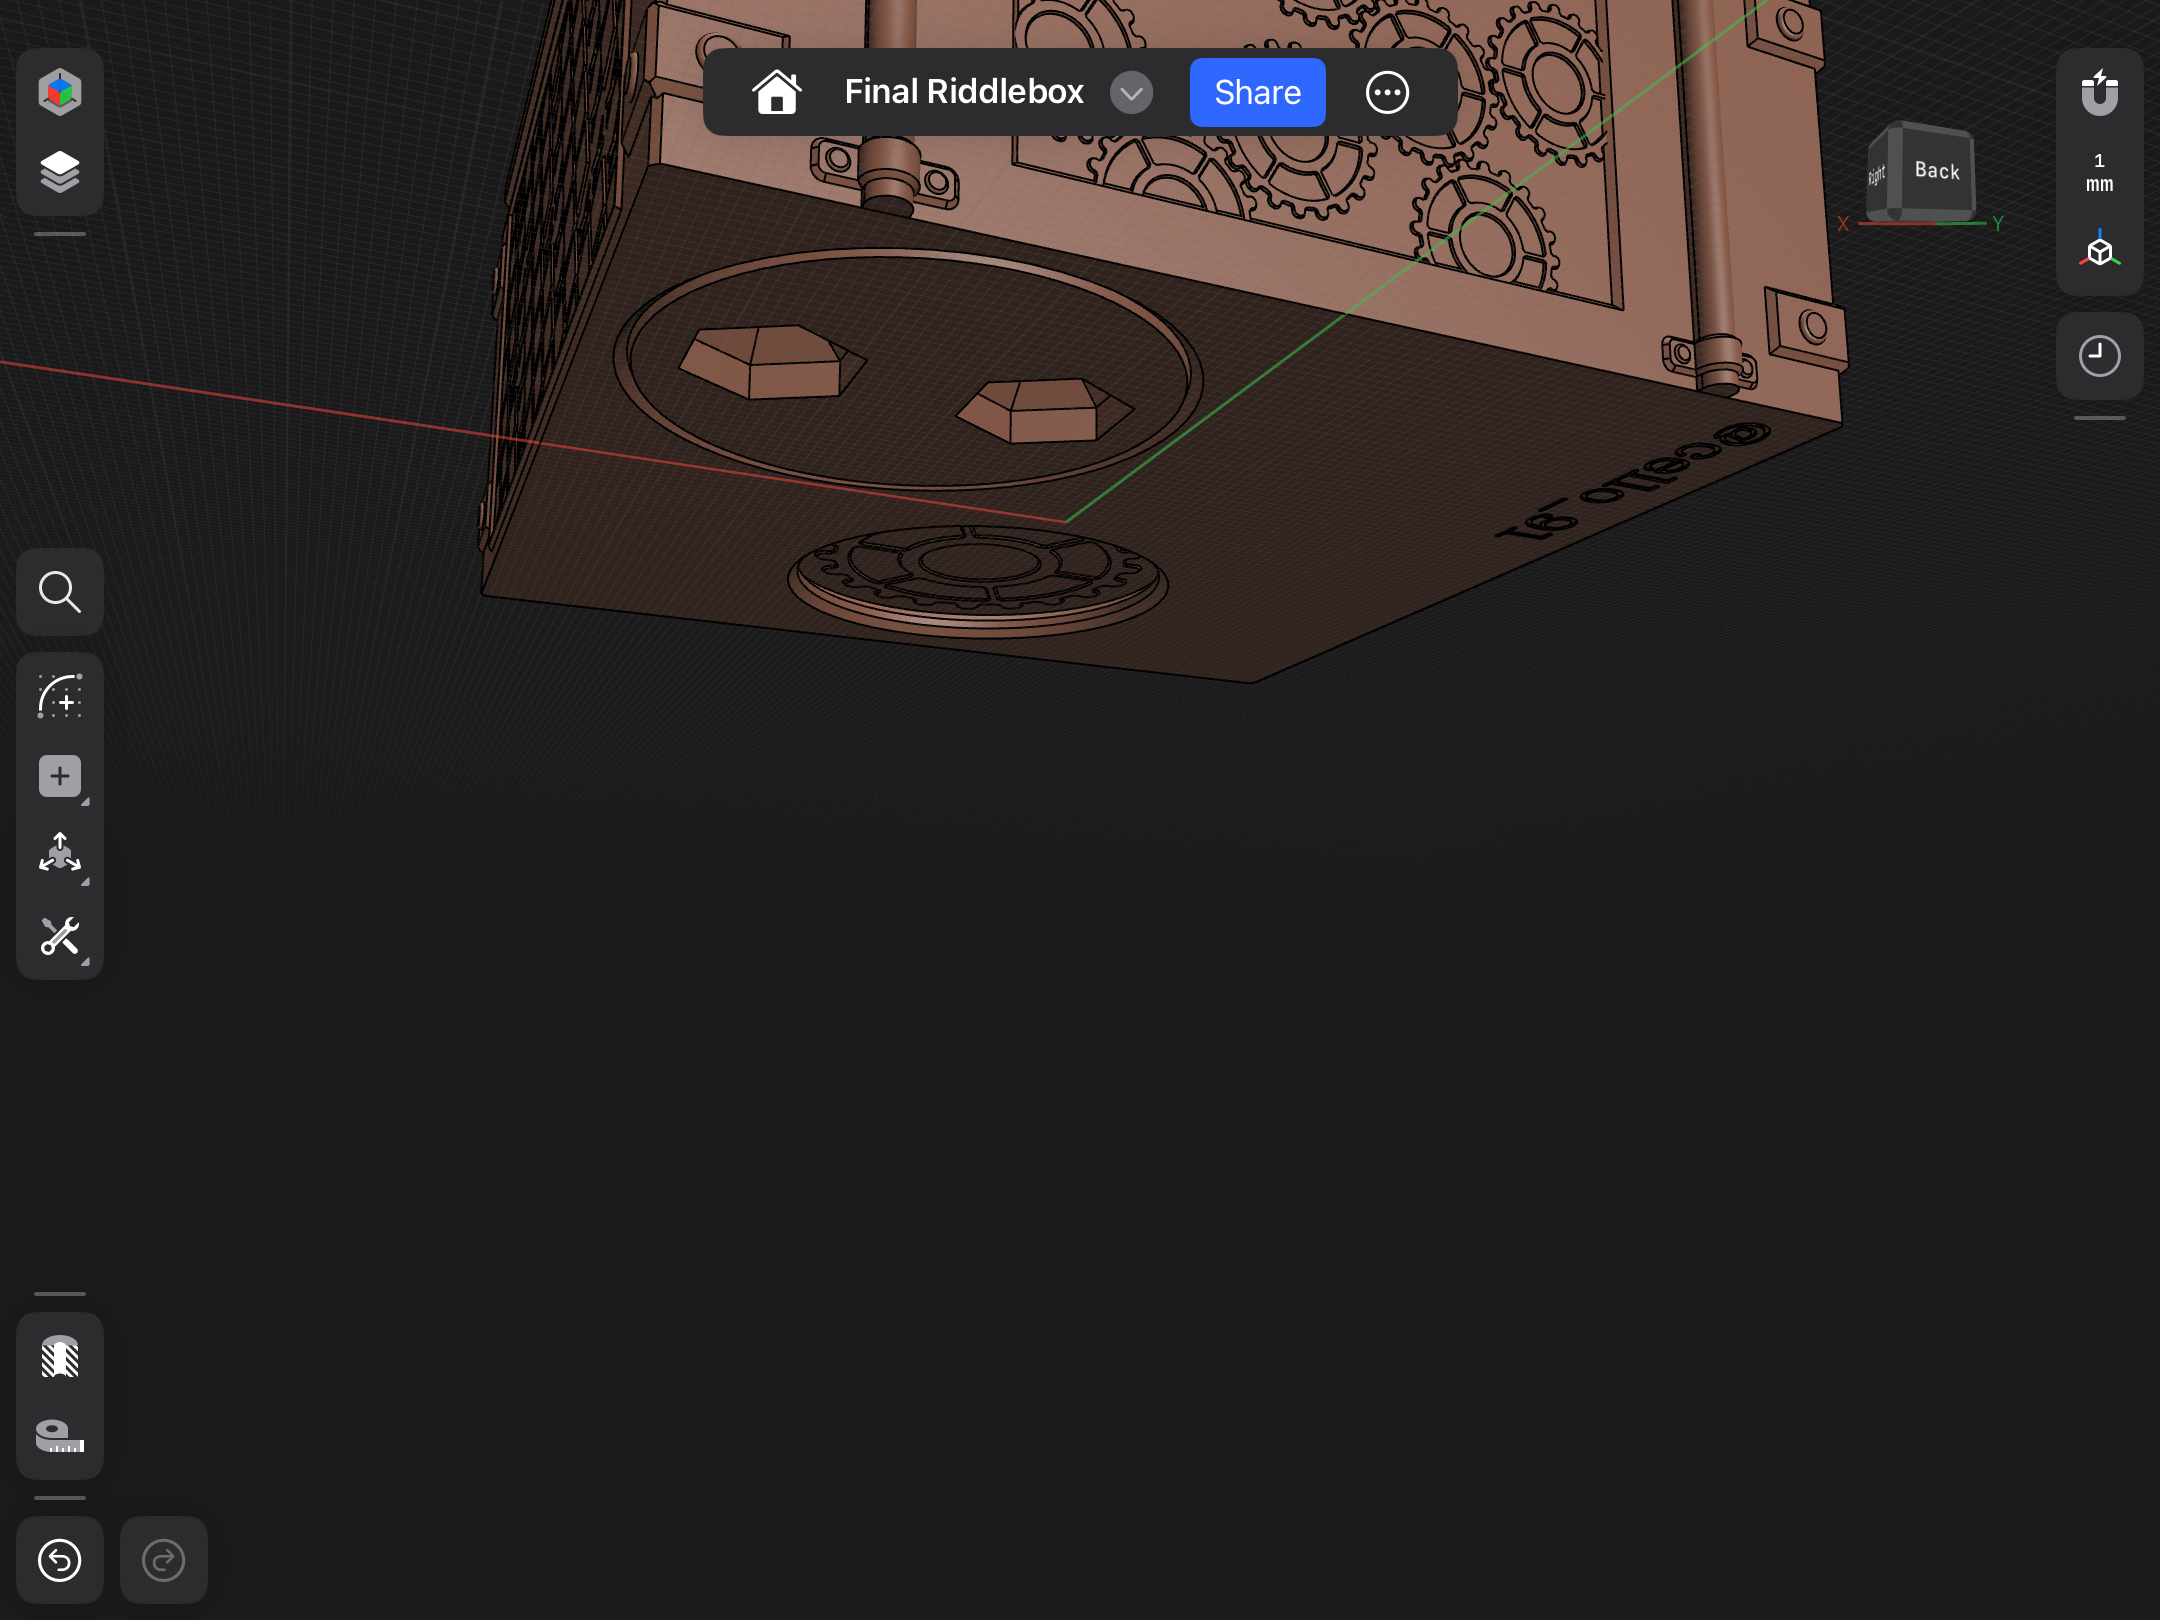 Turn the big screw into the “main” part. |  Enjoy your assembled Steam Vault! 😊 |
Dissembly
Please follow the steps of the Assembly part in reverse order.