
Hook Drive Gear #174488 for Singer 7184 [REMIX]
Obliczymy ostateczną cenę na podstawie wybranego pliku. Sprawdzisz ją i zaakceptujesz przed płatnością.
Zapisane na tym urządzeniu.

One of the gears in my old Singer 7184 sewing machine broke and didn't wanted to purchase expensive replacement part
- Ocena
- 0 / 5
- Polubienia
- 8
- Pobrania
- 71
- Wydruki
- 2
- Wyświetlenia
- 458
- Oceny
- 0
Aktualizacja u źródła:
Informacje o modelu
- Źródło
- Printables
- Kategoria
- Mechanical Parts
- Licencja
- Creative Commons — Attribution — Noncommercial — Share Alike
One of the gears in my old Singer 7184 sewing machine broke and didn't wanted to purchase expensive replacement part.
I found that model https://www.thingiverse.com/thing:4699608 and 3D printed it after few modifications to ease its installation. As the CAD file was available it was easy to do.
- 1st modification, increase a bit the inner diameter (From 8mm to 8.1mm) of the gear to avoid deforming it when inserted on its axis. May have to be adapted regarding accuracy of your printer
- 2nd modification, add a chamfer to ease insertion
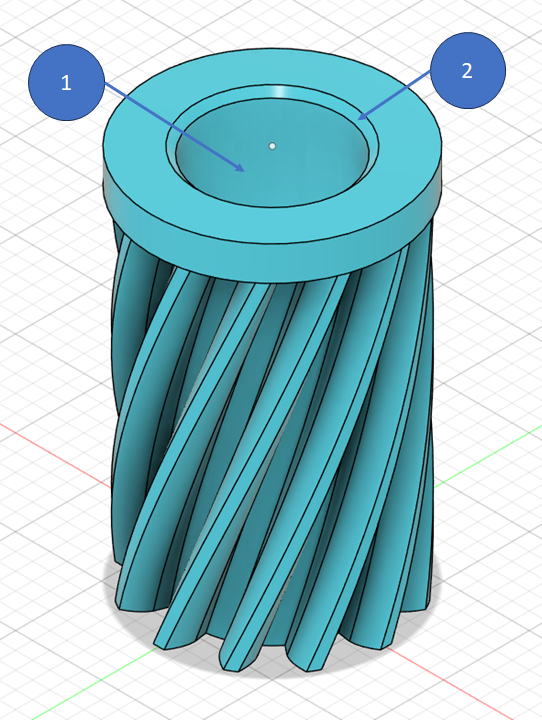
Printing material:
I used PA Nylon from Fillamentum https://shop.fillamentum.com/en-in/collections/nylon-filament/products/nylon-fx256-sky-blue as I already had very good result for another project
I don't know if other material like PETG or ABS will fit as well and if they last in time
Printing instructions:
I printed it with 0.4mm nozzle but sure result will be better with 0.2 or 0.25 mm nozzle regarding gear size
I used 0.10mm layer height, 3 perimeters, and a 5mm brim to ensure better plate adhesion during printing
I set Perimeter generator to “Classic” as “Arachne” mode produces a very bad quality. See picture below the part on the right


Prusa recommends to use PEI structured plate with glue to print PA. https://help.prusa3d.com/materials. So that's what I did and the result is very good
Note that I don't have enclosure on my MINI+ as recommended. Maybe better result can be produced with enclosure.
As for the TPU I print the Nylon with the coil in the dryer after waiting 1 good hour that it is at temperature and that it started to dry
Installation:
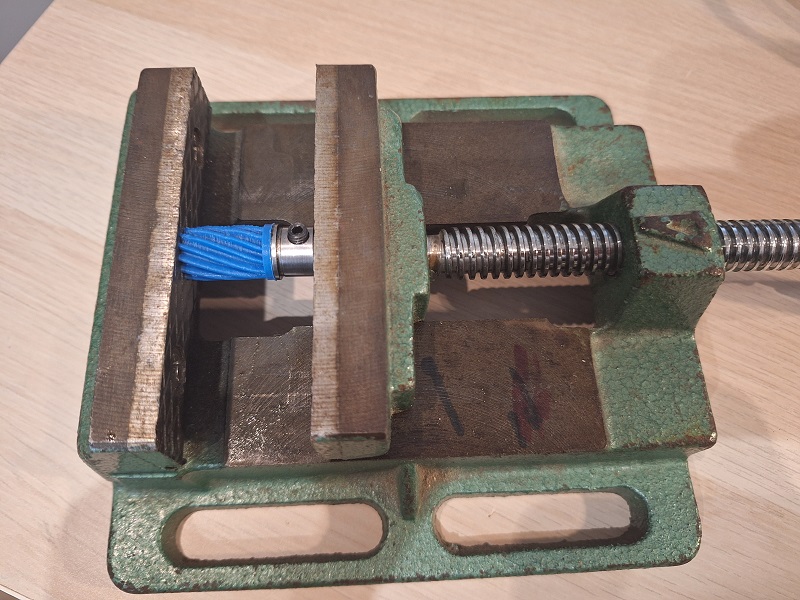
I used a vise to insert gear in its axis. I don't put glue at that step, but assembly maybe stronger with it. I'll see how strong it is.
Then I reassemble all the parts and re-synchronized the sewing machine. That step was long and funny as I had to learn using the machine with my wife
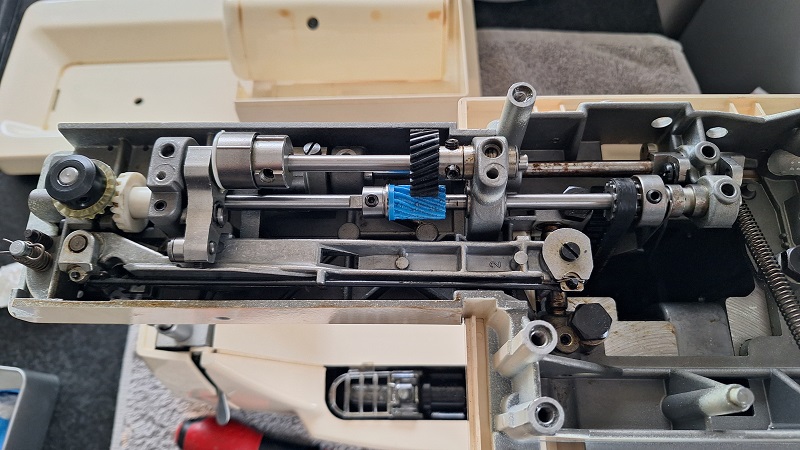
Now the machine is back to life and sewing quality still there even an almost 50 years old machine
On top of .stl and .3mf files, I uploaded Fusion 360 .f3d and.step files so you can modify the design and adapt it to your needs.
As usual, feedback and comments (and for sure "likes") will be always welcome. Feel free to post nice pictures of your makes.
You can also look at other parts I designed and 3D printed for my sewing machines
- Foot-pedal box for NECCHI Q132A sewing machine
- TPU storage block for sewing machine bobbins
- NECCHI Q132A sewing machine spool pin
- Rubber feet for Singer 7184 sewing machine
Enjoy
If you like this model, take a look also at my other designs in Printables.