
AM2302/DHT22 Sensor Mount for Extrusion Rail
Obliczymy ostateczną cenę na podstawie wybranego pliku. Sprawdzisz ją i zaakceptujesz przed płatnością.
Zapisane na tym urządzeniu.
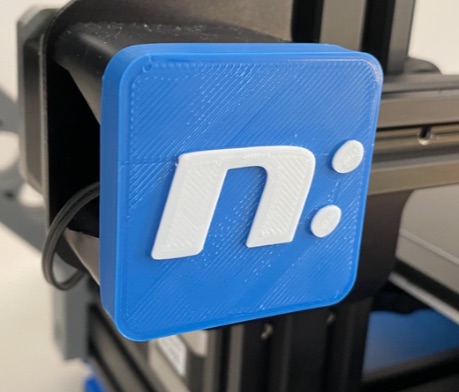
[Update: Sep 22, 2020] I made another mount for the BME280 sensor, too. Find it here:…
- Ocena
- 5 / 5
- Polubienia
- 4
- Pobrania
- 35
- Wydruki
- 1
- Wyświetlenia
- 465
- Oceny
- 1
Aktualizacja u źródła:
Informacje o modelu
- Źródło
- Printables
- Kategoria
- Accessories
- Licencja
- Creative Commons — Attribution
[Update: Sep 22, 2020] I made another mount for the BME280 sensor, too.
Find it here: https://www.prusaprinters.org/prints/117039-am2302dht22-sensor-mount-for-extrusion-rail
For my enclosure project with a temperature contolled fan I needed to mount the temperature sensor near the printing area of my Ender 3 to receive as accurate temperature values as possible, which are not influenced by obstructions or drafts
Thus I decided to mount it in a relatively higher position on back of the Z extrusion rail above the PSU.
This is a simple but functional mount for a AM2302 temperature sensor. It is mounted with the sensor on an extrusion rail with a M3x8 hex screw and M3 T-nut.
I added a small cover the connectors to make it look nicer.
The sensor is connected to my RPi which is built into an AIO enclosure on the back of the printer. To read aout the temperature I use the Enclosure plugin for OctoPrint.
Note:
The AM2302 is shipped in various form factors. The one I use is this here.
https://amzn.to/3ivYbIl
Print Settings
Printer Brand:
Creality
Printer:
Ender 3 Pro
Rafts:
No
Supports:
No
Resolution:
0.2
Infill:
20%
Filament:
Amazon BasicFill PLA Black
Notes:
Additional materials:
1x M3x8 hex screw
1x M3 T-Nut
3-wire DuPont cable (ca. 60cm)
Post-Printing
Slide the sensor connectors into the mount and connect them with DuPont cables.
Then put the screw through the drill hole of the PCB and the mount and secure it with a T-Nut on the rail.
How I Designed This
Designed in Fusion 360
If you like my stuff then please leave a 👍 and post a make. Thanks!