
SKR E3 Mini v3 mounting bracket for Flashforge Creator Pro
Obliczymy ostateczną cenę na podstawie wybranego pliku. Sprawdzisz ją i zaakceptujesz przed płatnością.
Zapisane na tym urządzeniu.

Mounting bracket for Flashforge Creator Pro for an SKR Mini E3 v3 and a Raspberry Pi 3/4
- Ocena
- 0 / 5
- Polubienia
- 3
- Pobrania
- 32
- Wydruki
- 0
- Wyświetlenia
- 224
- Oceny
- 0
Aktualizacja u źródła:
Informacje o modelu
- Źródło
- Printables
- Kategoria
- Other Printer Parts & Upgrades
- Licencja
- BSD License
Have a Creator Pro that want to breathe new life into? This bracket is designed to use the existing mounting points on the printer but allow the installation of an SKR Mini E3 v3 motherboard and a Raspberry Pi 3 / 4 or Bigtreetech Pi v1.2.
This means you can not only get rid of the old 8-bit Mightyboard but also run either Klipper / Mainsail or Marlin / Octoprint all in a self-contained package. No messy USB cables laying around or need for external boxes. Everything fits nice and tidy under the printer chassis.
Since the mod takes advantage of the existing mounting studs used by the original motherboard you don't have to make any changes to the chassis itself.
This is a game changer for those with a Flashforge Creator Pro. Now your old printer can be like new again! However, there is one exception to mention. While this mod does give you the ability to replace the motherboard and add a Pi you will need to redo a majority of the wiring for the machine.
With that said anyone who is probably executing this type of mod is probably already aware of this.
The list of materials you will need to make this work is pretty small.
- 1 Bigtreetech SKR Mini E3 v3
- 1 Raspberry Pi 3 / 4 or Bigtreetech Pi v1.2
- 5 M2.5 heat-set brass inserts (for the Raspberry Pi mount).
- 8 M3 heat-set brass inserts (for the SKR board mount and support columns)
- 4 M2.5 10mm brass (or nylon) PCB standoffs
- 5 M3 10mm brass (or nylon) PCB standoffs
- 7 M3 10mm countersunk machine screws
Optional but helpful tools to have
- 3M VHB tape
- 3mm drill bit
- 4mm drill bit
As for print settings you want to optimize for strength. This means lots of walls, floors, ceilings. The walls are the most critical since you need enough wall material for the brass inserts to sit in. Too thin of walls with lead to the insert not having a good grip on the part.

Infill-wise I went for a fairly dense infill. I wanted to ensure the top skin didn't have large gap between it, you might be able to play with settings and find something more suitable.

When setting the orientation of the print it is important to flip the bracket upside down. This makes it so the bracket so the conical holes will print well.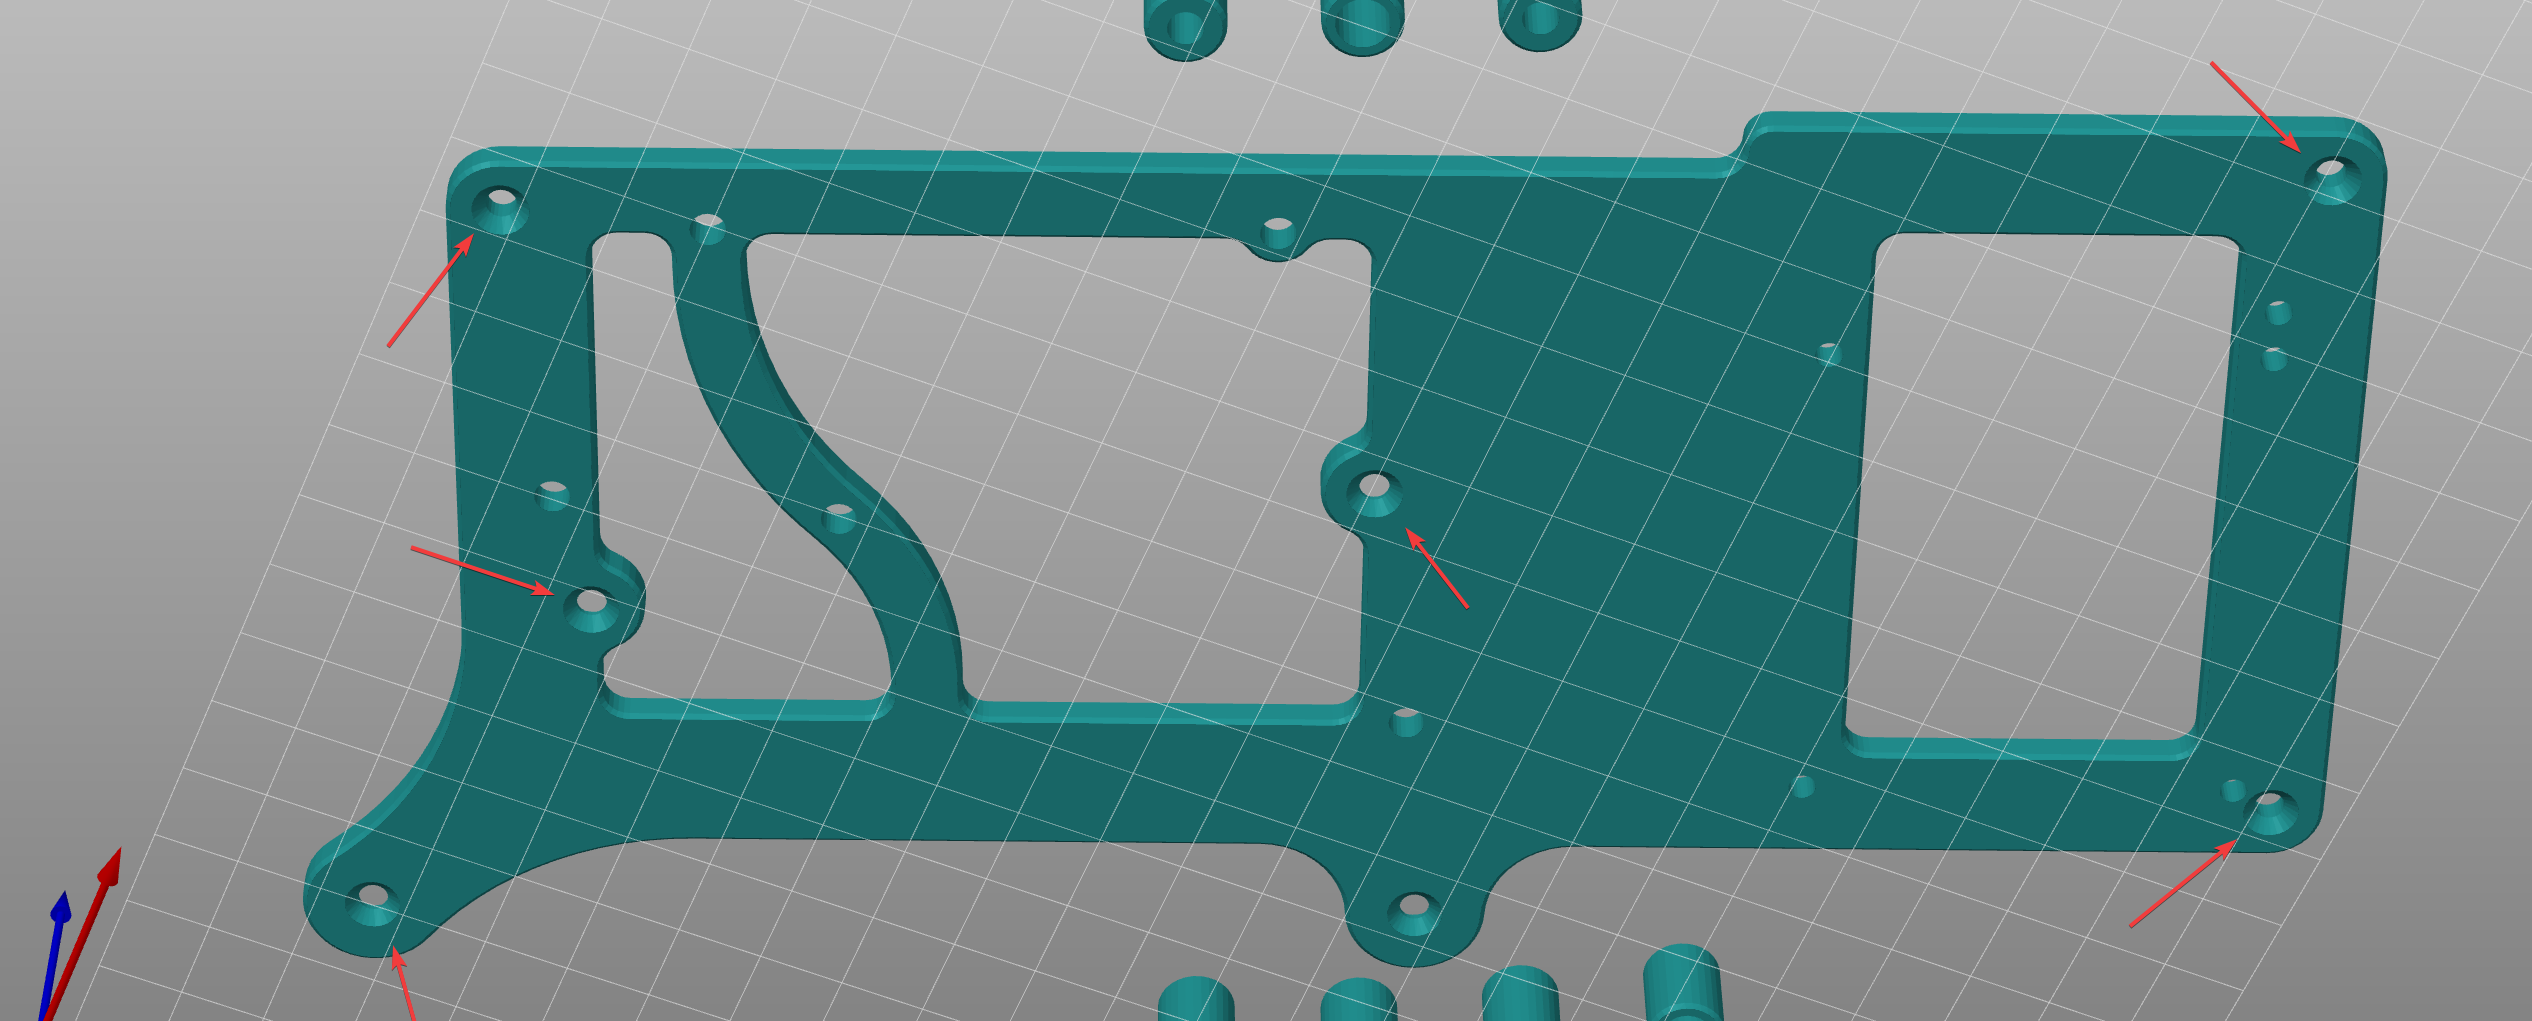
On the top side you will notice small counterbores. These are done for 2 reasons. First it lowers the bracket a few millimeters (2 in fact) to help provide clearance from the bottom panel. Second the allows the bracket to lock into the existing standoffs.
While this bracket was designed to fit on my Ender 3 Pro if you have issues making the bracket fit on your bed, I have also included a split body version of the same bracket. However, due to the split being over an unsupported location I would not recommend using this bracket if you have a way to print the entire thing in one piece. If you choose to print as 2 parts you will need to select a proper glue for binding the parts to each other. ABS welding would be very useful here.
When assembling the bracket, you must do things in a certain order since some of the screws are not accessible once the parts are attached.
- Attach the PCB standoffs to the bracket
- Attach the support columns to the bracket
- Mount the bracket to the chassis
- Mount the SKR and Pi
With regards to mounting the Pi, I have included two options for mounting. The standard Raspberry Pi mount and the Bigtreetech Pi v1.2 mount. This allows a few different options for Pi choices.

Mounting the bracket doesn't really require anything special, simply press the bracket onto the existing studs and drive in the mounting screws. Once attached populate the control board and Pi, easy peasy!
I think that is everything to tell, feel free to drop me a message or a comment if you have any questions. I will try to answer them quickly.