
De Havilland DH.100 "Vampire"
Obliczymy ostateczną cenę na podstawie wybranego pliku. Sprawdzisz ją i zaakceptujesz przed płatnością.
Zapisane na tym urządzeniu.
a printable vintage British jet fighter
- Ocena
- 0 / 5
- Polubienia
- 20
- Pobrania
- 125
- Wydruki
- 2
- Wyświetlenia
- 463
- Oceny
- 0
Aktualizacja u źródła:
Informacje o modelu
- Źródło
- Printables
- Kategoria
- Other Ideas
- Licencja
- Standard Digital File License
Today's fighter jets are flying computers. If I wanted to see a flying computer I would throw my laptop out of the window...
Here comes the real stuff: De Havilland DH.100 "Vampire"
This english badass of the skys made its maiden flight in 1943 and started its service career in 1946. The Vampire stayed in service until 1966 in England and even until 1990 in Switzerland.
The model has a wingspan of 420mm, a length of 340mm and a height incl. the stand of 230mm. The scale is roughly 1:28. Despite its size, it can still be printed on 180mm³ or larger printer. The plane consists of 22 parts and for the assembly you need a little bit of glue (I am using Tangit PVC-U Plus).
I tried to make this model as precise and as easy to print as possible. To check the design I printed two prototypes and a lot of partial test prints. But of course I cannot test every filament, every setting and every printer. If you print this model please give me some feedback if the print profile and the assembly is ok for you. Maybe there is a flaw that I have not seen yet. I am always open to optimize my design or print profile.
You can print this model without an MMU or AMS. I choose to have six colours but it is not necessary. You just need to change the colours in my print profile. I recommend silver for the jet-parts and black + silver for the stand. The cockpit can be made of clear PLA. Any other colour is OPTIONAL.
Print preparation:
Make sure that your print bed is clean and grease-free and use a quality brand, dry filament. Please calibrate your filament. An incorrect flow setting can lead to assembly problems. If you are having bed adhesion issues try using printer-glue on your plate. The parts must not warp or you will see this defect later on your model.
Print settings:
Use the 0.2mm standard settings for everything but the flat roundel. For this use the 0.12mm settings. Some parts need support and a brim. With 22 parts to be printed it is simply too much to list every detail, so take a look at my 3mf print profile.
If you want to use silk filament (like you can see in the pictures) you need to reduce the speeds in my print profile for the outer wall and the top surface to 80mm/s. Then you get this glossy shining surface.
Assembly:
Remove all supports and brims thoroughly! Deburr and clean all parts. Take special care of the red connector parts.
Press the canoyp frame into the canopy. Use a tiny bit of glue if necessary.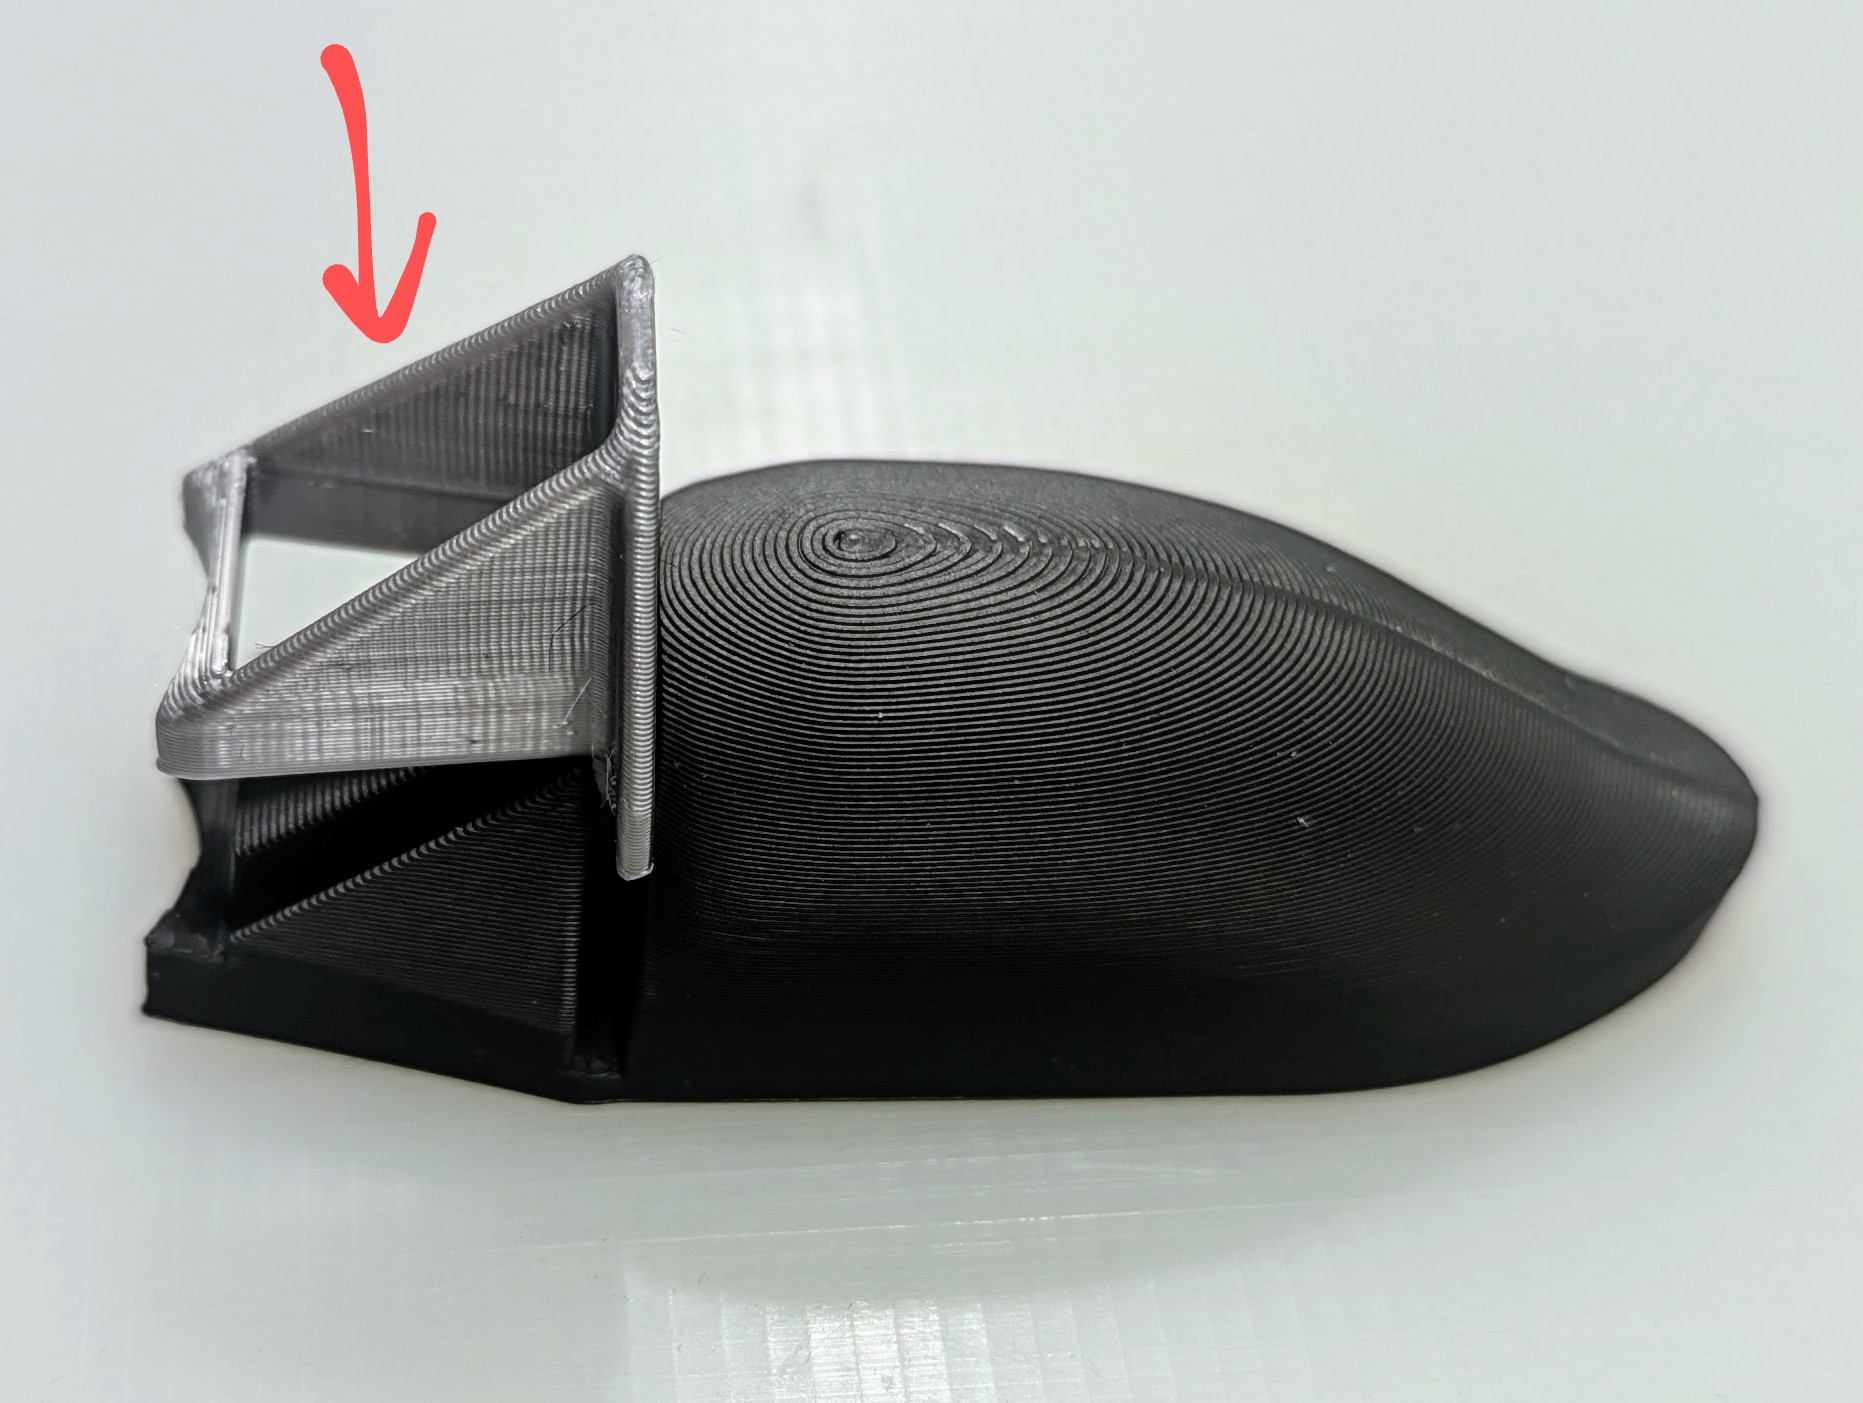
Glue the turbine outlet to the rear fuselage.
Assemble the tailunit front to the tailunit rear. The tailunit connector helps to align the parts. Use a tiny bit of glue if necessary and repeat for the other side.
CAUTION: Do not mix up the sides. Left front to left rear and vice versa.
Press the front fuselage to the fuselage connector.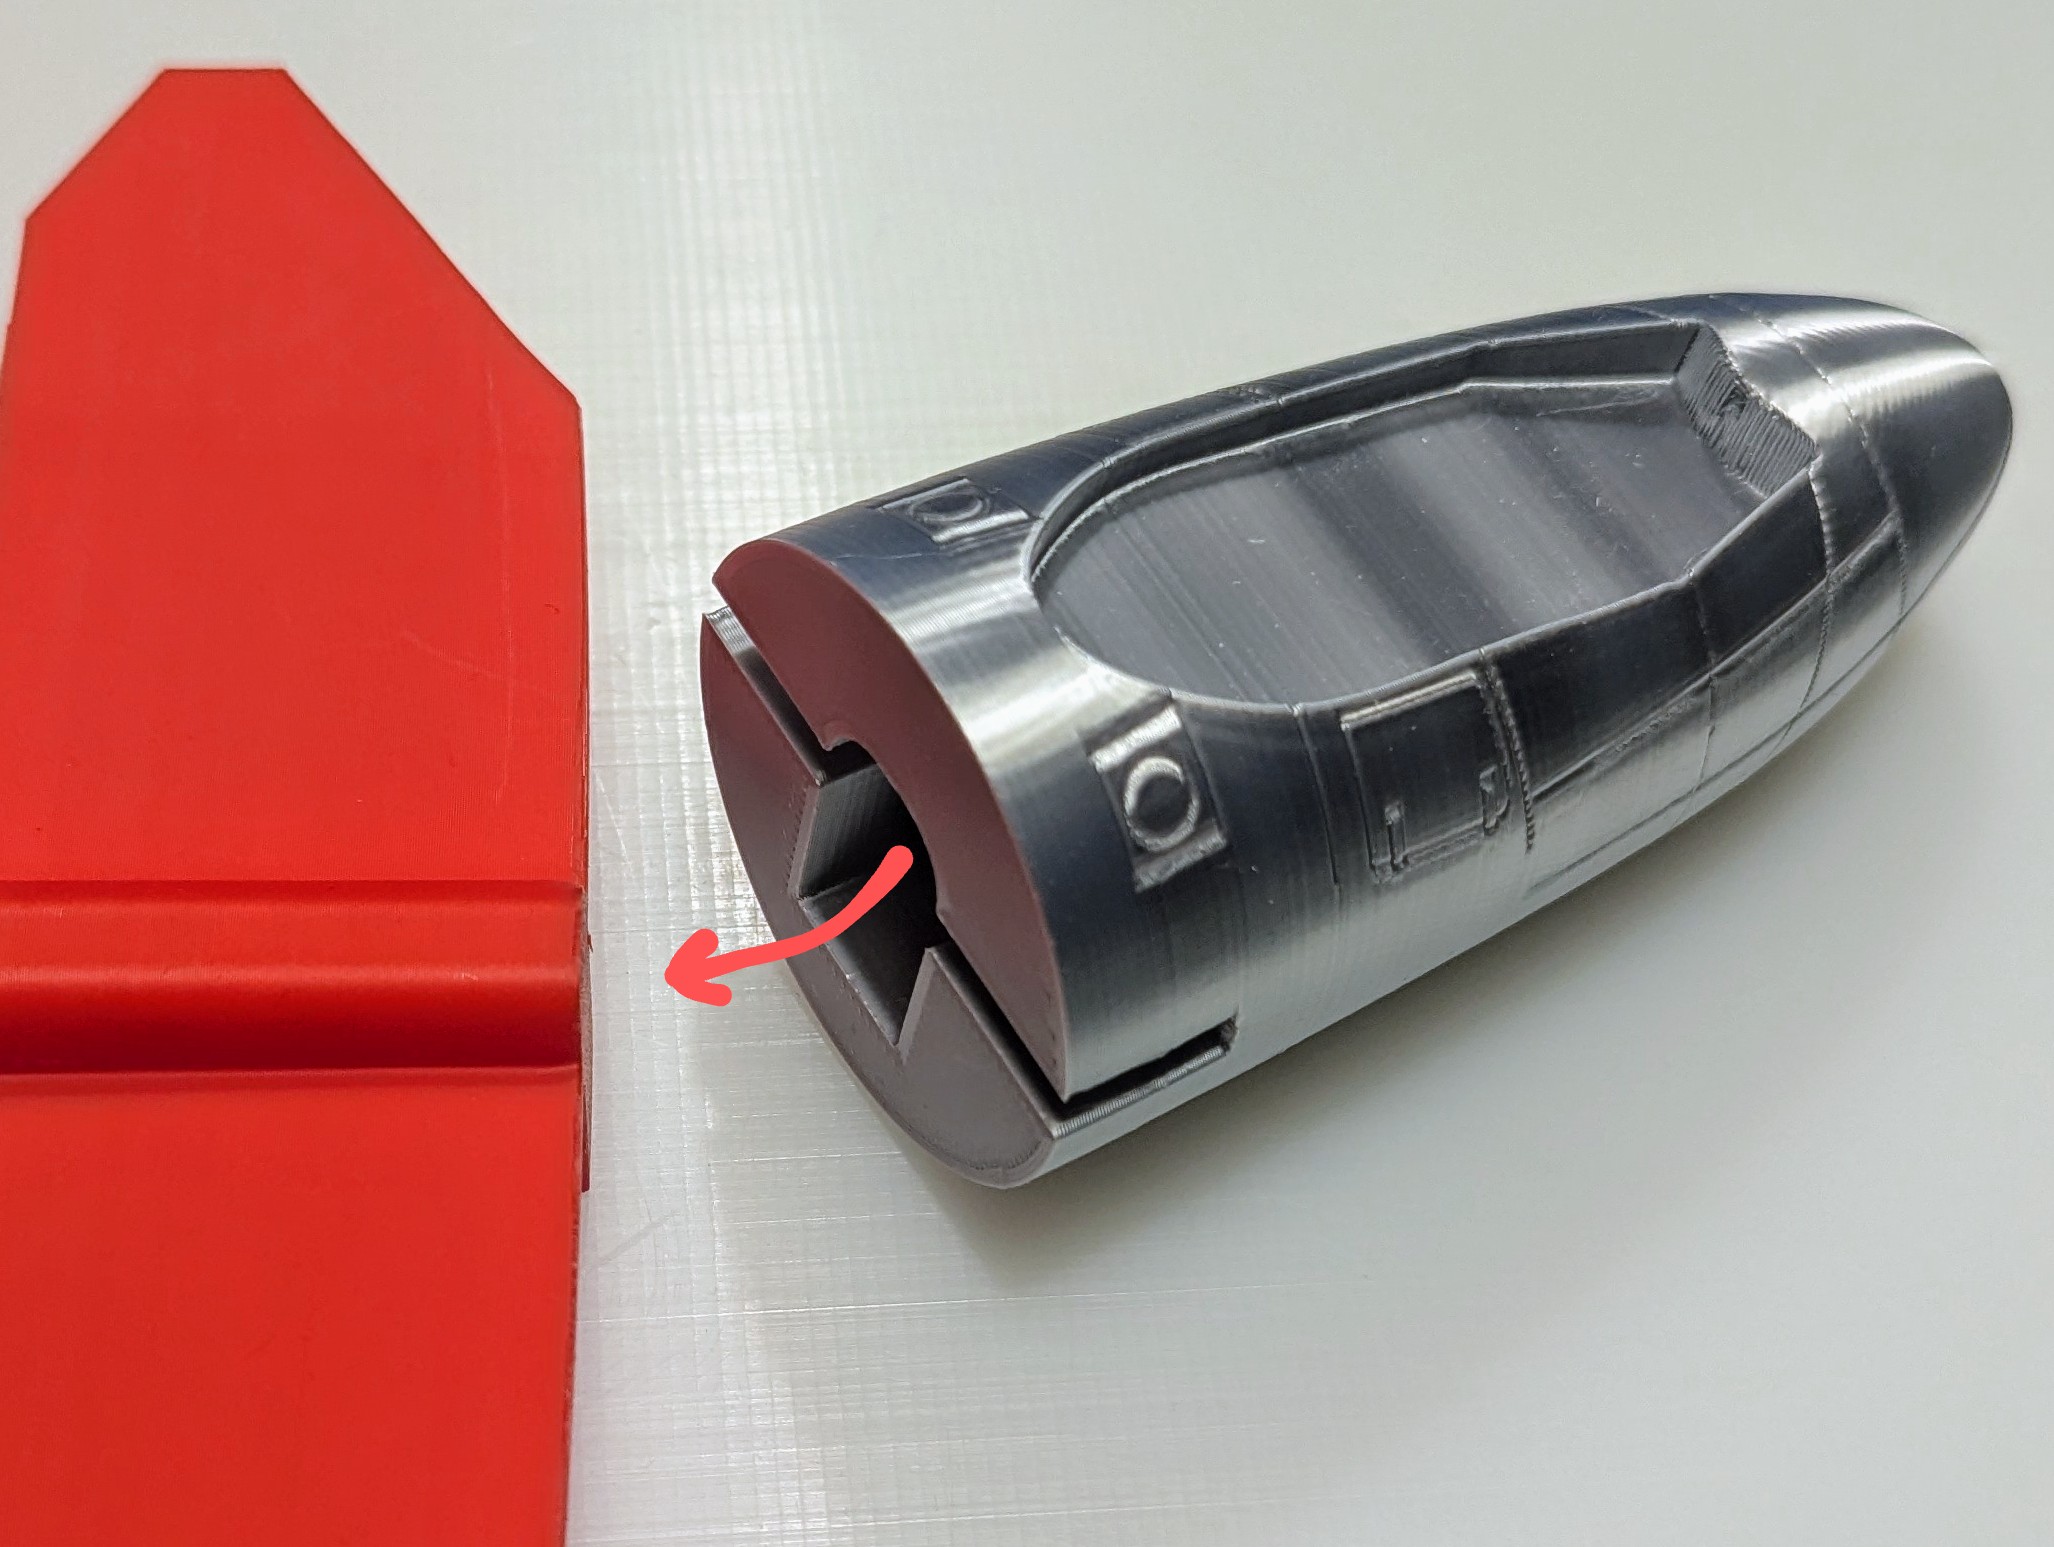
Now do the same with the rear fuselage. Use a tiny bit of glue if necessary.
Glue the turbine inlet to the wing root. Repeat for the other side.
Press the wing root on the fuselage connector. Use a tiny bit of glue if necessary. Repeat for the other side.
CAUTION: Do not mix up the sides.
Press the wing on the fuselage connector. Use a tiny bit of glue if necessary. Repeat for the other side.
CAUTION: Do not mix up the sides.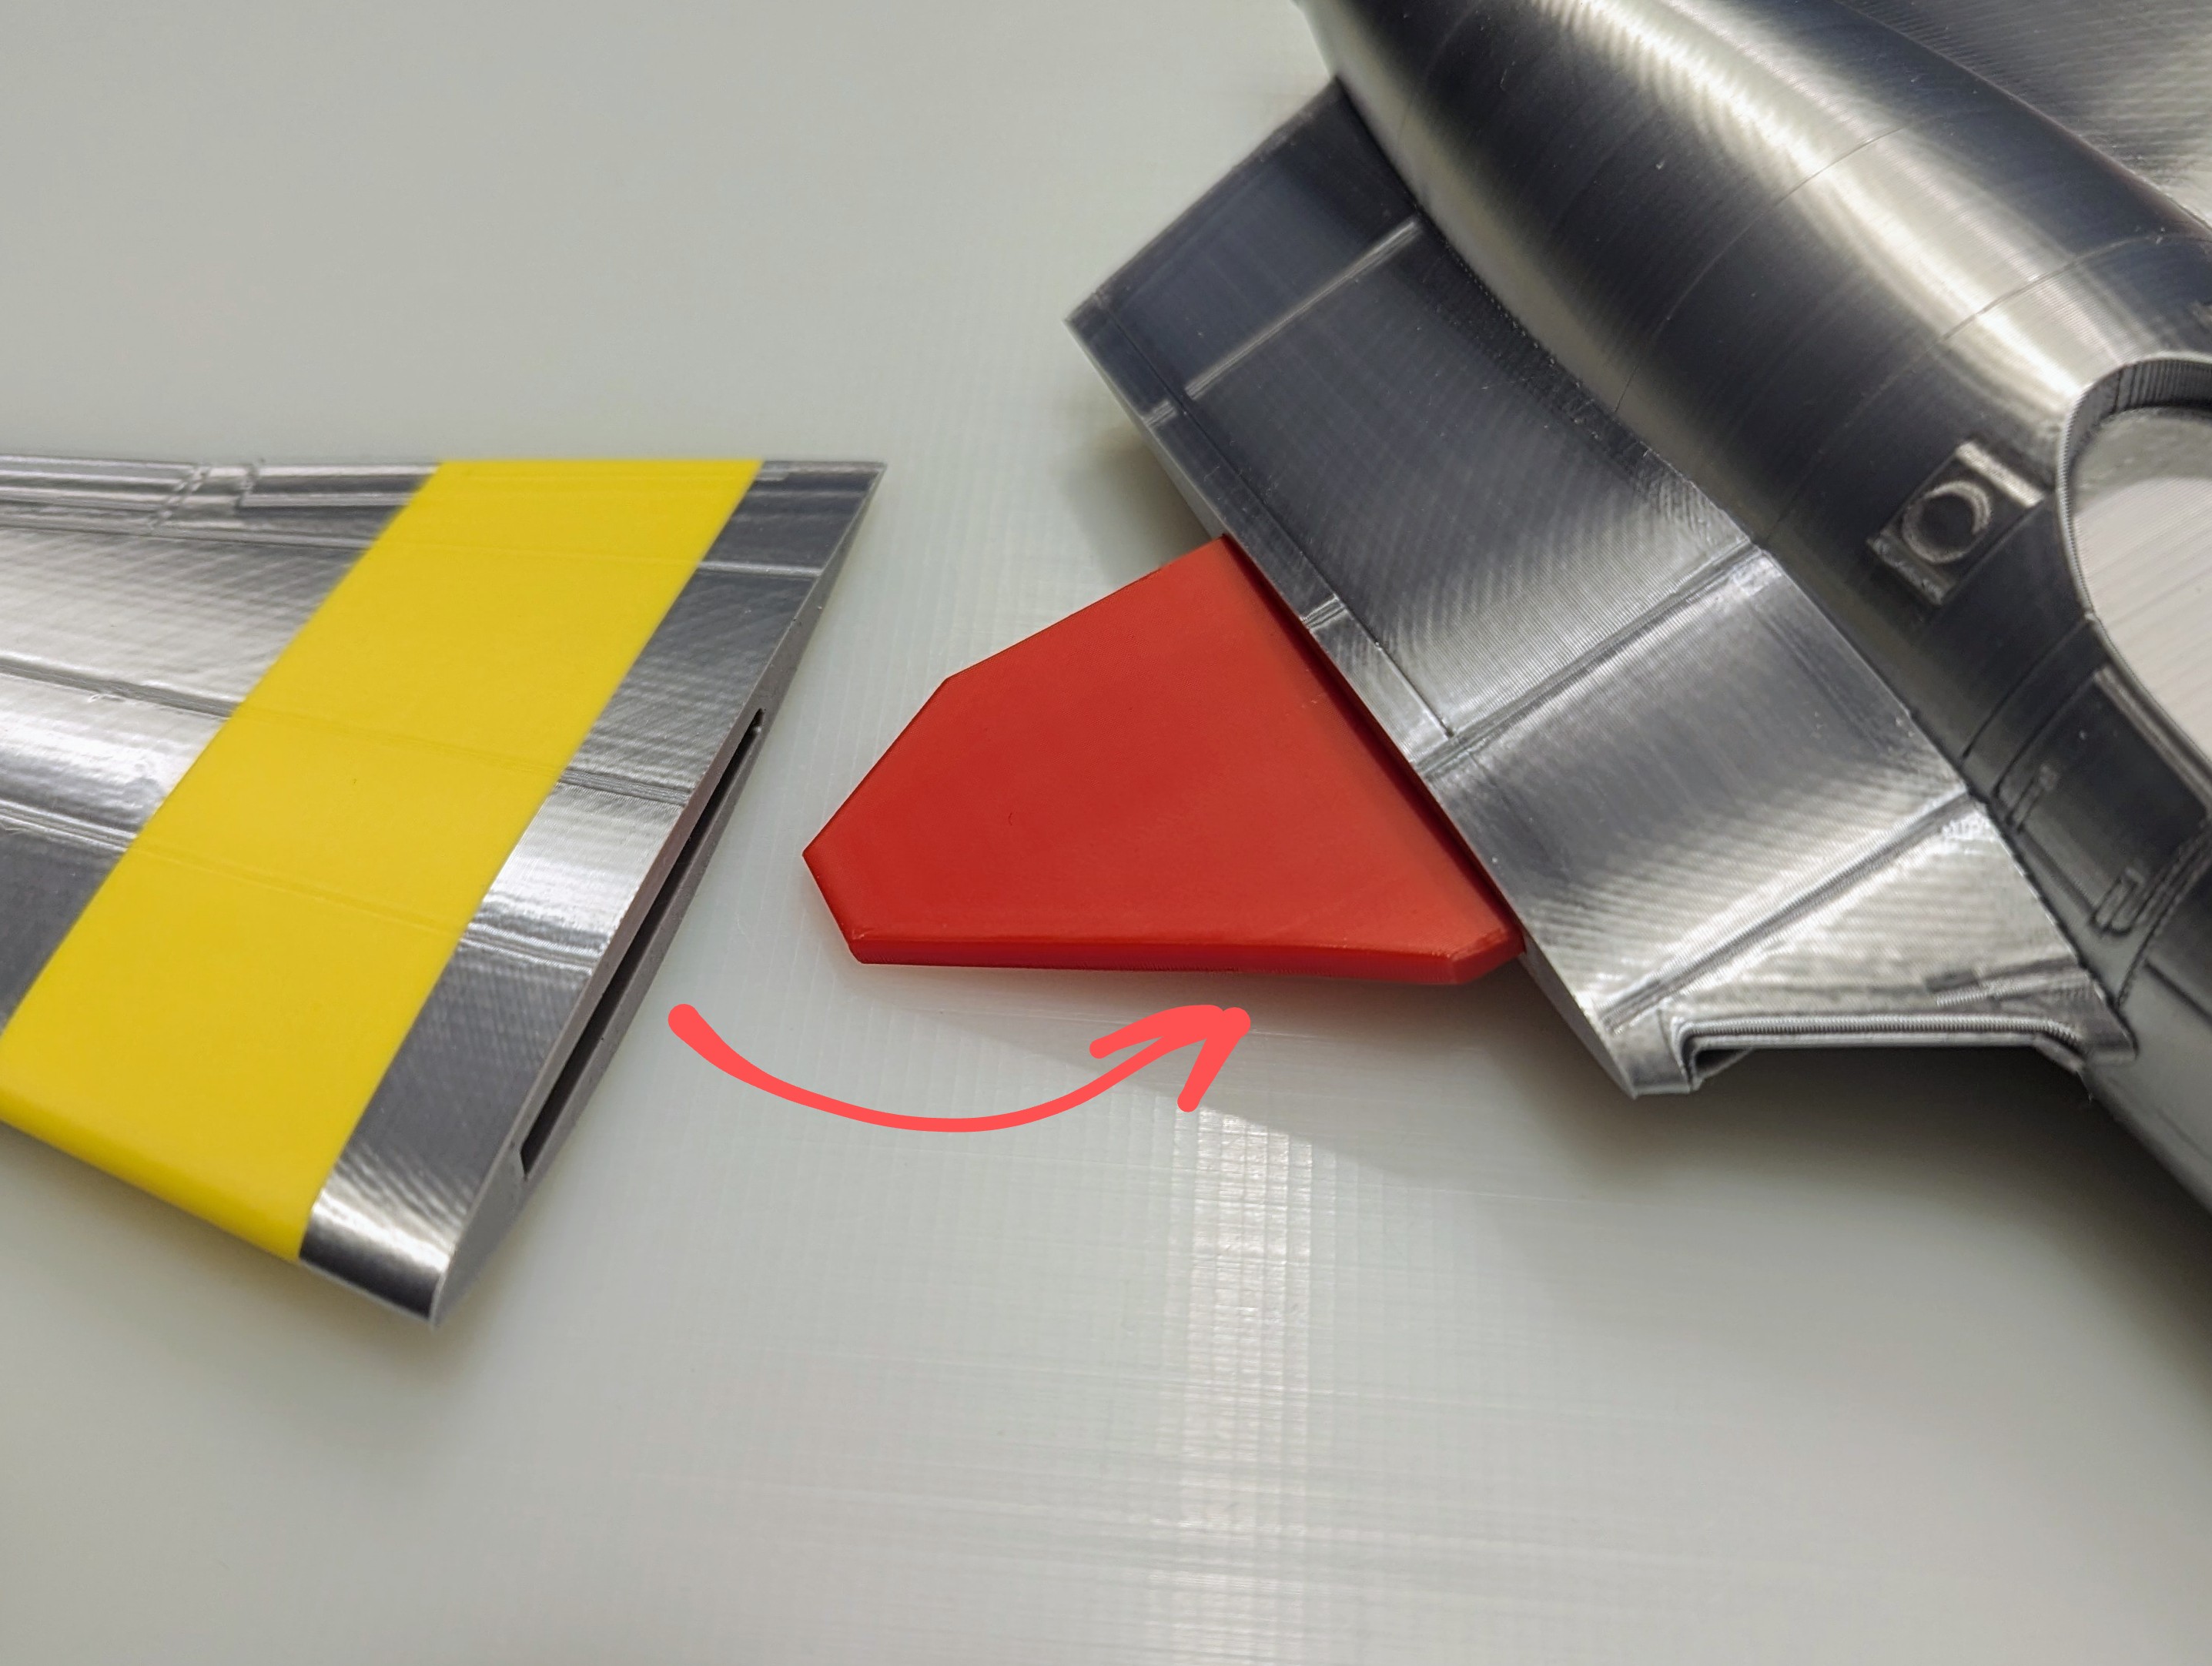
Insert the canopy. Use a tiny bit of glue if necessary.
Now comes the tricky part - glue the tail plane to one of the tail units. Keep the tail plane perpendicular to the tailunit until the glue has cured. The faster the glue cures the easier this step is.
Repeat for the other side after the glue has cured.
Slide the complete tailunit on the wings. Use a tiny bit of glue to fix the tail unit in place.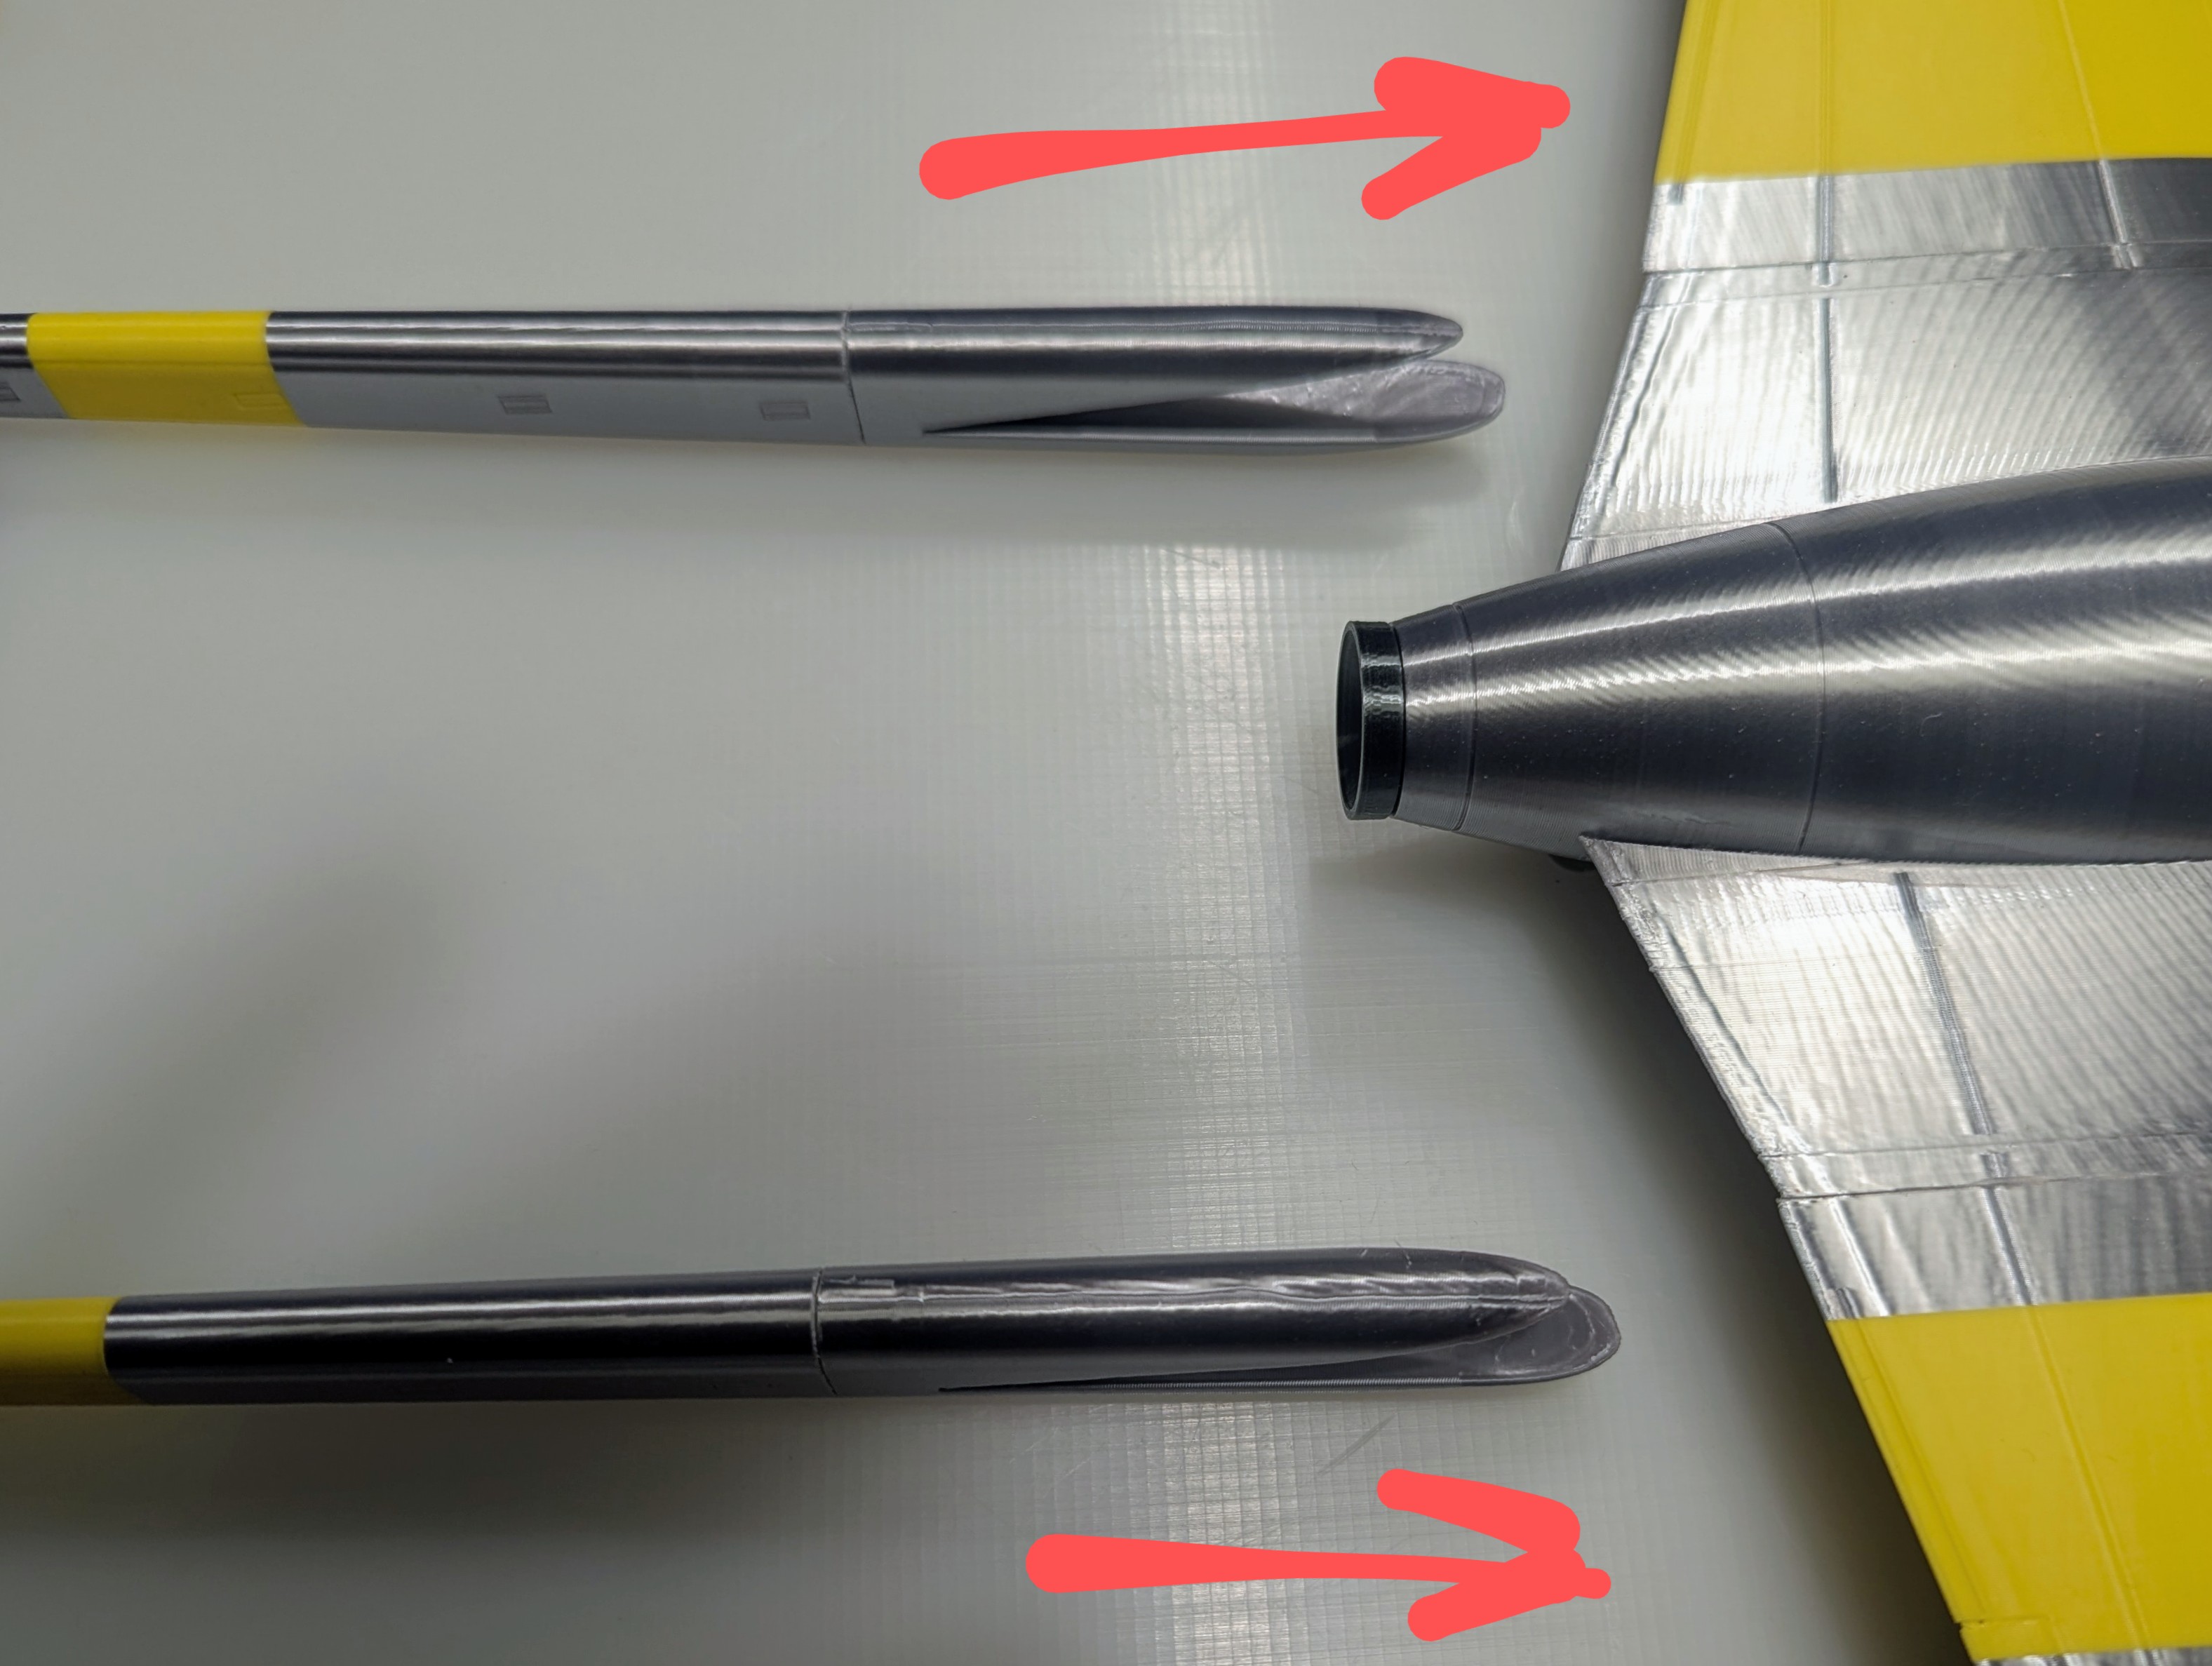
The RAF roundels are OPTIONAL. Just glue them where you like.
The assembly of the stand is self-explanatory, I guess.
And now conquer the skies with your brand new vintage jet fighter!
If you want to support me you can leave a tip at ko-fi.com/blecheimer.
Disclaimer:
This model by blecheimer is licensed under a Standard Digital File License. It is for personal use only (e.g. printing, gifting, presenting, showing). All files and any prints of it must not be used commercially. Any form of charging money or collecting fees for this model is strictly forbidden.
Sharing, sub-licensing, selling, renting, hosting, transferring, distributing, adaptation or derivates in any form or format is prohibited. This includes remixes. Copying or hosting this model to other digital websites, online stores or cloud services in general is not allowed.