
Full 9x13 sandpaper rack storage
Obliczymy ostateczną cenę na podstawie wybranego pliku. Sprawdzisz ją i zaakceptujesz przed płatnością.
Zapisane na tym urządzeniu.

I made this version with 2 major modifications in mind, using way less screws and make it sandpaper size.
- Ocena
- 0 / 5
- Polubienia
- 26
- Pobrania
- 78
- Wydruki
- 0
- Wyświetlenia
- 534
- Oceny
- 0
Aktualizacja u źródła:
Informacje o modelu
- Źródło
- Printables
- Kategoria
- Organizers
- Licencja
- Creative Commons — Attribution — Noncommercial
This is a sandpaper rack made from MadebyA2 model. It needed tons of screws while this one mostly uses printed dowels (studs or pins) as fasteners.
These dowels are compatible with the original design, saving more than 28 screws per level!!!
You can glue them together but they are press-fit so it is not required. Mine is holding very well without any glue at 12 levels! The dowels are voluntarily made offset to make printing easier, they must be printed horizontally or it won't be solid!
To assemble, you will need a good pair of pliers to insert the dowels, x4 M3 srews and nuts (per plate) and the followings printed parts :
Initial setting :
- 2 front plate sections
- 2 back plate sections
- 3 left brackets
- 3 right brackets
- 1 back bracket (either left or right)
- 3 left legs
- 3 right legs
- 40 dowels
Then for each new level you will need :
- 1 front plate sections
- 1 back plate sections
- 3 left brackets
- 3 right brackets
- 1 back bracket (either left or right, alternate between the 2)
- 28 dowels
- 4x m3 scrwew and nuts
To assemble:
- Using 4x m3 screws and nut, assemble the front and back plate together
- Insert the smaller section of the dowels into the 3 left and 3 right brackets, making sure the offset is going in the same direction (see picture) - It is a press fit, you will needs pliers!
-
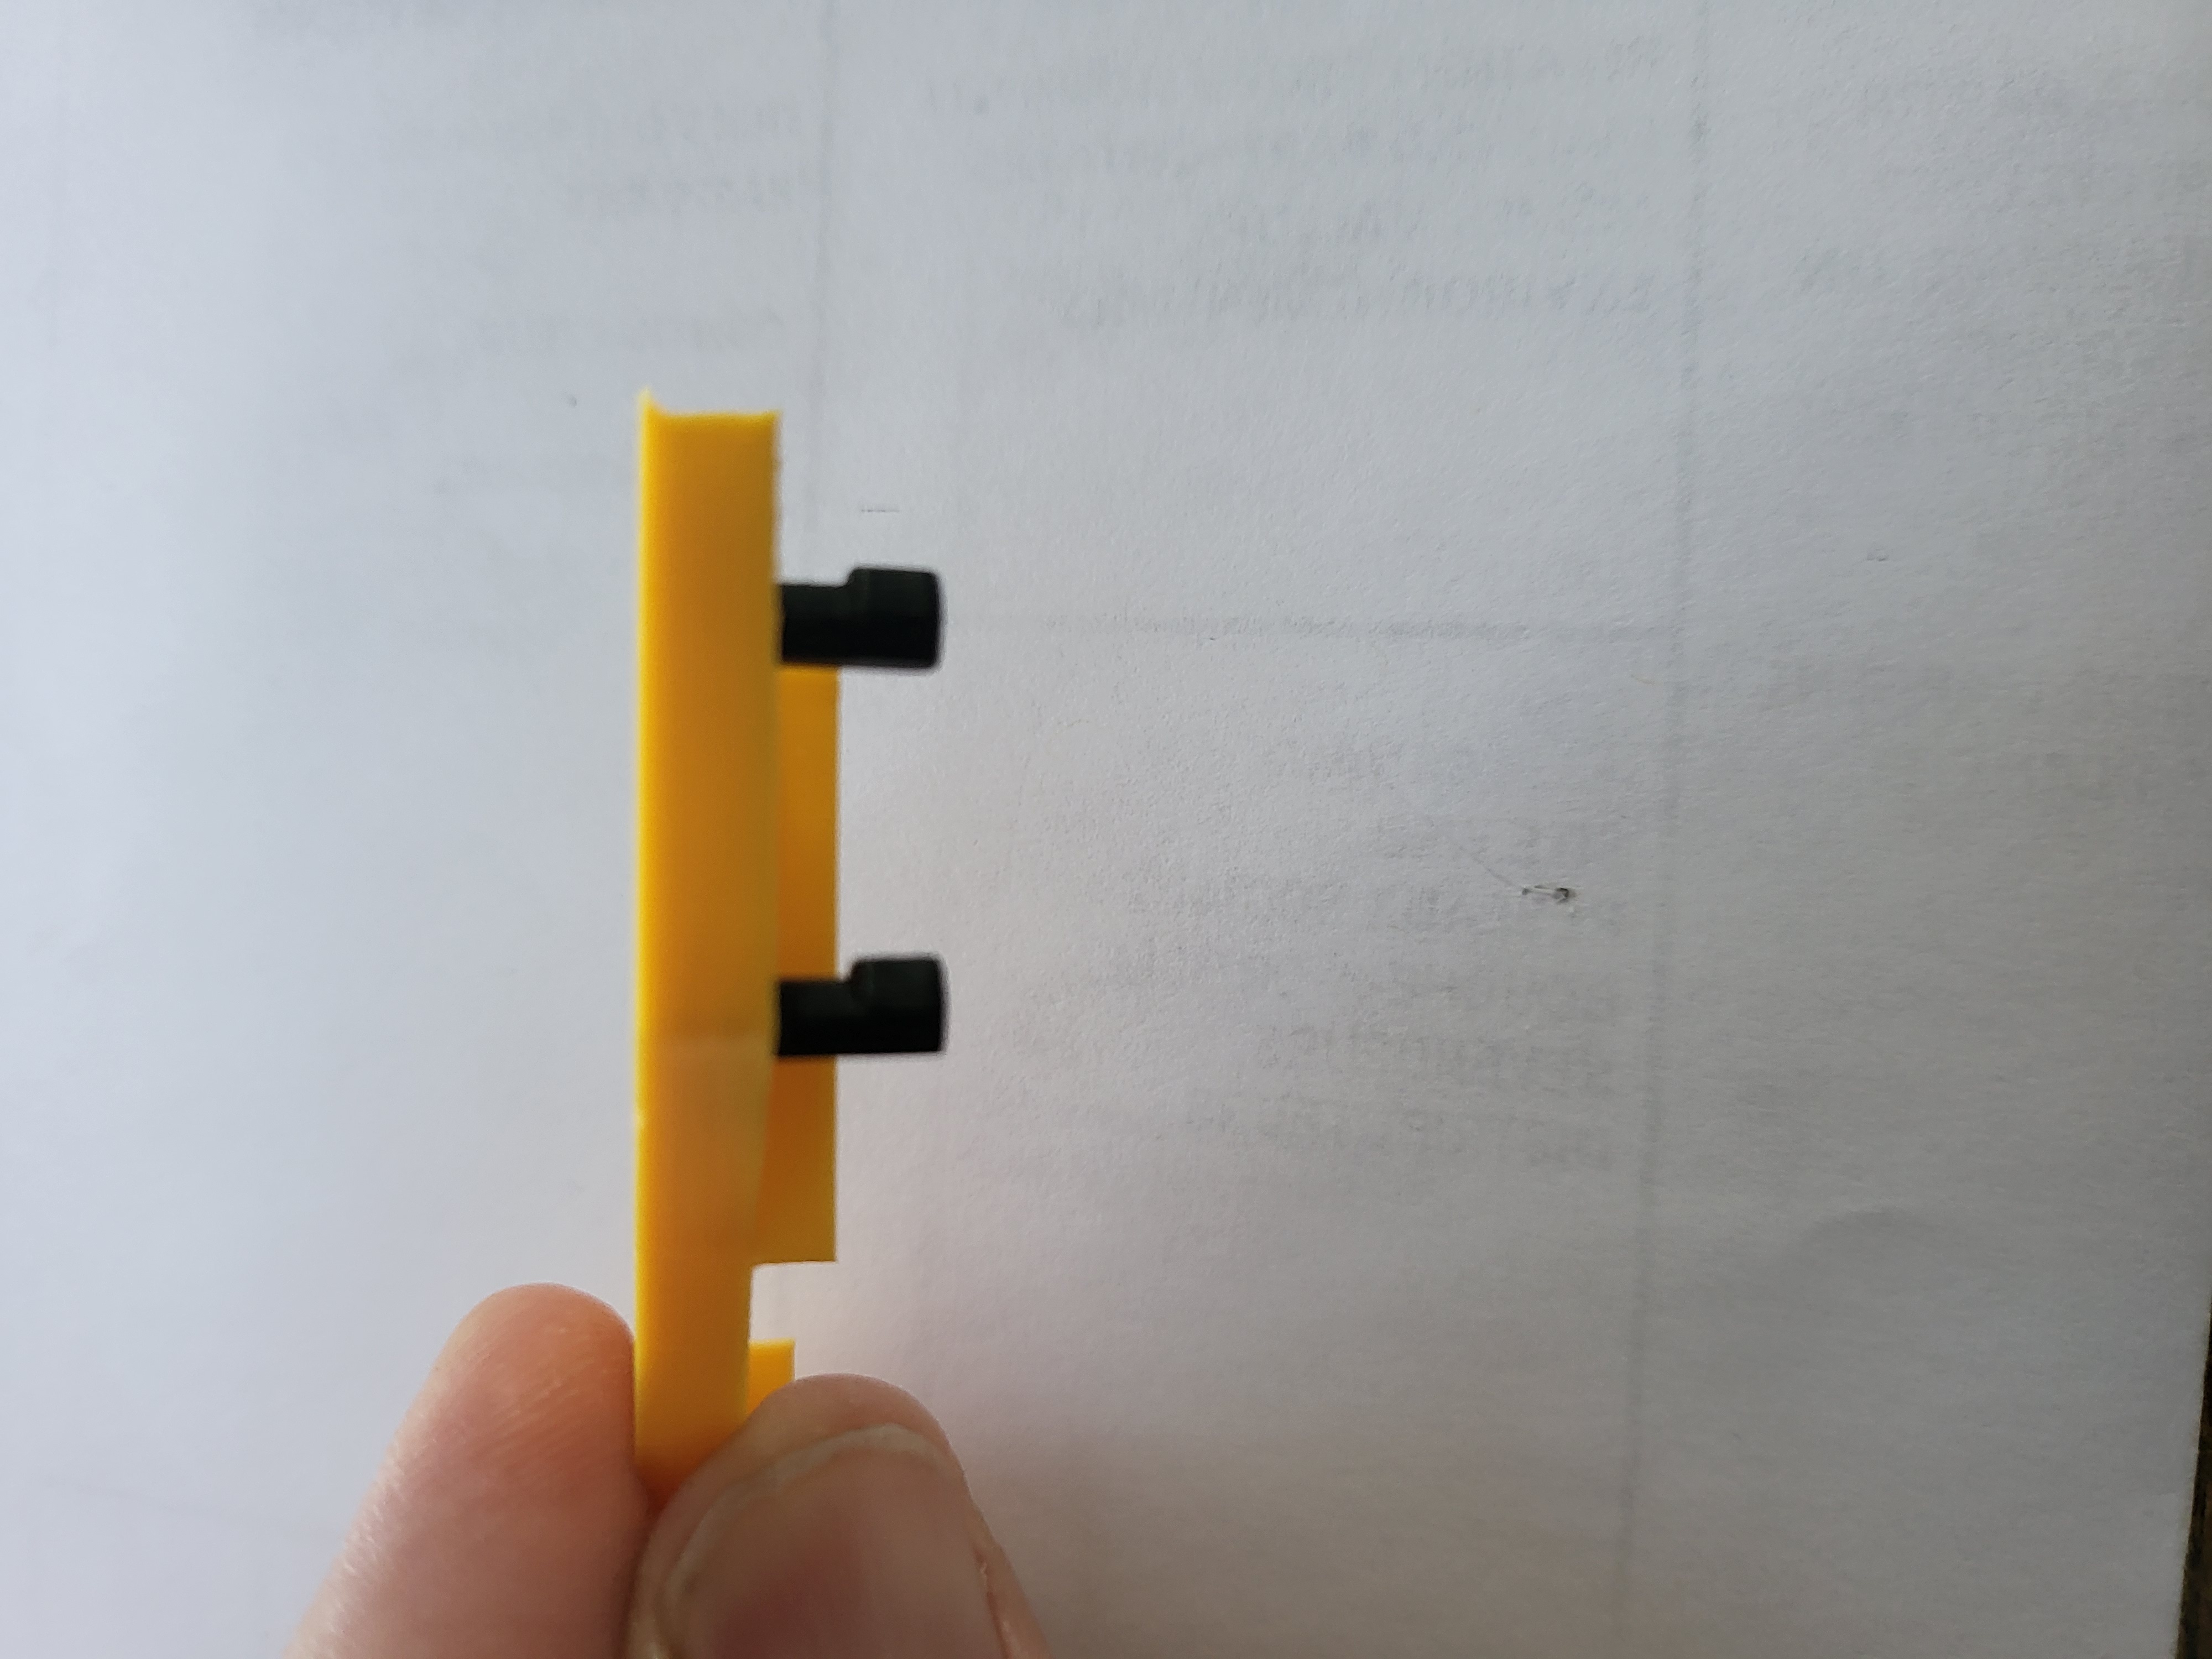
- Insert the smaller section of the dowels into a back bracket (alternate between left and right for each level), making sure the offset is going in opposite direction (see picture) - It is a press fit, you will needs pliers!

- Assemble the left, right and back brackets onto the levels - It is a press fit, you will needs pliers!
- Make as many levels as needed
- Insert grits tags onto levels as needed
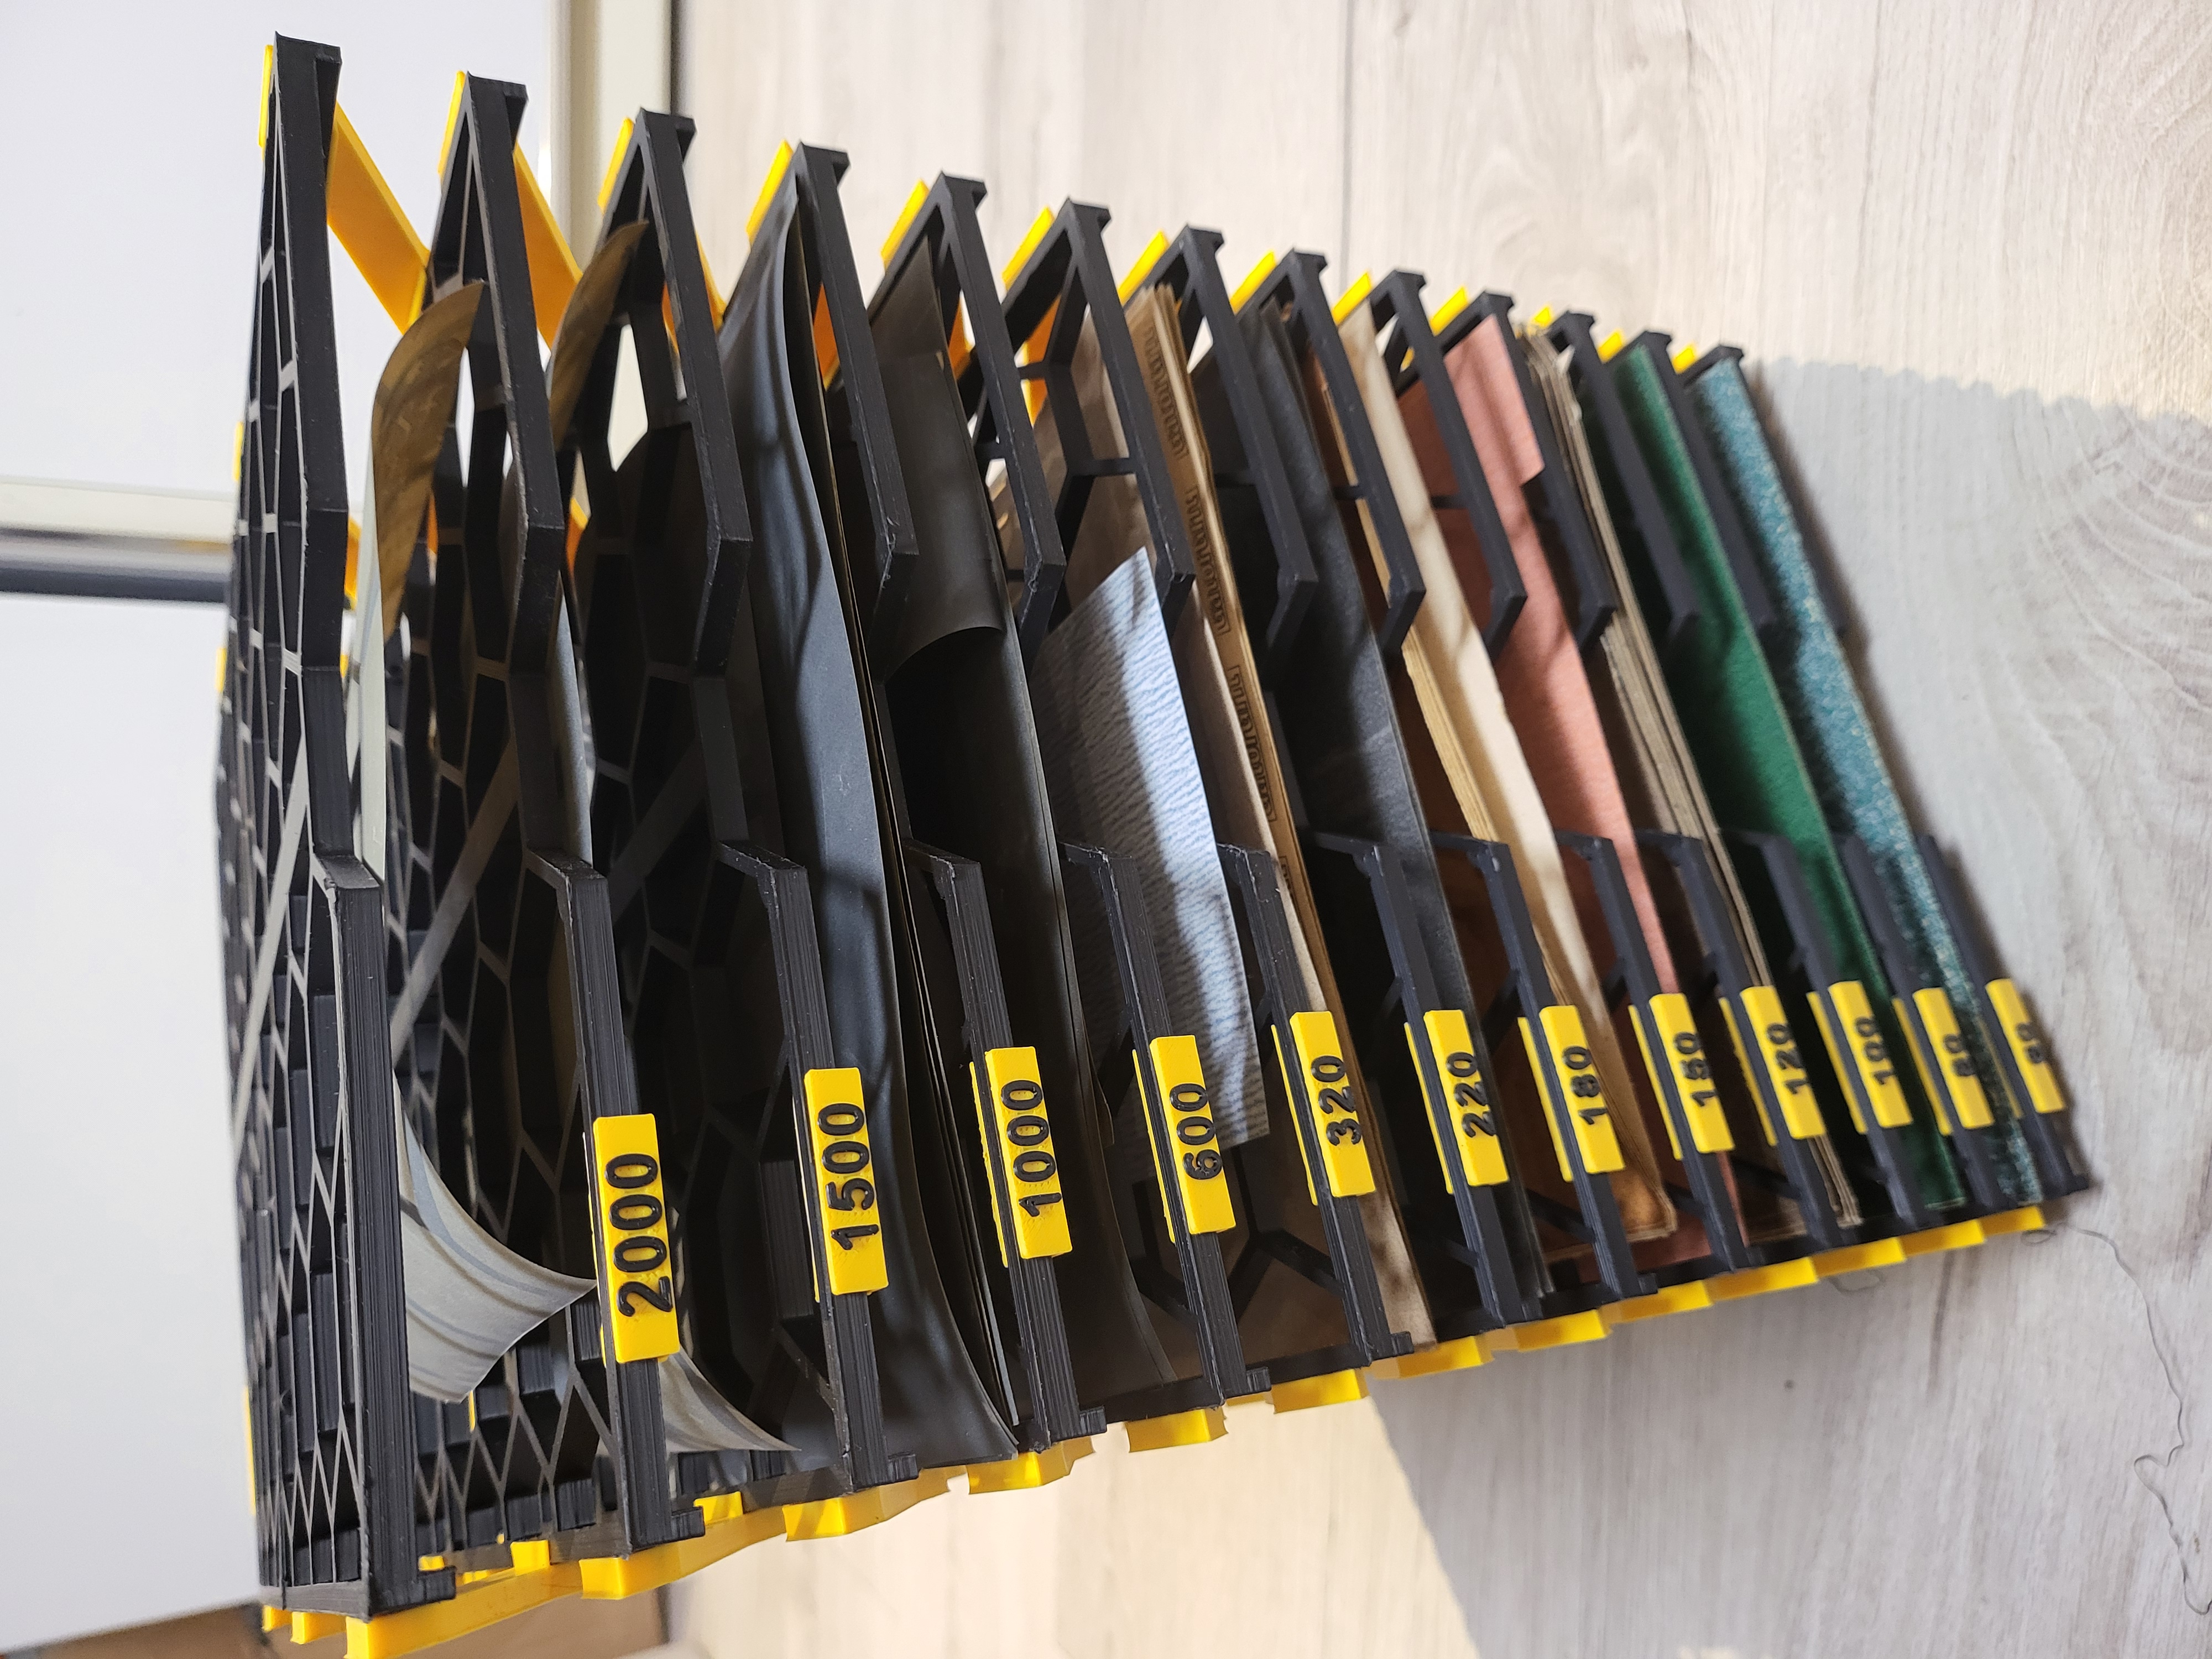
The supplied pictures should help you to assemble the unit correctly. The only worry you have is making the dowel offset direction correctly.
Hopes you like it and it is as useful as it is for me!!!