
Cone Filler + Storage
Obliczymy ostateczną cenę na podstawie wybranego pliku. Sprawdzisz ją i zaakceptujesz przed płatnością.
Zapisane na tym urządzeniu.

A handy mechanism to help grind, fill, and store your smokeable cones.
- Ocena
- 5 / 5
- Polubienia
- 21
- Pobrania
- 113
- Wydruki
- 0
- Wyświetlenia
- 886
- Oceny
- 2
Aktualizacja u źródła:
Informacje o modelu
- Źródło
- Printables
- Kategoria
- Other House Equipment
- Licencja
- Creative Commons — Attribution — Noncommercial
This is a system for easily grinding your herbs of choice, automatically filling Raw brand cones with those ground herbs, and a container for storing your filled cones.
This is very specifically sized for Raw brand cones size 1 ¼. It will probably work with the smaller sizes of the same brand of cones, or other brands of pre-assembled smoking cones, but I haven't tested that so YMMV.
One note is this was designed with pretty tight tolerances, there is a .2mm gap between all surfaces intended to slide over/past one another. If your printer is well tuned this shouldn't be an issue, but it may be worth printing the grinder section as a test. If the pieces don't go together and slide easily you may not have luck with the overall model.
A benefit of this tight tolerance however is smell containment. When fully assembled I find that no herbal odor escapes, either in the cone filler or the storage solution, making them both very handy for keeping things fresh and from smelling up your home.
Don't like the thought of grinding your herbs in 3D printed plastic? Good news! I have included an adapter to the popular (and budget friendly) Planet of the Vapes grinder to allow you to use an anodized aluminum grinder instead.
For six cones of the given size, 1/8 oz is just about perfect. You could go slightly more, but I feel like that overfills the cones and makes it harder to twist and keep closed.
Printing:
Printing is pretty straightforward, you can use any plastic you'd like but I recommend a PLA variant for the spring as it works best. Other common plastics either deform rather than spring back or break easily with repetitive use, so go with PLA.
Aside from that you can print at any layer height or settings you would like, but more walls for the grinder pieces is better as the grinding tines will experience some force during use.
If you choose to use the Grinder Adapter I recommend printing it at the lowest layer height you are capable of to ensure the threads come out well formed.
Everything can print upright without supports except the Bottom Grinder. I recommend printing this with the tines facing upward and increasing the density of your support while decreasing the distance between support and the object to ensure a smoother bottom. A rough bottom is fine, but some ground herbs can stick if it gets too rough, so trying to minimize this is a good choice.
Assembly and Use:
Assembly is simple - Insert two 7x2.5mm magnets with opposite poles facing each other into the Main Body and Grinder Top (a drop of glue may be necessary to keep them in place). Insert the Spring into the Main Body, slide the Bottom Cap on, then set the Grinder Bottom on the Main Body and the Grinder Top on top of the rest.

To use, insert the correctly sized cones into the six holes in the Main Body and press them down until the tops are right at the top of the hole. If you don't want to make six joints at once you can put one or more Plunger pieces into the holes instead to block them.
Note: In my experience you can block up to three of the six holes and have success, more than that begins to cause problems with ground herb buildup in non-useful spaces. Putting two plungers directly next to each other also leads to ground herbs being trapped between them, a situation which can be fixed and the herbs used, but it's a real pain so you're better off spacing them out.
Place the Bottom Grinder on top of your assembled machine and your herbs into the grinder. Slide the Top Grinder on and spin it until the herbs are fully ground and into the main mechanism.
Remove the grinder assembly and tap/shake the Main Body until all the ground herbs have found their way into the cones. Use the small rod that comes with the cones to compress the ground herbs in each cone, don't be rough but be forceful enough to get good compaction to ensure uniform burning.
Distribution isn't always even on the grinder so you may need to remove a cone and distribute some of its contents between its neighbors.
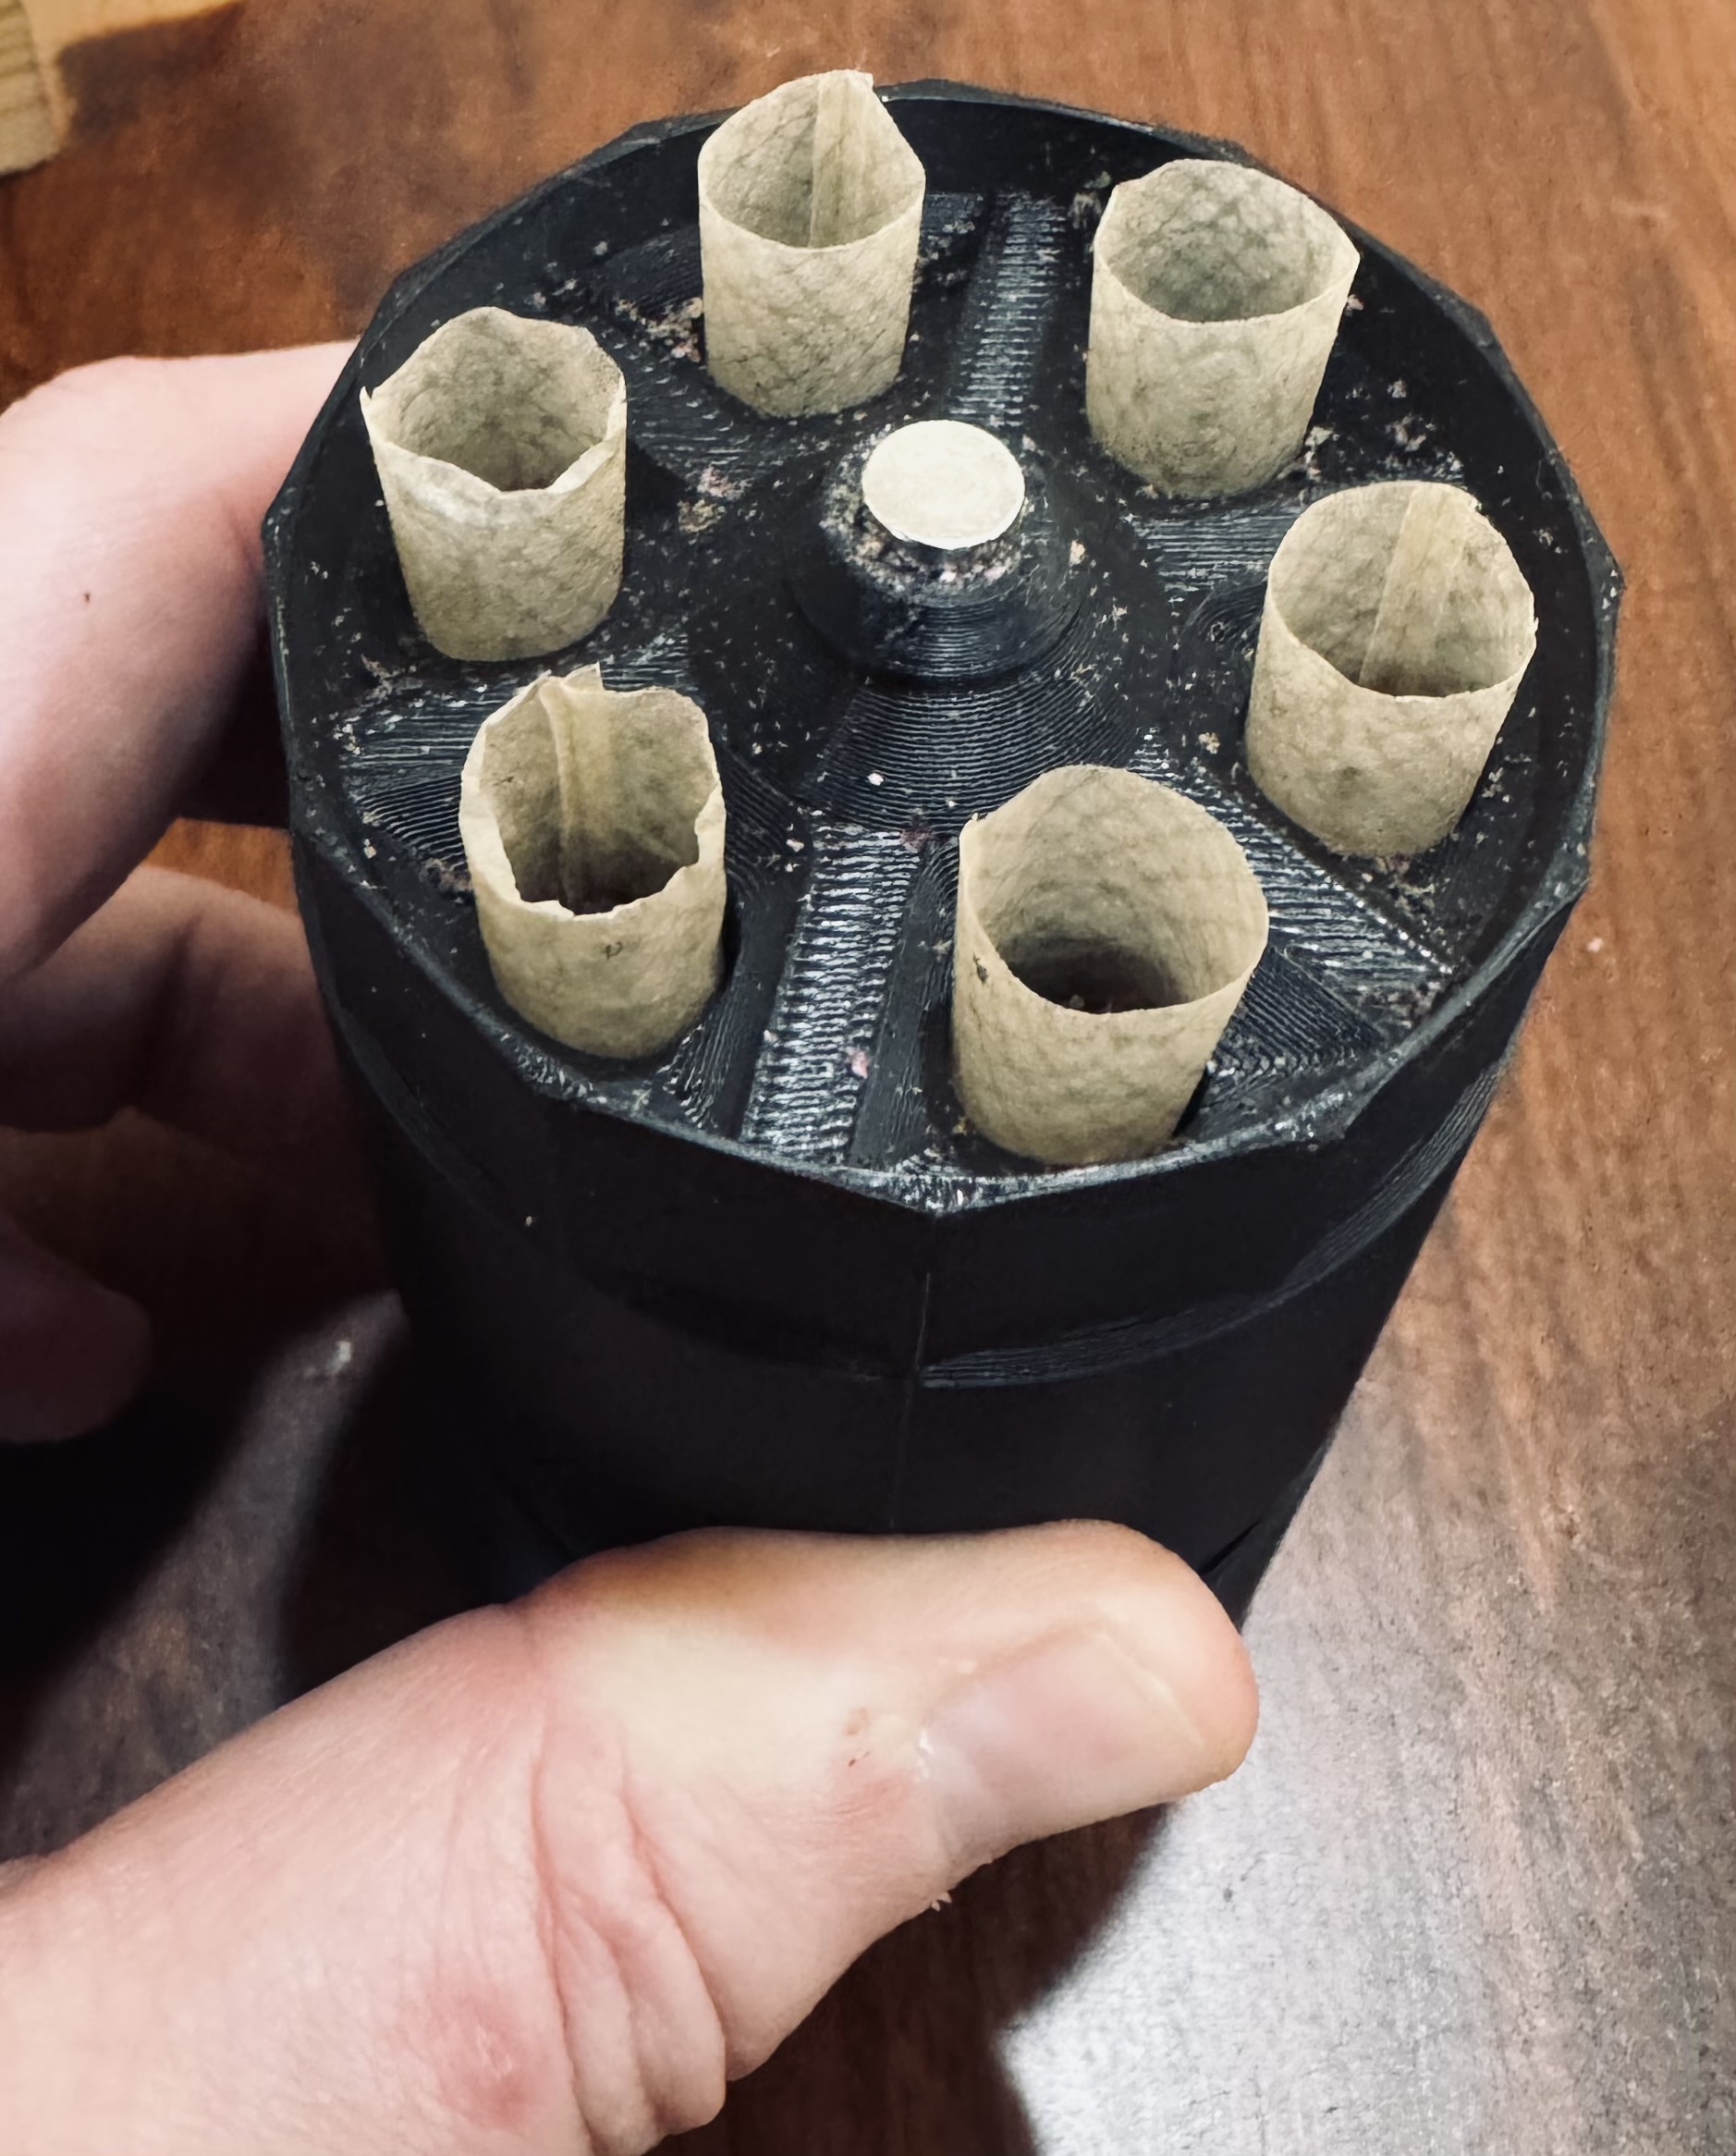
When you're happy with how it all looks press down on the Main Body and the cones will rise from their holes, when you release the mechanism will reset thanks to the spring but the cones will remain pushed up far enough to easily grab.
Remove the cones, twist the tops, and place into the Storage Bottom. Slide the Storage Top on and you're done until you're ready to use one or more of your now filled cones.
