
PIR Sensor Case for 12 ~ 24V LED lighting
Obliczymy ostateczną cenę na podstawie wybranego pliku. Sprawdzisz ją i zaakceptujesz przed płatnością.
Zapisane na tym urządzeniu.
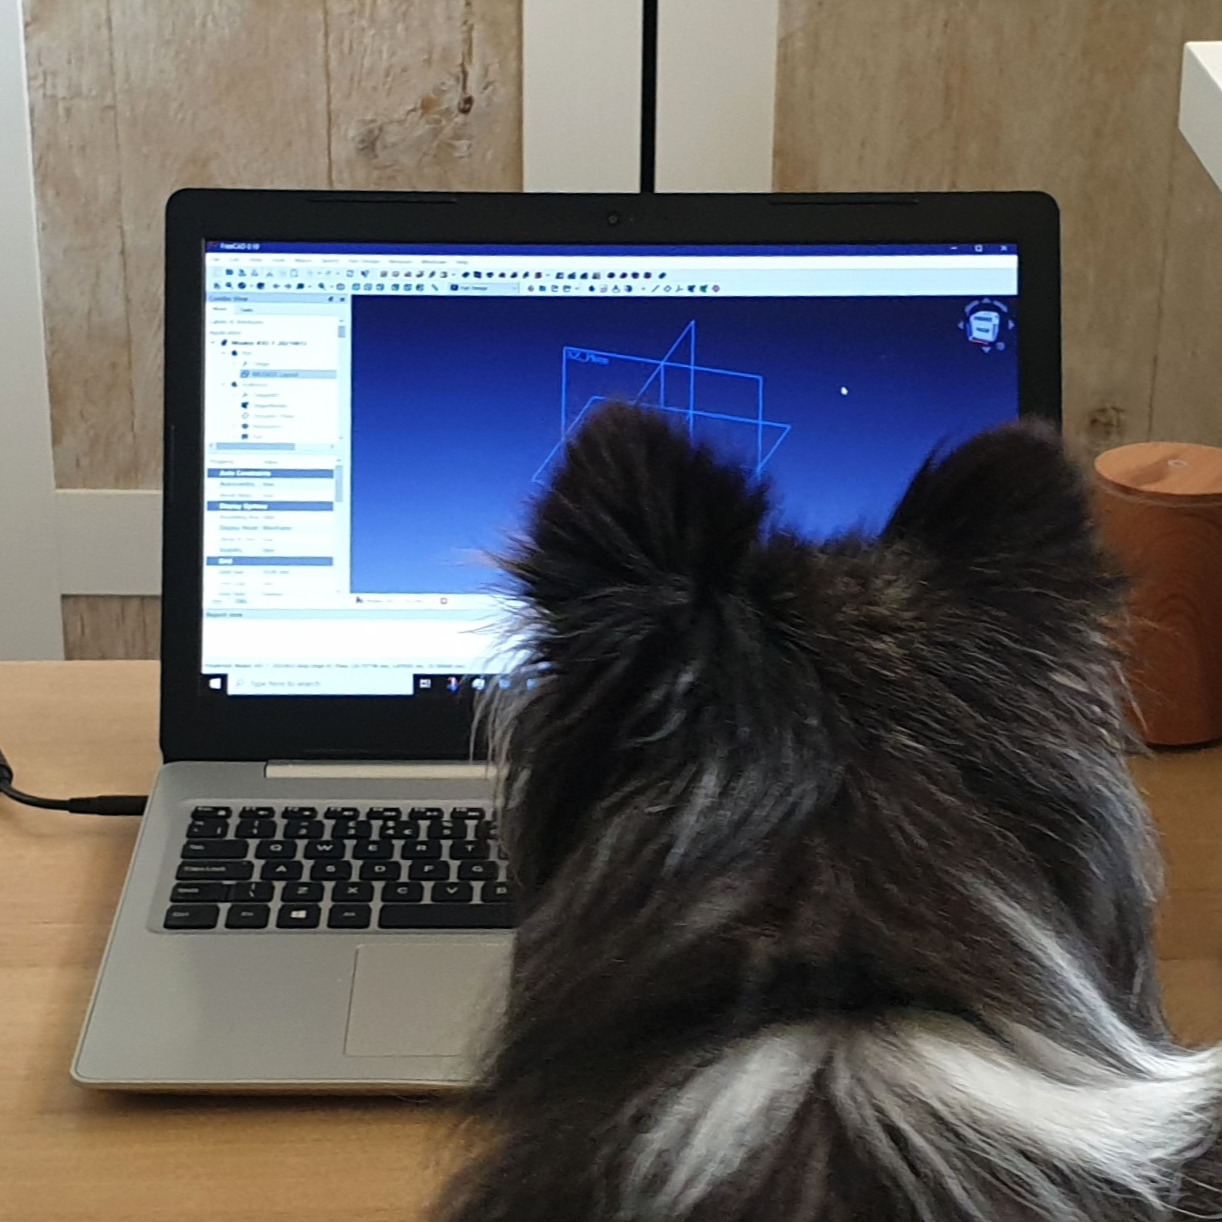
► Protective Case for low-cost sensor / timer. ► Optional visor to reduce false triggering ► FreeCAD source model
- Ocena
- 0 / 5
- Polubienia
- 2
- Pobrania
- 9
- Wydruki
- 0
- Wyświetlenia
- 74
- Oceny
- 0
Aktualizacja u źródła:
Informacje o modelu
- Źródło
- Printables
- Kategoria
- Other House Equipment
- Licencja
- Creative Commons — Attribution
These low-cost PIR switches have a settable on-time, making them suitable for applications like under-cabinet lighting in kitchens and work areas.
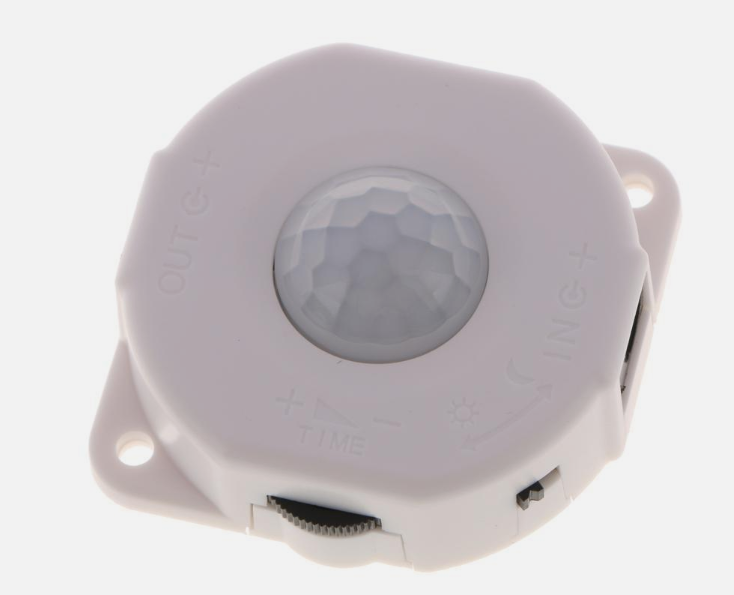
However the device has an unsealed case, and doesn't look like it'd last very long if exposed to moisture, like from a boiling kettle.
My over-casing incorporates damp-proof membrane, or similar tough polythene sheet, to seal the apertures of the sensor dome and the cables. Also sealing the join of the casing itself.
I don't claim it's fully waterproof: the aim is to protect against intermittent cleaning, steam exposure etc.
If you do need the sealing membrane, prepare it according to the photos.
I used quite a tough builder's DPM and had to notch the corners to shape it, then used a hot glue gun to seal these joins. A thinner membrane might not withstand this heat, but perhaps could be installed without notching it. Or using a different adhesive.
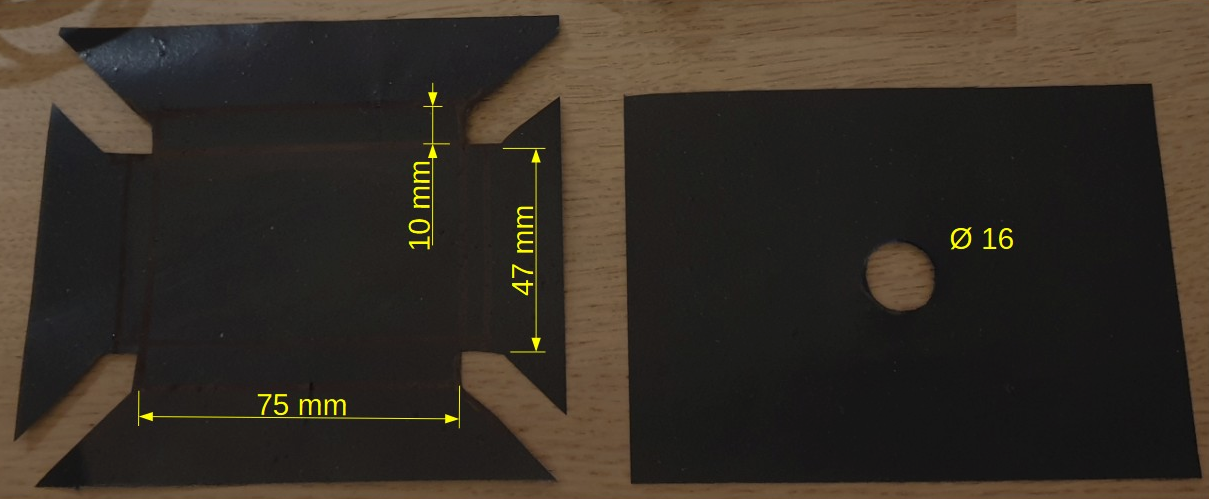
Remember to adjust the on-time of the sensor before closing the case. (Duh!)
Optionally, a hinged visor can reduce false triggering of the sensor.
When printing this, ensure you have your XY offset well calibrated ("Horizontal Expansion" in Cura). Wiggle the hinge gently to free it after printing.
Some plastics (especially light colours?) might not block IR too well, so if the visor isn't effective then I suggest to apply some aluminium tape onto it.
Hardware:
- PIR Sensor : (Size 43 x 43 x 21 mm; Dome Ø 17 mm; see dimensions in the images)
https://www.ebay.co.uk/itm/353974713702
Jack Plugs 90° Male Ø 2.1 x Ø 5.5 x 9 mm (x2)
https://www.ebay.co.uk/itm/261536704983?var=560412003884
- Flat cable : 11A : Ext size 5.0 x 3.3 mm
https://www.ebay.co.uk/itm/116121418866?var=416304977207
- Ø 3.5 x (15 … 19) mm Csk Screws (x6)
- Damp-proof membrane (DPM) or similar tough polythene sheet
(if improved sealing is important for you)
The prototype in the photos was especially awkward to assemble as the base part needed to be screwed in-situ before inserting the membranes and sensor.
So now the design has keyhole mounts and can be assembled before siting.
Then drive 2 x countersunk screws 60 mm apart and adjust their protrusion until the unit slides into place without play.

FreeCAD source model included ☺