
1 / 3
MMU2S Lack Enclosure Buffer & Mount
Zamów wydruk tego modelu
Obliczymy ostateczną cenę na podstawie wybranego pliku. Sprawdzisz ją i zaakceptujesz przed płatnością.
Zapisane na tym urządzeniu.
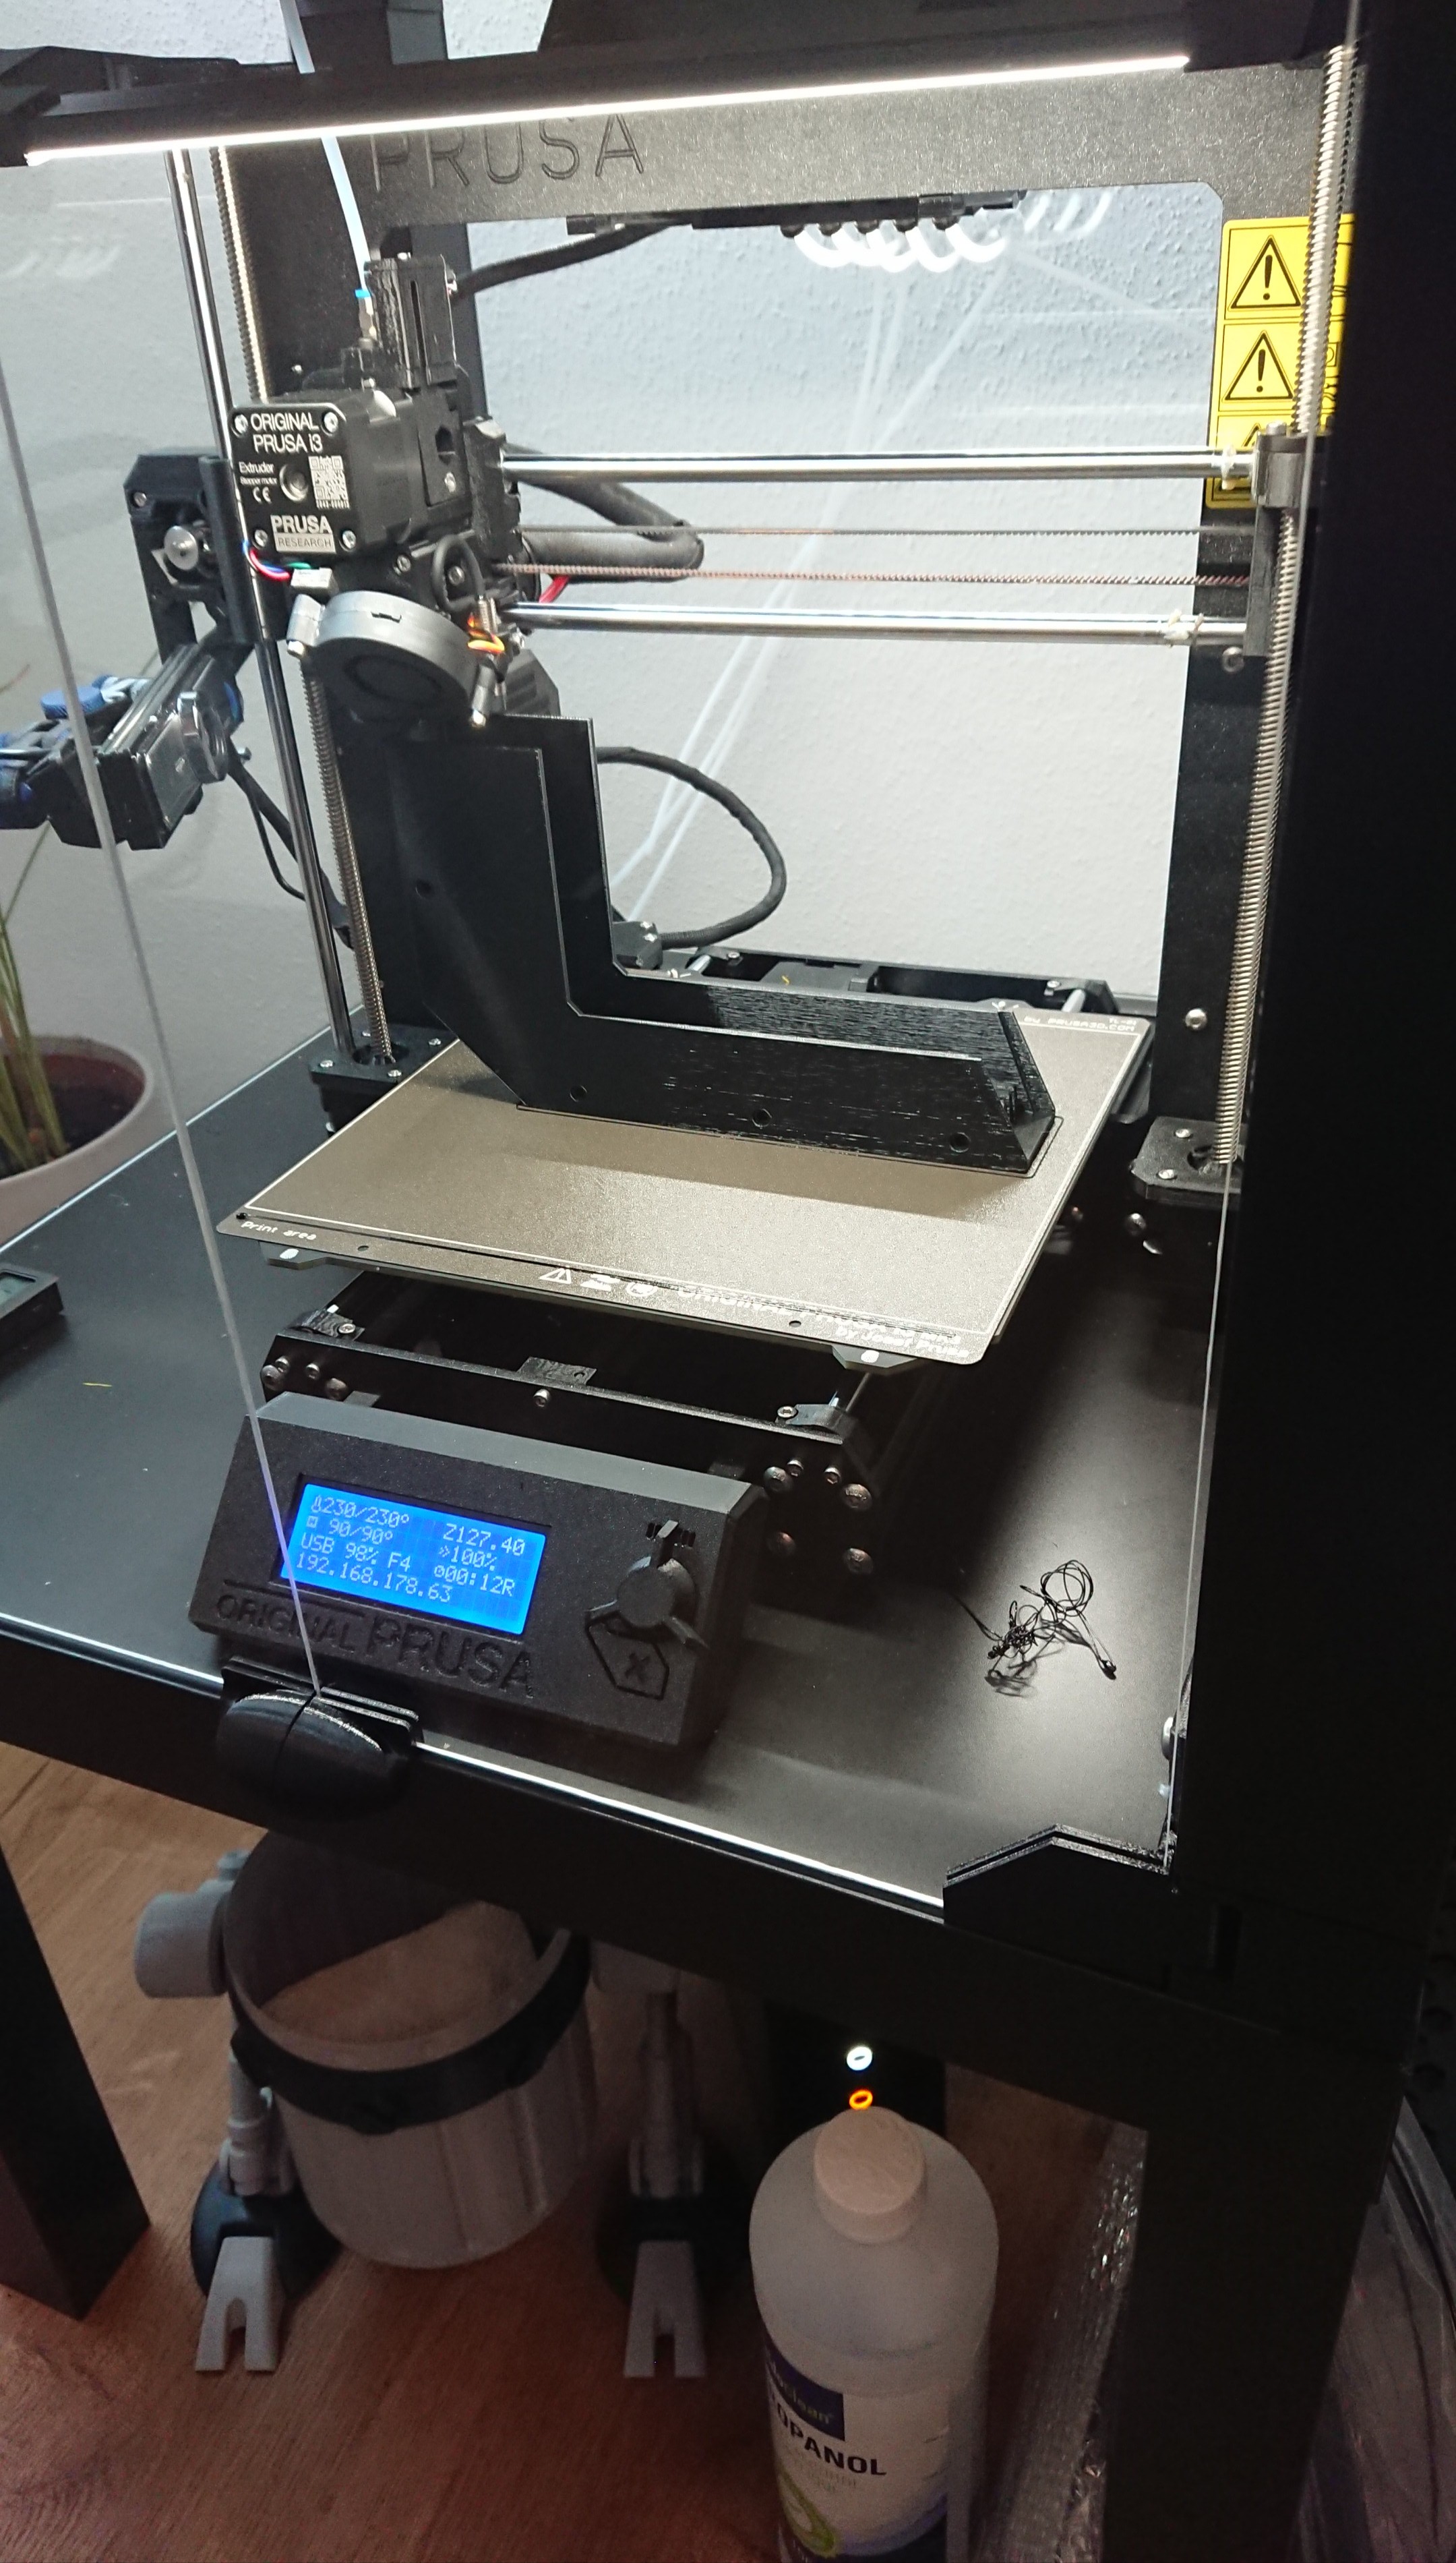
Didn't like the original prusa buffer (too long, too loose), but also saw several improvements for the other remixes...
- Ocena
- 0 / 5
- Polubienia
- 5
- Pobrania
- 27
- Wydruki
- 0
- Wyświetlenia
- 588
- Oceny
- 0
Aktualizacja u źródła:
Informacje o modelu
- Źródło
- Printables
- Kategoria
- Prusa Parts & Upgrades
- Licencja
- Creative Commons — Attribution — Noncommercial — Share Alike
SzczegółyPliki (8)Wydruki i komentarze (Wydruki: 0) (Komentarze: 0)Remiksy (0)Kolekcje (13)Powiązane
Did not like to have the prusa buffer just lying around, so I changed a lot of things to fit the buffer on top of my lack enclosure and make it easier to load.
- Changed filament path: coming from the spool holders, going to the back of the table
- Path inside the buffer “smoothed” → Less friction. For me it works perfect, some of the bowden tubes are OD4/ID3, what makes them really painfull to insert
- Stiffer grip of the Buffer sheets - with the orignals mine were wobblind all around and it was impossible to “easily” close the buffer
- Used PC4 M10 Couplers as those allow the bowden to go all the way in
- Hinge/Magnet combination is kept as with the remixed ones
- same applies to the screw holes - you can exchange them
When mounting the buffer pay attention to the rear end of your enclosure! The buffer moves with all of the hinged tabletop =)
I have a distance of approx 10-15cm beetween table and wall. If you want to go closer you might need to switch filament paths