
[WIP] Neptune 4 Plus Front Extrusion Mod
Obliczymy ostateczną cenę na podstawie wybranego pliku. Sprawdzisz ją i zaakceptujesz przed płatnością.
Zapisane na tym urządzeniu.

Replaces stock tensioner front cover to use a thickened 9mm belt tensioner.
- Ocena
- 0 / 5
- Polubienia
- 9
- Pobrania
- 21
- Wydruki
- 0
- Wyświetlenia
- 378
- Oceny
- 0
Aktualizacja u źródła:
Informacje o modelu
- Źródło
- Printables
- Kategoria
- Other Printer Parts & Upgrades
- Licencja
- Creative Commons — Attribution — Noncommercial — Share Alike
This Neptune 4 Plus Front Extrusion Mod that allows the use of thickened tensioner and 9mm belt for Y-Axis. Designed specifically to be used with Y Double Shear mod by SilencedFrost.
This Front Extrusion Mod requires removal of the stock cover. One of the screws is hidden under the printer mainboard.
Materials:
- 180mm Aluminum Extrusion
- 2x M5x10 bhcs (4 for Top Screw method)
- M5x18 screws from stock cover (Side Screw method)
- 2x M5 T-nuts (Top Screw method)
- M3x50 bhcs
- 25mm M5 Stainless Steel Dowel Pin
- 9mm Gates/Runice Pulley (14mm total thickness)
- Improved Y Tensioner
- Extrusion Cover
- Tensioner Guide w/ 2x M5x10 bhcs (Optional)
Guide to prepare aluminum extrusion:
- Holes to mark:

- Use the provided jig or SilencedFrost's jig (provided in Elegoo Discord) to drill the M5 holes.
- For M3 Hole:
- Use a file to carve out a semi circe hole on the fin at the marked position. (The extrusion in the image is a finished product used for demonstration)

- Drill a shallow indent with the drill inclined as shown (do not drill through).

- Finally, using the indent as a guide, lean as much as possible in the carved semi circle of the fin and drill straight down. Drill at high speed, moderate force to allow minor adjustments when going down.

- Use a file to carve out a semi circe hole on the fin at the marked position. (The extrusion in the image is a finished product used for demonstration)
Guide to mount the aluminum extrusion:
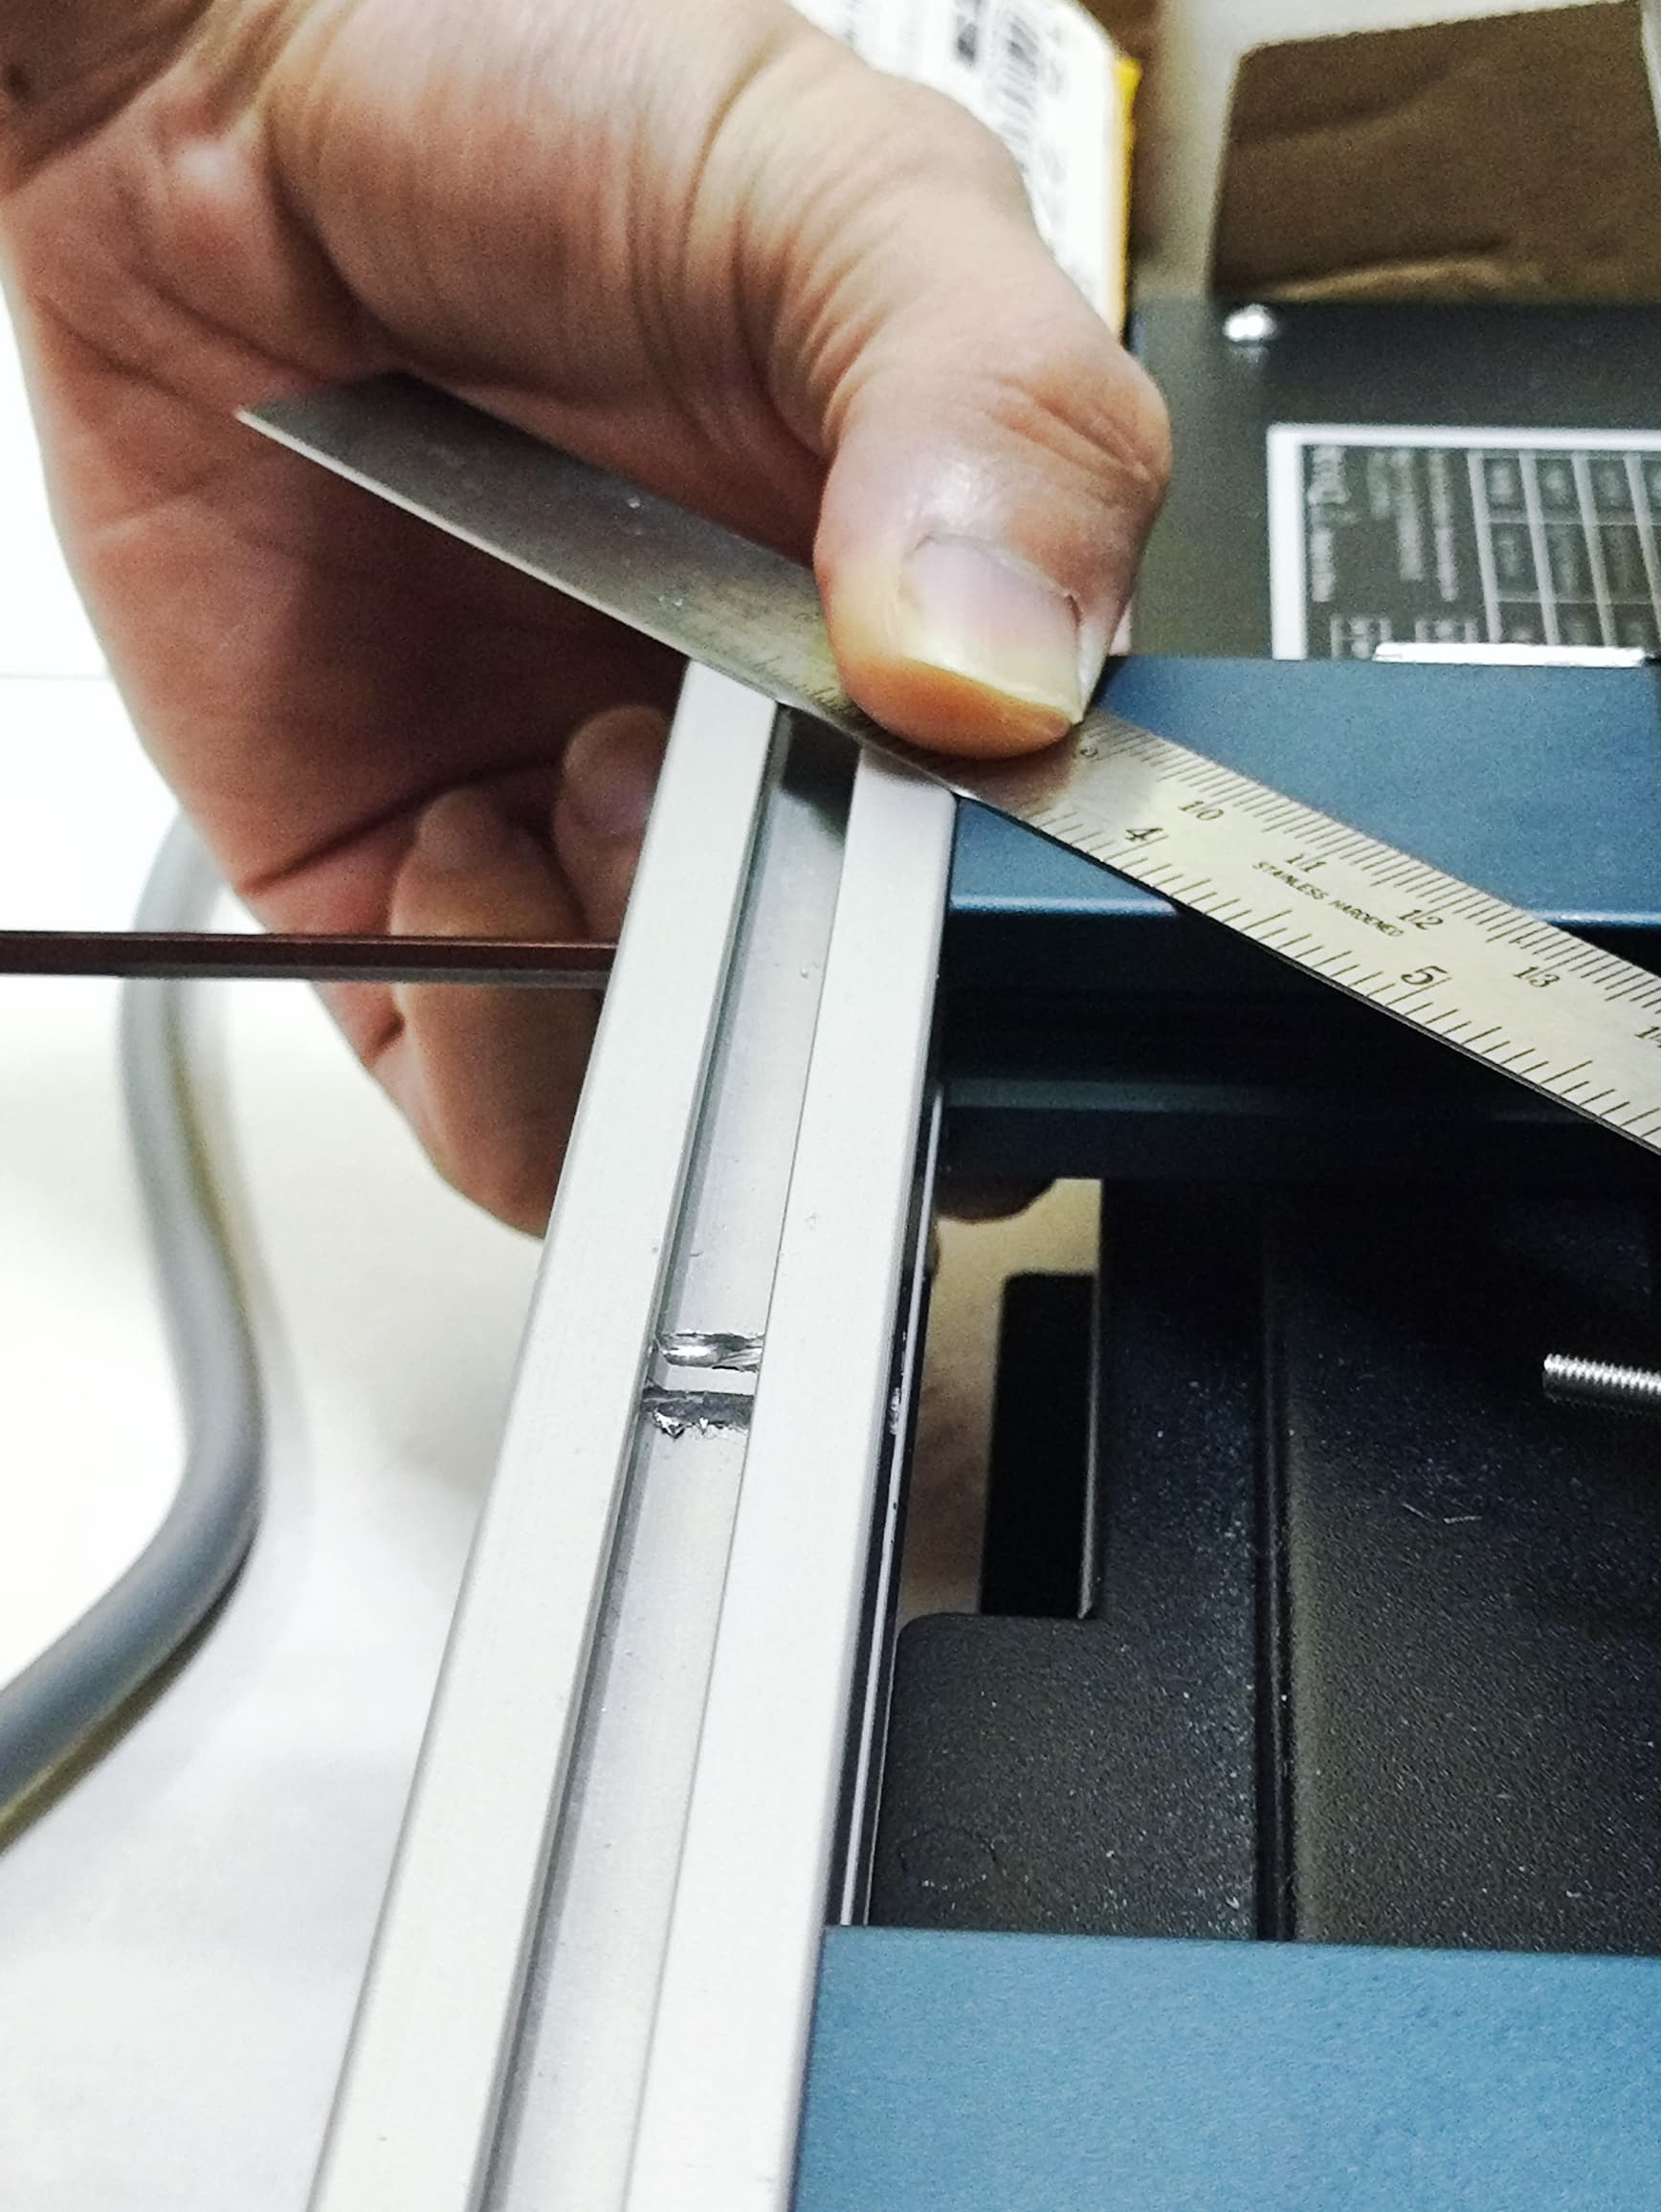
- Prep the M5x10 screws as shown.

- Slide the extrusion onto the screws and tighten them via the through holes after you aligned it well. Suggest pressing a hard flat object against the extrusions to align them flush.

2 Types of front covers are included, each with 2 different mounting methods. Choose at your own liking. Tensioner guides are optional as the front cover already provides sufficient guidance.
Print settings:
- Extrusion Cover:
- 3 walls, 15% infill, 4 layers bottom, 3 layers top
- PETG or PLA
- No Supports needed.
- Improved Y Tensioner:
- 6 walls, 100% infill
- ABS (recommended) or PETG
- If printing with PETG make sure you print at around 50mm/s speed with low cooling and high nozzle temp to maximize structural strength. - No Supports needed.
The main idea and initial testing of this mod was done by Nightcloak88 and this is the extension of his work. Credits to him:
https://www.printables.com/@Nightcloak88_2912447