
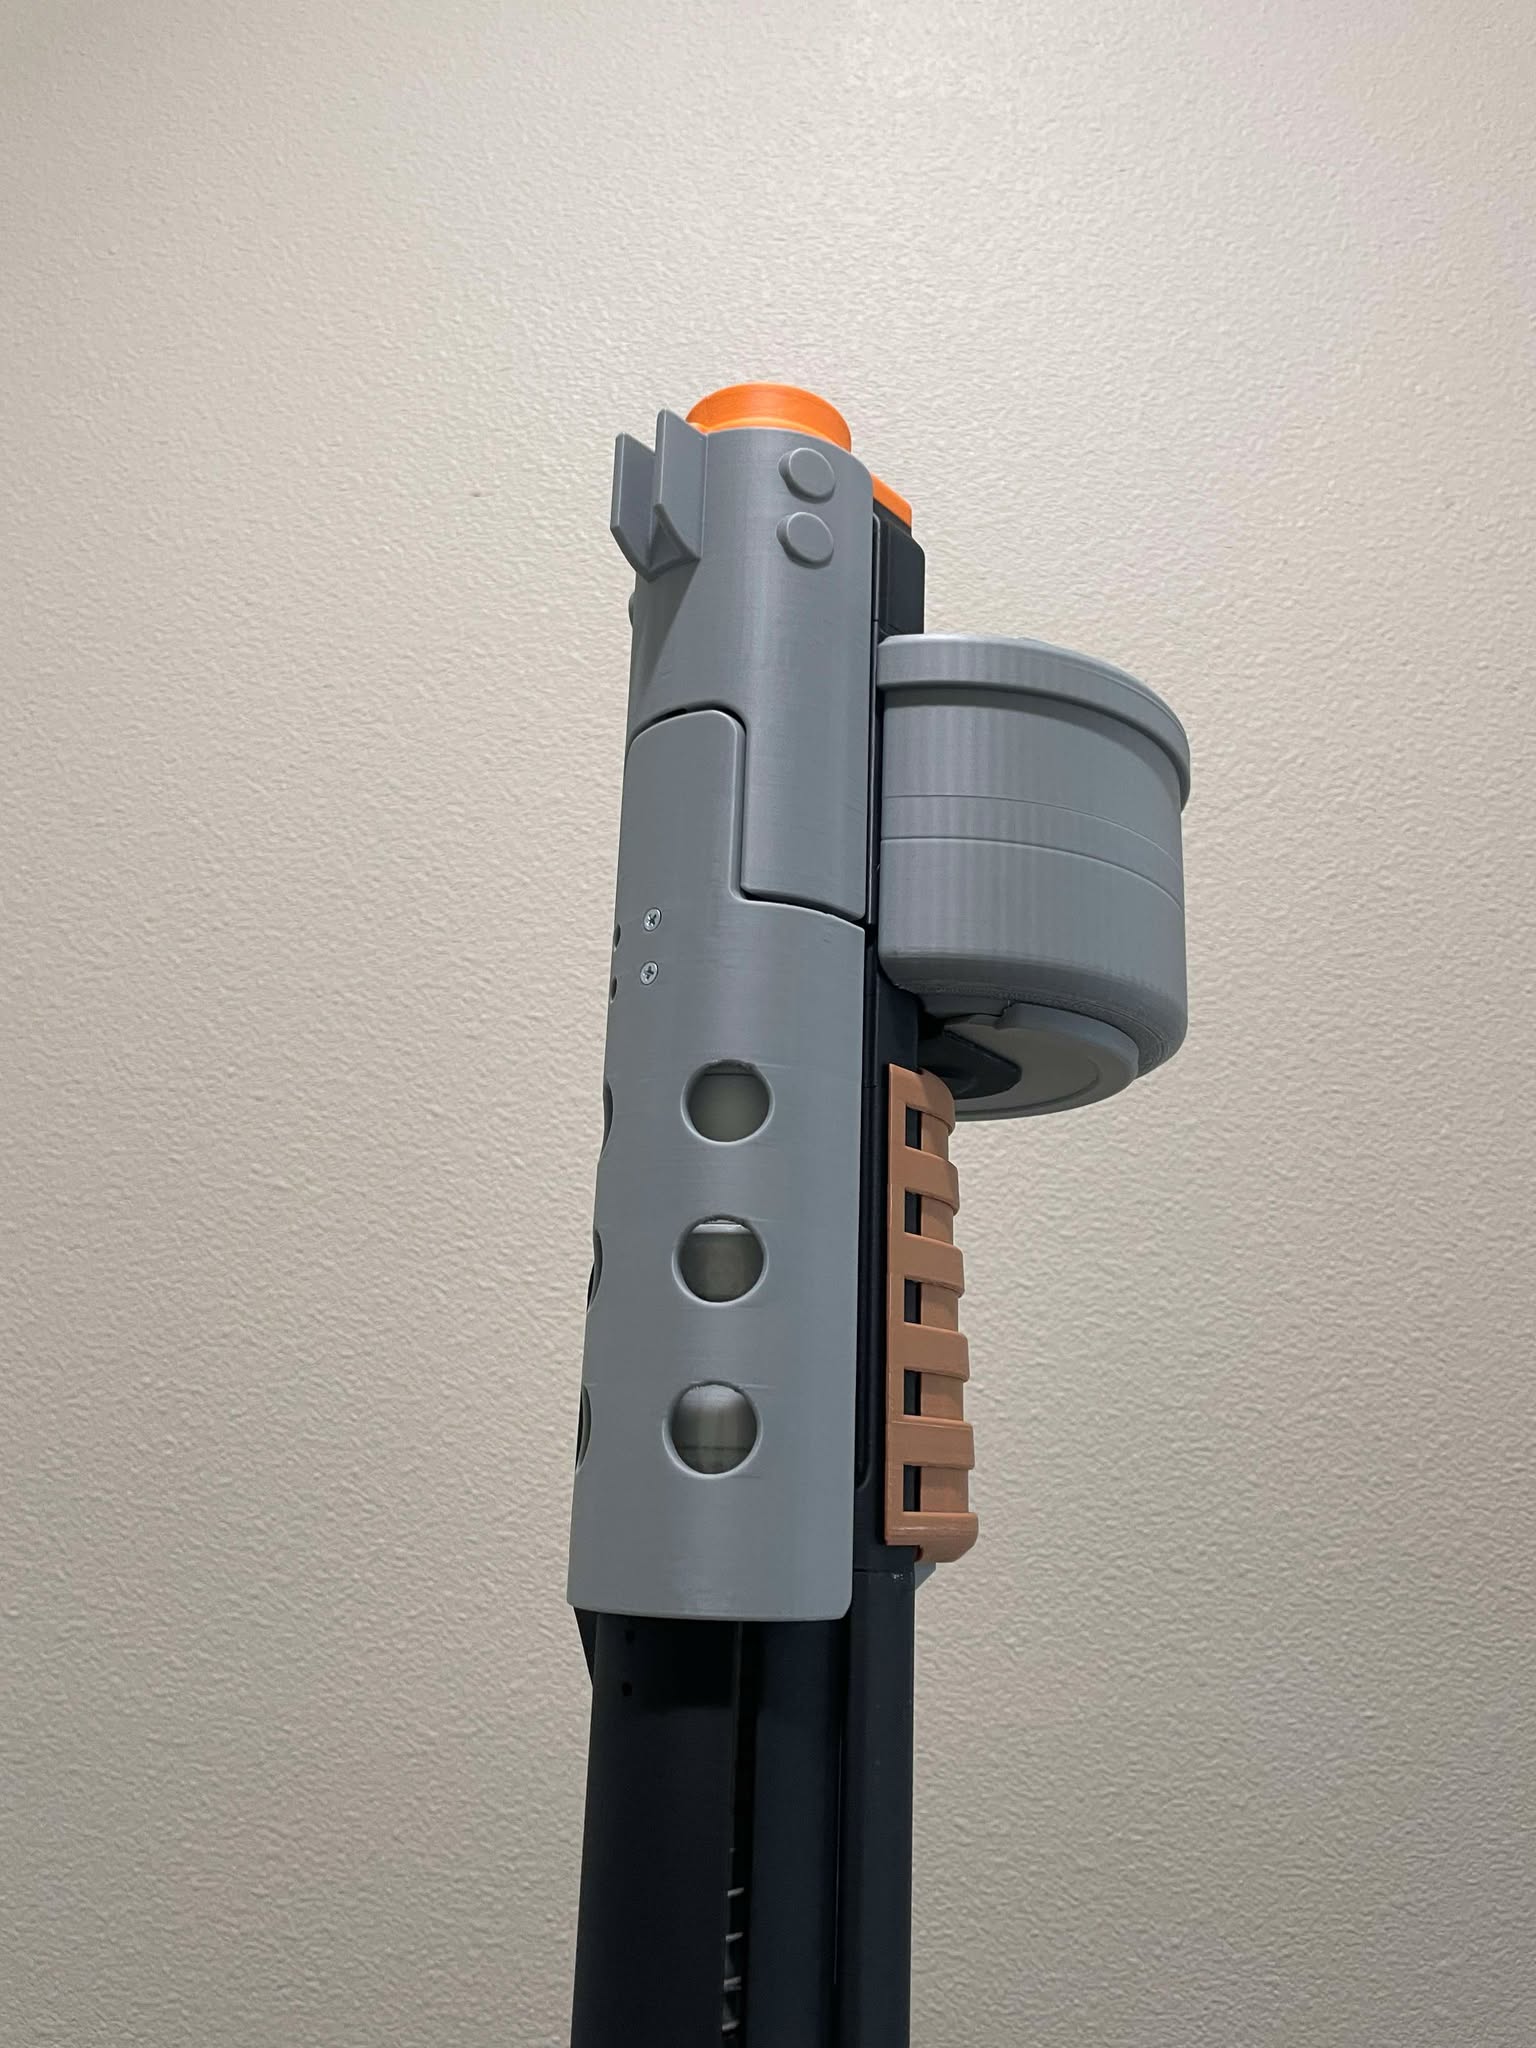
TF2 Panic Attack (Nerf blaster mod from Sillybutts Battle Axe)
Obliczymy ostateczną cenę na podstawie wybranego pliku. Sprawdzisz ją i zaakceptujesz przed płatnością.
Zapisane na tym urządzeniu.

It's a Nerf blaster remix of the Battle Axe from Sillybutts to the appearance of the Team Fortress 2 Panic Attack
- Ocena
- 4,8 / 5
- Polubienia
- 802
- Pobrania
- 997
- Wydruki
- 6
- Wyświetlenia
- 20 142
- Oceny
- 5
Aktualizacja u źródła:
Informacje o modelu
- Źródło
- Printables
- Kategoria
- Outdoor Toys
- Licencja
- Creative Commons — Attribution — Noncommercial — Share Alike
If you want to buy me a coffee :) https://buymeacoffee.com/methanejuice
Check updates at the bottom
The print files only contain my modified parts, so you'll need to print these plus parts that the original battle axe has, the original parts are as follows:

This will use the hardware from the battle axe kit, plus one bungee cord for the hammer action, and almost follow the exact assembly guide as the battle axe but with the following two exceptions:
The firing group and handle with the bungee cord will be installed like so, note not to put too much tension on the bungee,

The assembly here should be Part 1 (PA Hammer Mac) going in like in the image, followed by Part 2 (PA Hammer), and secure on the outside with two screws, NOT to fasten them tight, back them out a little so that the hammer can have a smooth motion. Lubricate the contact surface for parts (1) and (2). The trigger and trigger need to be installed together, and fastened with two screws. Also, lubricate the trigger contact with the catch
UPDATE:
Split trigger into two, apply glue while joining and add one screw

Drum mag is a bit tricky. First, unwind the drum springs so that the diameter of the remaining coil can fit in the gaps in the PA Follow Main's three spring cavities starting with location #2, once its in try to wind back the spring in it original shape, be careful for cuts, the springs are kinda sharp

Once the middle spring is in, install the two links (PA Follower Link1&2) in location A, after that, install the two other drum springs in location 1&3 in the image above, with the tip that comes out facing the opposite side as the spring in location 2

The spring will come out the side as shown on the left the direction is depicted in the sequence above
After all the springs and links are in place, install the PA Follower Weight, with the PA Follower Link Spacers installed in locations C, B, and C in the image above

Once you have the follower ASM done you can install it onto the two drum halves like the original battle axe instruction. Before closing lubricant everything profusely
The trigger and hammer will feel a bit sticky and sound strange, sanding the contact between the trigger and the catch, and lubricating a bunch. After pulling the trigger a dozen times will be much smoother

The drum after being assembled will get stuck a couple of times when cycling to the 4th or 5th round, this should be okay as some more load/unload action will let the oil sink in and would begin to unload fine

Print suggestion as follows:
Most parts 5 walls, 99% Gyroid infill
Stocks uses 3 walls, 30% infill
PA Decal Cover and All drum mag parts are 5 walls, 30% infill
Print directions suggestions:


There are different stock and grip options, but I'm not so sure about the part's strength and how much to weigh down the back, I'll leave it for others to test :)

CAUTION
This cannot be welded like an axe by the handle as there are no metal reinforcements inside, same with the pump grip, it's held in place by two small screws and if available, longer screws are preferred, but it will be screwed into the piece under it
UPDATE
2025/04/08: Added a tinny piece here in front of the grip, it's press-fitted and improves the texture there a bit

20250408: Added the PA MagSideRightFront that was missing from the initial publication
20250408: Added cosmetic improvement (PA Mag Back Cover V2, PA Mag Back Cover Latch, PA Mag Front Cover V2, PA Mag Front Cover Latch)


20250408: F3D File added
20250411: Updated the split cover version in another post, but it moves with the plunger and some might find it not as attractive, upgrade to your liking :)
20250525 Update
Someone asked if I could elaborate more on the drum installation.
So the structure here is all sandwiched together like so, with the drum springs being constrained in almost all directions. And in order to fit the 3 springs in their little “pockets” you'll have to unwind them to reduce the diameter, the orientation shown in the picture below, to fit through the gap highlighted in yellow. The links (2 yellow objects) need to be installed first, followed by the springs, and they can all be linked in the Follower Weight piece using the three Link Spacers (green and orange), they are meant to keep the spring in place even after the diameter reduces after unwinding. The direction of the follower is in the blue arrow facing forward, and the tabs on the drum spring are highlighted by the red arrows.

20250526 Update
Added PA Catch_longer in case people having issues with catch release

20250528 Update
Spliting the trigger into two pieces, apply glue on the joint location while secure them with a screw. Print orientation like so should make it more secure… hopefully

