
Panic Attack split Upgrade Pack
Obliczymy ostateczną cenę na podstawie wybranego pliku. Sprawdzisz ją i zaakceptujesz przed płatnością.
Zapisane na tym urządzeniu.

Visual upgrade to the panic attack blaster
- Ocena
- 5 / 5
- Polubienia
- 59
- Pobrania
- 130
- Wydruki
- 4
- Wyświetlenia
- 1335
- Oceny
- 4
Aktualizacja u źródła:
Informacje o modelu
- Źródło
- Printables
- Kategoria
- Outdoor Toys
- Licencja
- Creative Commons — Attribution — Noncommercial — Share Alike
Got some upgrades I think will improve the looks of the blaster, apologizes for all the changes in a short window…
These files are meant to be a visual upgrade for the panic attack. Decorate piece for the grip was added, this can be a screw on using PA Grip Decal (screw) + PA Grip Type I V2, or for those who had printed the first version, PA Grip Decal (glue).


A cap for the follower is added to make the blaster dry-fire safe, a smooth surface was also added to make the reload smoother. The files are PA Follower Main V2, PA Follower Weight V2, PA Follower upgrade (press fit after assembled). And for those who had made the version 1 there are glue-on versions PA DrumMag Follower Cover 1-4, see installed locations in image

Lastly, the main visual difference are the split decal cover. To install you need to print and install PA MidCoverFront mod V2, PA ShellStabilizer mod, PA Decal Cover V2 Back, and PA Decal Cover V2 Front.
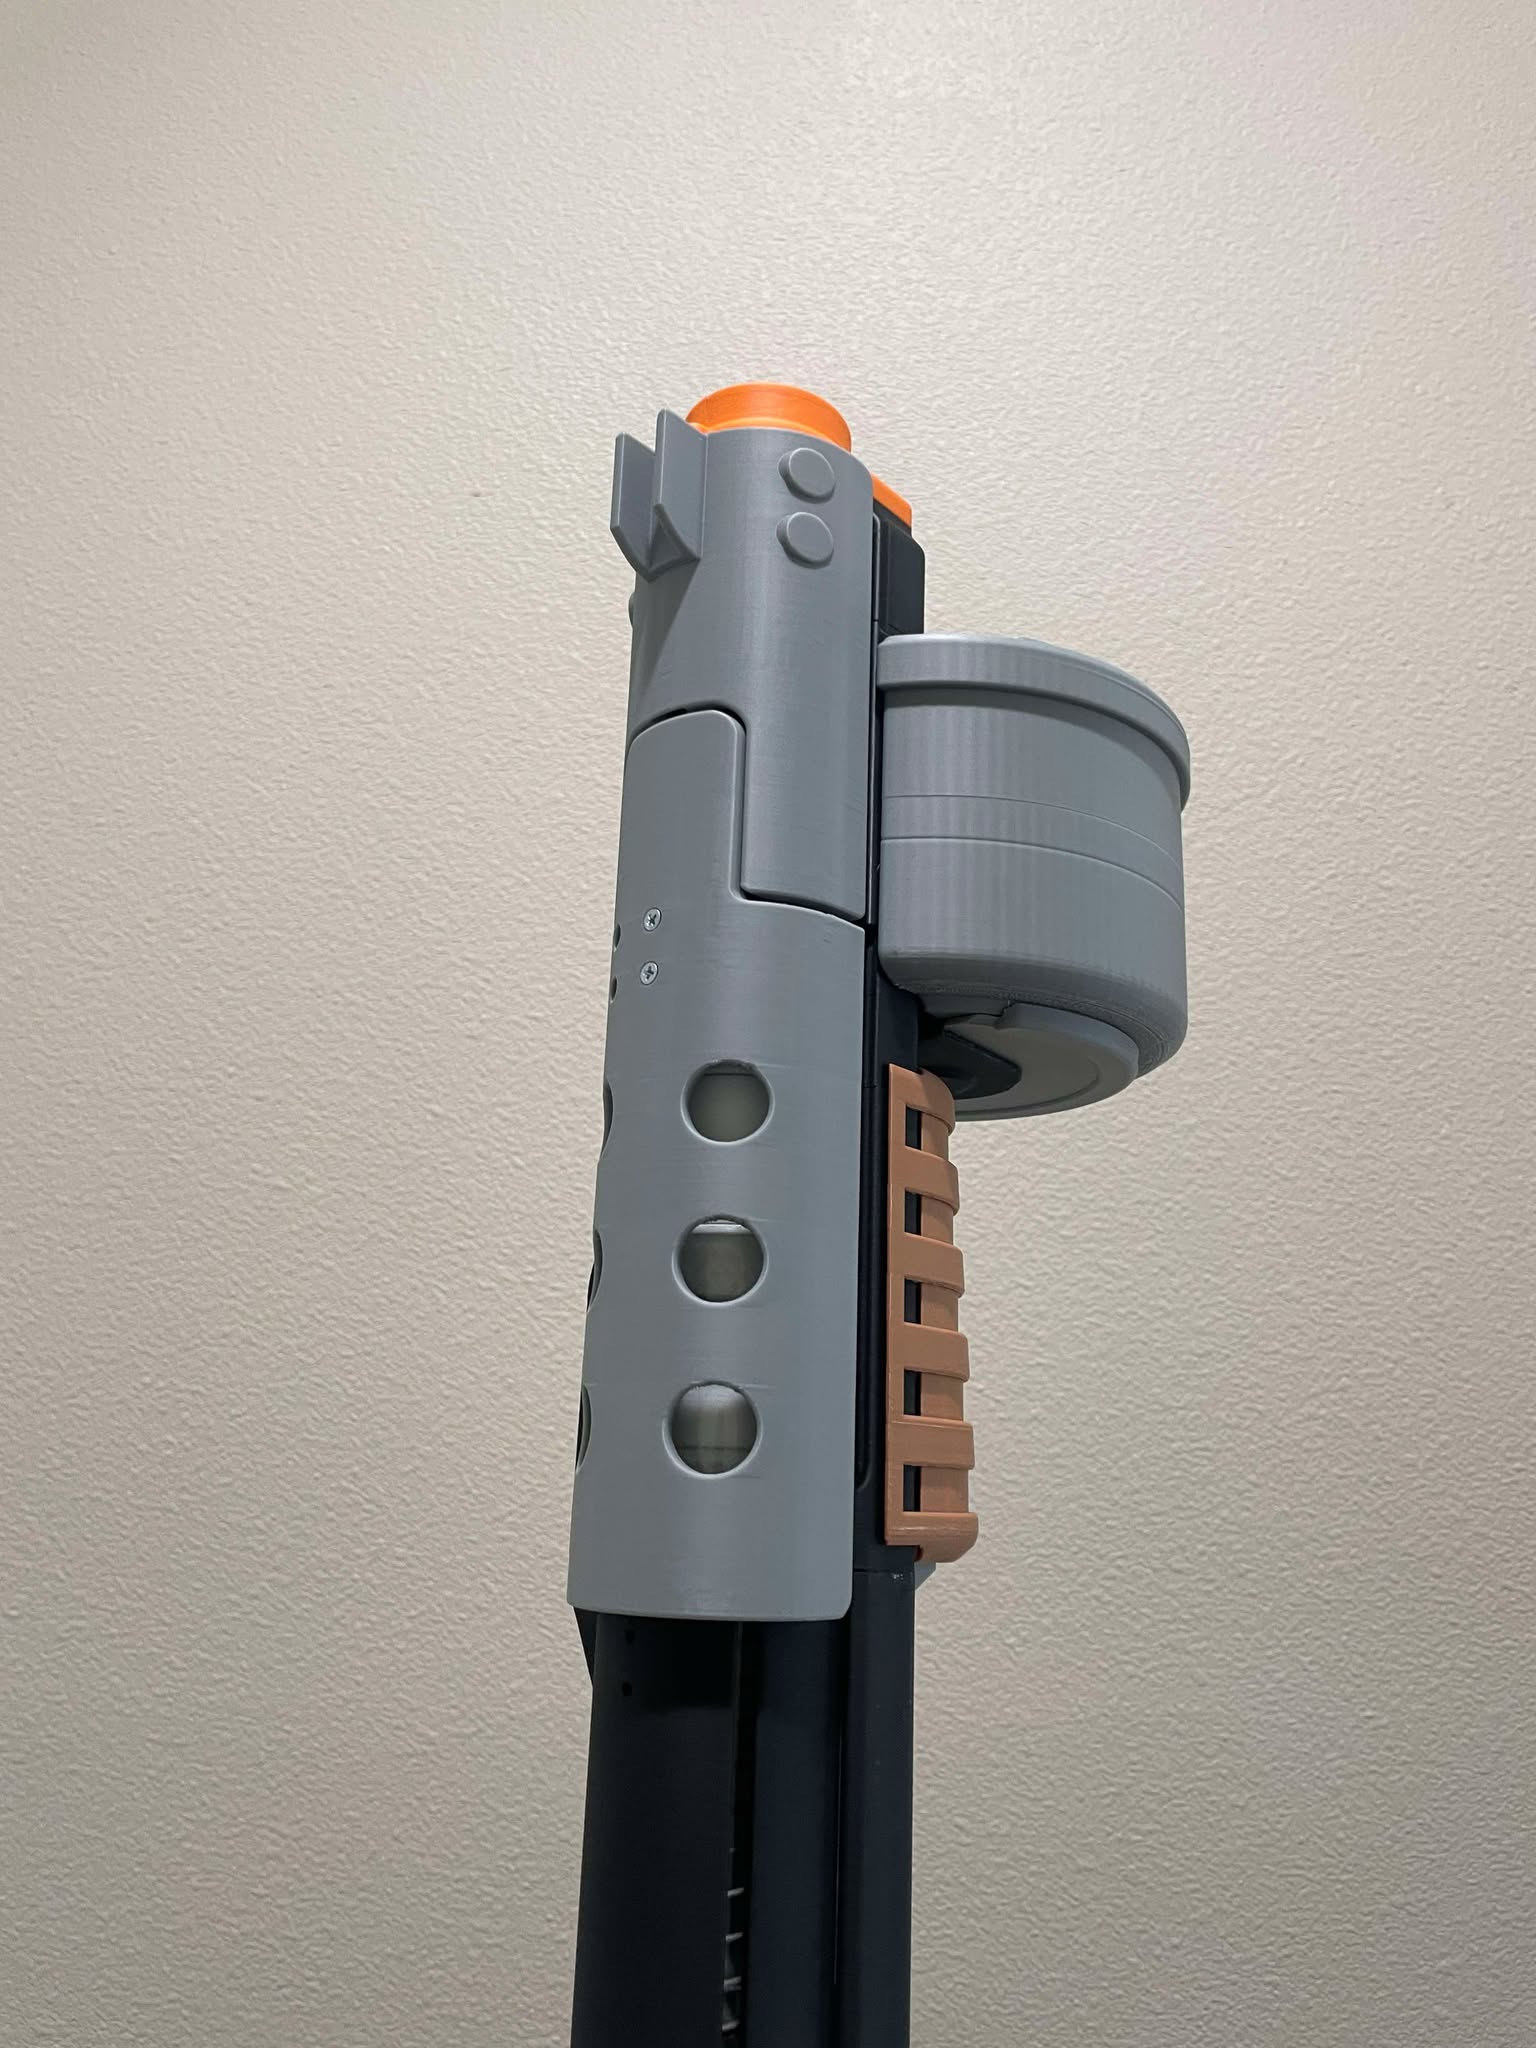
To do this you'll need to strip the blaster down to uninstall the ejector, uninstall and replace the shell stabilizer. Glue the PA ShellStabilizer mod to PA Decal Cover V2 Front before fastening with two screws (should be from the extras in the kit) and reattaching them to the bolt face.
There will be a gap between the decal covers when in rest position, you can push down (from the muzzle) the follower asm to let it close all the way.