
boycabrera - Oval & Circle Cutting Router Jig
Obliczymy ostateczną cenę na podstawie wybranego pliku. Sprawdzisz ją i zaakceptujesz przed płatnością.
Zapisane na tym urządzeniu.

Don't spend hundreds on expensive Oval/Ellipses Router Jigs, when you can print my expanding jig that also makes circles
- Ocena
- 0 / 5
- Polubienia
- 7
- Pobrania
- 44
- Wydruki
- 1
- Wyświetlenia
- 431
- Oceny
- 0
Aktualizacja u źródła:
Informacje o modelu
- Źródło
- Printables
- Kategoria
- Tools
- Licencja
- Creative Commons — Attribution — Noncommercial — Share Alike
UPDATE:
Type 1 Arm Connector (connects arms to main jig body) has been updated to fit better
I have added both the NEW and ORIGINAL styles of Mounts.
The ORIGINAL uses more filament, but has the potential for expansion.
The NEW uses far less filament, can be adjusted easily, avoids getting snagged on the BASE, and eliminates the need for tons of small additional pieces.
About this Ellipse/Oval Jig for Routers:
I was struggling to find a decent router jig for making large ovals (the sort of size suitable for a coffee table). The ones I could find, were beyond expensive, lacked any way for size expansion, were never compatible between multiple brands, and had no easy way to adjust the size of the oval…
So what do we do when the world disappoints us?
Well, we do it ourselves!
So that's what I did.
Compatibility:
It is compatible with the following major tool brands:
BOSCH-GKF18V-25N
BOSCH-GKF125CE
BOSCH-COLT
DEWALT-TRIM-ROUTER
MAKITA
MILWAUKEE-18V
RYOBI
RIDGID
Parts you will need to print:
BASE:
Print either the BASIC BASE or COMPLEX BASE
Print 2 Dovetail Sliders
Print 2 M5 Knobs
MOUNTS:
NEW:
There are 3 types of Mounts in this NEW System
Type 1 is a Generic Mount that will be sufficient for cutting small or large ovals. Use this to get started.
Type 2 has a large hole in the bottom, which is meant to fit on top of the Circle Attachment. Use this Mount when a circle is your endgame :)
Type 3 is similar to Type 1, except that it has a special addition allowing you to secure a Hex/Allen Key to the top. I kept losing track of my Hex Key, so I thought adding this was a smart idea.
ORIGINAL
Print either the BASIC MOUNT (cannot be expended or do circles) or the EXTENDABLE MOUNT (can be extended, has a mount for a Hex Key, and can also do circles)
If you print the EXTENDABLE MOUNT you can print the MOUNT EXTENSION ARM, as well as the MOUNT EXTENSION ARM CONNECTORS
If you want to cut out circles then also print the CIRCLE ATTACHMENT. This piece will work in both the BASIC and the COMPLEX BASE
ROUTER PLATES:
Find the ROUTER PLATE that works with your Router and Print!
I have included the STEP Files should you need to make and adjustments (or if you want to customize yours)
SECONDARY ARM PIECES:
Start by Printing the ARM (200mm)
You will likely need one for each opening on your selected BASE type (4 for the BASIC & 8 for the COMPLEX)
To secure the ARM (200mm), you will need to print 1 set of TYPE 1 CONNECTORS and 1 set of TYPE 2 CONNECTORS for each ARM
Should you still want to increase the permissible size range then you can lengthen the ARM (200mm) by printing the necessary ARM EXTENSION pieces which range from 50mm to 200mm.
Print as many as you require and secure them using the ARM EXTENSION CONNECTORS
HARDWARE:
For hardware, I have tried to keep it to a minimum. You will need:
6 - 6mm Stop Collars
4 - M6 Linear Bearings
2 - M6 Rods (The longer the better to allow for larger Ovals & Circles)
2 - M5 x 30 Hex Bolts
2 - M5 Hex Nuts
1 - M6 Hex Key (to secure the M6 Rods
And that's it!
Usually your Router will come with its own screws to secure it to the Router Plate, so no need to buy those if you don't need to (If you do, they will likely be M4 or M5).
SETUP:

Take the Base (Basic or Complex)

Add the TYPE 1 Arm Connectors

Push in the Arms
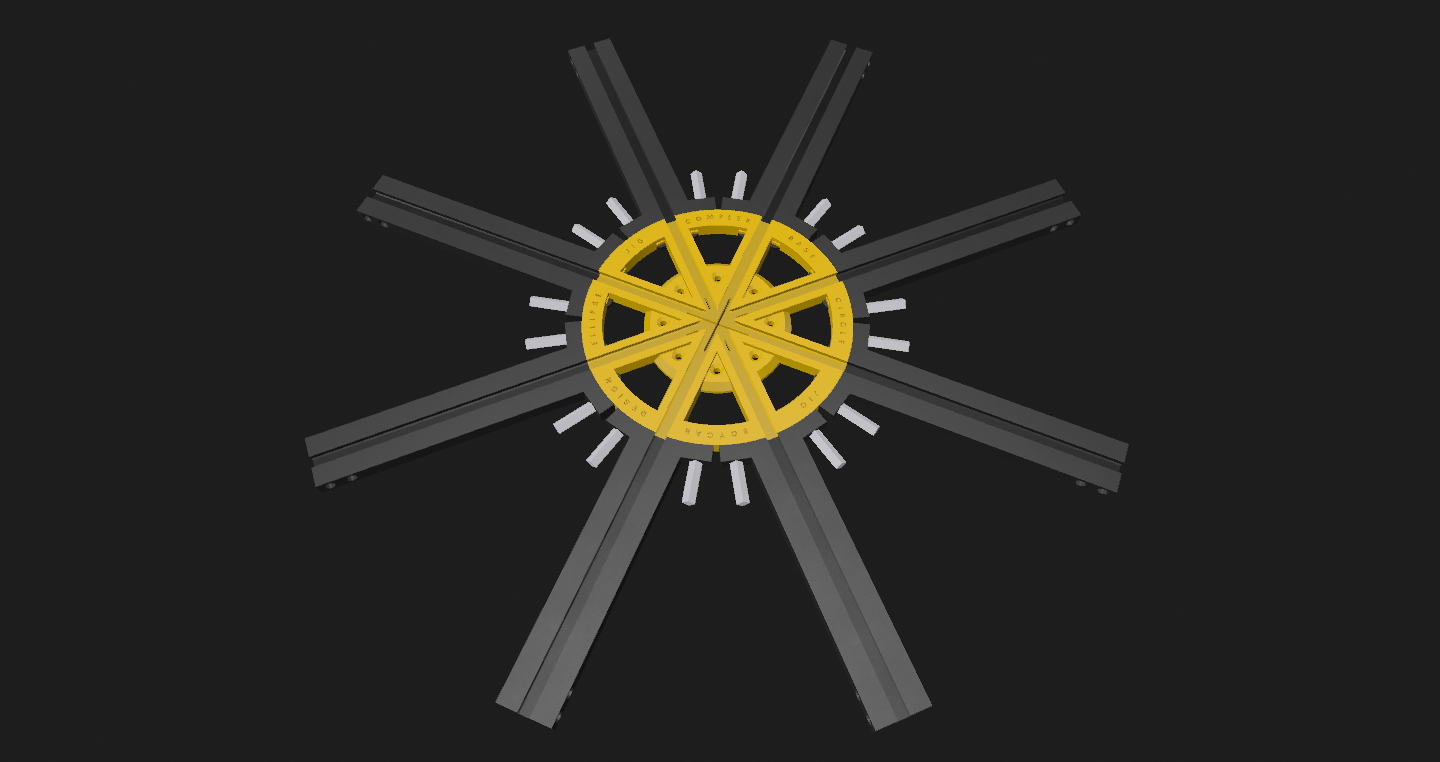
Secure with the TYPE 2 Arm Connectors
NOTE: I used this method to reduce the amount of costly hardware required

Get your Dovetail Sliders and insert the two M5 x 30mm Hex Bolts
Before we go on, let's set up the Mounts by adding two M6 Linear Bearings


Take the TOP of the Mount and use a clamp to press it on tightly. Push in the 2 Stop Collars


Push the two M6 Rods through each hole
Secure the Rods using a Hex Key
NOTE: You need two of these Mounts, so repeat this setup a second time.
Now that we have our Mounts set up, let's continue!

Add the completed Mount System onto the Dovetail Sliders.
Adjust as desired.
NOTE: The closer the two Mounts are, the smaller the Oval and the further they are, the bigger the Oval
Take your Dovetail Knobs and push in two M5 Hex Nuts


Use the two Knobs to secure the Mounts
Take your chosen Router Plate, add two M6 Stop Collars, and secure the M6 Rods


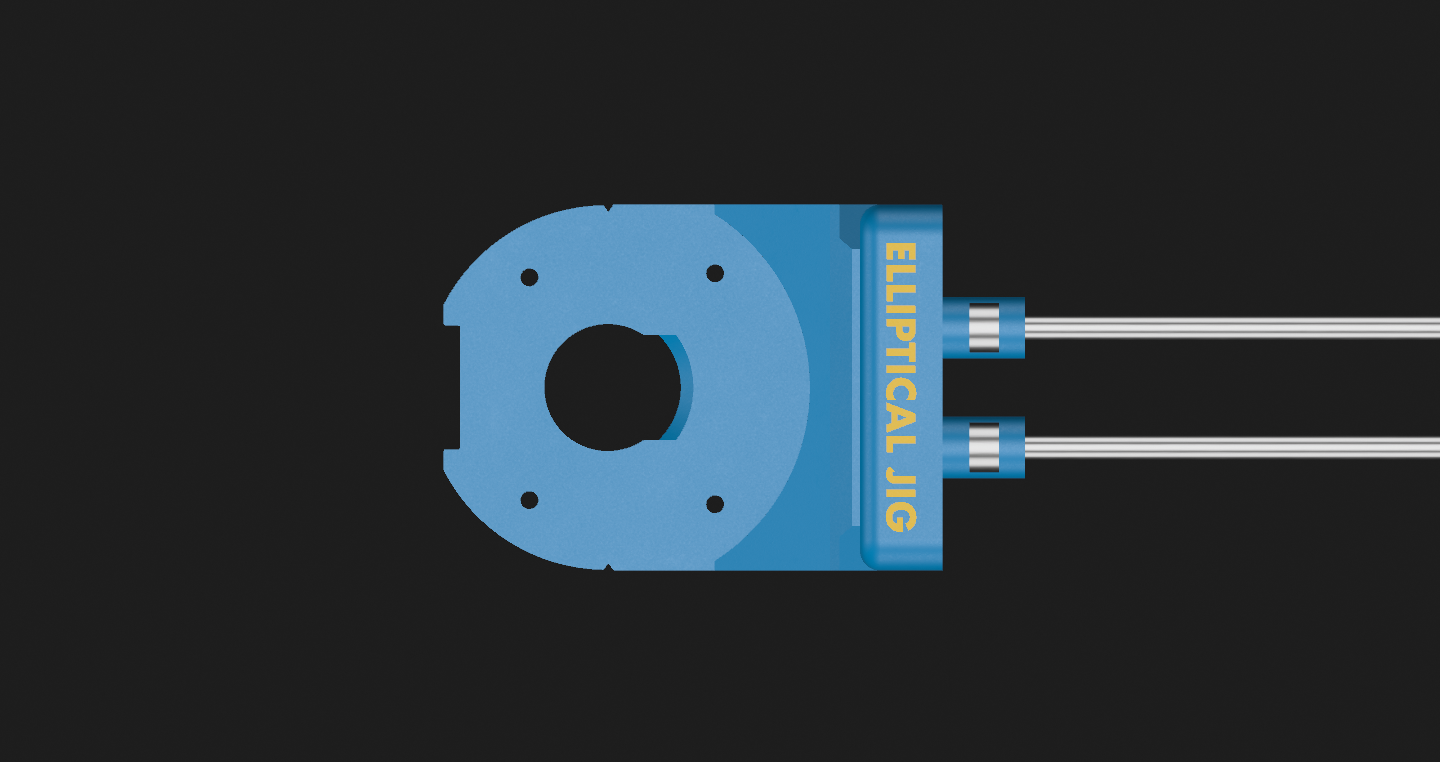
Now we can see the Final Product!

You are ready to start routing!
Essentially, you are only limited by the length of your M6 Rods. I use 700mm Rods, but if you want even bigger ovals, then get longer Rods.
EXTRA: Use the included Extension Arms as needed. They couple easily using the Extension Connectors and can be further secured using small screws.
I am looking forward to seeing what y'all make with this!