
1 / 2
The Waffle Stomper - A Yo-Yo
Zamów wydruk tego modelu
Obliczymy ostateczną cenę na podstawie wybranego pliku. Sprawdzisz ją i zaakceptujesz przed płatnością.
Zapisane na tym urządzeniu.
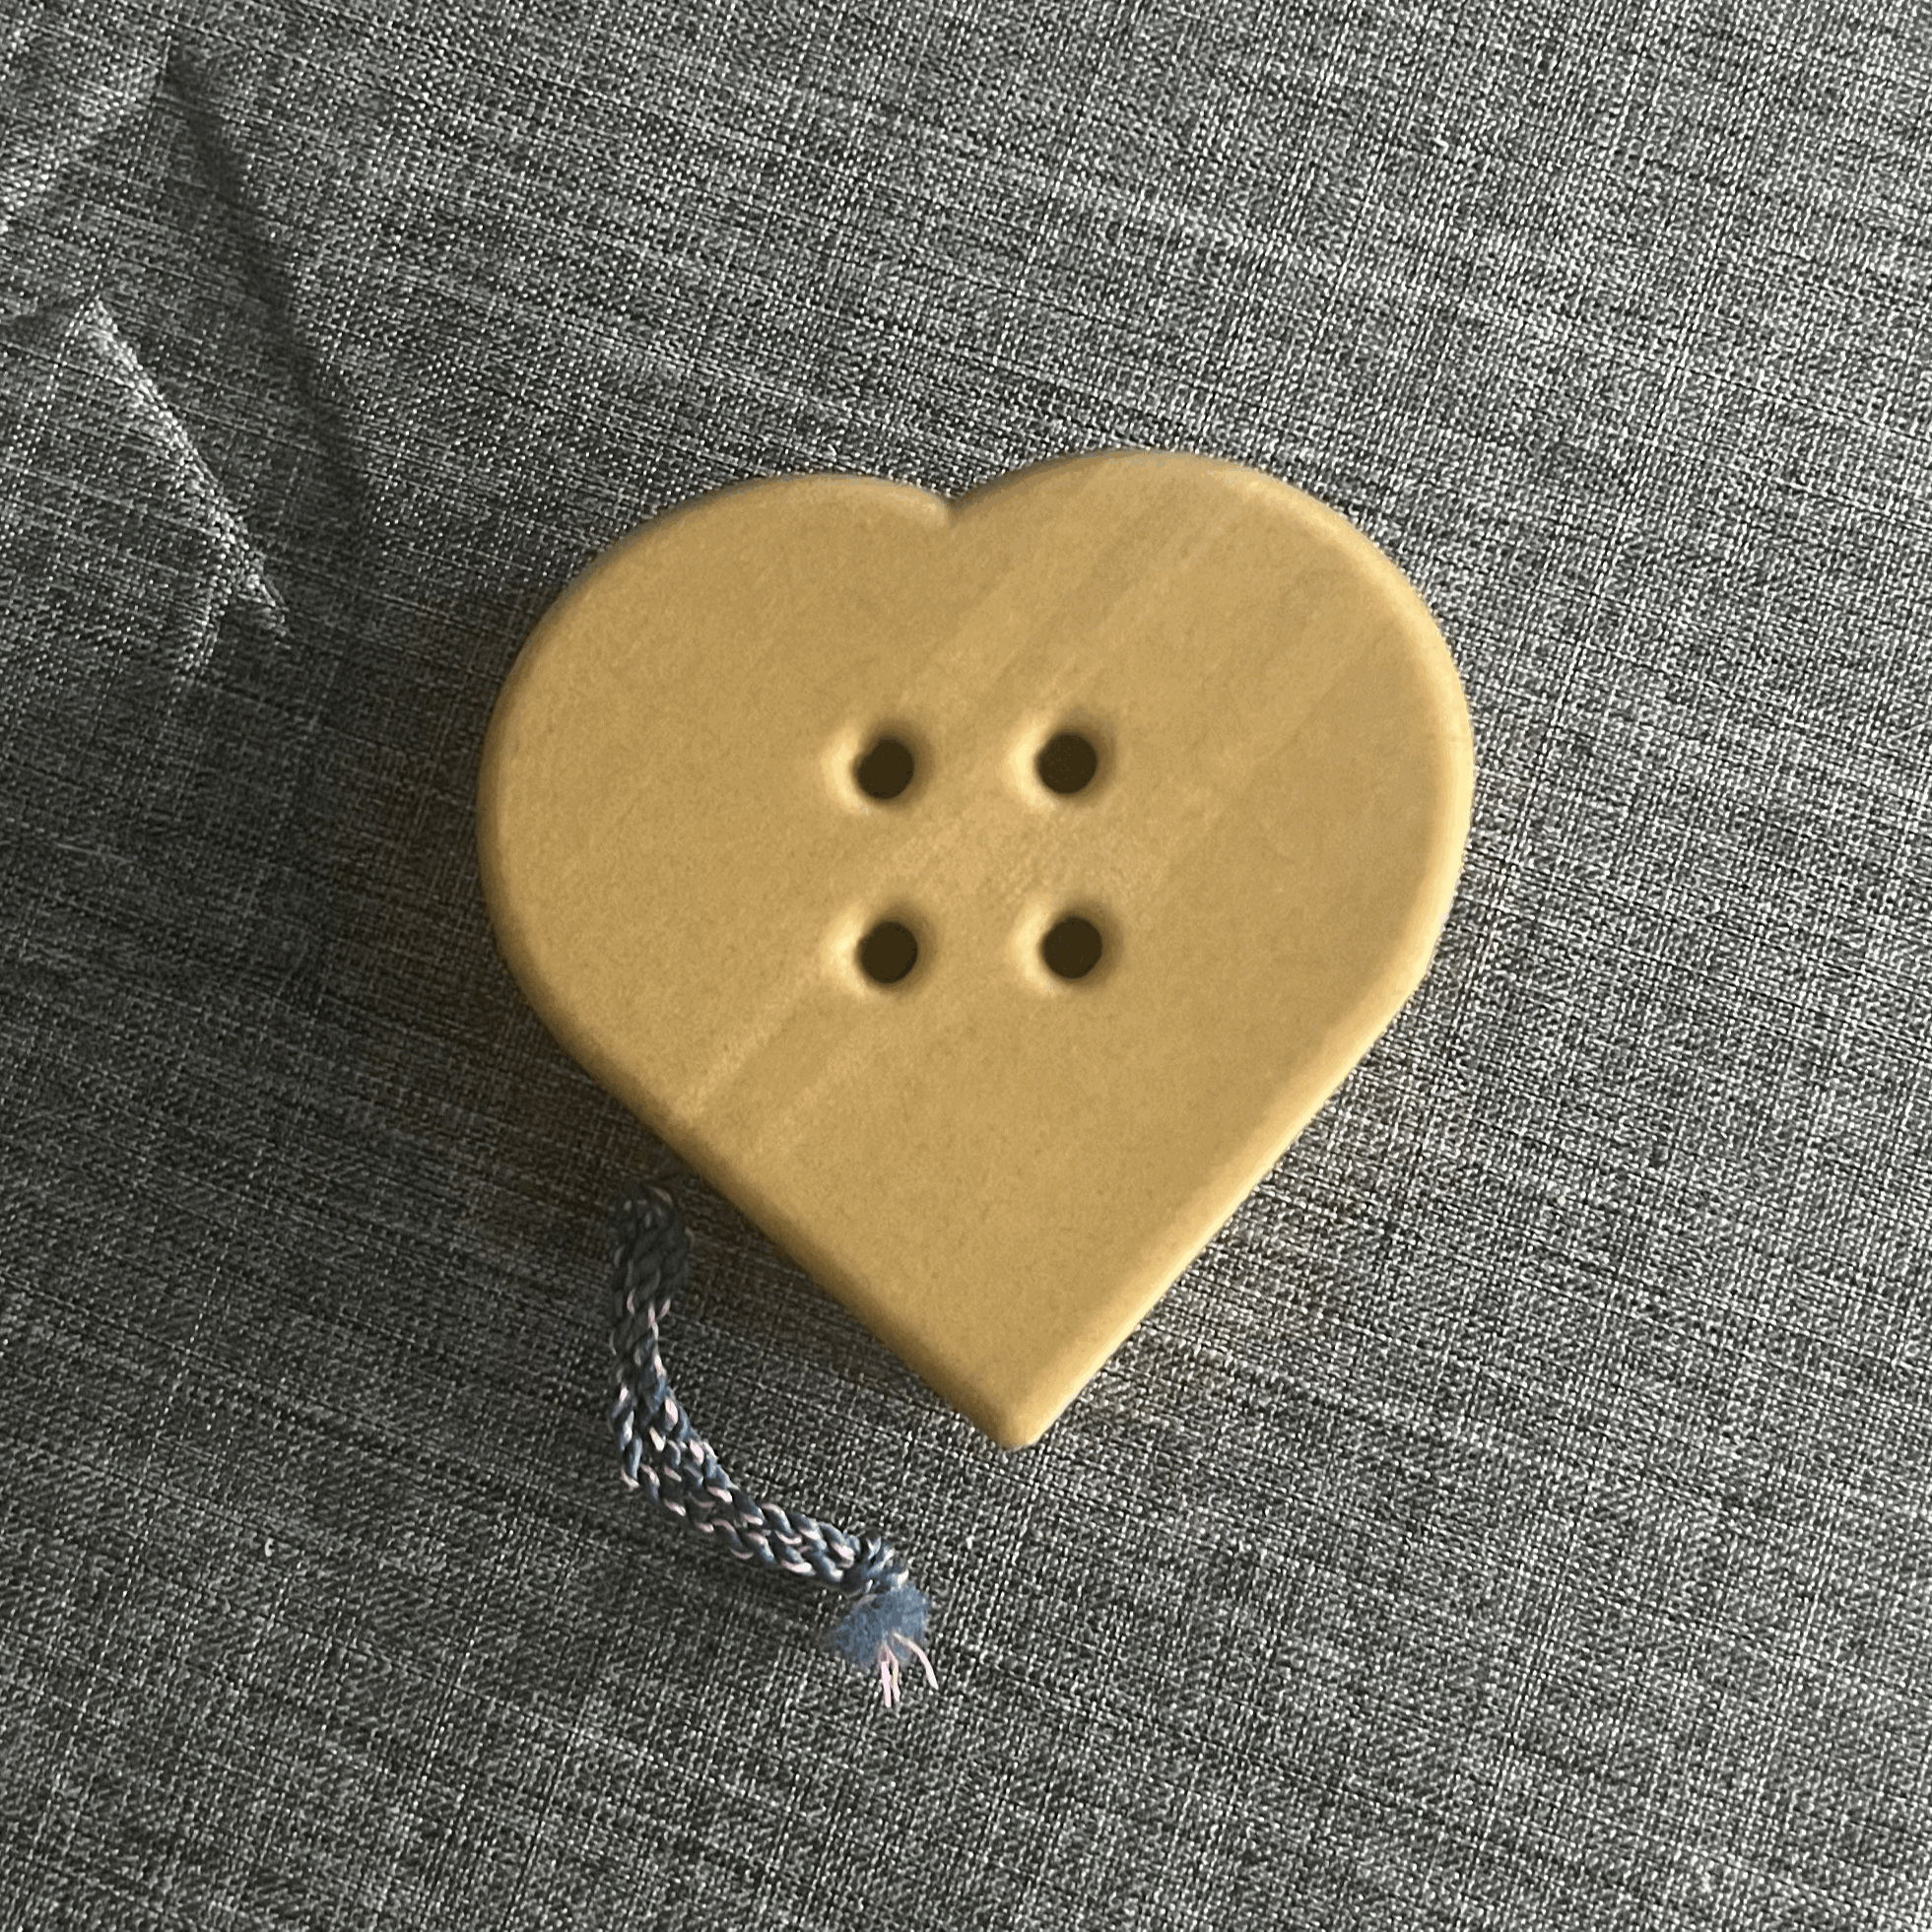
I'm sorry, I'm not sorry.
- Ocena
- 0 / 5
- Polubienia
- 5
- Pobrania
- 8
- Wydruki
- 0
- Wyświetlenia
- 85
- Oceny
- 0
Aktualizacja u źródła:
Informacje o modelu
- Źródło
- Printables
- Kategoria
- Other Toys & Games
- Licencja
- Creative Commons — Attribution — Noncommercial — Share Alike
What started as a silly joke has become a really good yo-yo.
Ingredients
- 1x MR85 bearing
- 2x m3ns square nuts
- 1x m3 x 20mm grub screw
- 2x 3d printed brake pads, printed in TPU.
- Or flowable silicone.
- Stainless steel, copper, or brass filled filament
- HTPLA, PETG, or other stand filament
- 1x poop counterweight printed in TPU (preferable brown)
Recipe
- Load the metal filled filament into the printer.
- In your slicer add a color change where the waffle portion ends, either manual or MMU/AMS.
- Print the two halves, doing a swap to normal filament when prompted.
- Please 1x m3nds nut in each half
- Insert brake pads into recess in each half. If you can't print brake pads you can use flowable silicone.
- Add bearing
- Add grub screw axle
- Screw it all together.
- Stomp the waffle.
Notes
- The metal filled filament is critical, without it the overall weight of the yoyo and rims of the yoyo will be too light and it will not perform well at all.
- There is a prepared 3MF for MK4s printers with the filament change set up included.
Assembly Video
Credits
Credit to Lotaxi on Yo-Yo Expert Forums for the Brake Pad model.