
Burette and pipette stand
Obliczymy ostateczną cenę na podstawie wybranego pliku. Sprawdzisz ją i zaakceptujesz przed płatnością.
Zapisane na tym urządzeniu.
A rack for holding 14 burettes. Could also be used as a drying rack.
- Ocena
- 0 / 5
- Polubienia
- 5
- Pobrania
- 12
- Wydruki
- 0
- Wyświetlenia
- 131
- Oceny
- 0
Aktualizacja u źródła:
Informacje o modelu
- Źródło
- Printables
- Kategoria
- Chemistry & Biology
- Licencja
- Creative Commons — Attribution — Noncommercial
Dimensions
Around 45 cm tall and 23 cm wide.
Objective
Our goal was to create a rack for burette storage for chemistry class. It had to take less space and be used as a drying rack for wet equipment, which the teacher can use after experiments. This was made with @AnwithaAllur_2501952
Assembly
You need 1 ½ inch PVC pipe around 41 cm long (can be changeable depending on individual preference), 4 screws and a drill. Put the pipe into the middle of the connector to the bottom of the drain and connect the top of the pipe to the connector at the top which is a part of the net. On the sides of the connector make two holes on opposite sides with a drill, such that it makes a hole in the PVC pipe also. Then screw in the screws in those holes, make sure they line up. Then once they line up, place the structure, which should have a net (at the top) and a drain (at the bottom) connected with a PVC pipe, on the bottom tray so that excess liquid can be captured and disposed of.
Design choices:
The connector
- Less diameter was needed
The bottom water tray
- Too big so the structure would move really easily
- Made smaller to contain less movement
The drain
- The holes
- The holders
The connector
- The first change that we had to make was the structure connecting to the PVC
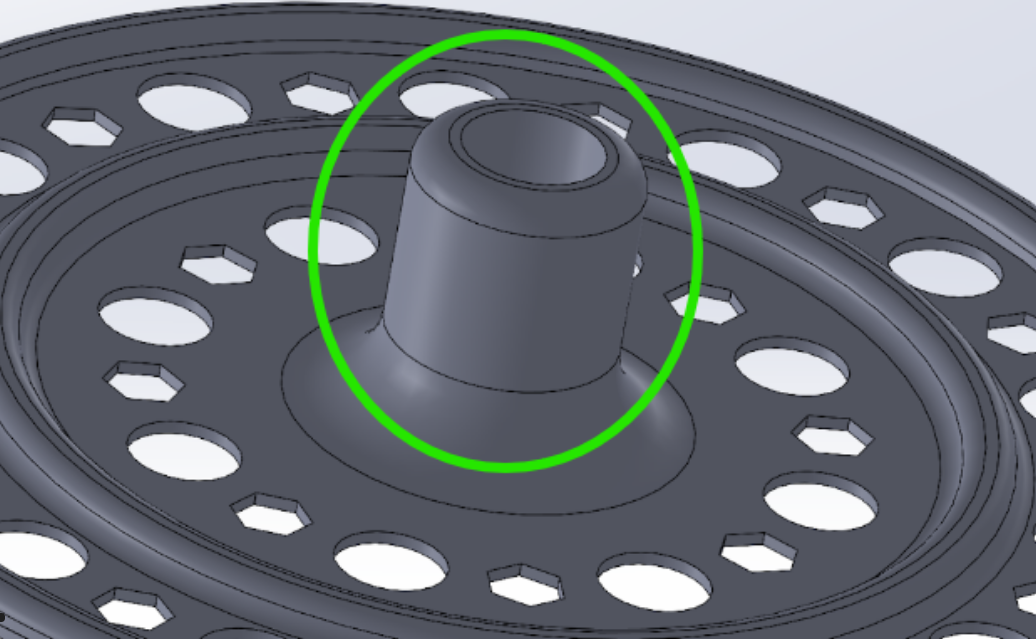
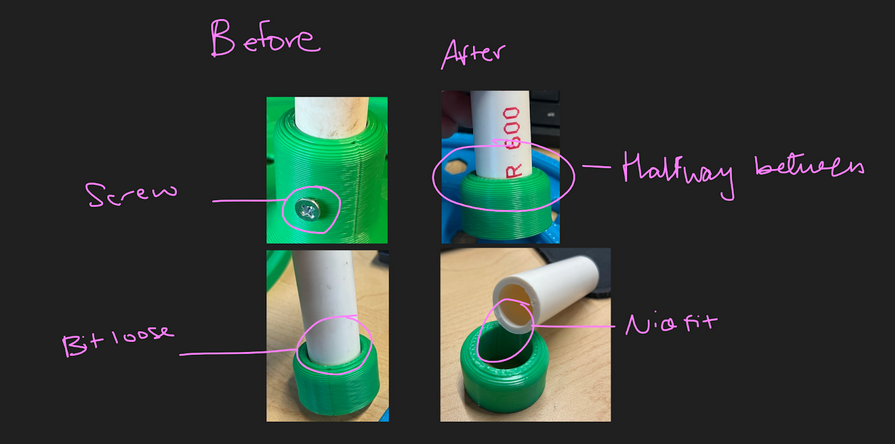
That would be this structure. At the very beginning the connector was a bit looser than needed so we had to screw it in to make sure that the top and bottom of the design stayed together. The next time we made it we reduced the diameter of the connector by 0.10 cm which ended up being much tighter than needed. We then raised the diameter by 0.5 cm which fit just right. So the initial size of 2.21cm went to 2.16cm.
Bottom Water Tray:
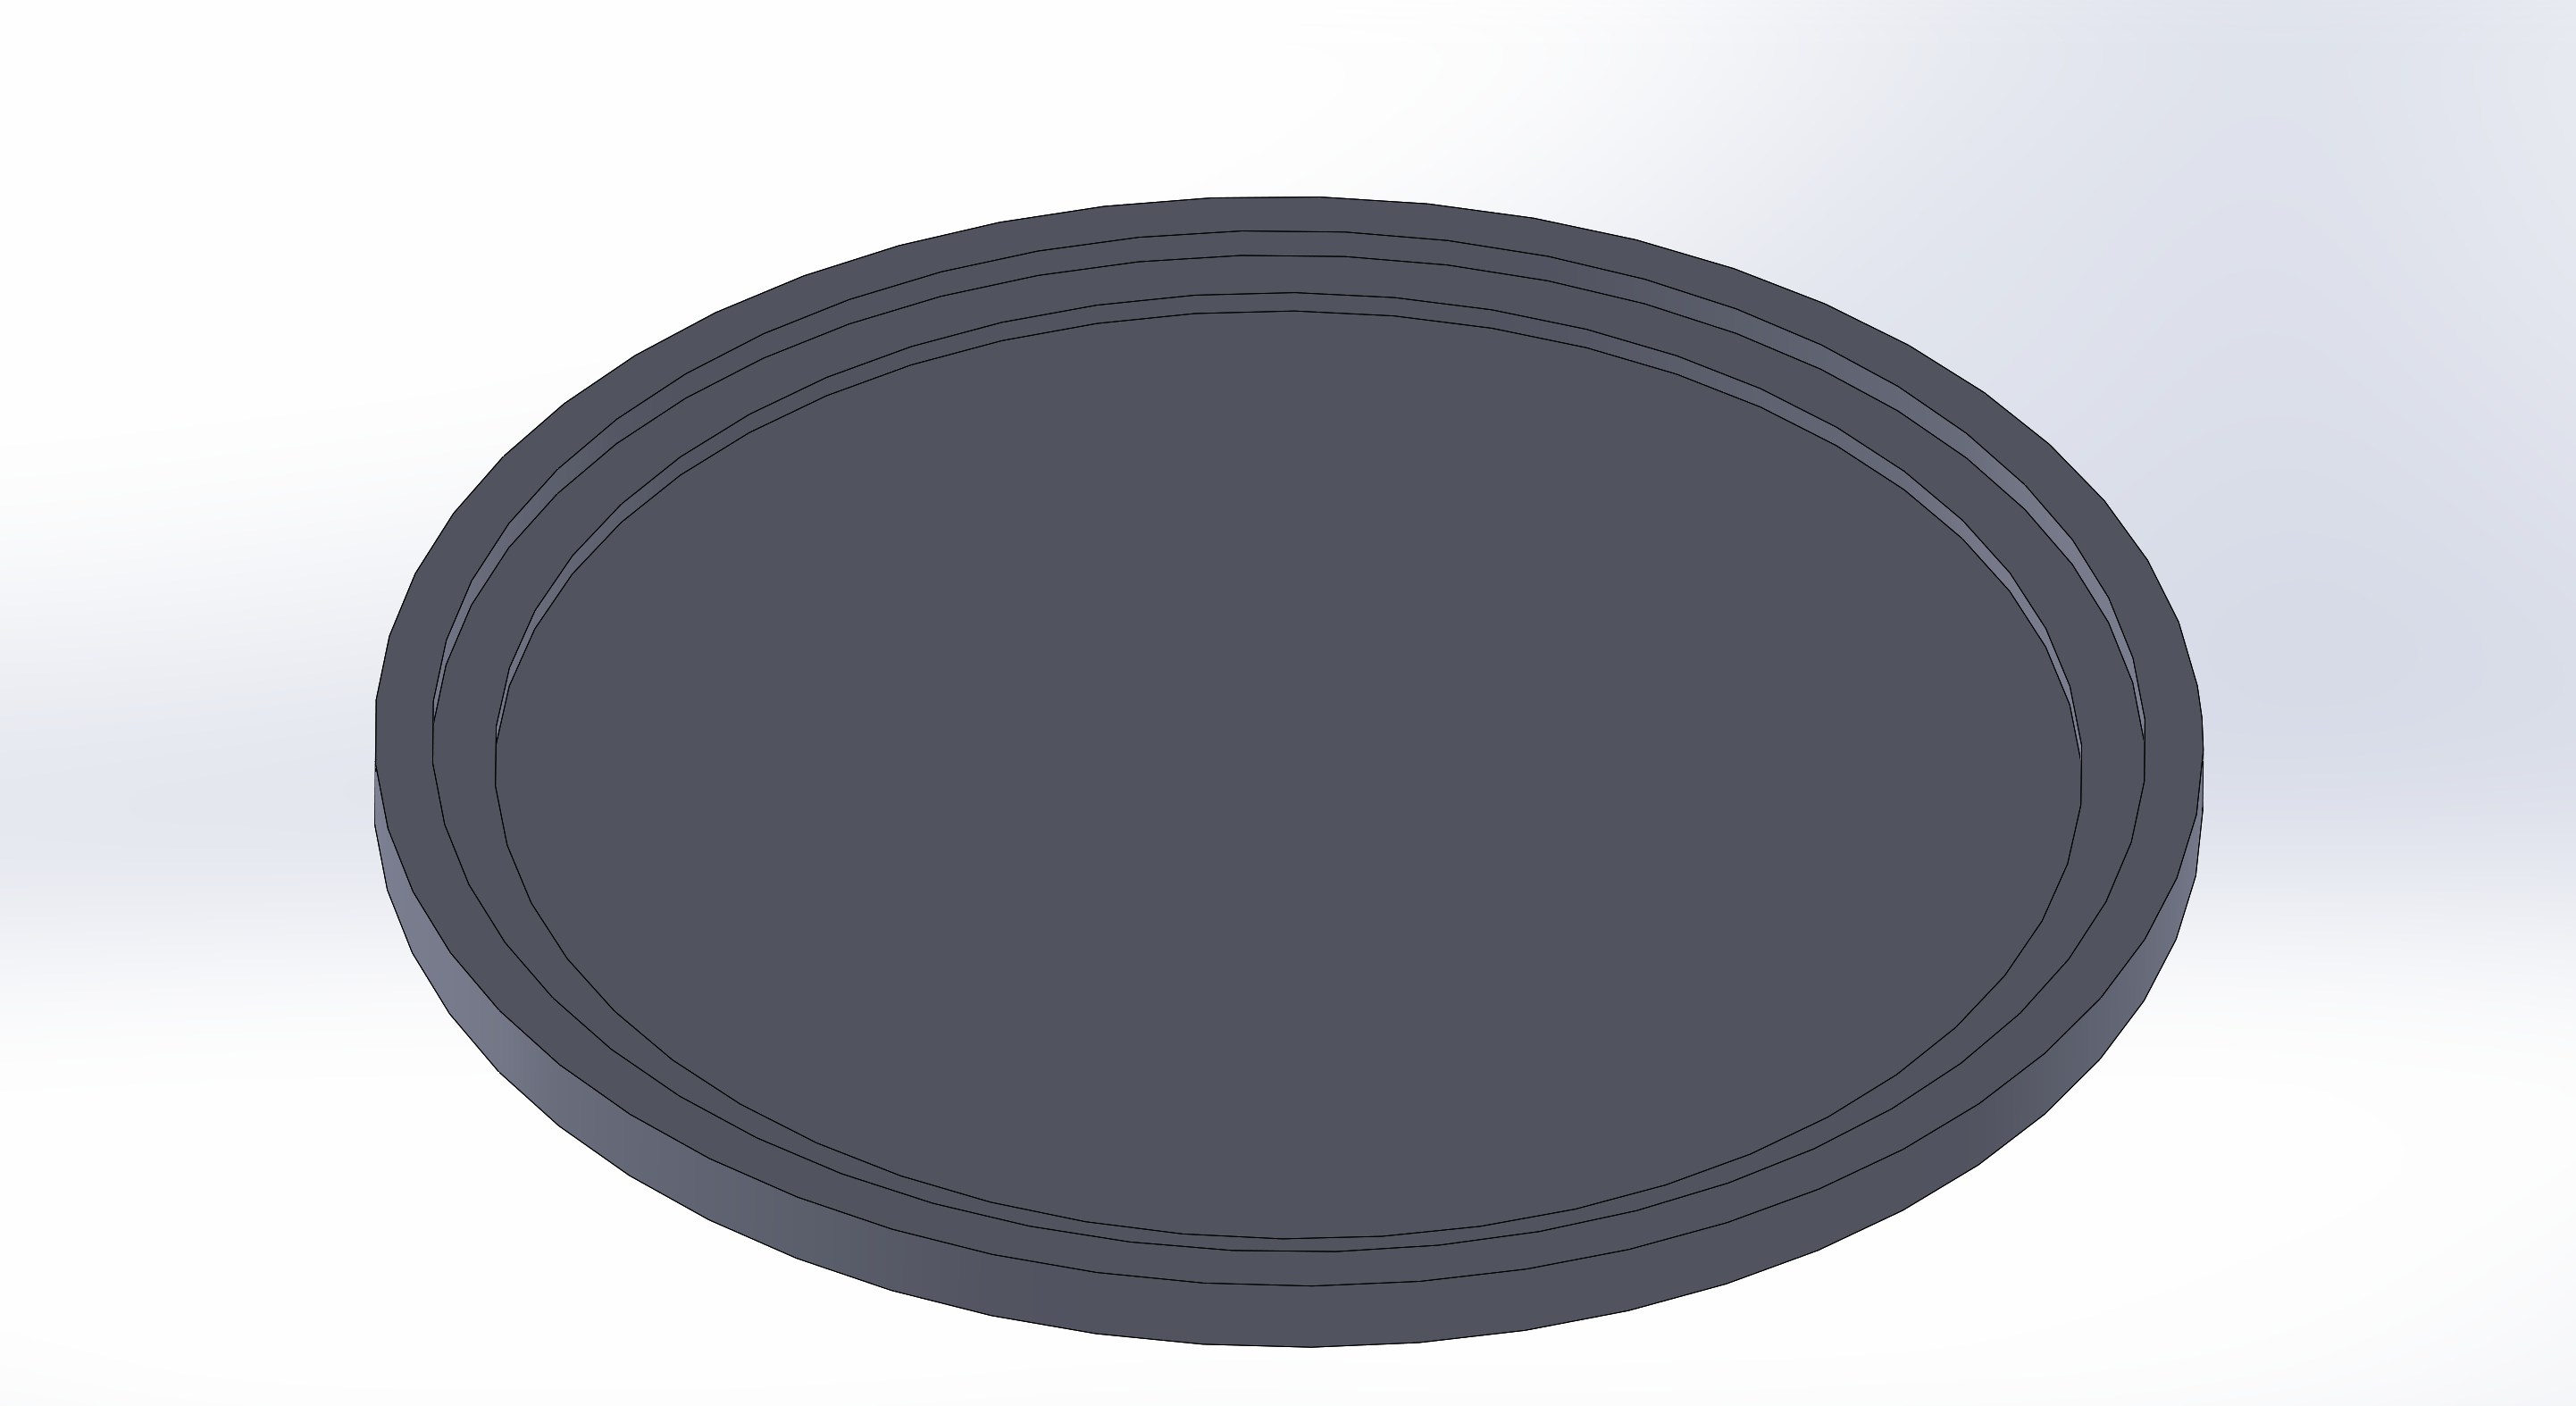

In the initial design, the water tray was too big, with big gaps around it, making the drain sliding on it. Therefore we decided to make it smaller, with thinner edges and so that it would better fit the drain. Now it also requires less materials to print.
Before:
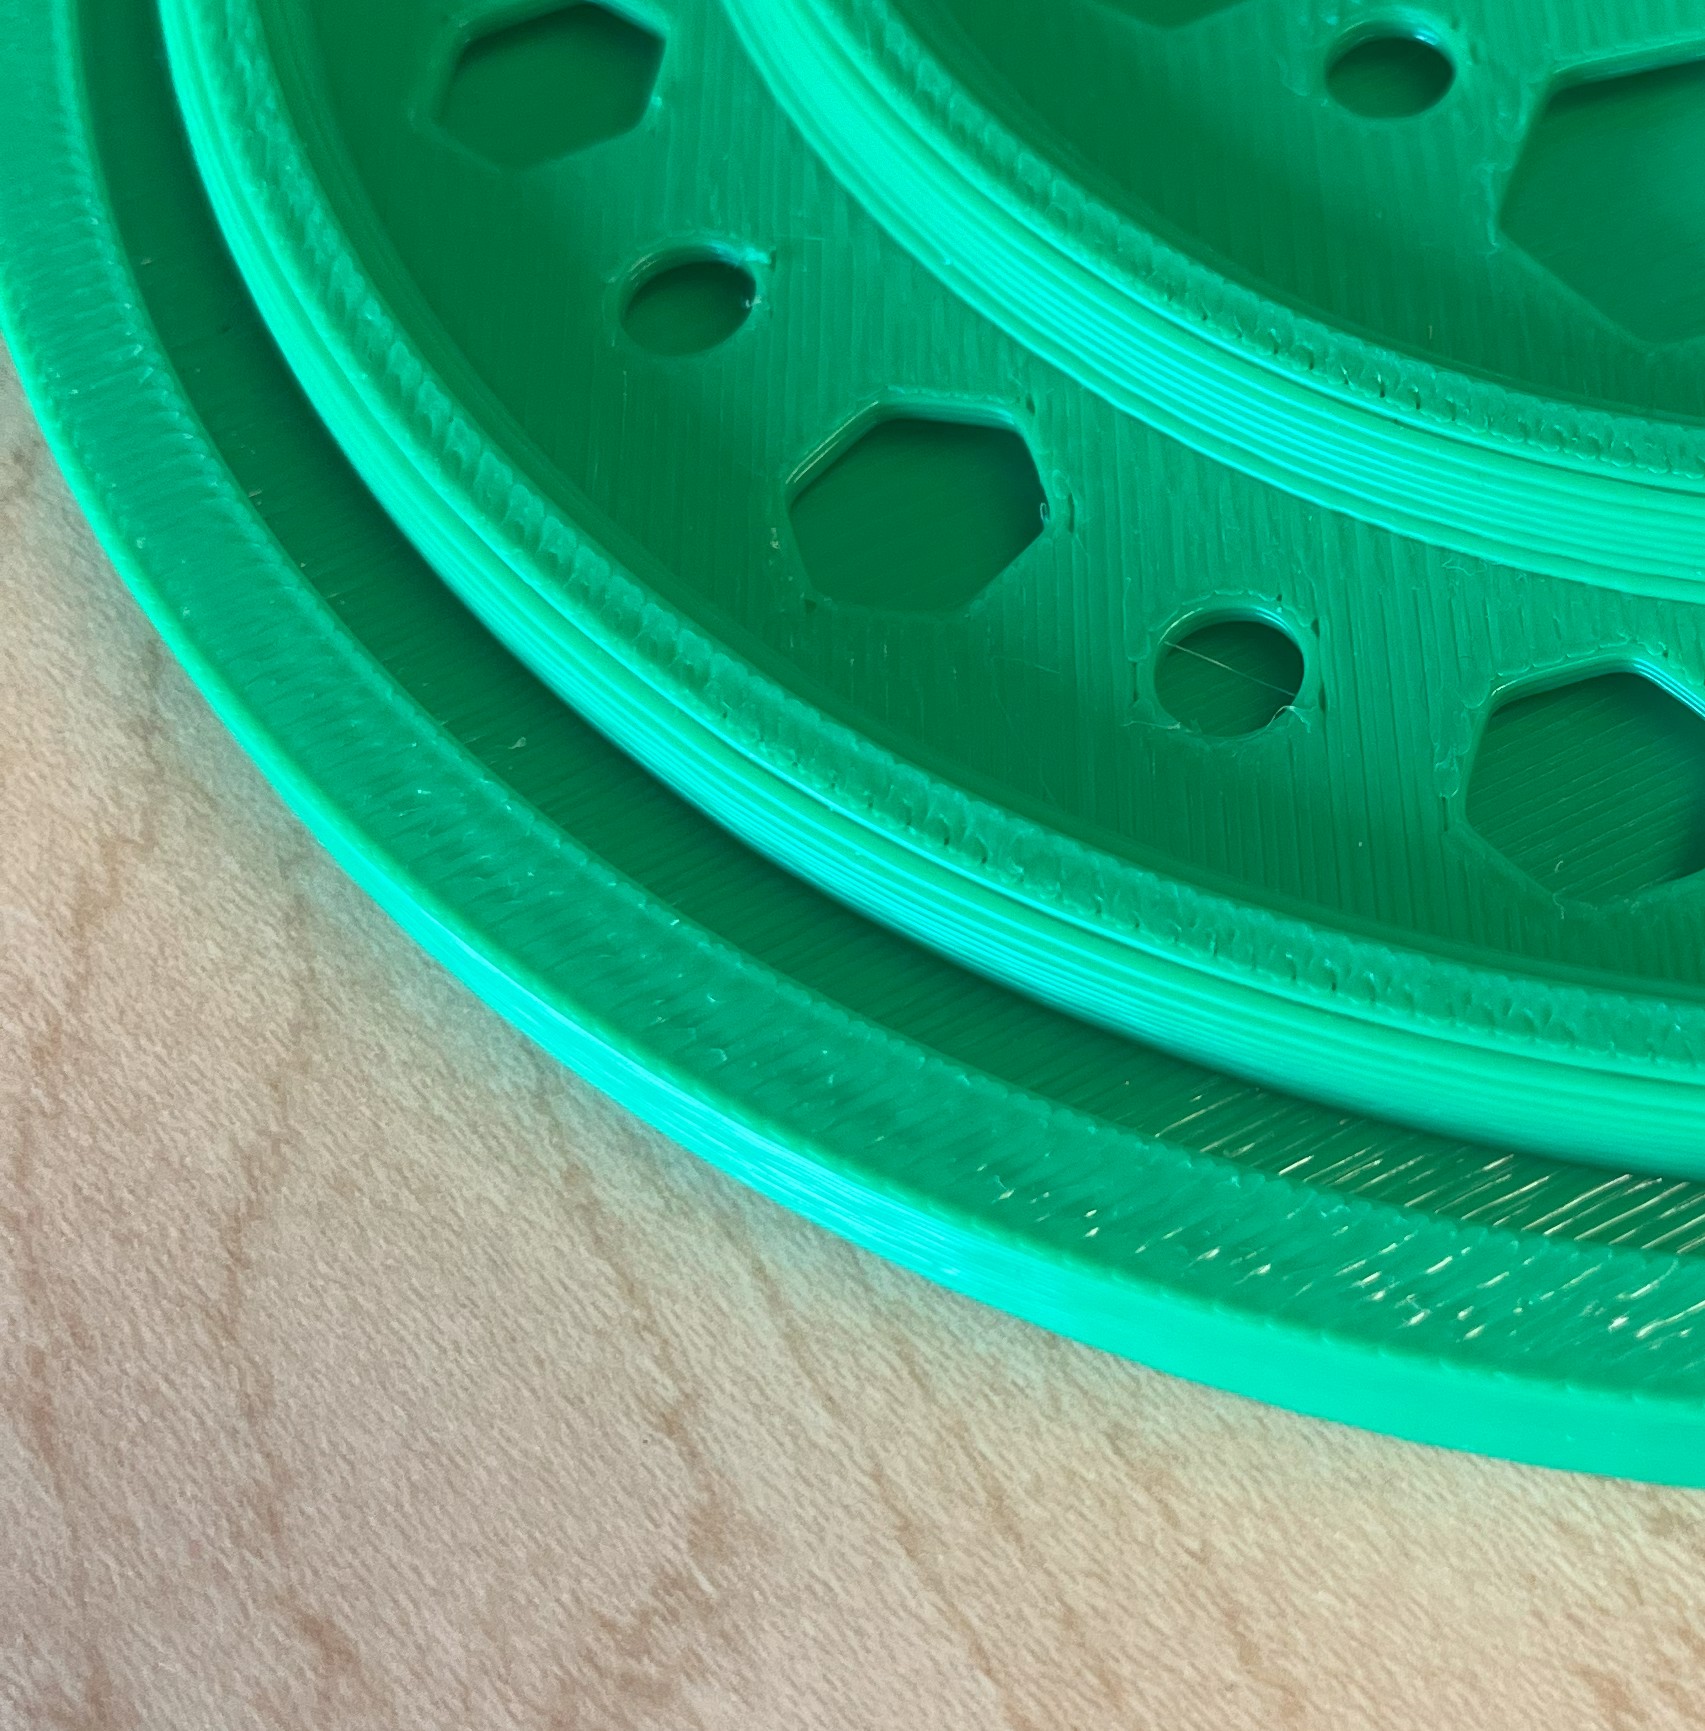
After:
THE DRAIN: Bigger Holes
This is how the first prototype ended up looking

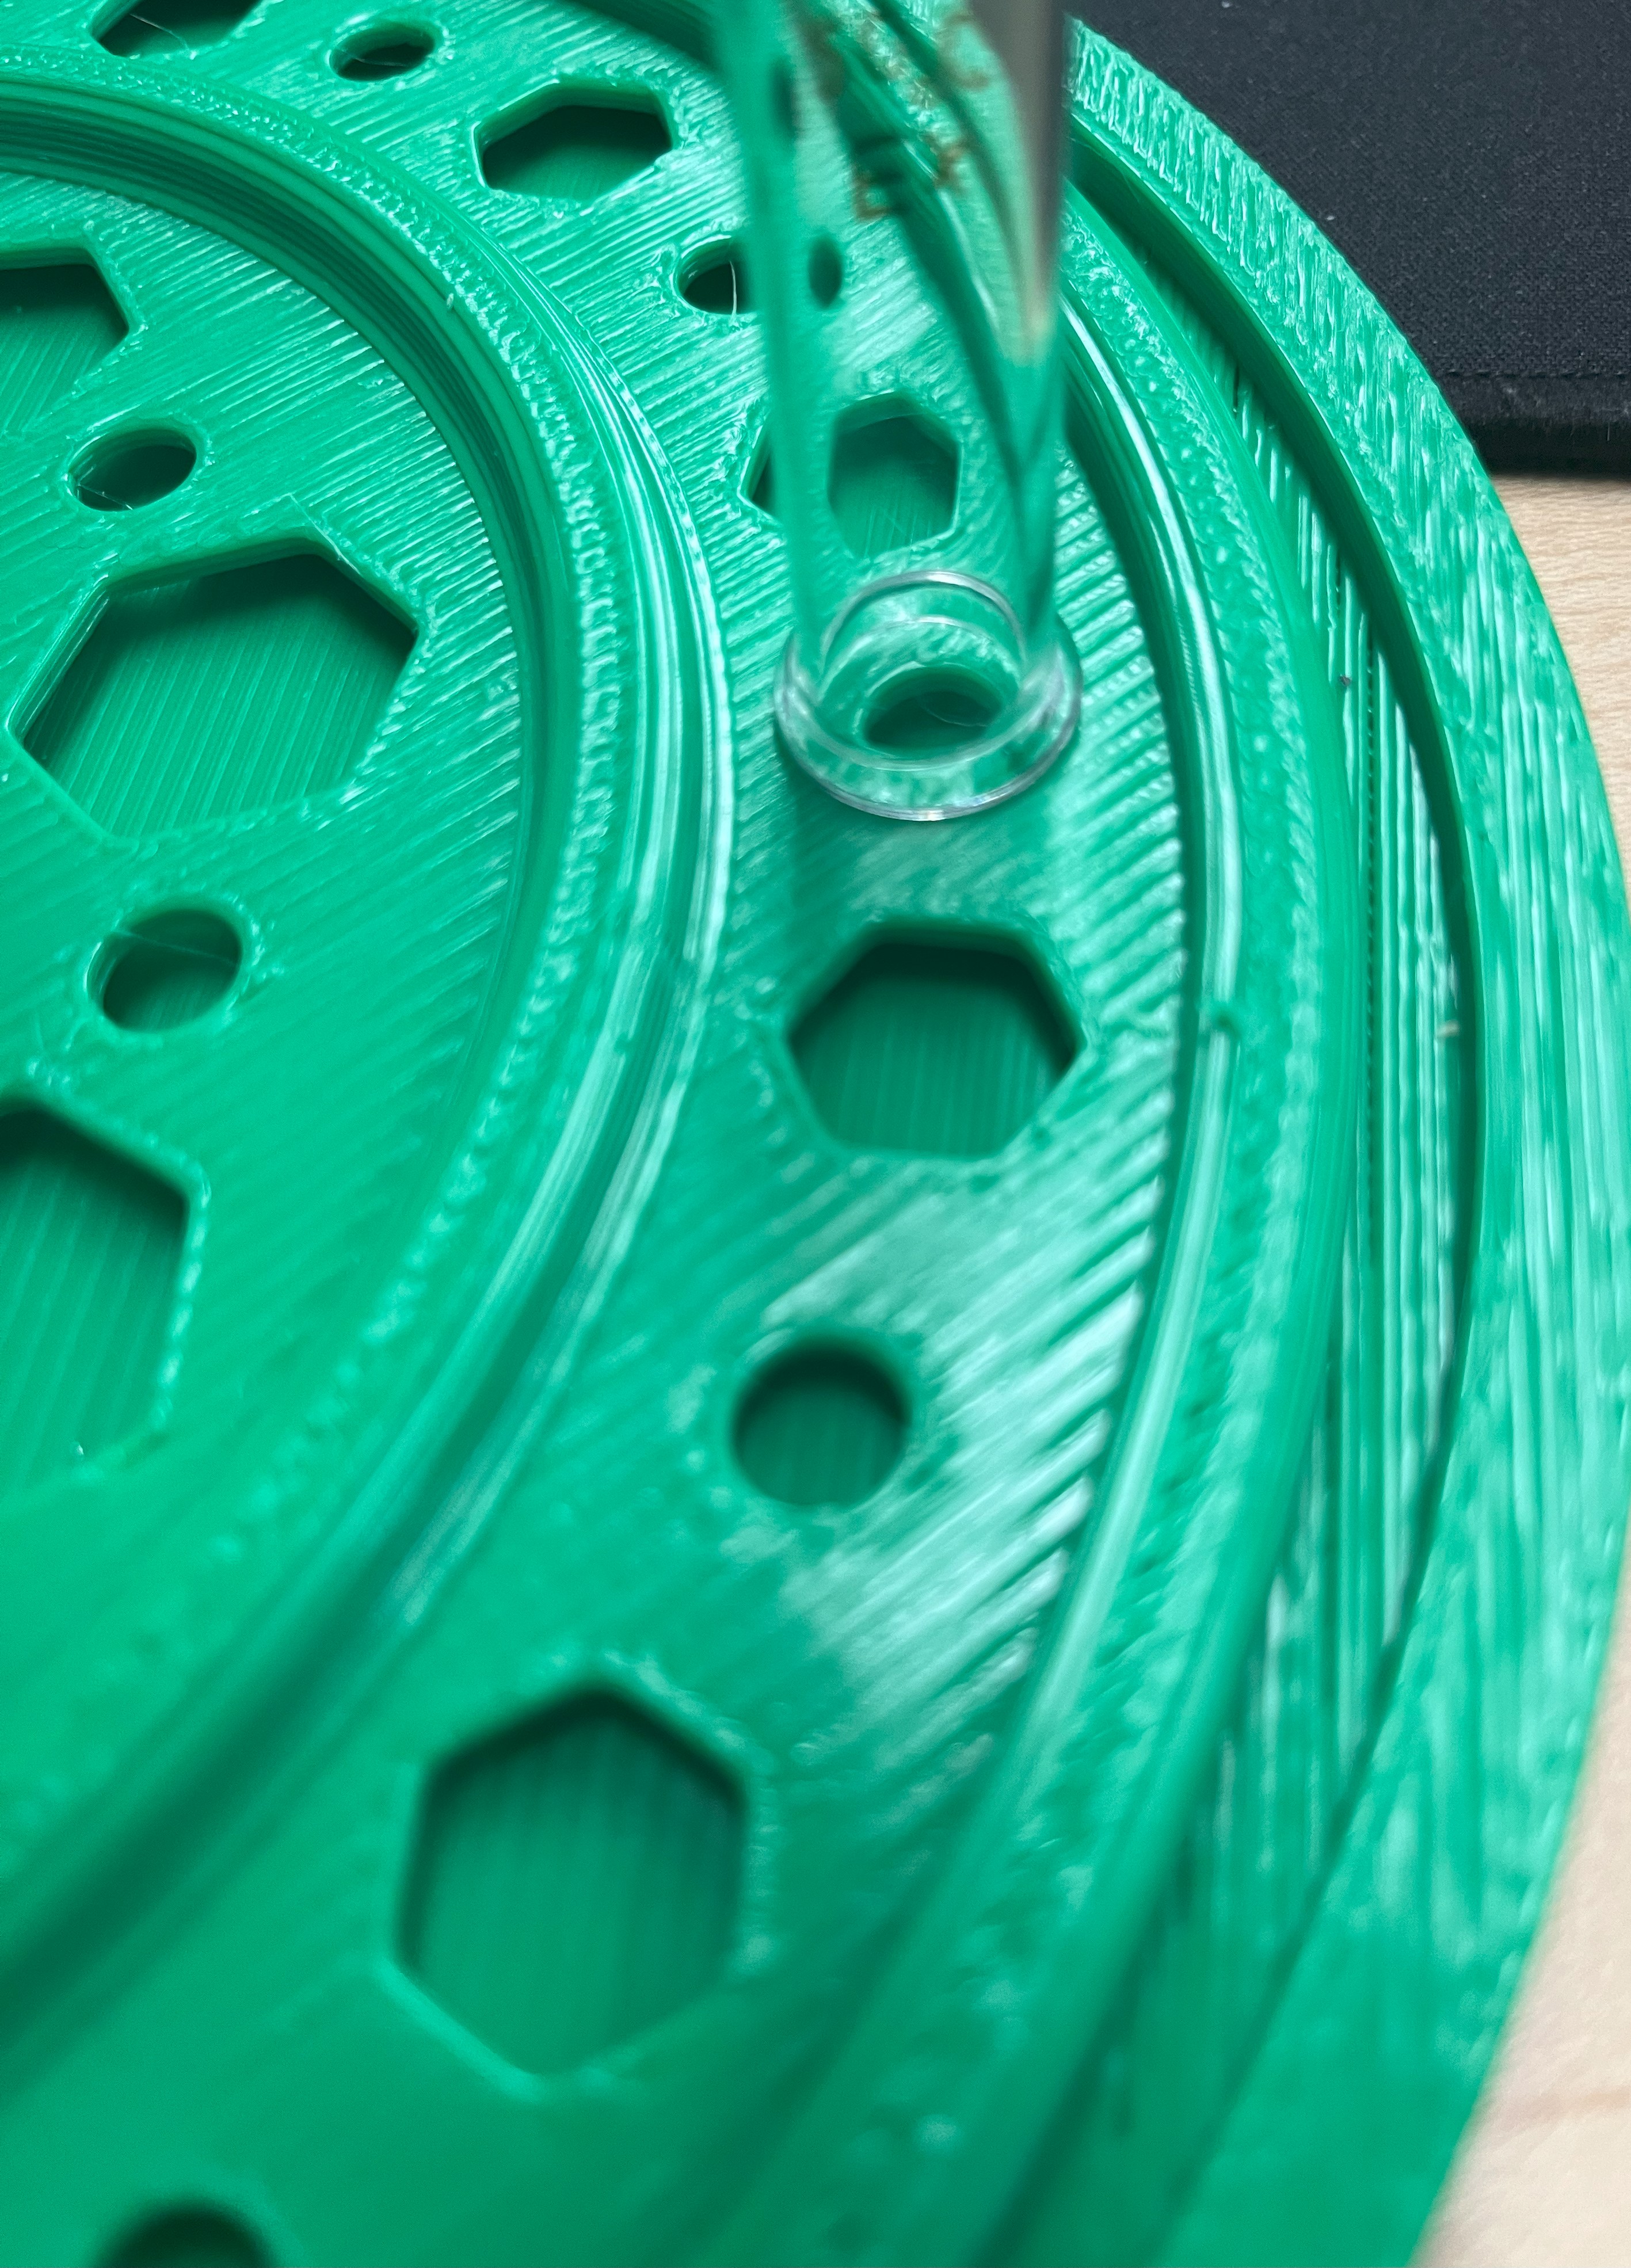
When testing it out we realized that we didn’t account for the knobs on each of the burettes
Initially we thought that the circled tip would be at the bottom of the stand and that would be the source from which the liquid would leave the object. However when testing our prototype we realized that the knob would make it impossible for the burette to fit in a way that matched our original idea. Although this wasn’t too much of a drawback as our client actually wanted the tip of the burette to be facing upwards and have the bottom of the burette be at the bottom of the structure.
Regardless of that there were still some changes which we had to make because of this design choice. Since, initially we thought the tip would be at the bottom, the holes down there were smaller than the holes of the bottom of the burette therefore we had to make sure that the hole had a spot that it fits through. To fix this we made the circles here to be bigger and to fit the size of the burette.


THE DRAIN: Holders
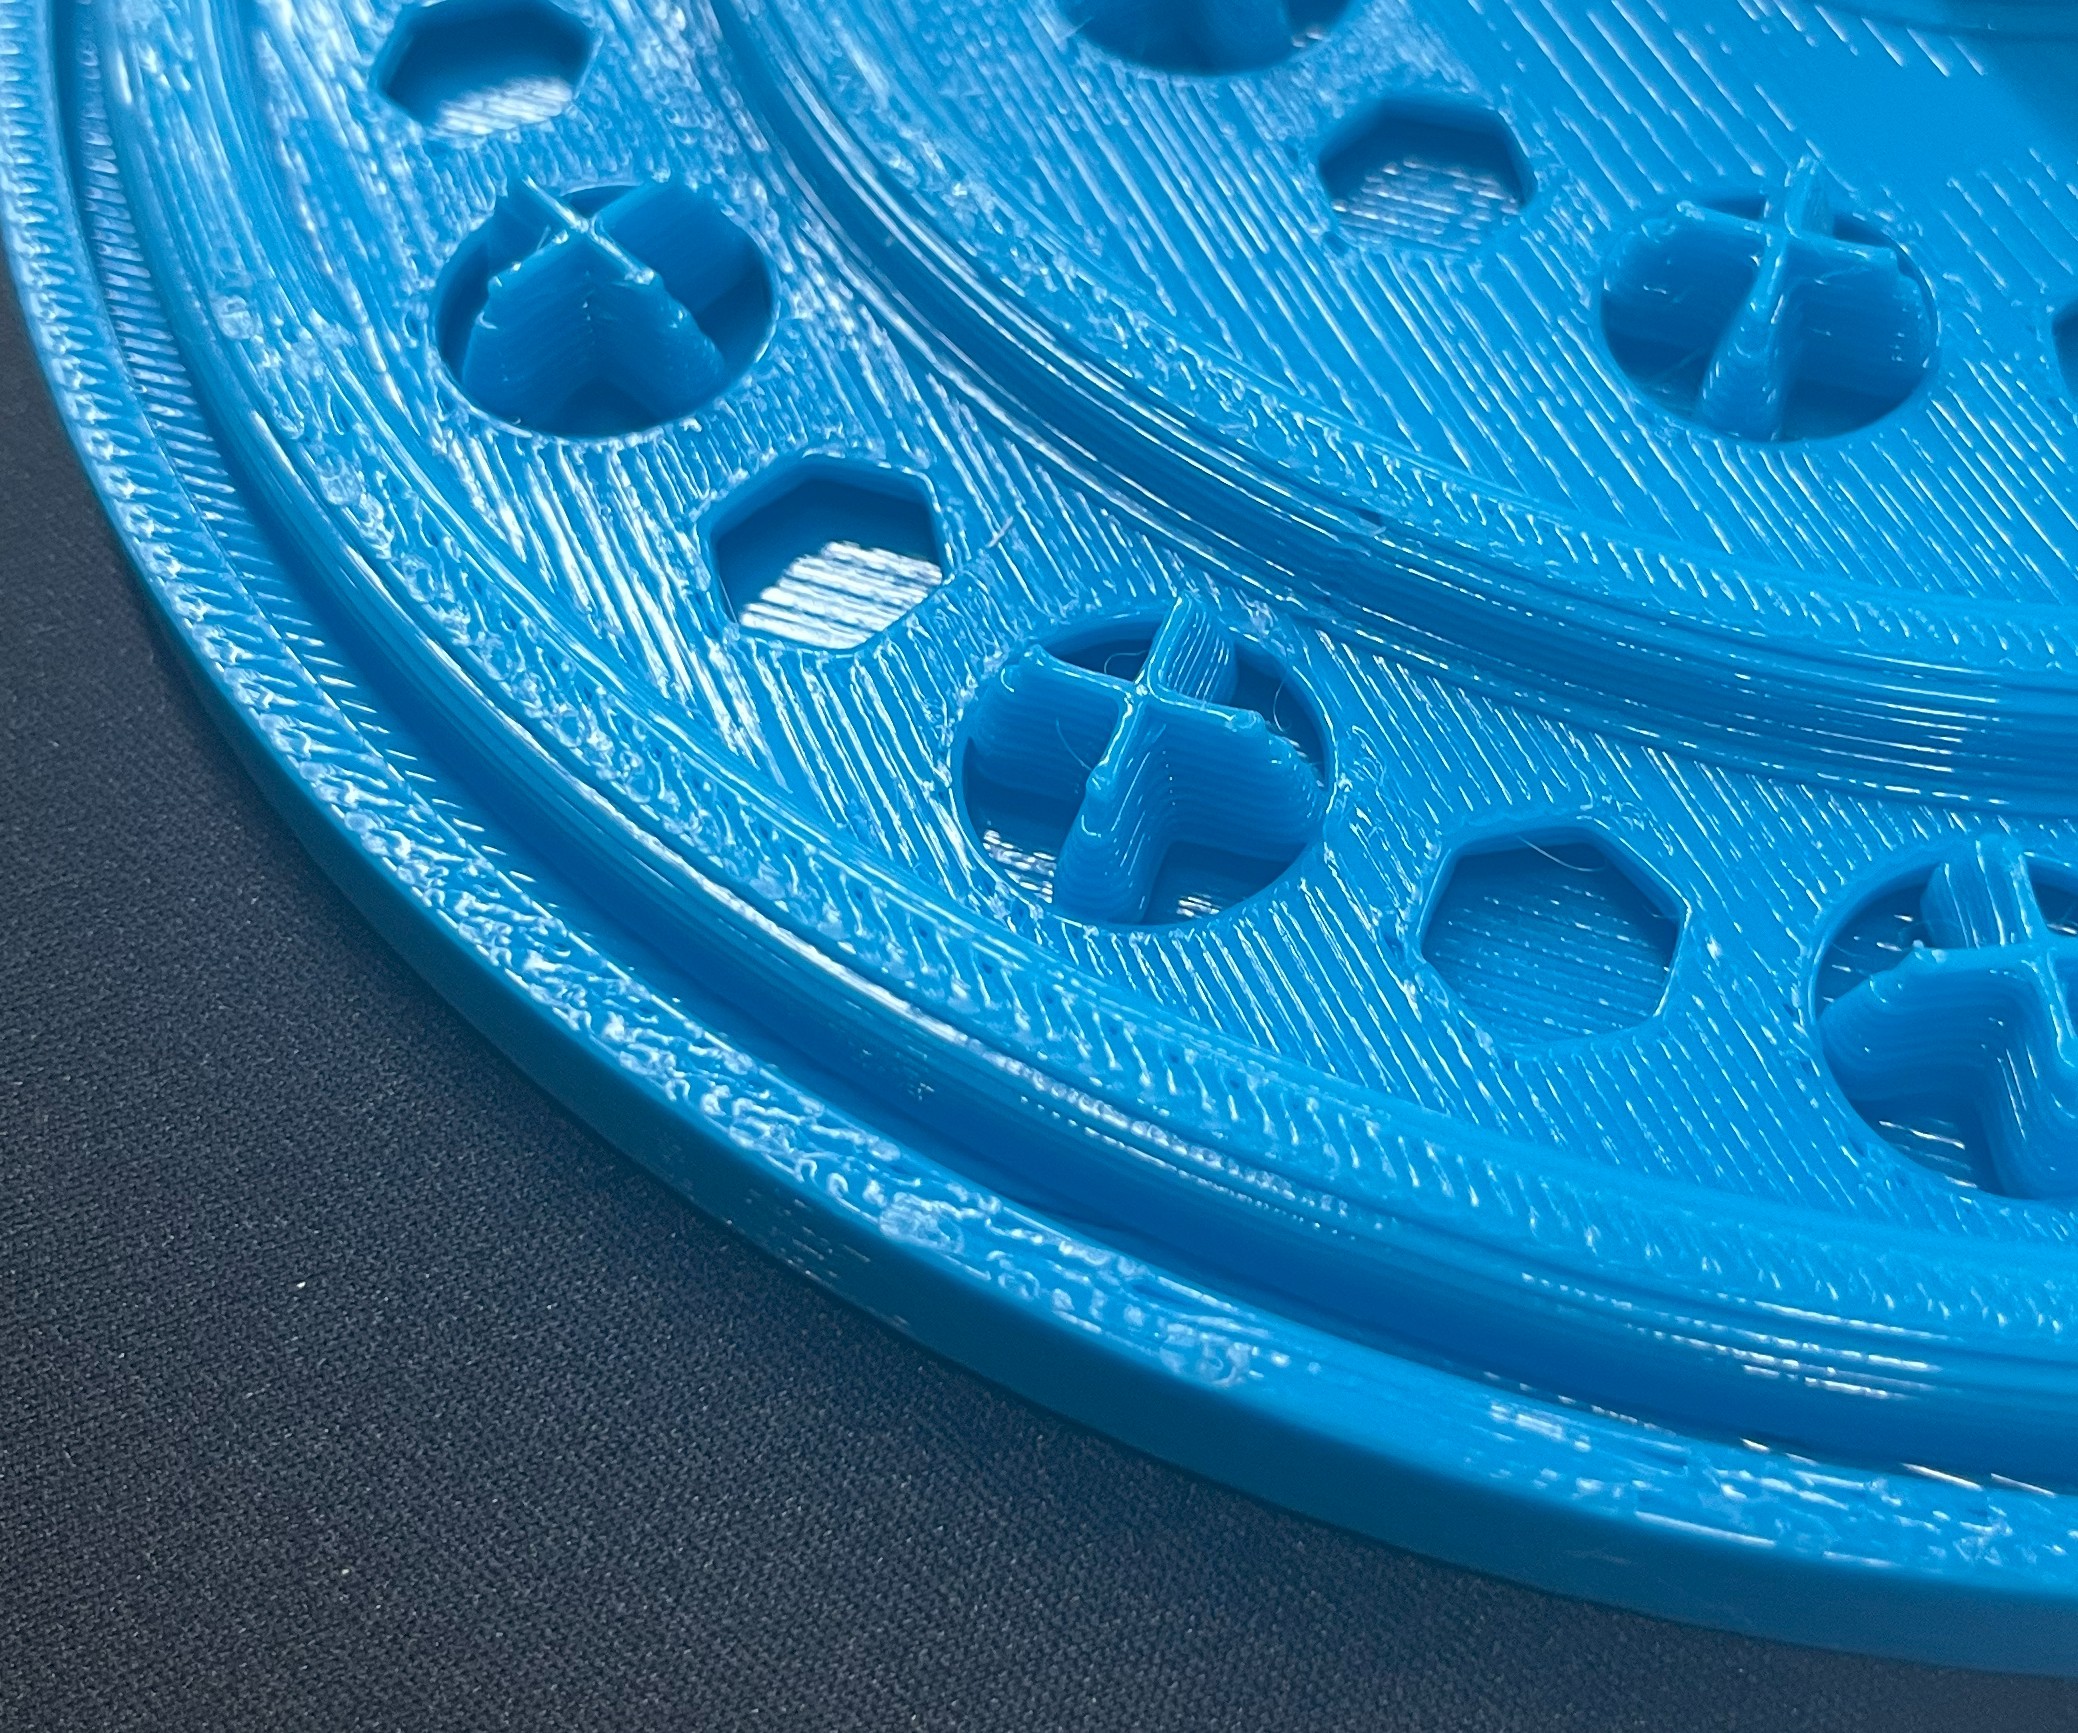
We then added these drafted cross extrusions to give the burette something to stand on and allow them to effectively dry up.

Cylinder Adapters:
After we added the drafted cross feature to the design, we realized that the diameter of the burettes fit perfectly with the length of the feature. This was a bit problematic because we wanted the length to be a little smaller than the burettes to allow a better grip. So we decided to add adapters to the drafted crosses that could fit onto the feature and allow them to hold the burettes.

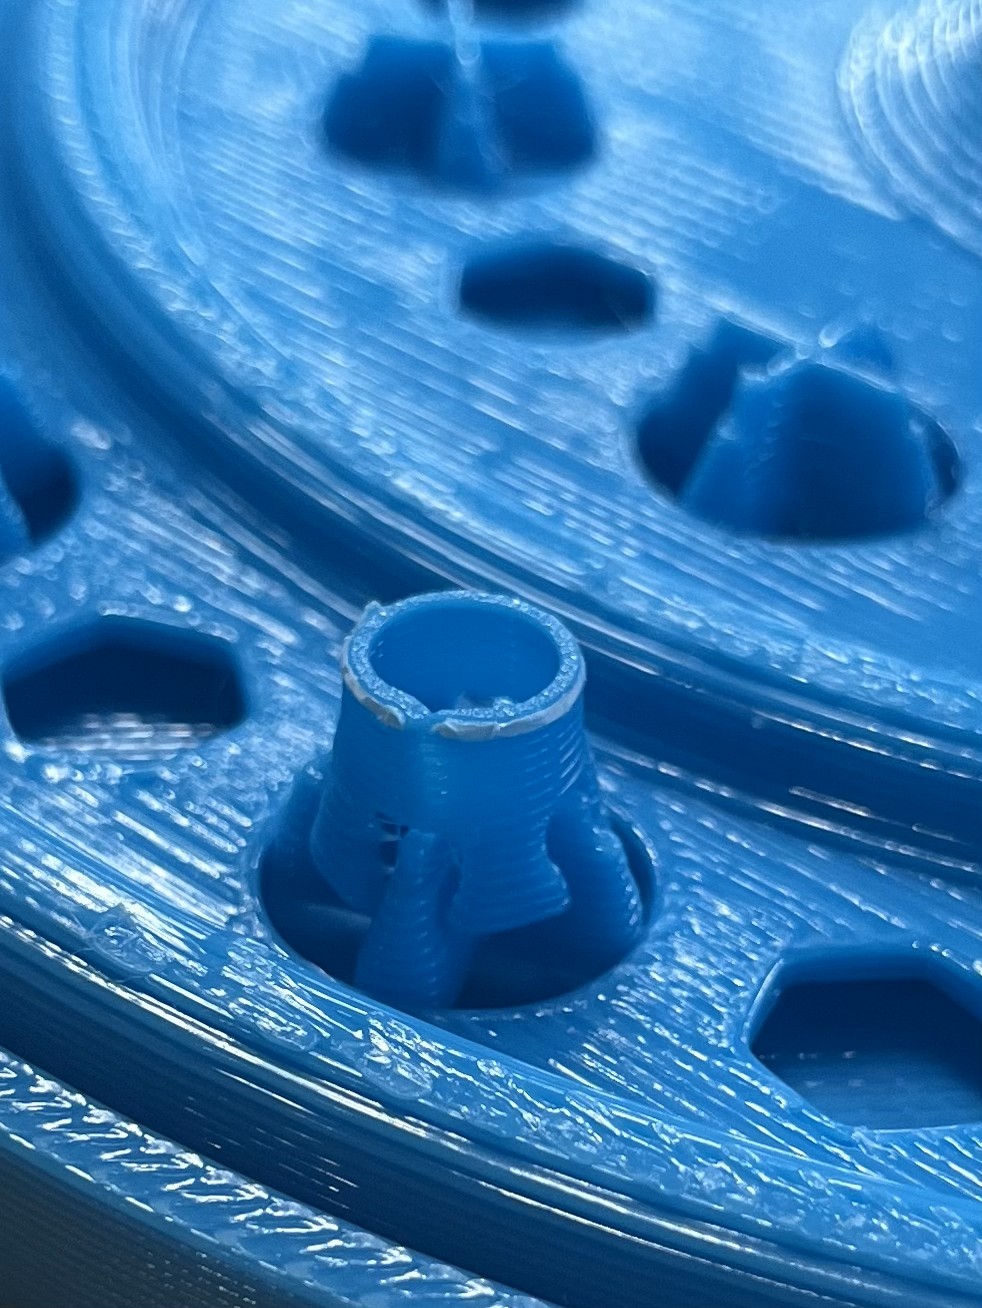
This worked well on most of the burettes although the burretes that are placed on the inner ring are a bit smaller in diameter and therefore needed different sized adapters. Due to this we increased the draft of the adapters by two degrees.
However due to some difficulties we weren't able to print more of these adapters and so we started working on a whole new idea
To achieve the goal of having an adapter to hold smaller (in diameter) burretes we made a new design which is basically just an add on to the already existing drafted cross structure.


