
"Employee Of The Month" magnetic A5 picture frame
Obliczymy ostateczną cenę na podstawie wybranego pliku. Sprawdzisz ją i zaakceptujesz przed płatnością.
Zapisane na tym urządzeniu.

"Employee Of The Month" magnetic A5 picture frame
- Ocena
- 0 / 5
- Polubienia
- 3
- Pobrania
- 31
- Wydruki
- 0
- Wyświetlenia
- 233
- Oceny
- 0
Aktualizacja u źródła:
Informacje o modelu
- Źródło
- Printables
- Kategoria
- Office
- Licencja
- Creative Commons — Attribution — Noncommercial
"Employee of the Month" magnetic A5 picture frame.
Have a little fun with your colleagues and honor one of them who did something really good.

Just print out a picture in DIN A5 size (13x18cm) and bend the white section behind the picture to get similar white boarders of the paper:


This paper size will fit the picture in the frame without cutting the paper and 5mm of the picture in the middle will be hidden from the frame to ensure that there are no visible white sections around the picture shown in the frame.

Hope you like this little project. =)

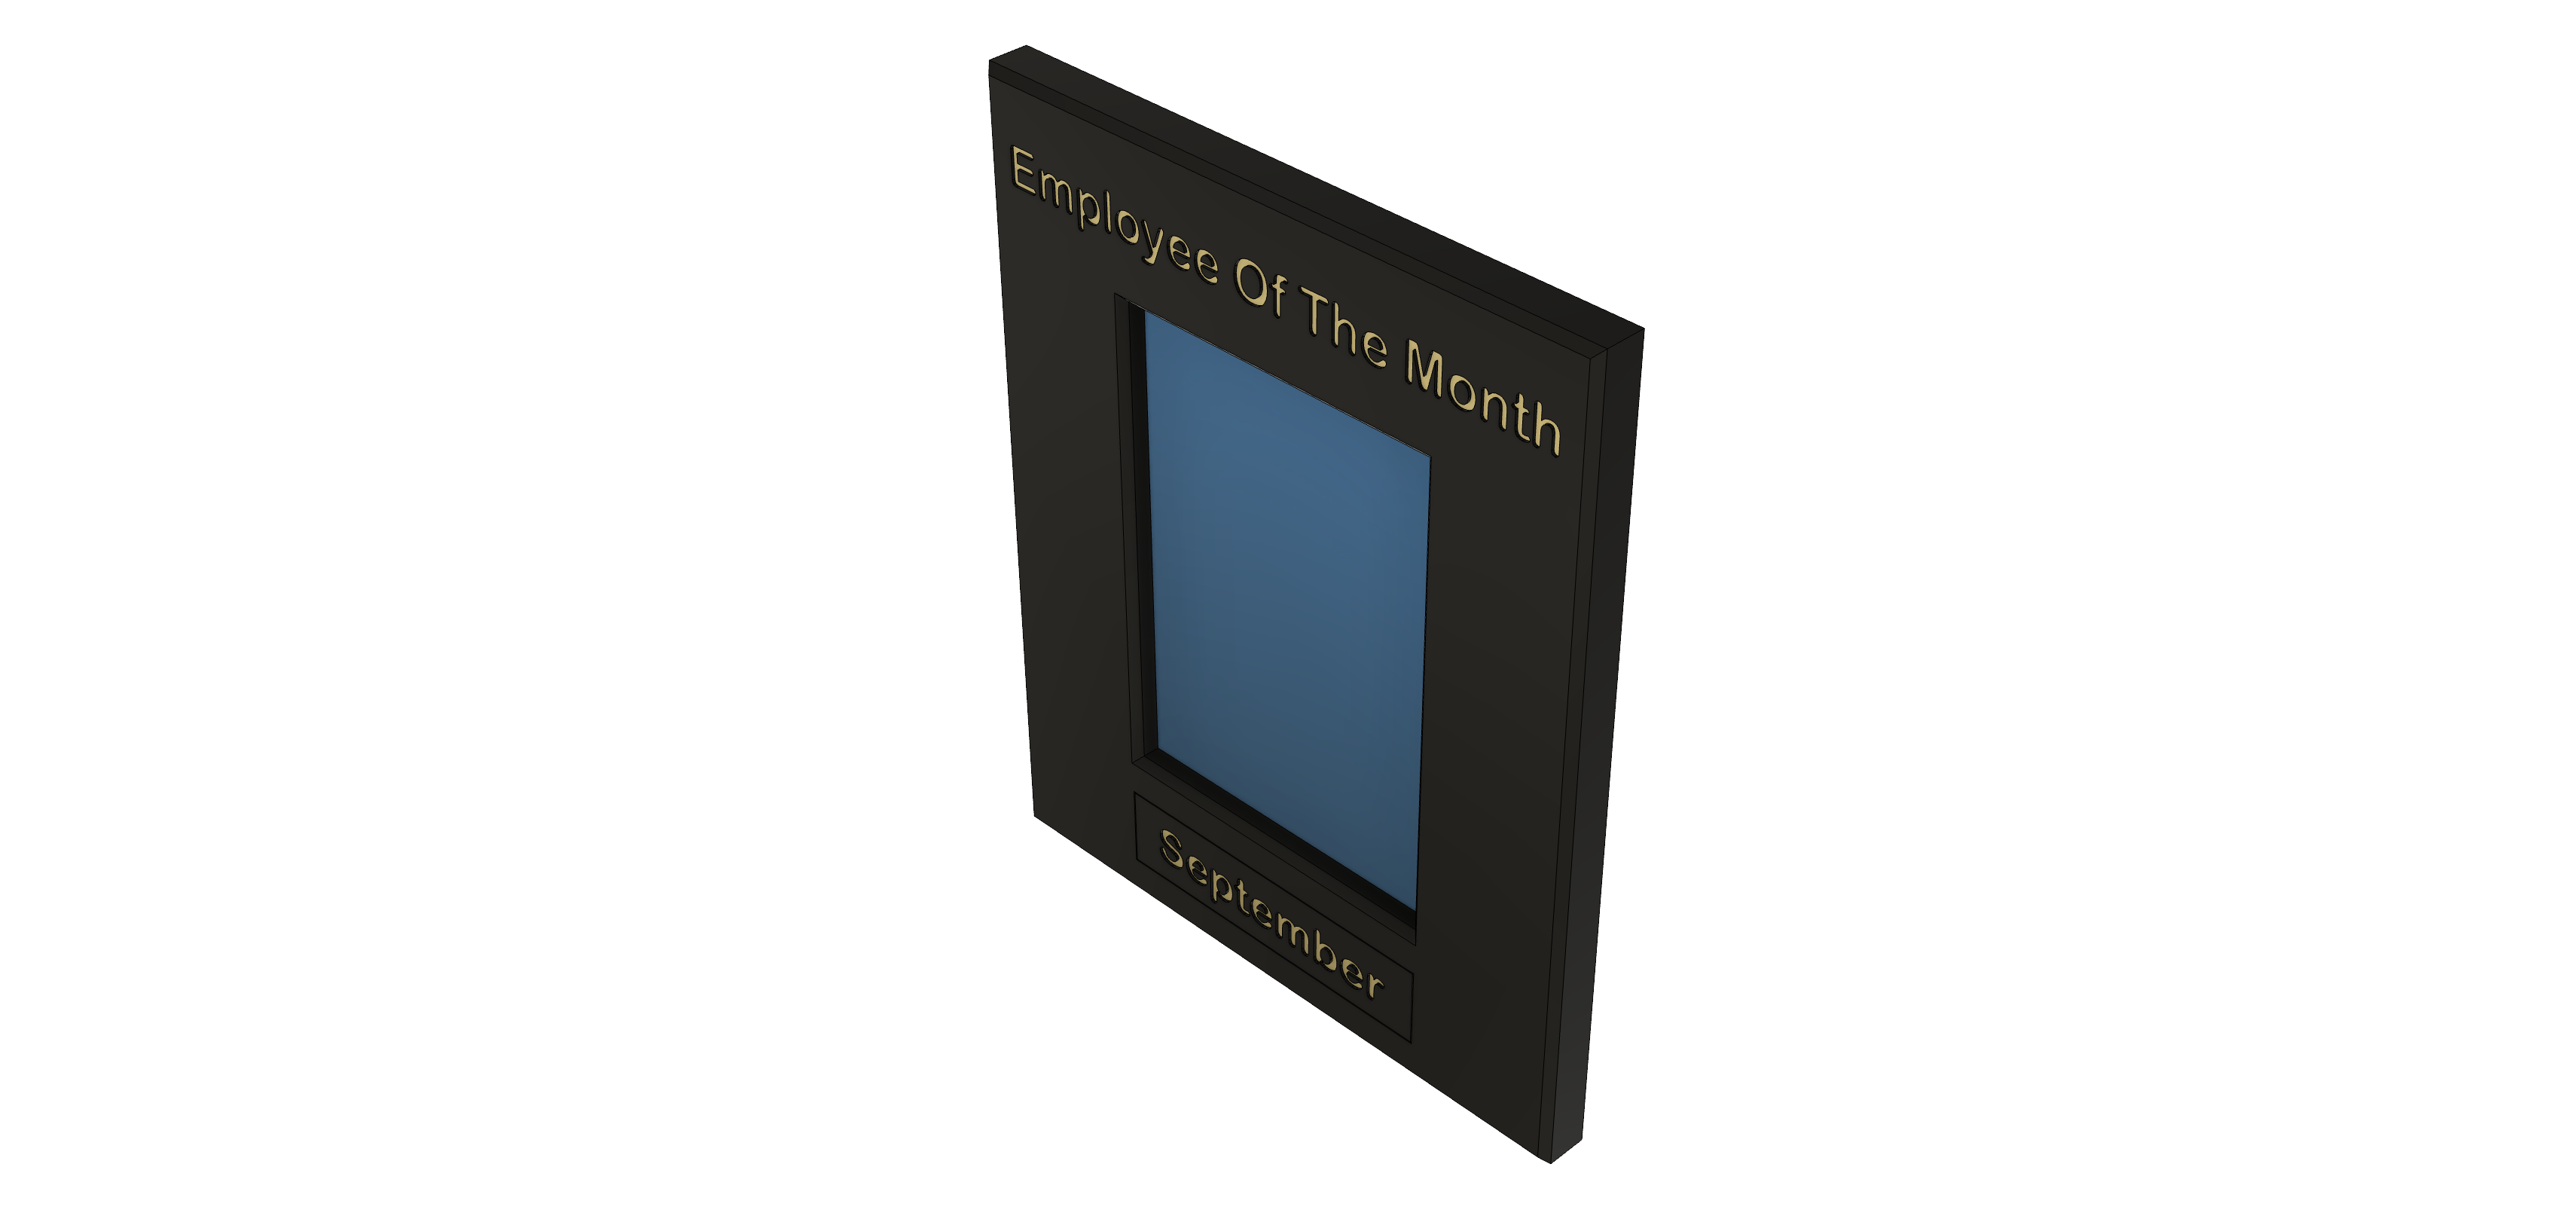


Add the name of the desired month and close the frame with the lid part.
All parts have little holes for 6x3mm magnets to hold them in place:


The front and month insert parts come in DE and EN language and can be switched:

Parts needed:
- 28x 6x3mm magnets (Ø6mm, thickness 3mm)
Note:
- Double check the orientation of the magnets before you press them in the frame and the lid fully, so that they will keep the frame closed… ;-)
Printing instructions:
- 0.2 speed profile.
- No supports needed for all parts.
- Using a brim can help if you have adhesion problems on your print bed. I would not use it, because I cleaned my textured sheet with dishwashing liquid carefully with a new sponge, wipe it dry and then with isopropanol alcohol again on the printer to make the parts stick really good. If you face problems with adhesion feel free to add a 5mm brim to the box and lid part.
- To get the texts in a different color add a color change in the front and months parts after 1mm print height and after about 2mm again to the frame color. Use the painting option of Prusa Slicer to get the color change done when you use an MM3 or Prusa XL
- Textured sheet usage could add a nice texture to the parts.
- If you use a textured sheet, let it cool down completely after the print and wait for the part gets loose by itself. Do not pull on it to avoid ripping off the letters!
- In my case it takes 45-60 minutes after the print has ended and the part just lays loose on the print bed.
- Do not touch the print bed and clean it with Isopropanol alcohol before printing.
- Fuzzy skin paint on option used for the front part
Happy printing =)