
Prusa MK3S MMU2S purge bucket for V6 and Volcano with internal adjustable preload Spring
Obliczymy ostateczną cenę na podstawie wybranego pliku. Sprawdzisz ją i zaakceptujesz przed płatnością.
Zapisane na tym urządzeniu.
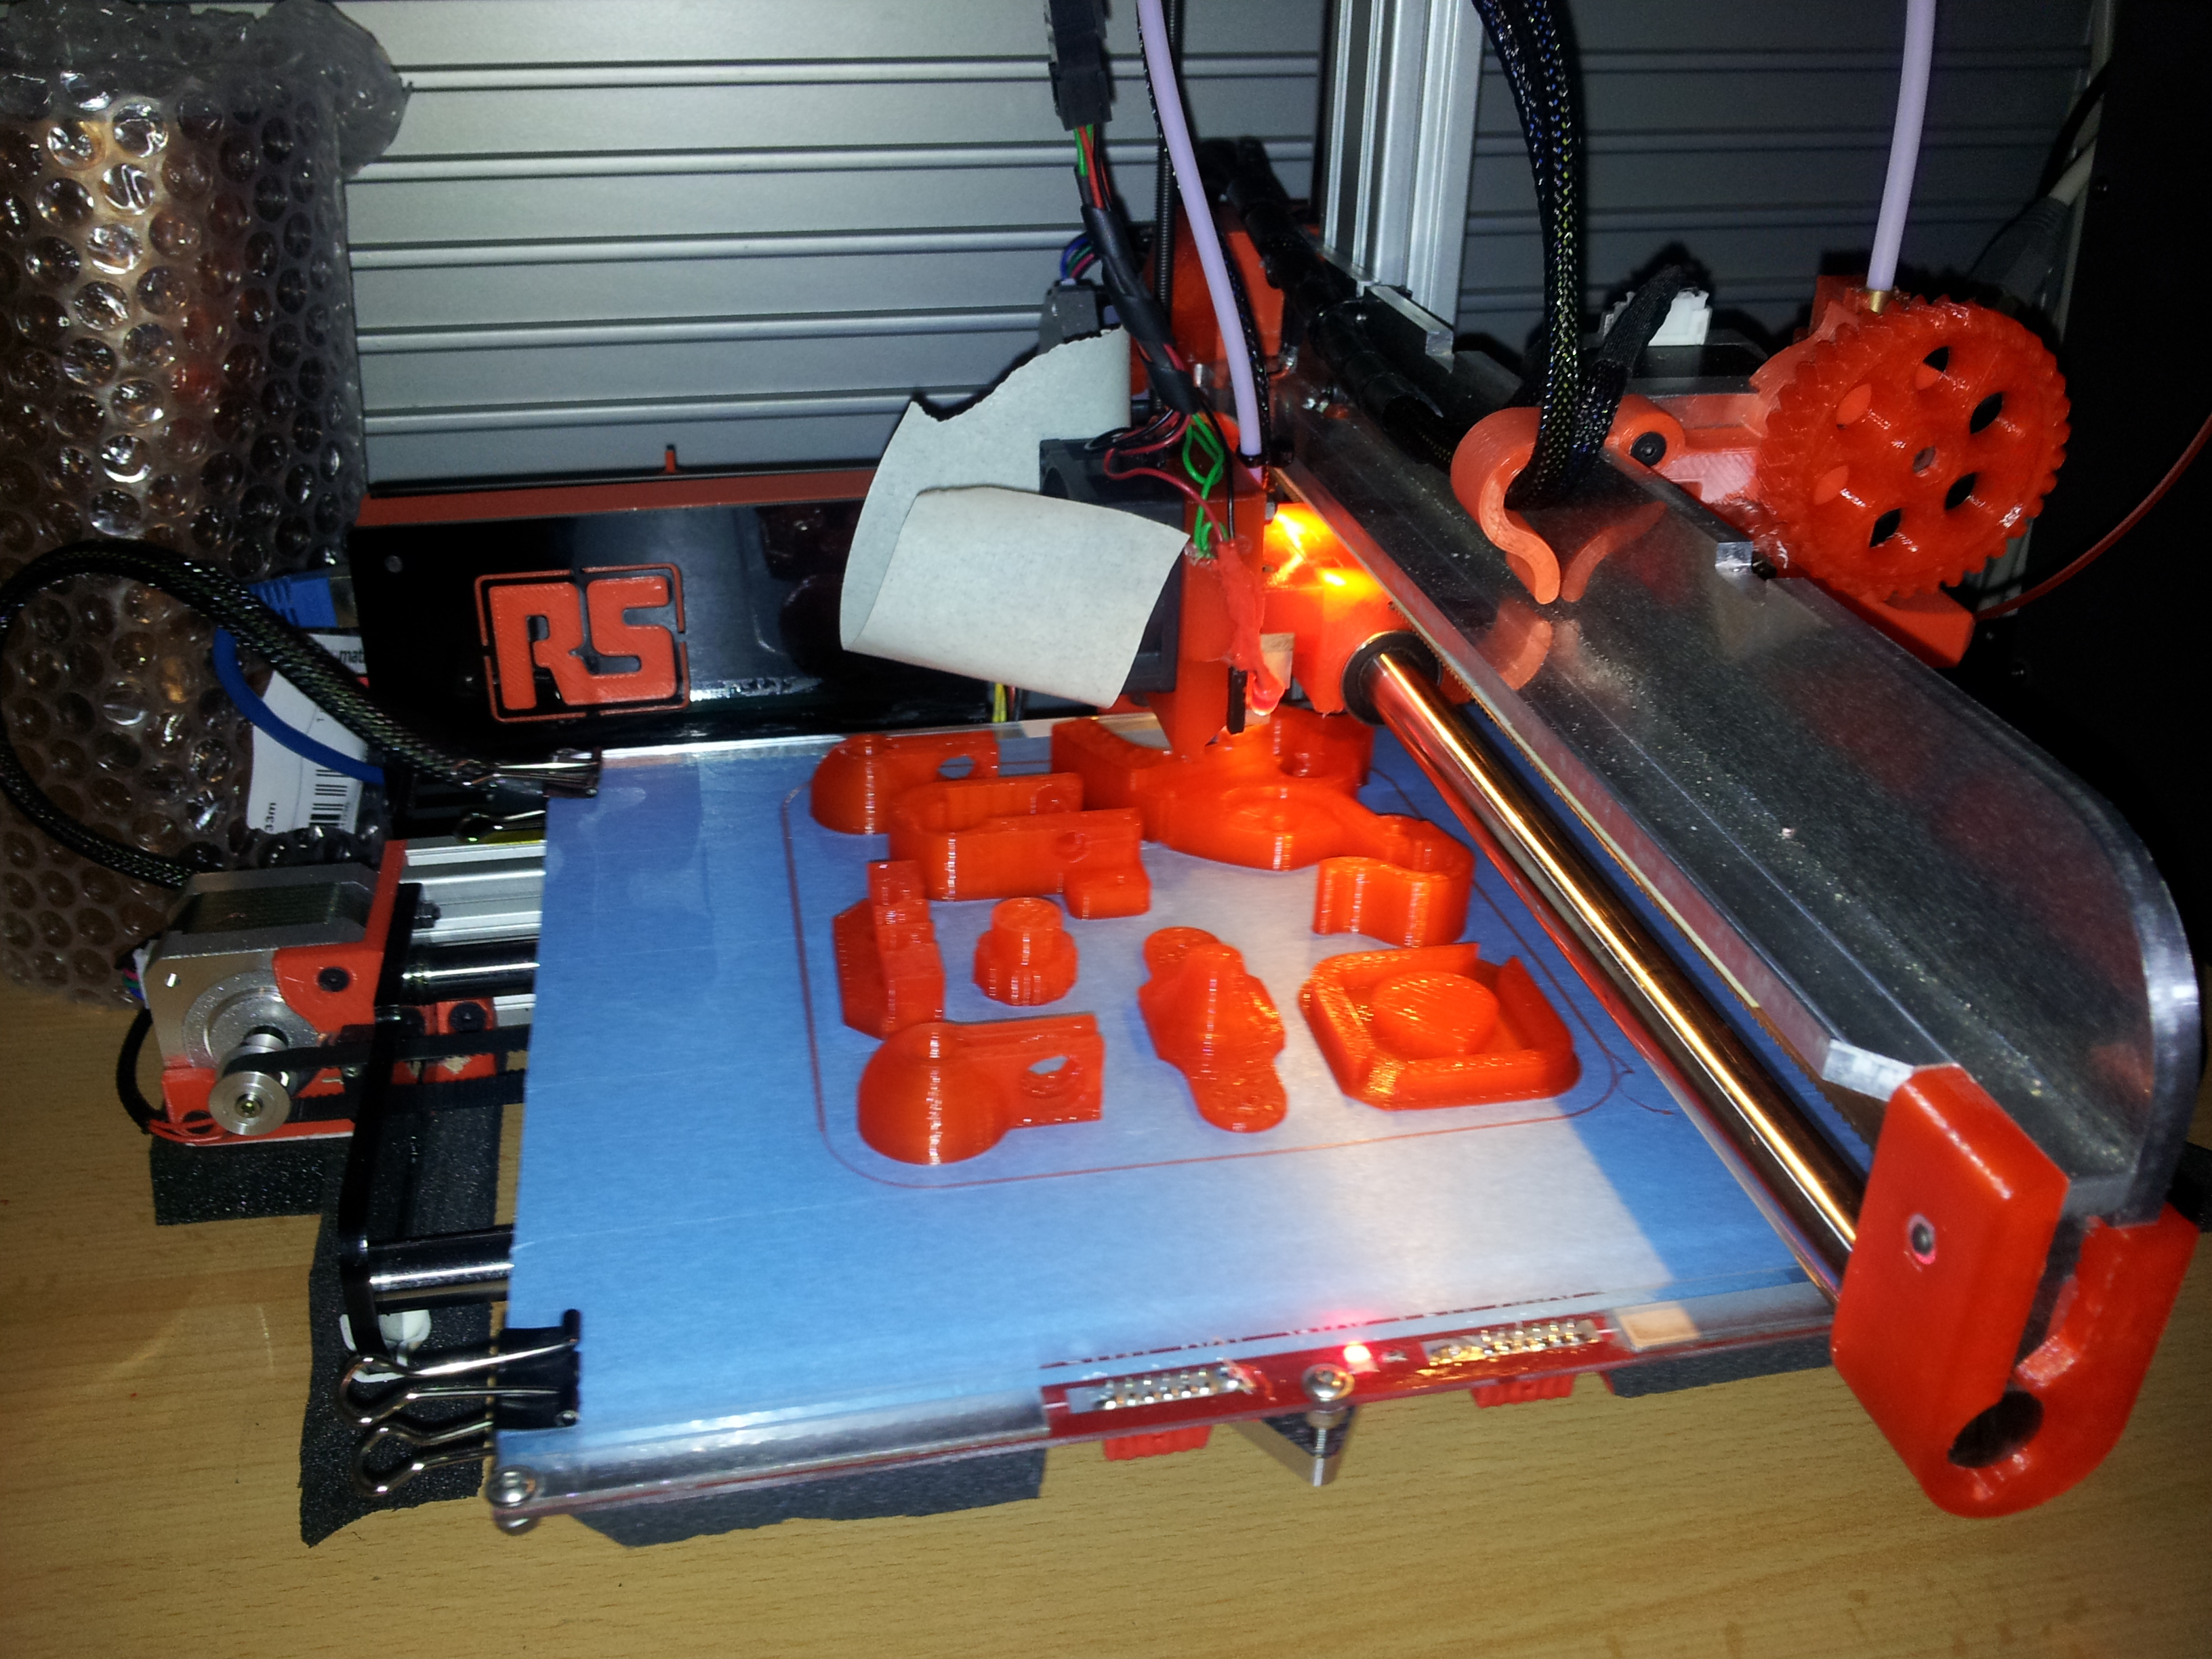
with internal adjustable preload Spring i redesigned the Parts for easy print and robust Parts
- Ocena
- 0 / 5
- Polubienia
- 10
- Pobrania
- 42
- Wydruki
- 0
- Wyświetlenia
- 792
- Oceny
- 0
Aktualizacja u źródła:
Informacje o modelu
- Źródło
- Printables
- Kategoria
- Prusa Parts & Upgrades
- Licencja
- Creative Commons — Attribution — Noncommercial — Share Alike
Prusa MK3S MMU2S purge bucket for V6 and Volcano remix
with internal adjustable preload Spring
It's a remix from Forfelet
https://www.prusaprinters.org/prints/50588-prusa-mk3s-mmu2s-purge-bucket-_new-version
i redesigned the Parts for easy print and robust Parts
Now, this purge bucket can be installed on all X axis versions (stock, Bear, ...)
Z-axis top right should be used from Forfelet.
z-axis-top-right_updated_for_bucket.stl
Don't print the Holder lying flat.
Holder : supports everywhere
Spacer: supports from build plate only
Trigger: no supports
Bucket: supports from build plate only
Materials needed:
- M3 screw inside Holder length deepens on spring length to get tension
- M3 Nut
- 1 Spring max5 mm diameter length 40 - 60 mm (may look for pen spring)
- 1 screw M3x20 for trigger, but you can use the trigger without screw with stock extruder (not tested on others)
use Forfelet mounting and Software instructions.
HARDWARE PART :
only difference
- Add screw ,Nut and spring inside holder
- Add Trigger with screw in Holder ( need adjustment after the installation)
- Add Spacer
- Remove Z-axis top right
- Remove rod 8mm
- Install holder with spacer and trigger
- Put the rod 8mm (be careful with bearing)
- Replace Z-axis top right by the new part
- Check rotation if it's free. It's NOK, check that all supports on holder are removed. (I know, it's not easy...)
- Adjust position of the bucket and the screw on the trigger and pretension the internal Spring.
Perform a Calibration Z.
It's finished for the Hardware part!
for Software Slicer setting´s
look for Forfelet Prusa MK3S MMU2S purge bucket _NEW version
I couldn't test it right now!
Prusaslicer crashes when I paste the toolchange gcode and slice a part.
I hope to find the solution for this soon..