
TurtleNeck PLUS - Magnetic Mount and Cable Cover (for BoxTurtle)
Obliczymy ostateczną cenę na podstawie wybranego pliku. Sprawdzisz ją i zaakceptujesz przed płatnością.
Zapisane na tym urządzeniu.
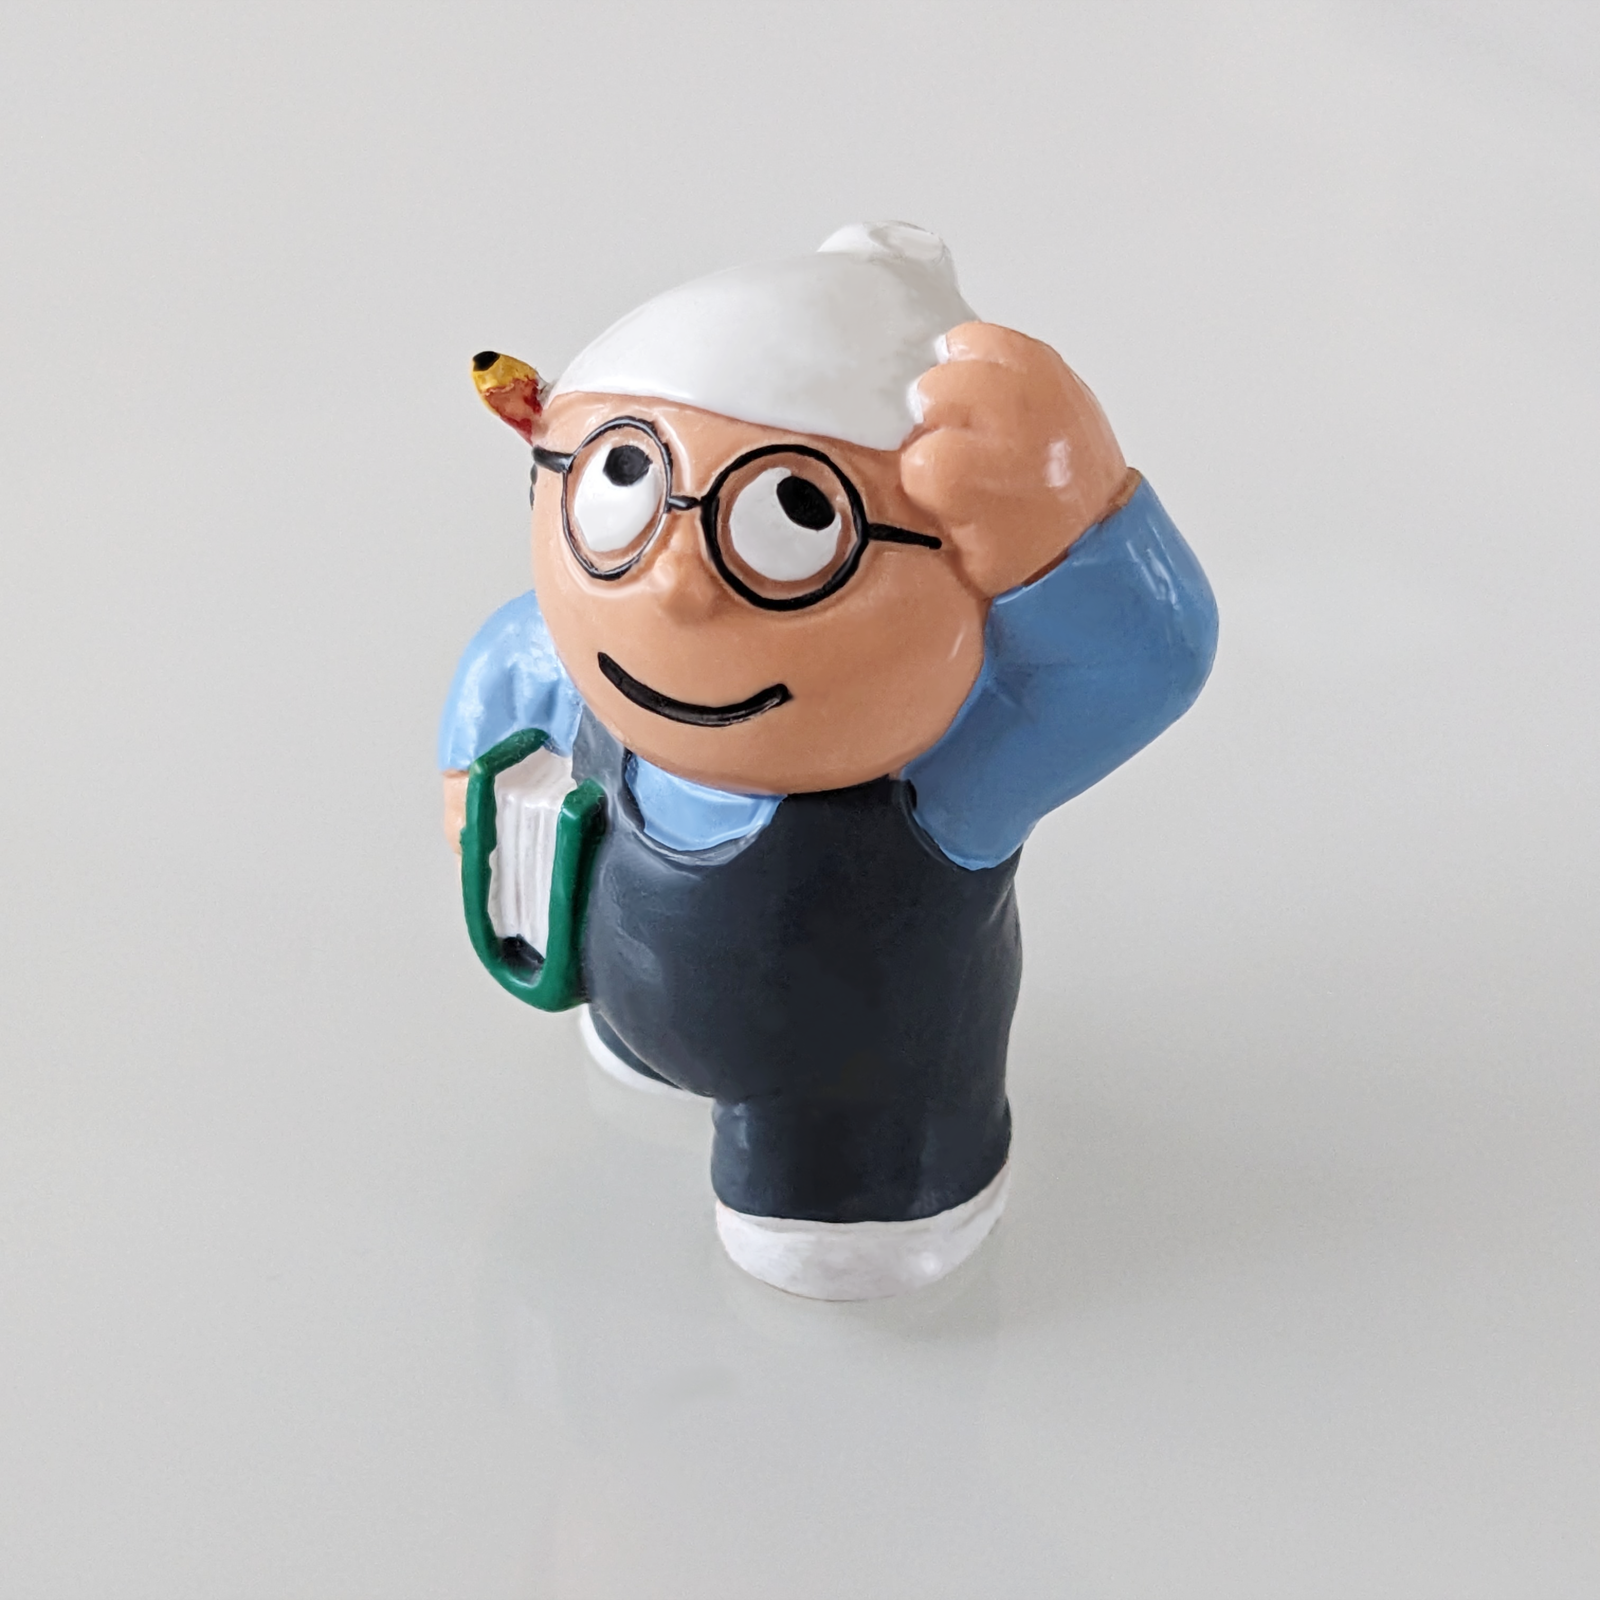
Enhanced TurtleNeck filament buffer with internal cable routing and a 🧲 magnetic snap-fit mount 🤩.
- Ocena
- 5 / 5
- Polubienia
- 145
- Pobrania
- 8808
- Wydruki
- 14
- Wyświetlenia
- 17 099
- Oceny
- 10
Aktualizacja u źródła:
Informacje o modelu
- Źródło
- Printables
- Kategoria
- Accessories
- Licencja
- GNU General Public License v3.0
The lovely 🥰 TurtleNeck filament buffer is somehow missing internal cable management and any protection 🫢 for the Omrons' pins. But no worries, that's now solved 😉. And while extending the frame and lid for improved cable management and protection, I took the opportunity to also add some 🧲 magnets and a super-snappy magnetic mount 🤩.
So here it is: The TurtleNeck+
| … and don't forget to leave a ❤ Like. Such support really makes me happy 🙂 |
Related Models
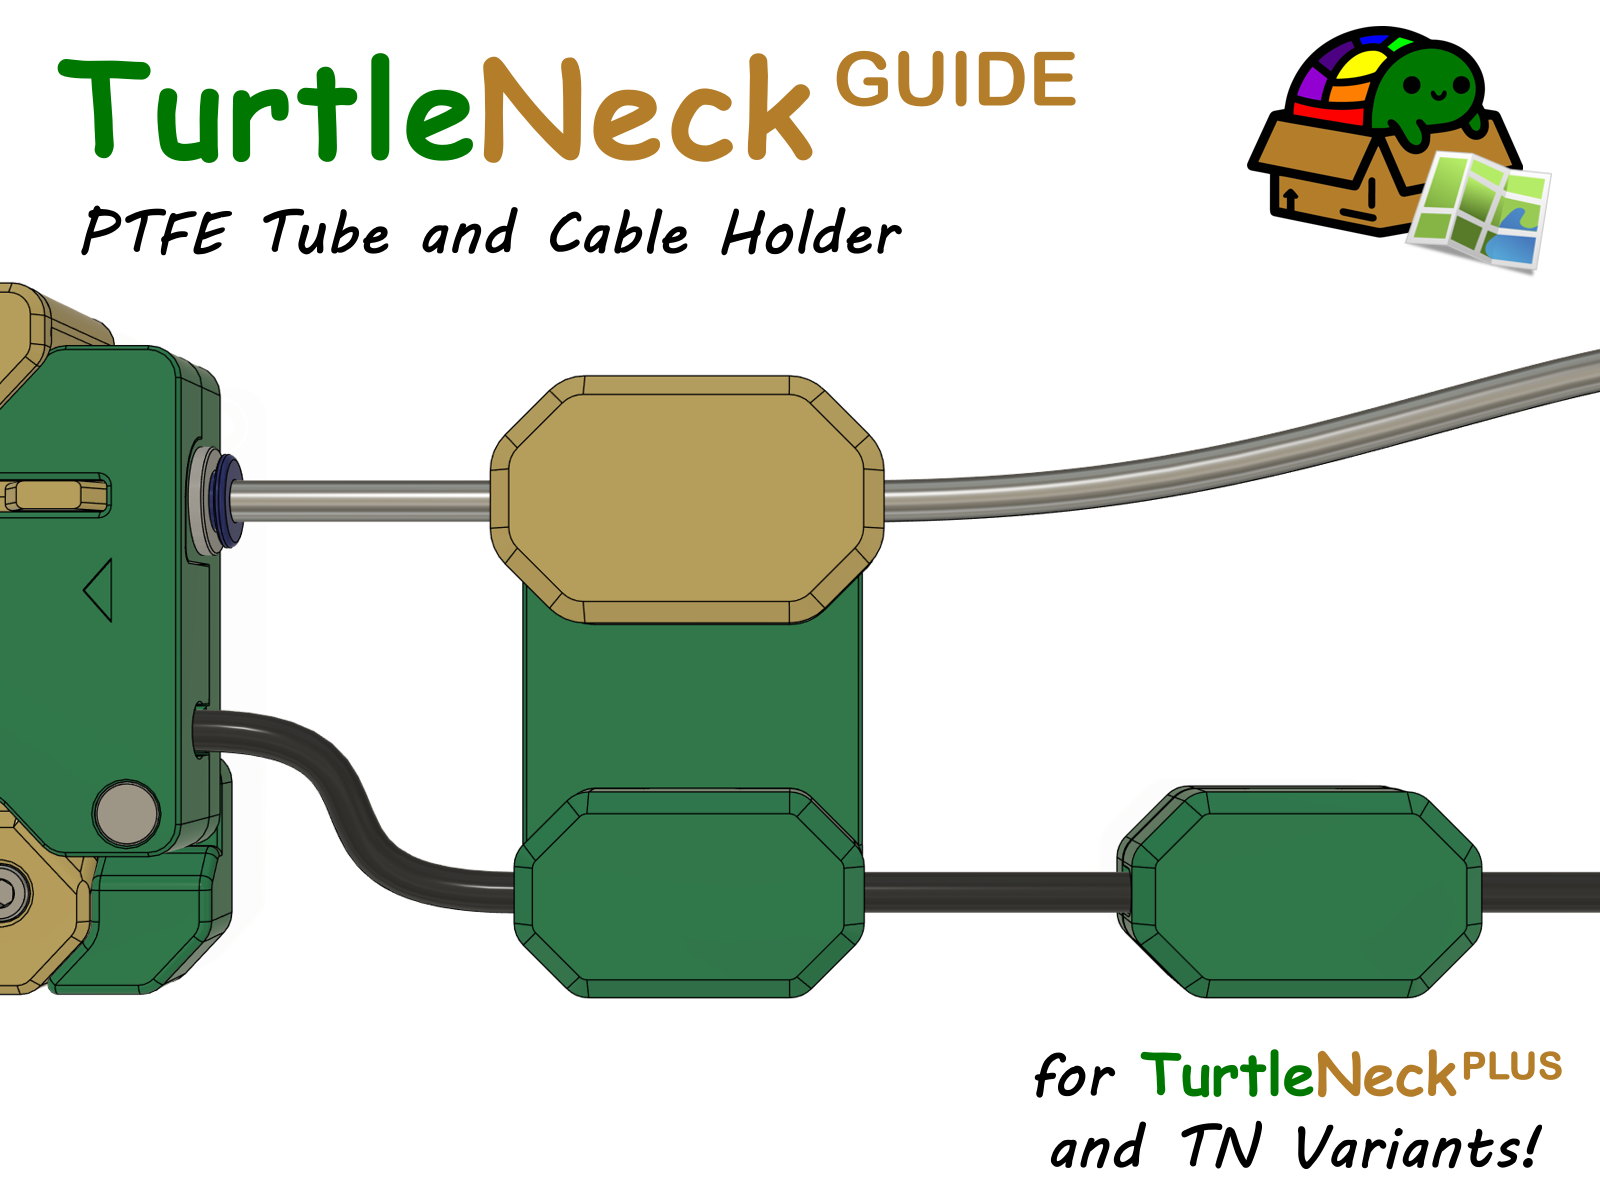
It's just a neat little cable and PTFE tube management solution explicitly designed for the TurtleNeck PLUS. |
Some Model Details
Mechanics and Internals:
The internals of the filament buffer mechanism are completely unchanged, so no worries, it will work as reliable as the original design.
Cable Management
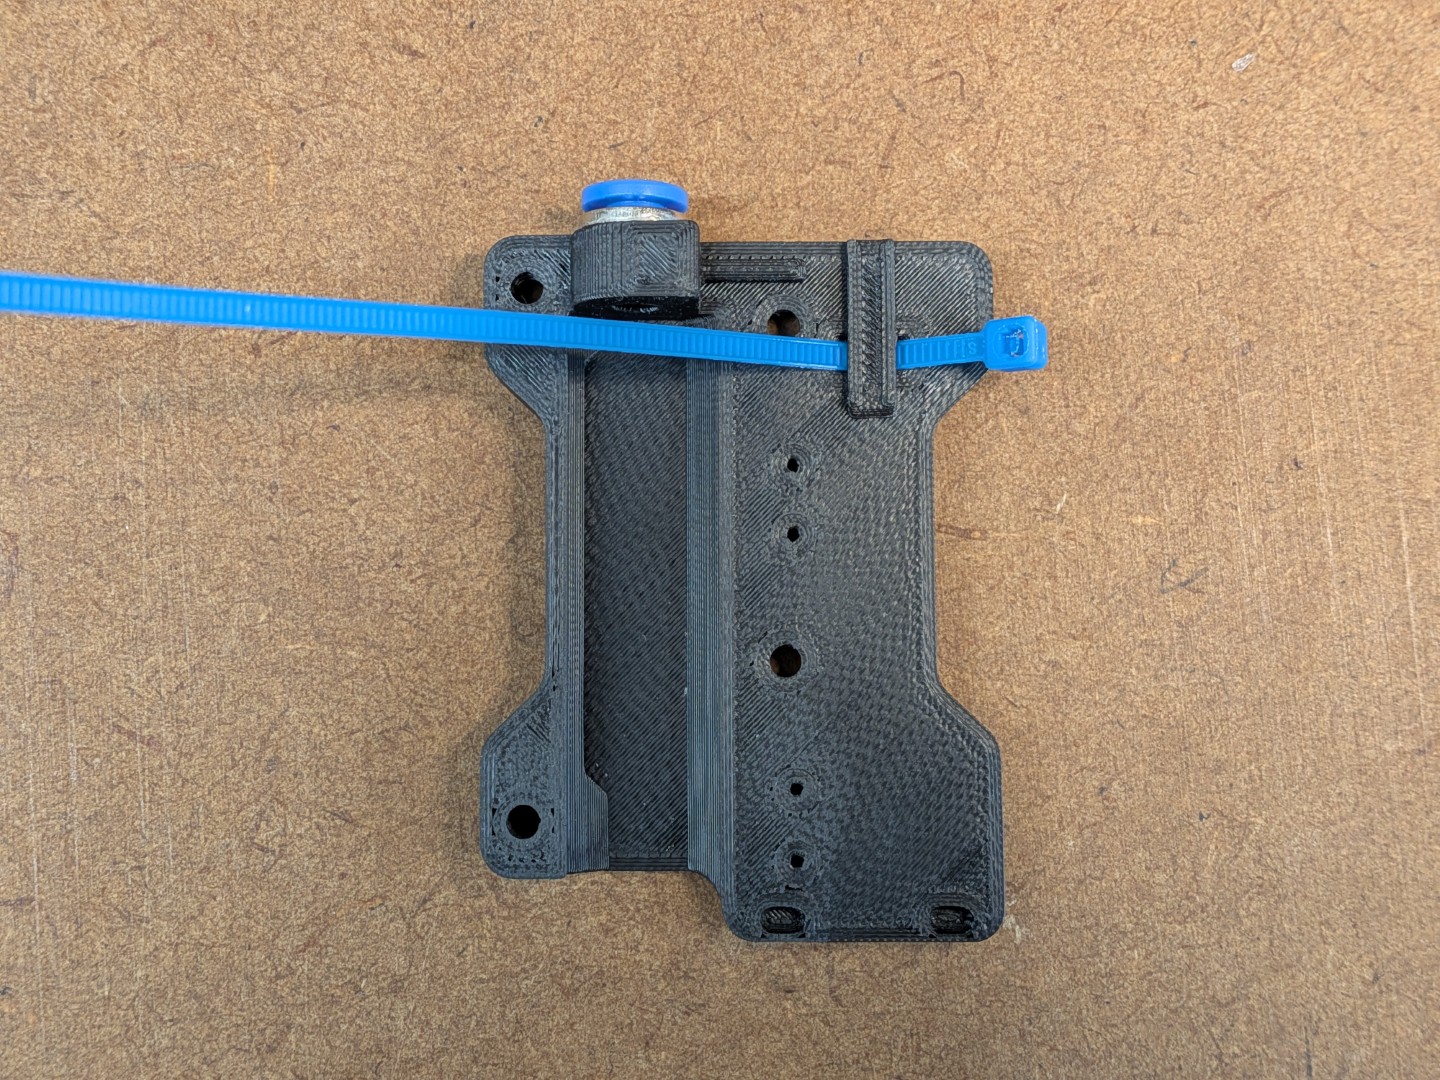 | 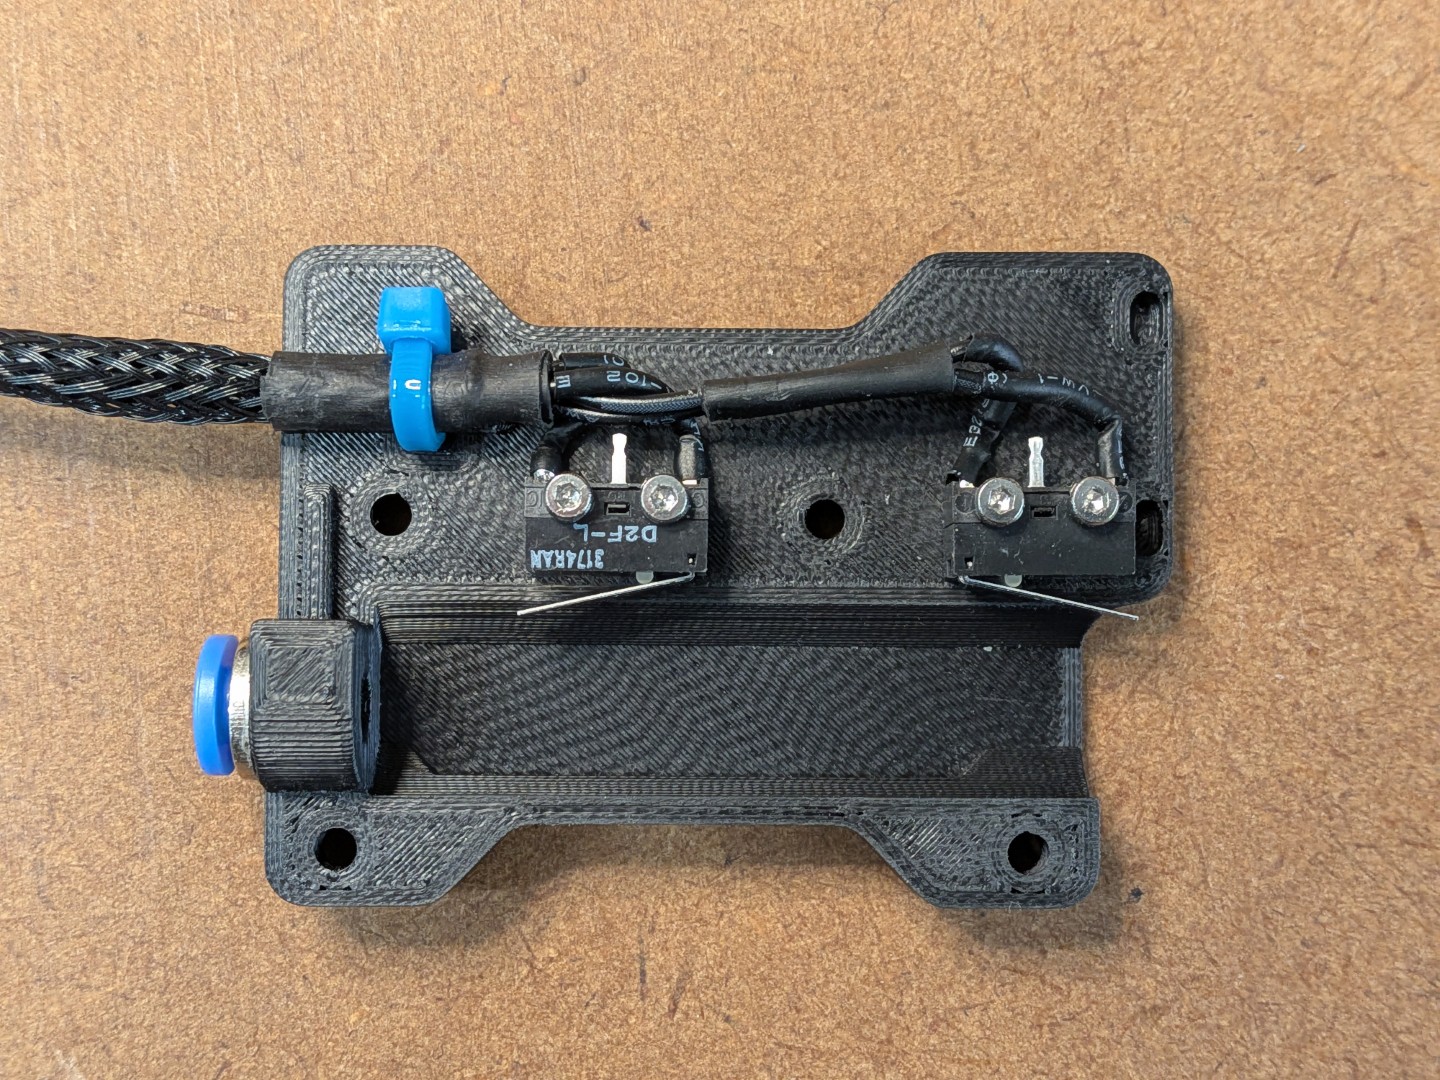 | 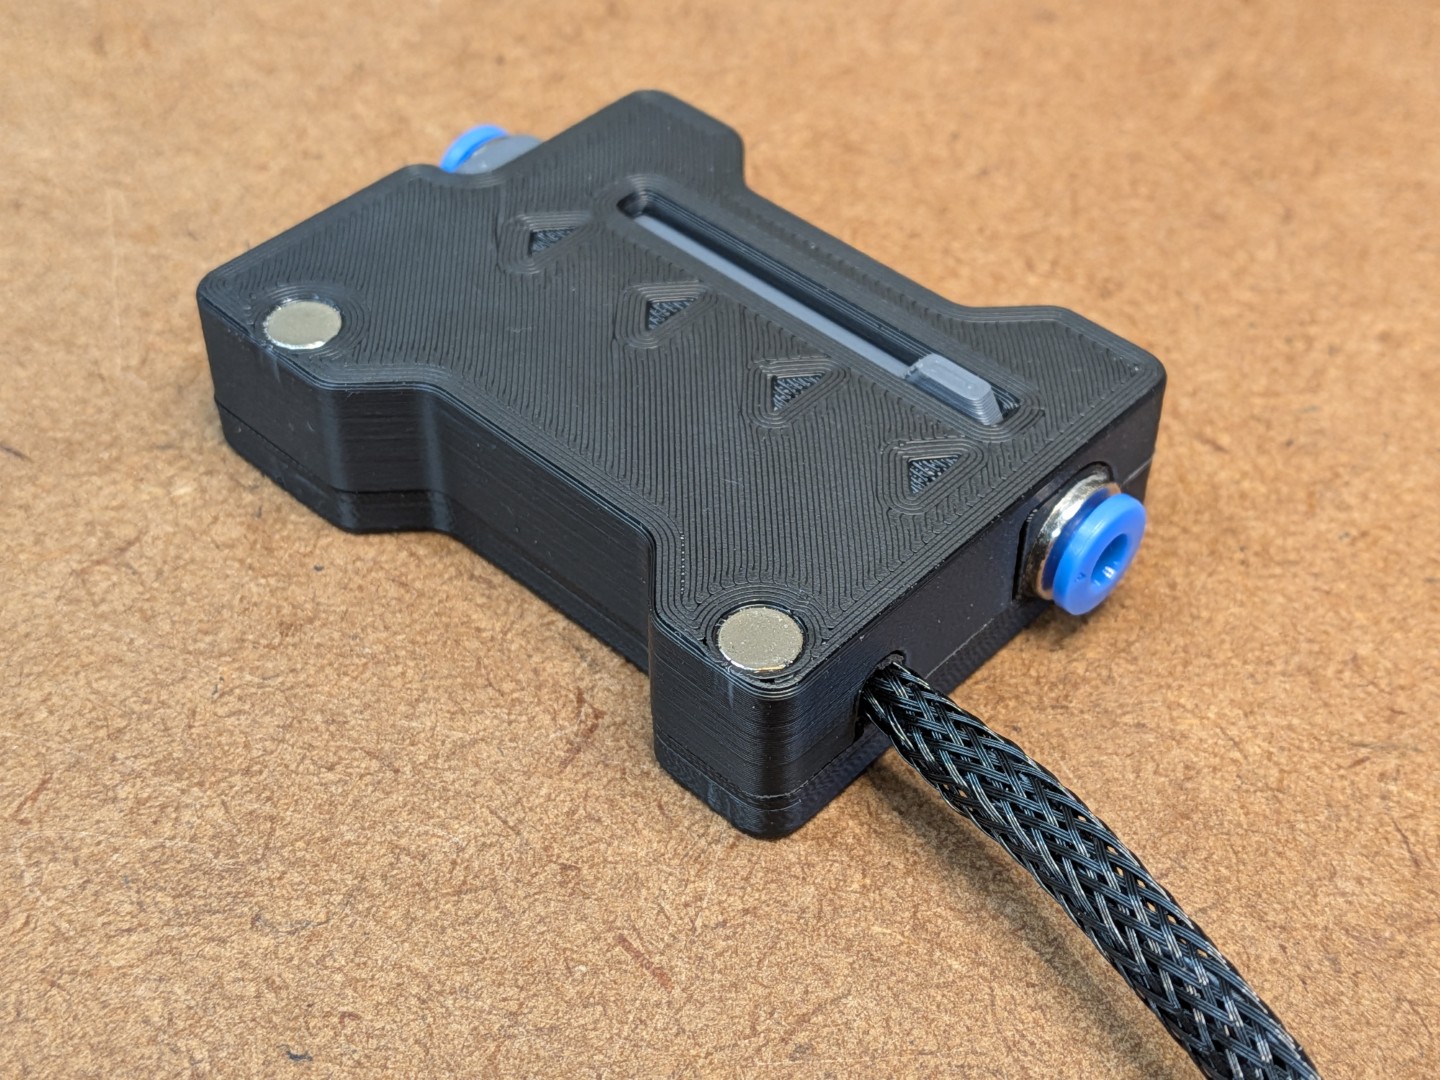 |  |
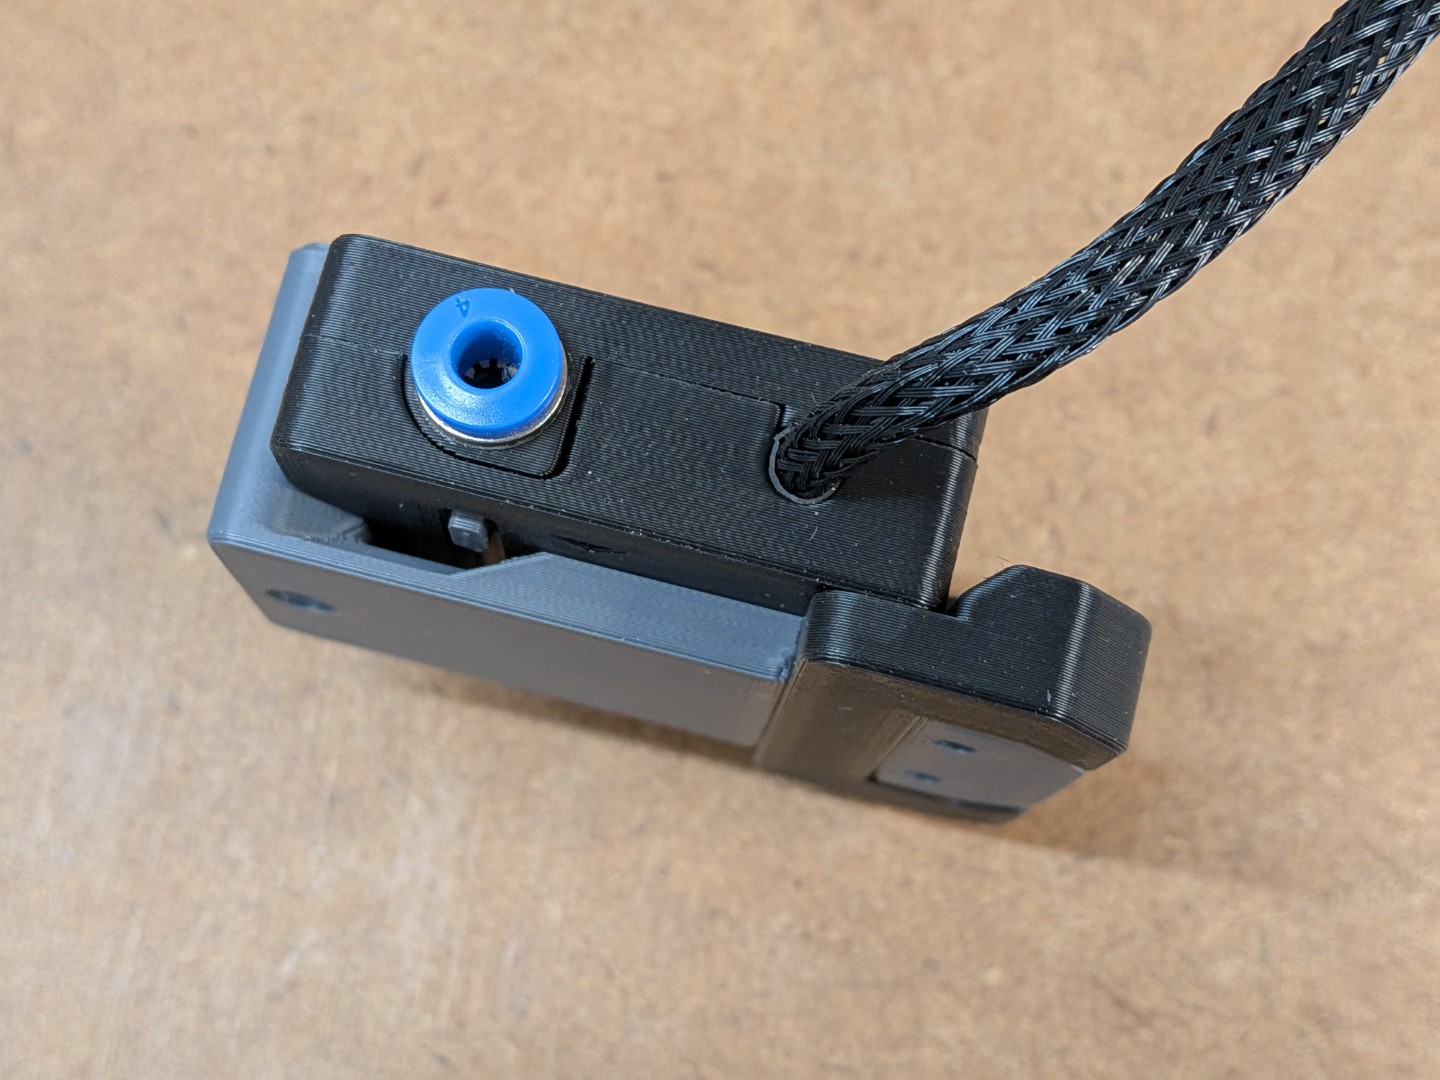
The cable outlet between frame and lid is *not* intended to clamp the cable (as this would separate the Frame and Lid over time). It's wide enough to fit the 4 wires, additional heat shrink tube and textile sleeve. To keep everything in place, use a small cable tie (like the ones that come with the LDO kit). Check the orientation in the pics and it will fit.
Magnetic Options and Snap-Fit Mount
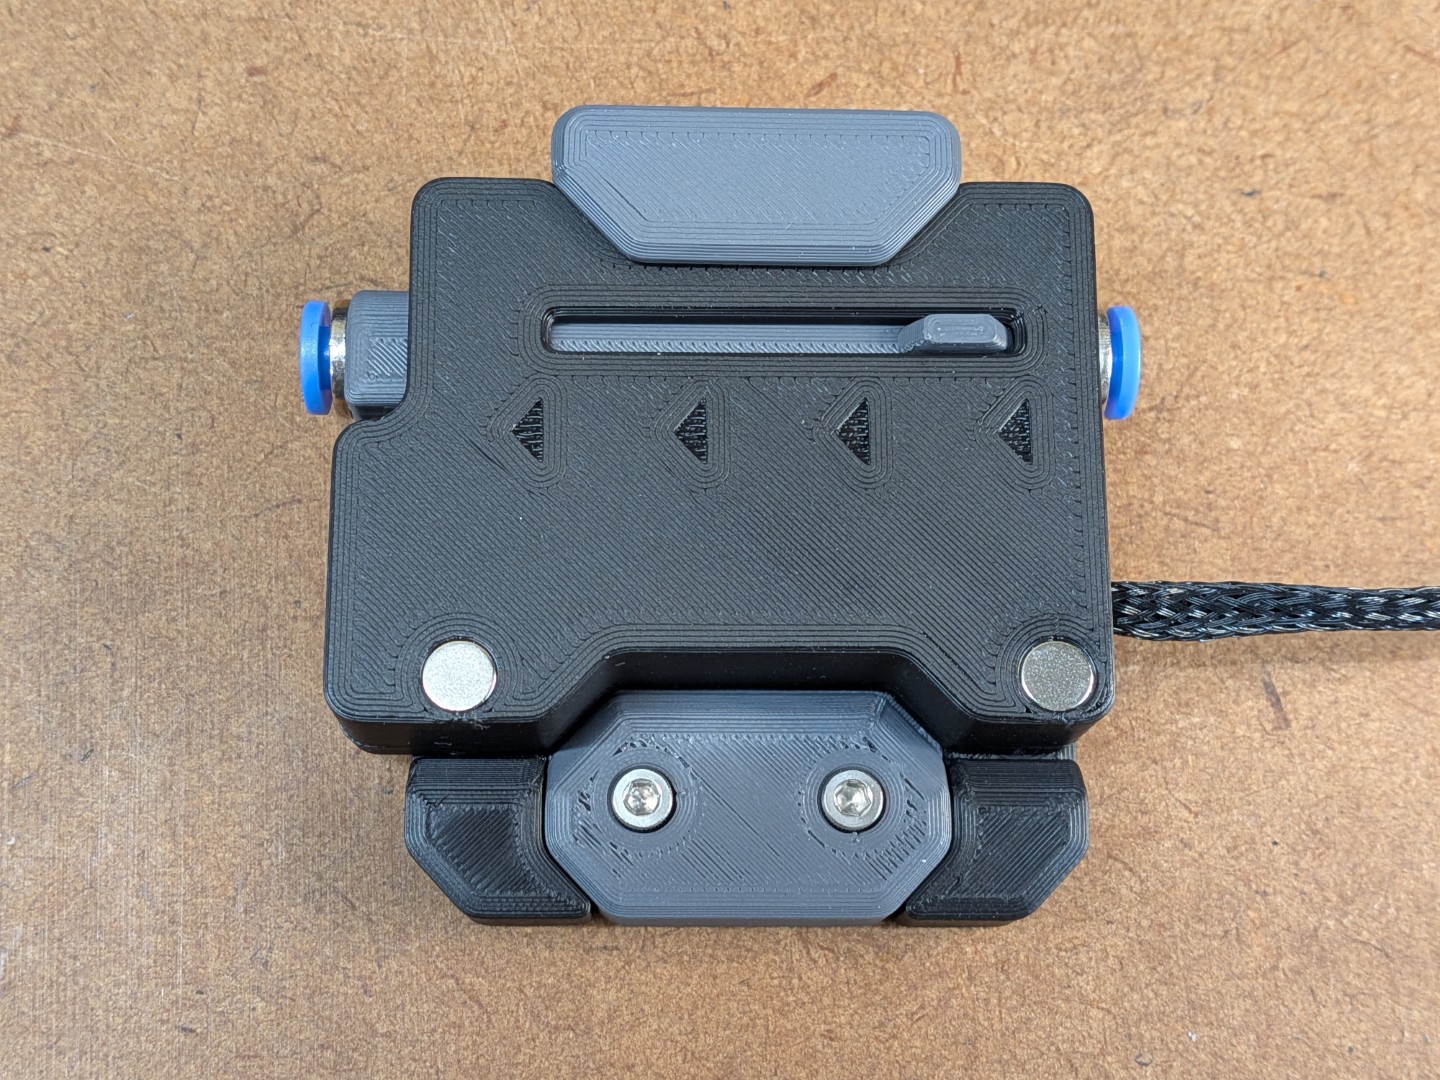 | 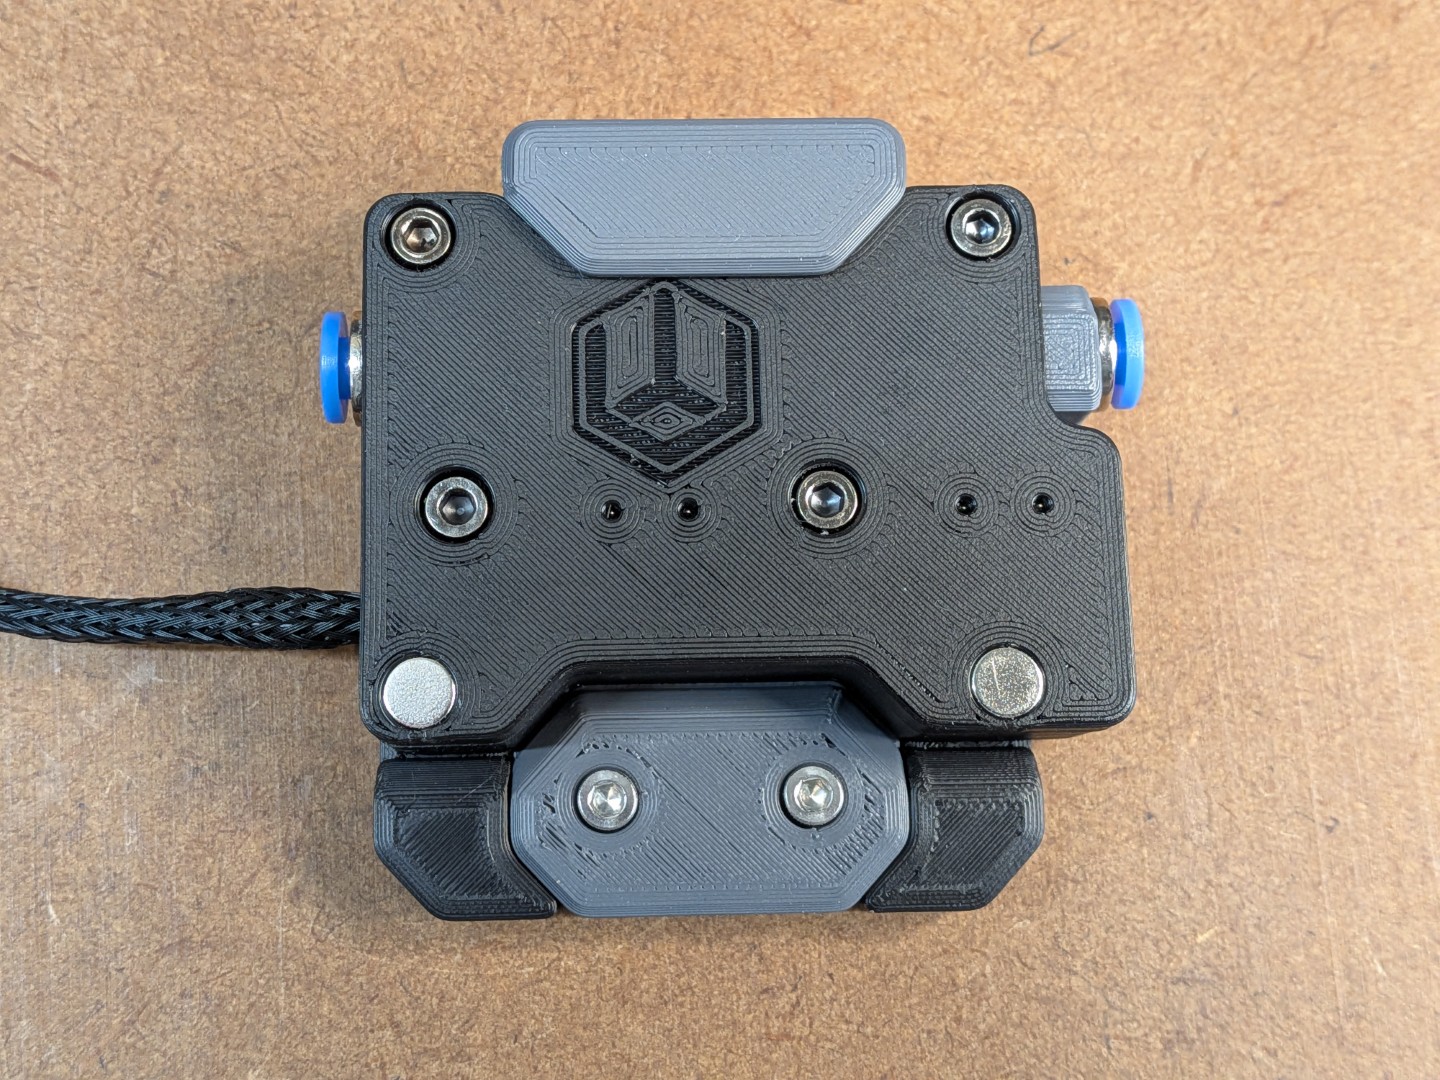 |  | 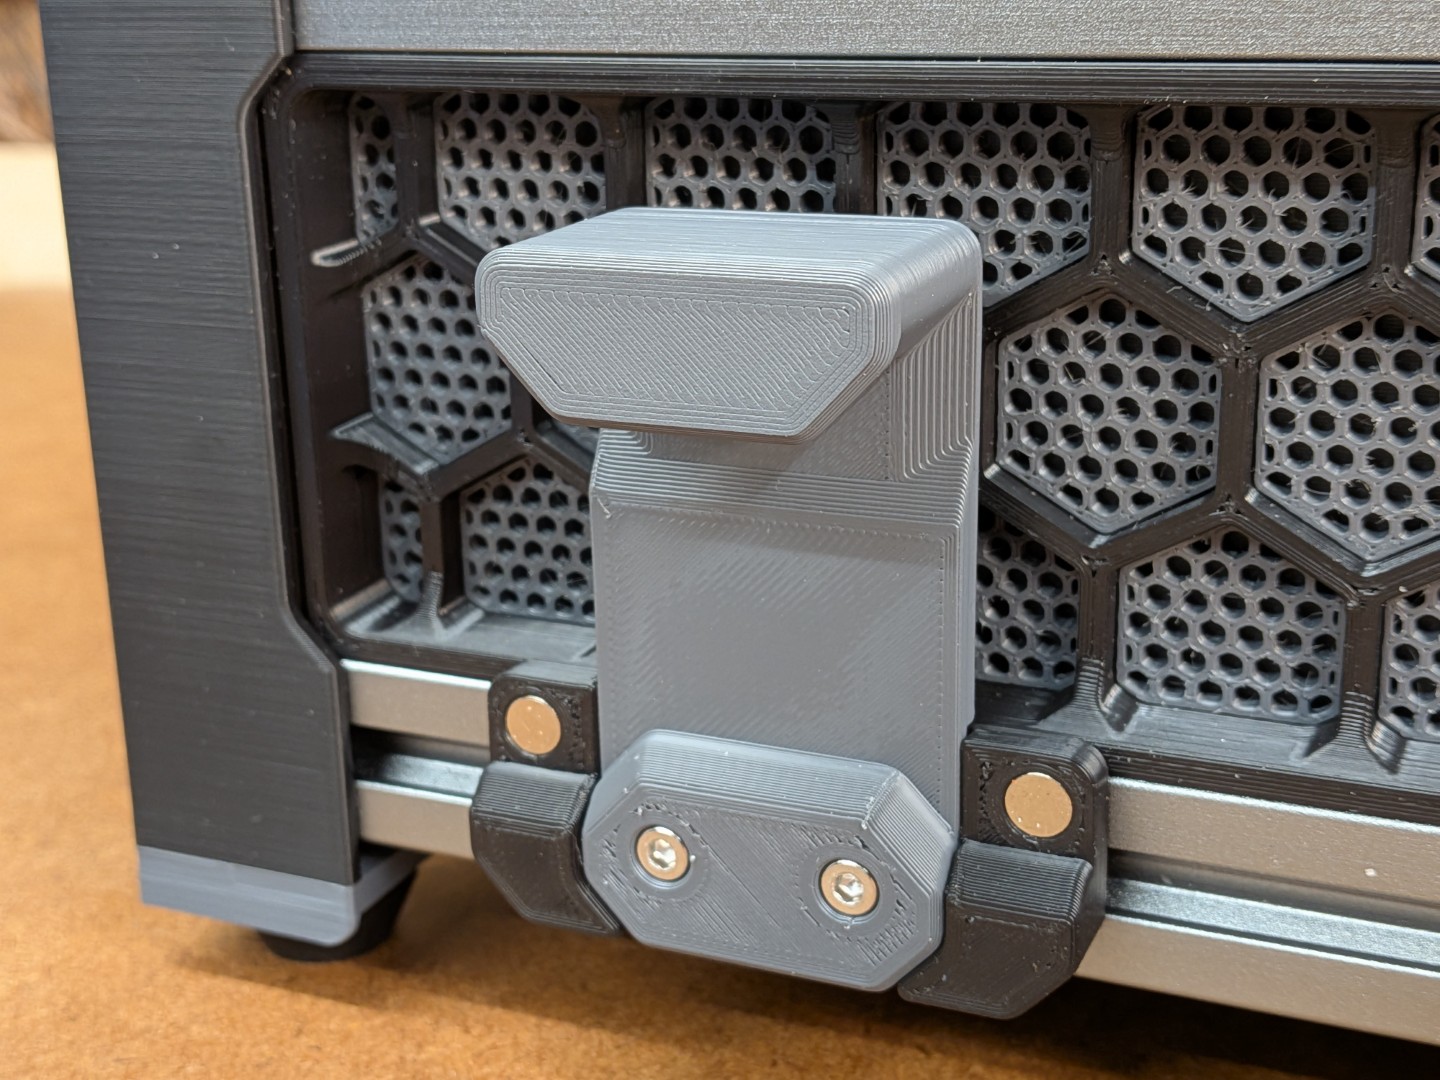 | 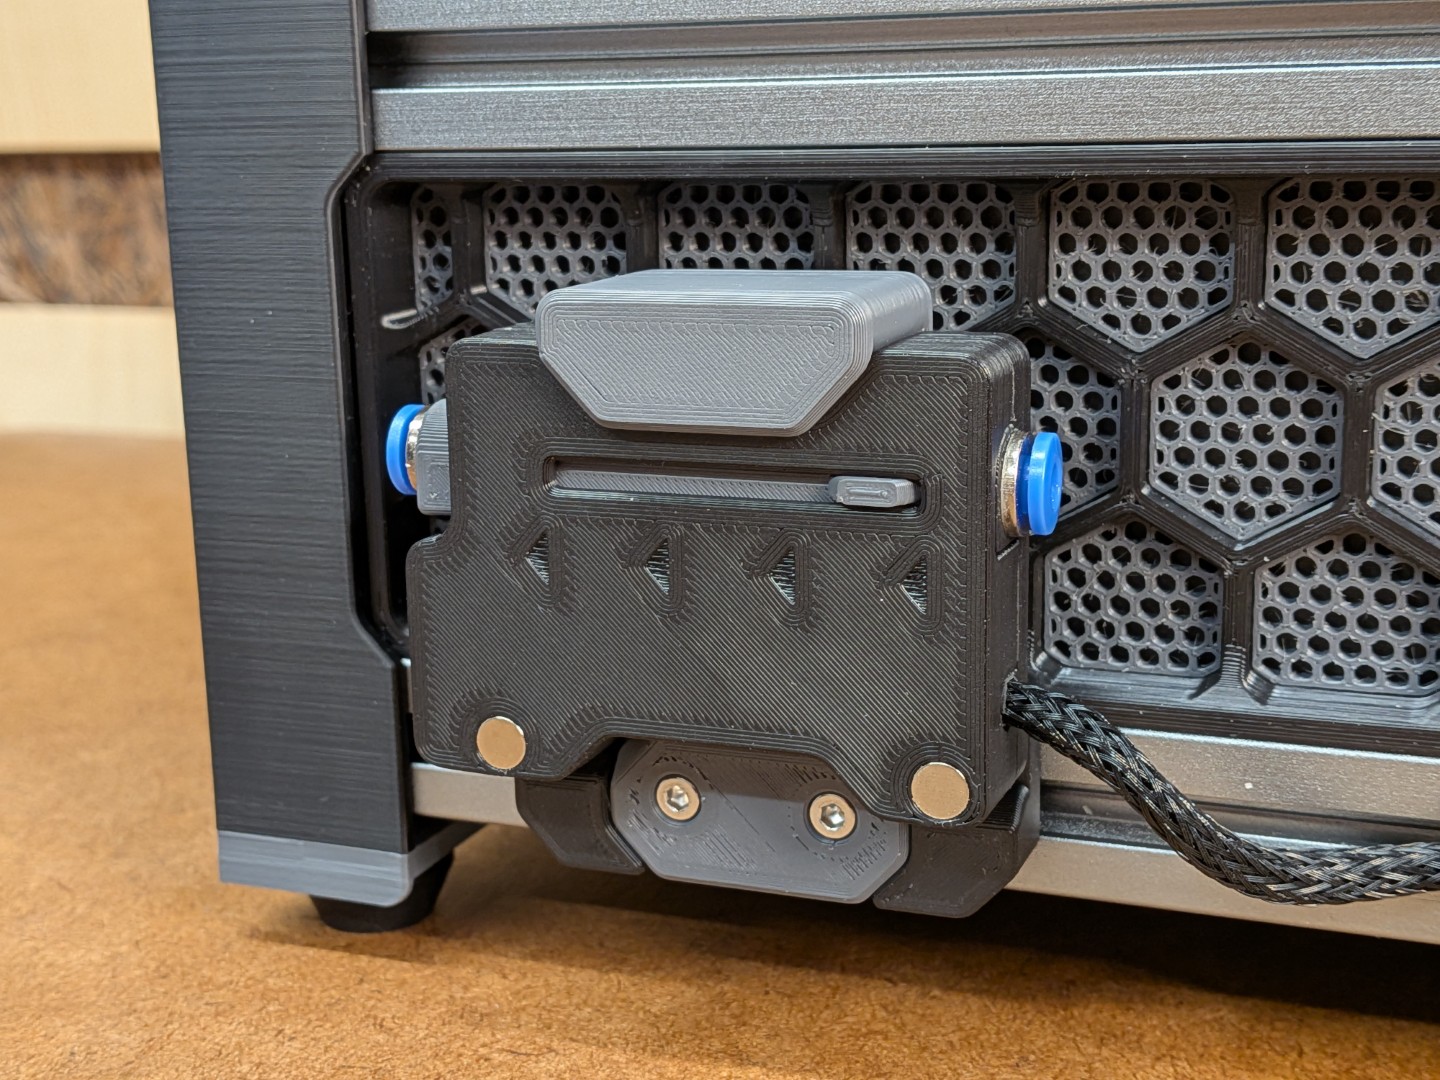 |
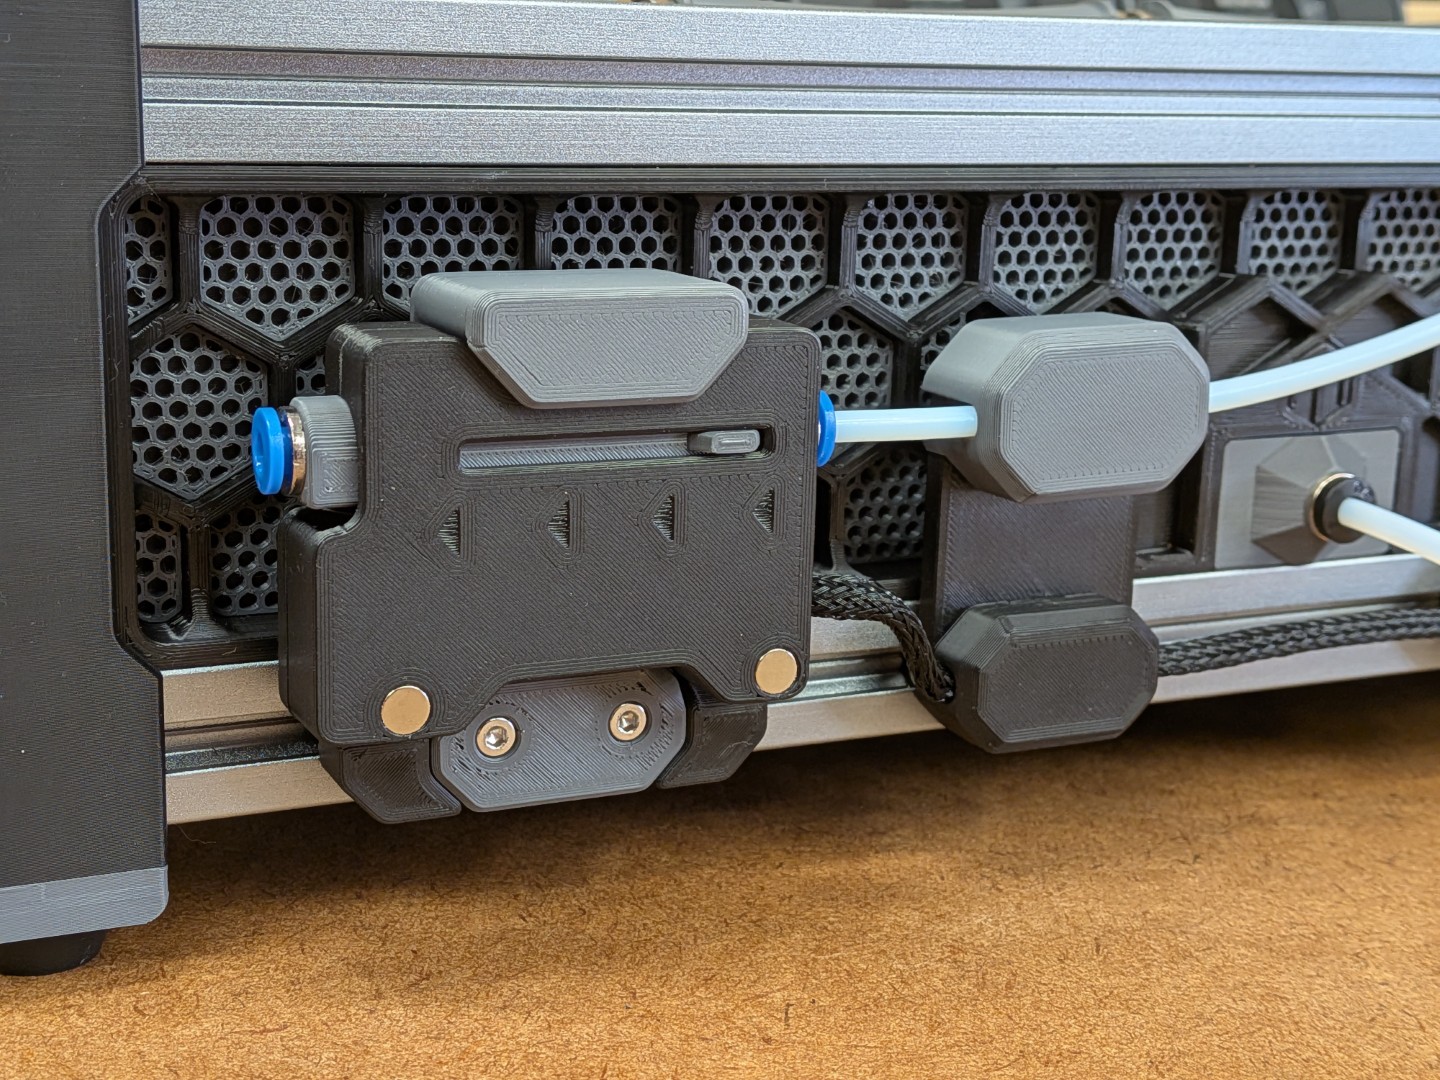
You can choose to have magnets on both sides of the TurtleNeck+ (for more flexibility) or just on one side (for a cleaner look). With magnets on both sides, you can swap it around in the magnetic mount and the recess on the upper part of the base gives the slider room to move. Additionally, this recess also allows you to slightly push down on the TurtleNeck+ to “eject” it.
Assembly
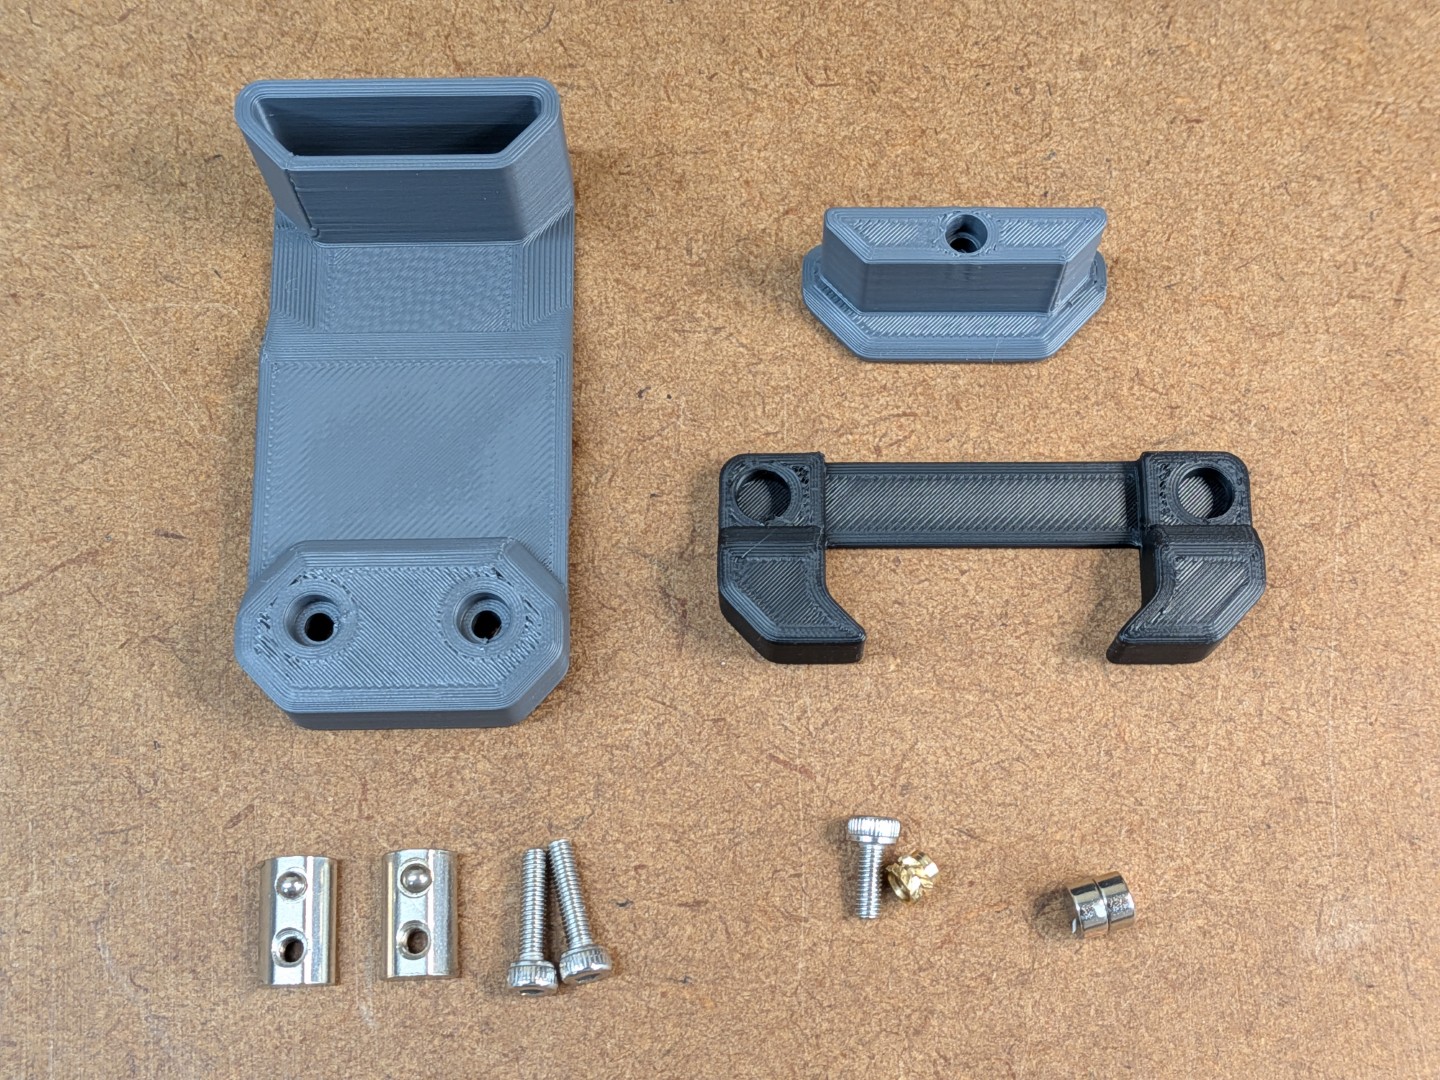 | 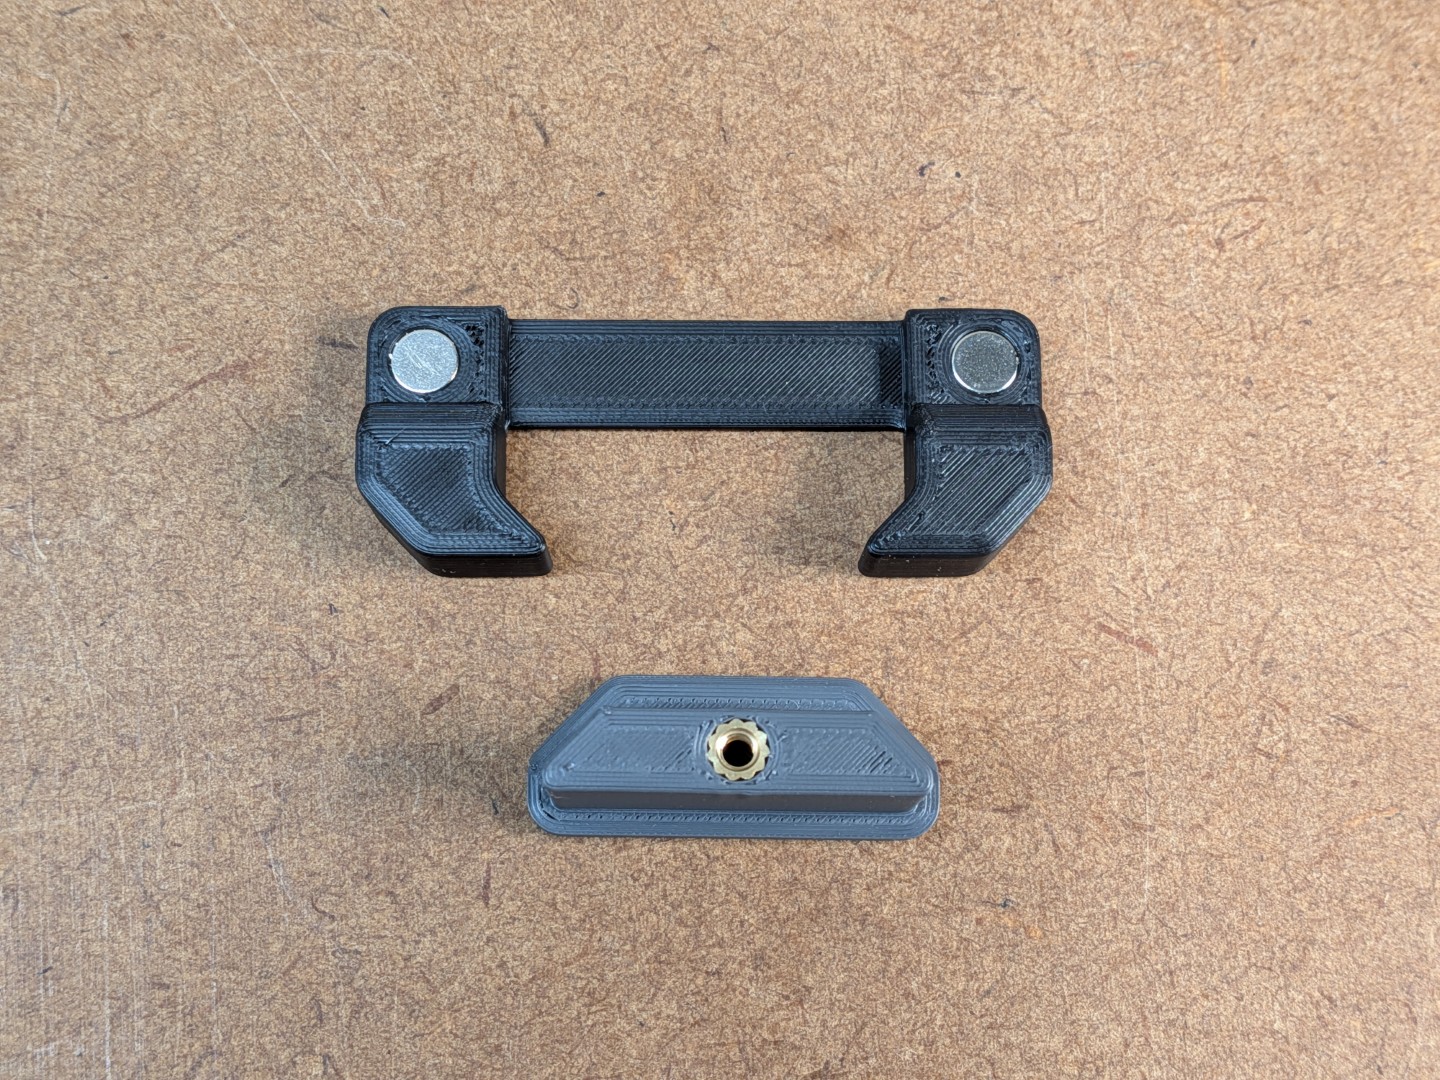 | 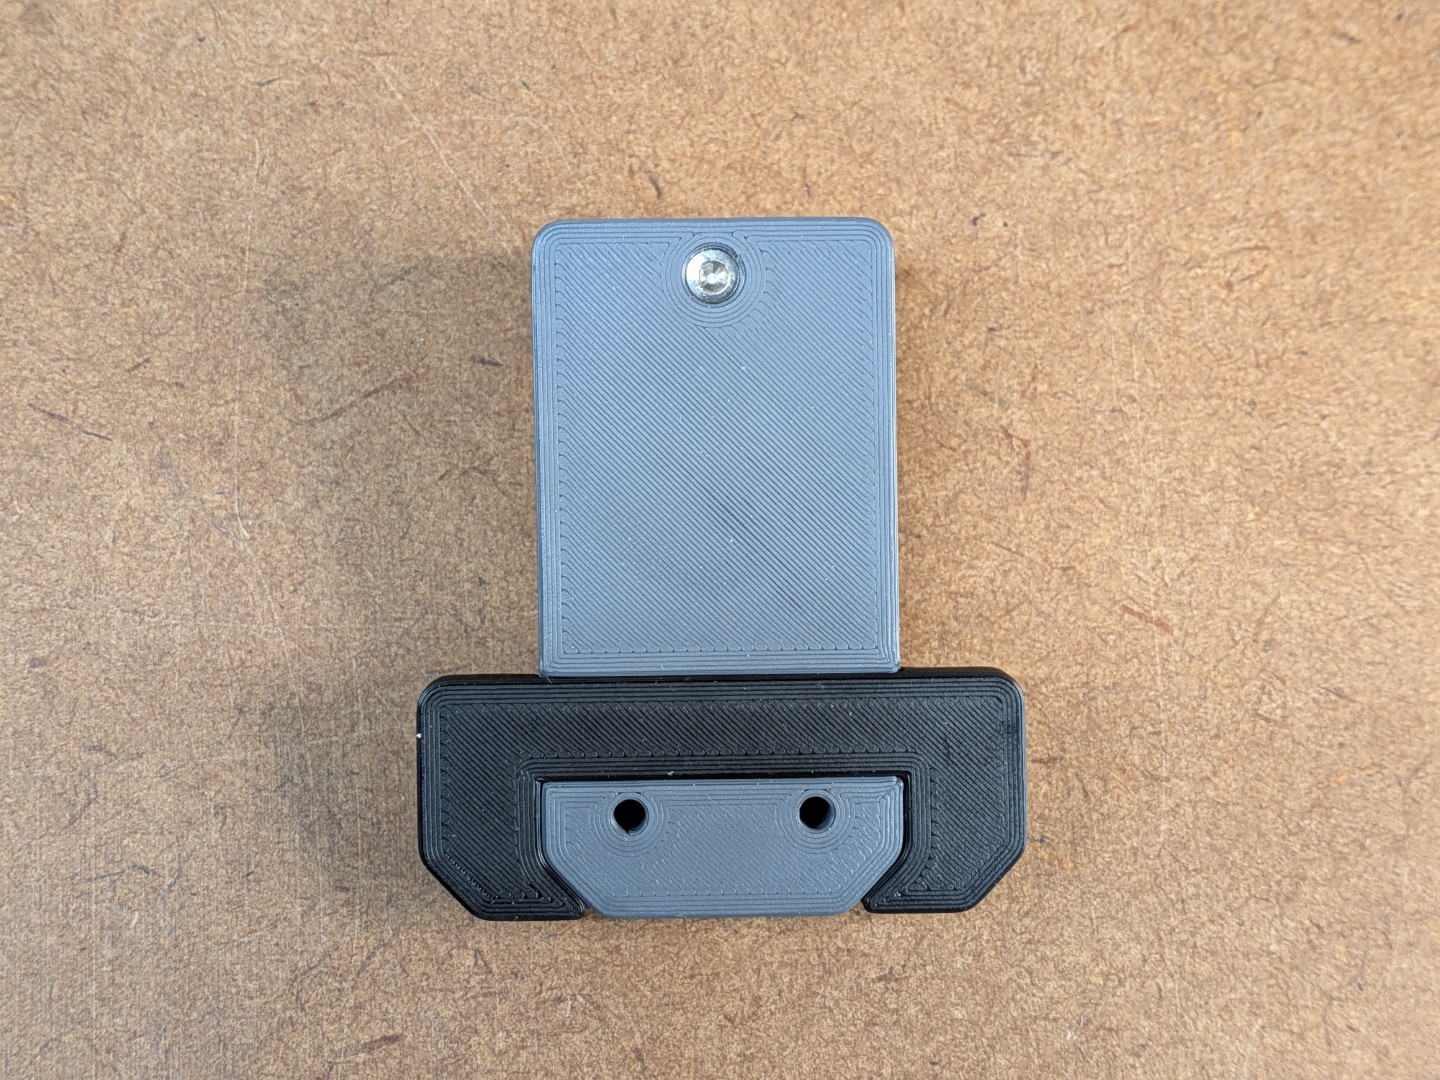 | 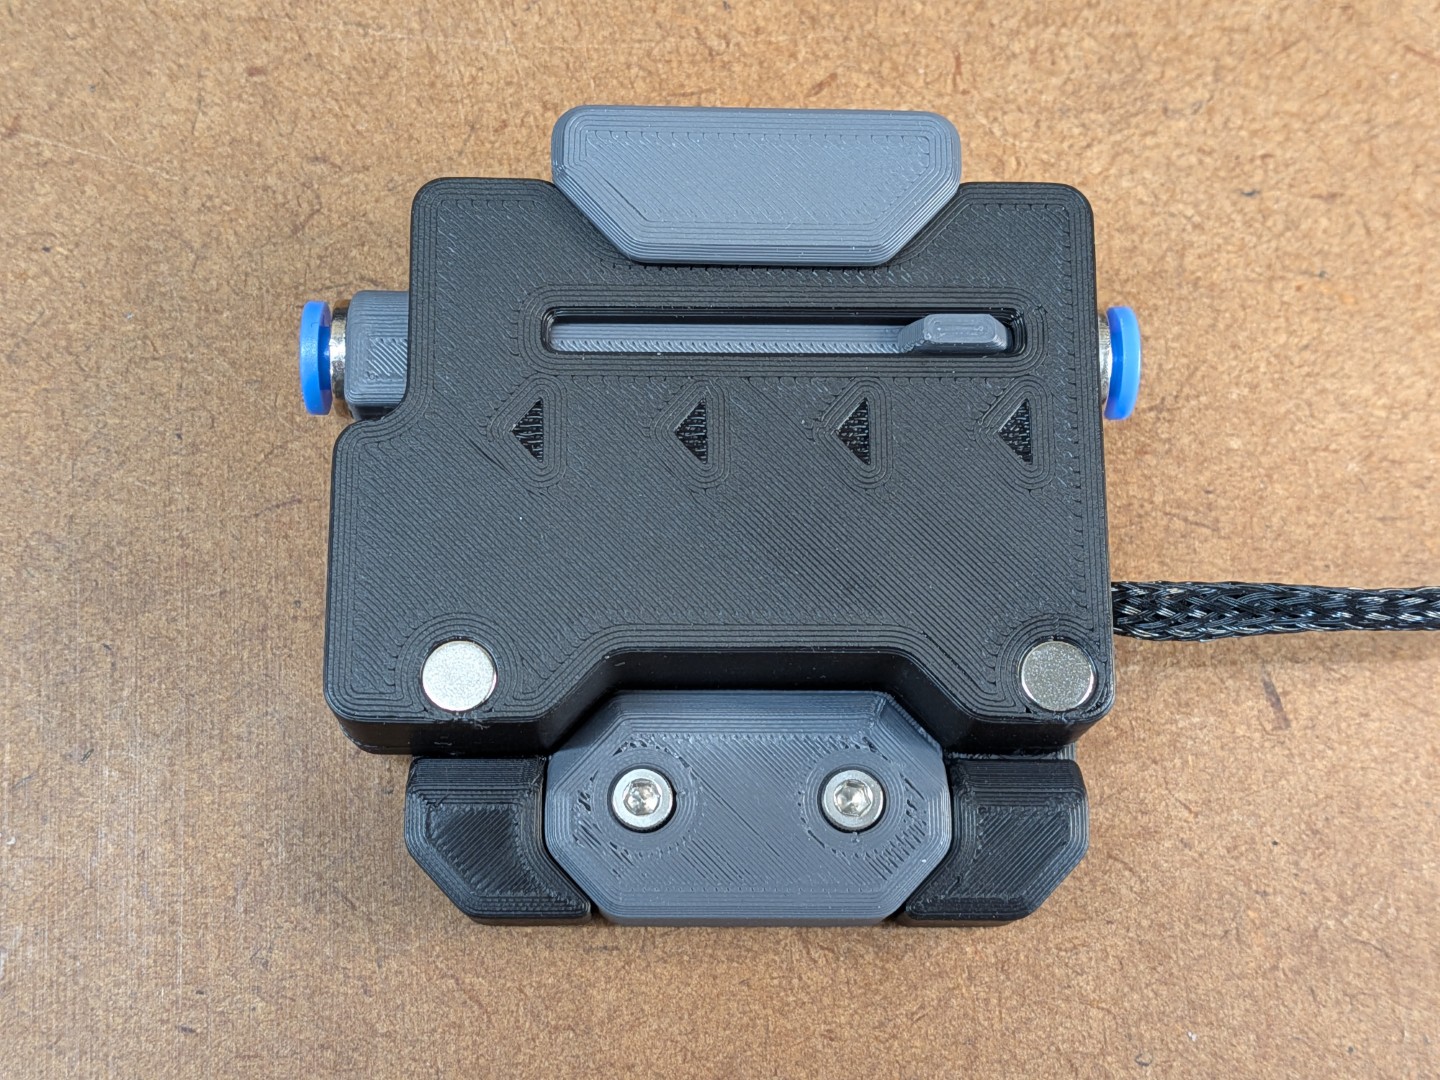 | 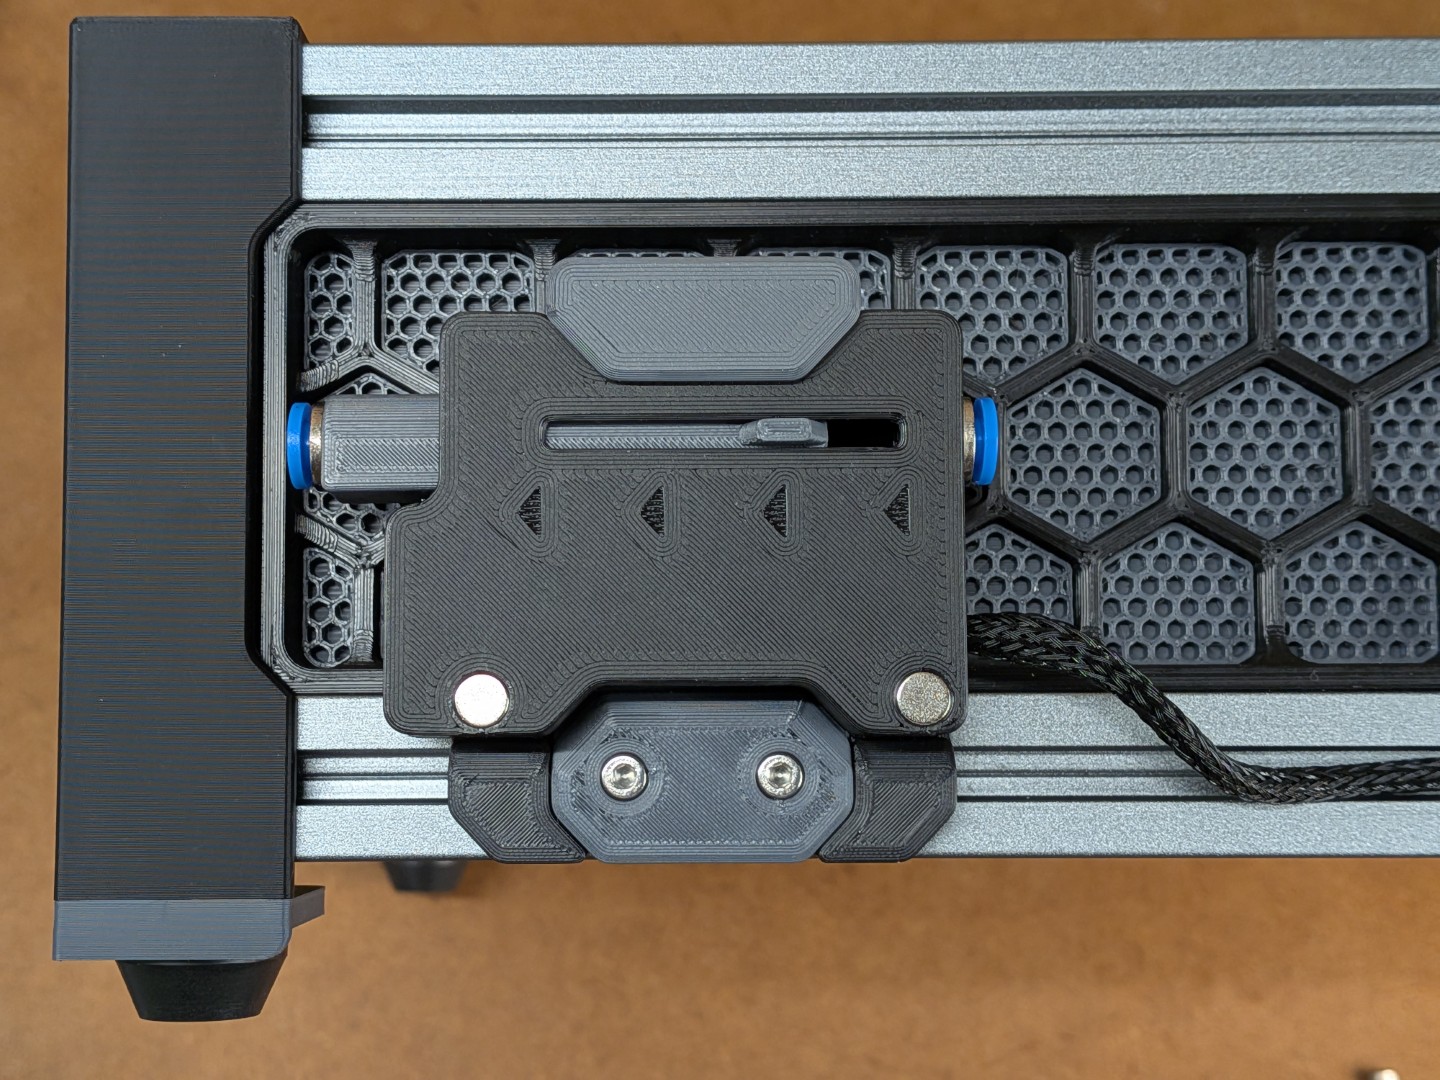 |
… you can also opt to glue the Clamp part to the Base (instead of the heat-set insert / screw combo). The two-parted design is only to allow printing the parts without any support.
⚠ ECAS Press-In Trouble ⚠I successfully managed to damage about every single printed Frame and Slider when pressing in the ECAS fitting: Either it cracked or there were at least very visible stress marks in the ASA/ABS. There is just so little material where the ECAS fittings sit. So, if you are like me, use the Glue-In variants of the Frame and Slider which have a slightly wider opening for the ECAS fitting. They still keep the fitting securely and centered, but apply a bit of super glue (to the outside of the ECAS fitting) to be on the save side. |
Printing
Nothing special and no supports needed. But check where your slicer is placing the seam in the outside areas:
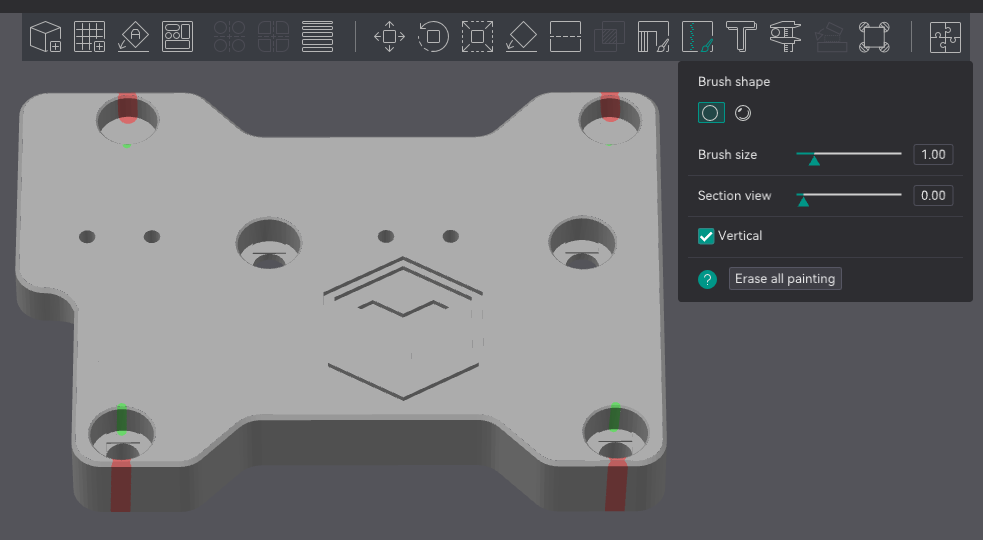 | Make sure the seam is not at the very thin wall but rather towards the inside of the part. Check this for Frame and the Lid. |
CAD
There is the Autodesk Fusion file in the Files section, with all sketches, timeline and everything. Go ahead, create some fancy mount, making use of the magnets on both sides of the TurtleNeck+ 😎.
BOM
Parts required additionally to the standard BOM:
- 4 or 6 pcs. of 3 x 6mm Magnets
- 3 pcs of M3 Voron Spec Heat-Set Inserts
- 1 pcs of M3 x 8mm SHS
- 2 pcs of M3 x 12mm SHS