
TWCS Pushthrough Afterburner detent
Obliczymy ostateczną cenę na podstawie wybranego pliku. Sprawdzisz ją i zaakceptujesz przed płatnością.
Zapisane na tym urządzeniu.

TWCS Afterburner pushthrough detent that can be installed / removed with a simple twist. No magnets, no glue.
- Ocena
- 0 / 5
- Polubienia
- 4
- Pobrania
- 50
- Wydruki
- 0
- Wyświetlenia
- 301
- Oceny
- 0
Aktualizacja u źródła:
Informacje o modelu
- Źródło
- Printables
- Kategoria
- Computers
- Licencja
- Creative Commons — Attribution — Noncommercial — Share Alike
While there are a few other options for a afterburner detent for the TWCS throttle, none worked quite how I wanted, so I made my own and decided to make it public.
It's a pushthrough model, meaning you have increased resistance at the desired range, but can push through it to reach 100%. No magnets, glue, no pulling with a finger, no nothing. Just keep pushing it.
To install, hold it by the side handle, hook the front, and twist counterclockwise to snapfit the back. To remove it, grab the handle and twist it clockwise until it releases. If you need different sizes for different planes/games, it takes less than 10 seconds to swap. See the following video for an example:
See the following video for a closeup of how it works:
Which version should I choose?
I created this specifically for F18 Hornet in DCS world, so the model in the videos is the “21 DCS F18”. If you use it for the same thing, that's a nobrainer.
For anything else, here's how you can measure the size you need:
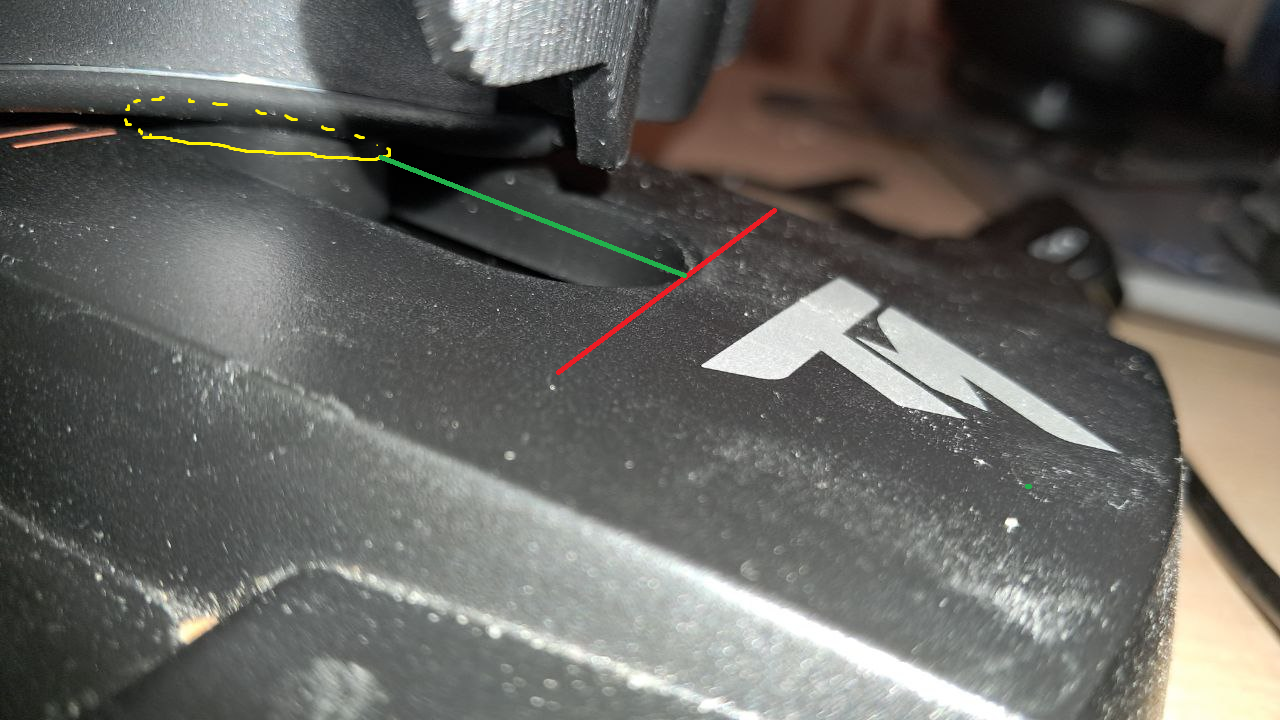
In the picture below, yellow is the “neck” of the slider, red is the very end of the slot. Move the throttle to the position where you want the resistance to start, and measure the length of the green line in milimeters from the frontmost point of the neck, to the red line, and that's the file you want. For example, for the F18 in DCS, that is 21mm, thus I would print the file named 21.
Printing guidelines
Of course there is a wide variety of printing settings and just about any material will do the job, and this is a very print but the settings I used are below:
- Material: PETG (probably best as you need a bit of flexibility)
- Layer height: 0.2mm
- Wall loops: 2
- Top shell layers: 5
- Bottom shell layers: 3
- Sparse infill: 80%
- Sparse infill pattern: Gyroid
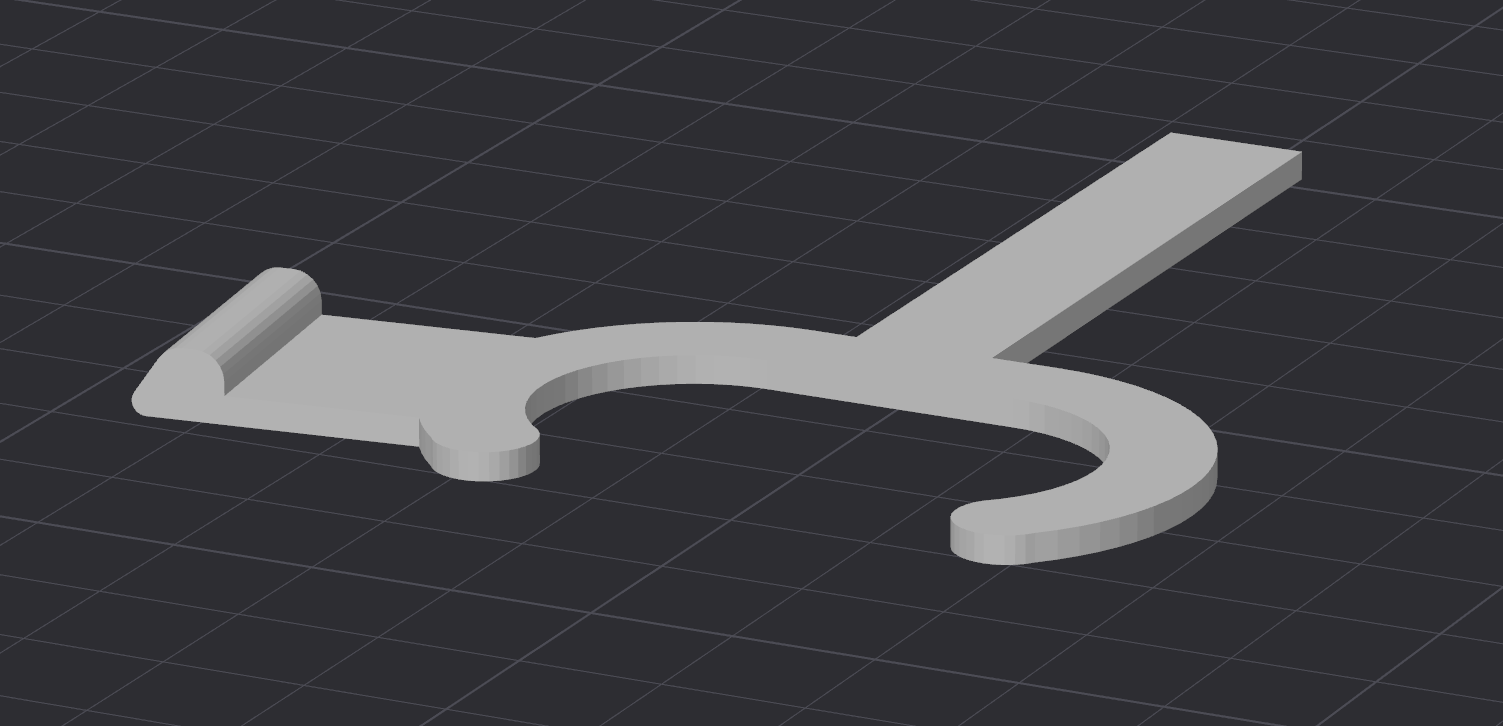
- upside down, with the bump facing up so it lays completely flat. No supports needed.
Regarding license: This model is under a noncomercial license and may not be offered for sale. However if a customer contacts you with a specific request for this model even though it's not in your portfolio, that may be printed and sold.