1 / 3
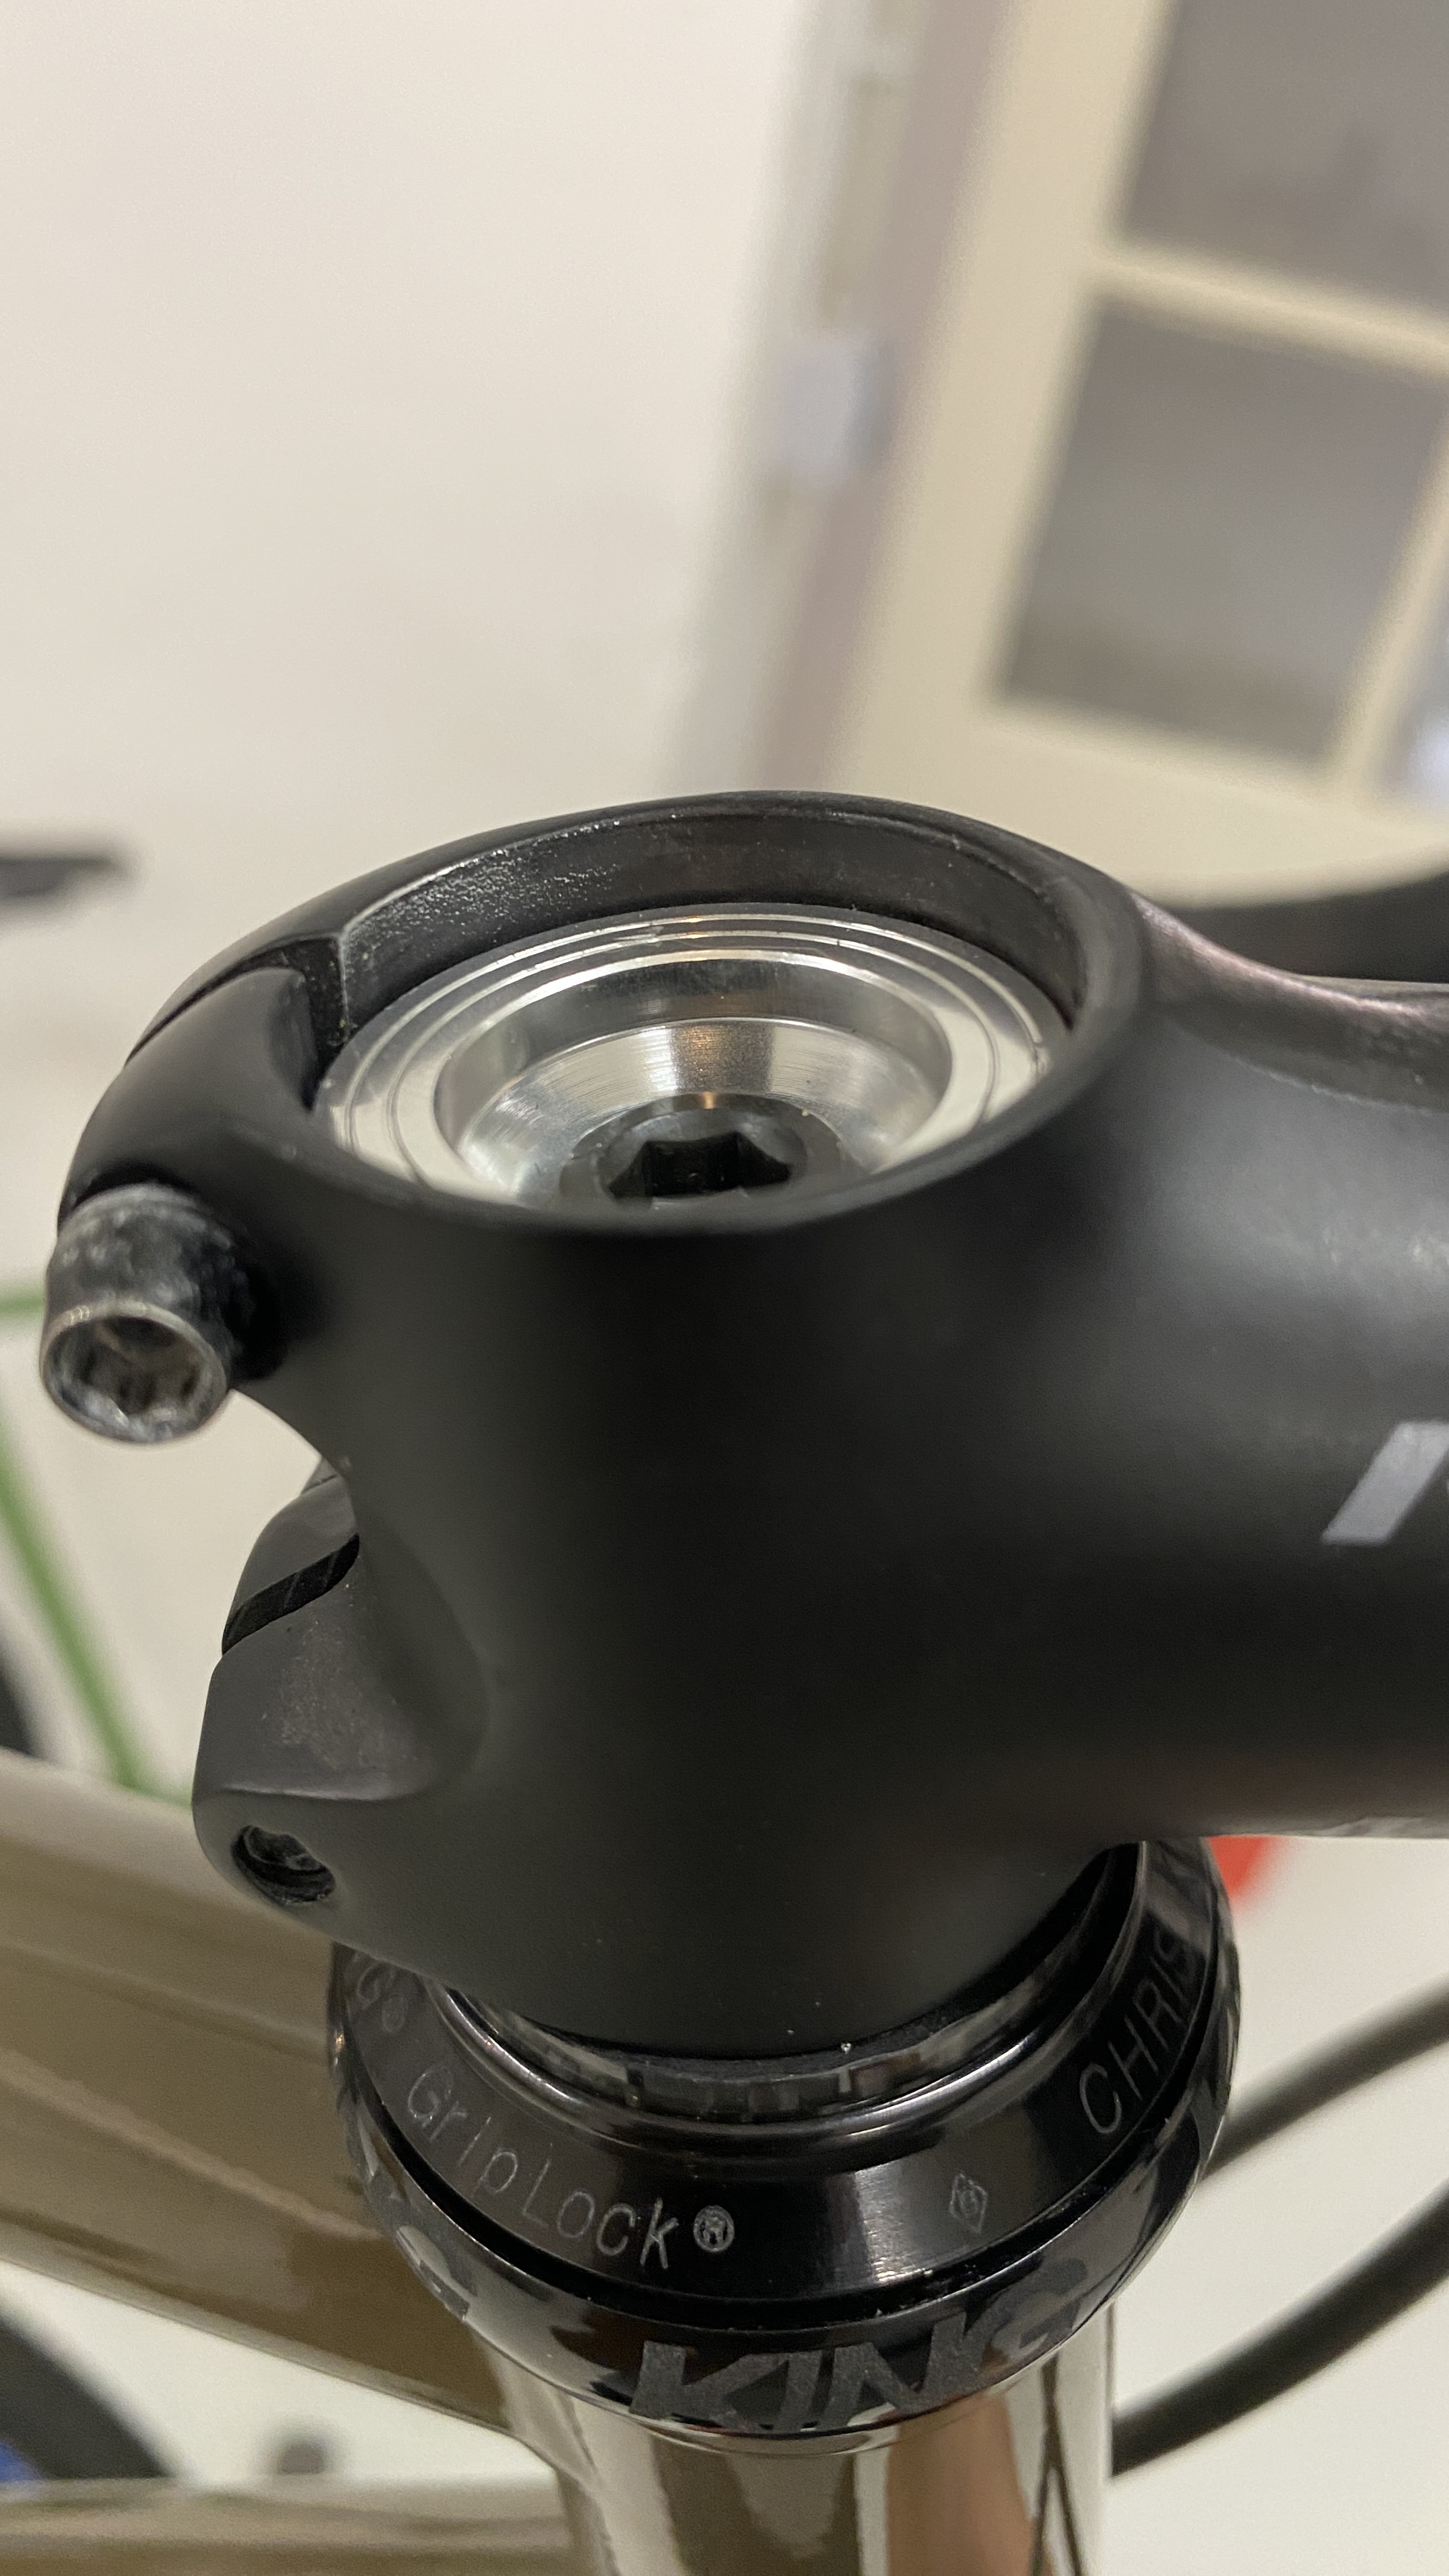
saw guide for 1 1/8 threadless bicycle steerer tube
Zamów wydruk tego modelu
Obliczymy ostateczną cenę na podstawie wybranego pliku. Sprawdzisz ją i zaakceptujesz przed płatnością.
Zapisane na tym urządzeniu.

This is an easy to print and assemble saw guide to shorten your forks to your hearts desire! Works for steel/alu/carbon
- Ocena
- 0 / 5
- Polubienia
- 16
- Pobrania
- 64
- Wydruki
- 0
- Wyświetlenia
- 496
- Oceny
- 0
Aktualizacja u źródła:
Informacje o modelu
- Źródło
- Printables
- Kategoria
- Tools
- Licencja
- Creative Commons — Attribution — Noncommercial
SzczegółyPliki (6)Wydruki i komentarze (Wydruki: 0) (Komentarze: 0)Remiksy (0)Kolekcje (20)Powiązane
Hello!
UPDATE 1 - 16.7.25 → I've replaced the carbon shim for a new version with only 1.8mm width compatible with a parktool carbon saw blade.

I've drawn up a saw guide to shorten the carbon/steel/aluminium steerer tube of your bike!
printing information:
- print at least 50% infill for stability
- I'd recommend about 4 perimeters which increases strength quite a bit too
- PET-G definitely recommended!
- all parts are designed for FDM printing, print orientation is straight forward!
parts/hardware/tools needed:
- all 5 printed parts (6 if you print both steel/carbon spacing shims)
- 2x → M8x16 panhead machine screw
- 1x → M8x35 hexhead machine screw
- 1x → M4x16 countersunkhead machine screw
- 3x → M8 threaded insert
- 1x → M4 threaded insert
note: I use Ruthex inserts, the model is build for their dimensions.

You will need following tools for assembly:
- a set of allen keys
- some epoxy resin to glue the knob on to the hexhead screw
- a soldering station to fit the threaded inserts
- optional: a file to file down the hexhead and countersunkhead machine screw to fix the wedge in place with the M4 screw. (I will explain this step below.)

Assembly instructions:
- print all parts!
- install all 4 threaded inserts as shown: 3 in the main body, 1 in the wedge. The threaded insert in the red wedge is optional as further explained below.


- install shim and faceplate to body using the panhead screws.

- optional: file a point to the M4 screw and file down the M8 hexhead about 2mm in from its end to receive the pointed M4 screw, this will allow the wedge to be fixed in place which is quite fancy but not at all required for the tool to work! Easiest is to mark where to file the M8 screw through the M4 hole! Below you see the pointed M4 screw and rounded M8 screw. You might need to shorten the M4 a little depending on how deep you groove the M8 screw, fiddle around a bit and find a good match!


- glue the knob to the M8 screw!


- screw M8 screw in to body and (optional) fix the wedge in place with the M4 screw. If this step is too much work you can also just place the red wedge in to the guide by hand and clamp down the steerer tube, works just as well!

Voila that's it, fairly straight forward! Leave a comment if you have any questions!

Some pictures of the guide in use: