
LaneControl for BoxTurtle Enclosure
Obliczymy ostateczną cenę na podstawie wybranego pliku. Sprawdzisz ją i zaakceptujesz przed płatnością.
Zapisane na tym urządzeniu.

LaneControl buttons for the 🥰 BoxTurtle Enclosure with rear cover and integrated cable management 🤩.
- Ocena
- 0 / 5
- Polubienia
- 39
- Pobrania
- 2157
- Wydruki
- 0
- Wyświetlenia
- 4357
- Oceny
- 0
Aktualizacja u źródła:
Informacje o modelu
- Źródło
- Printables
- Kategoria
- Accessories
- Licencja
- GNU General Public License v3.0
One of the nicest add-ons for your 🥰 BoxTurtle are the 🤩 Box Turtle Lane Control buttons by Discord user Trev1Ak but sadly they do not fit the skirt of the BoxTurtle Enclosure with its slightly different shape. So I made it work … and doing this of course I took the chance to refine it a bit, making use of the extra space that is given by the protruded front:
- Added a back cover to protect the pins of the switch, the soldering points and the cables
- Integrated a zip-tie for cable management
- …. and improved mounting on the skirt
All things that are just not possible in the very limited space of the standard BoxTurtle.
⚠ Hardware, Configuration, Macros ⚠To make this functional, you will need one additional IO per lane and probably an additional board (or the AFC-Pro), a proper configuration and macros to integrate it into your setup. For all of this check the BoxTurtle Lane Control channel on the AmroredTurtle Discord server. |
| … and don't forget to leave a ❤ Like. Such support really makes me happy 🙂 |
RELATED MODELS
 It gives you some nice options for a meshy skirt of your enclosure – LaneControl Ready of course. 😎 …. and for the other skirt parts there is the standard TurtleFence model. |
DETAILS
 |  |  |  |
Check the pictures, and everything should be clear.
The only thing left and worth mentioning are the three clip / spacer options:
- Clip Skirt: This works with the standard skirt (of course with extruded hexagons where the LaneControl buttons go).
- Clip Mesh Insert: This clip has a reduced height of 1.2mm to work with the (highly recommended 😉) TurtleFence for Enclosure.
- Clip Spacer: It's just a spacer instead of a clip (you can also go without it, but then need to use a shorter M3 screw).
PRINTING

You will need to use tiny bit of support 😒 only on the Cover Cable part (green surface)…. sorry for this inconvenience. But it was necessary to keep everything clean and compact.
And of course this is a B surface only which won't be visible after assembly. 🫡
| The overhang surfaces on the Housing should not need any support to print as long as your wall printing order is Inner/Outer (which should be the standard). |
ASSEMBLY
⚠ IMPORTANT ⚠ Be careful when pushing in the switch. Make make sure you do not bend or break the pins. If you have trouble inserting the switch into the housing, the following might be helpful:
|
 |  |  |  |  |
- Insert the heat set insert to the Housing
- Straighten the pins of the Omron to make your life a little easier
- Insert the switch into the housing using needle-nose pliers (check from the bottom to make sure all the pins are properly seated in the holes)
- Push the switch in completely, be careful not to damage the pins!
- Turn the housing around so the bottom of the housing and the pins of the switch are facing you
- Bend the two pins on the left (they will not be used) all the way to the housing
- Slightly angle the other two pins (on the right) inwards
 |  |  |  |  |
- Solder the wires as shown in the picture
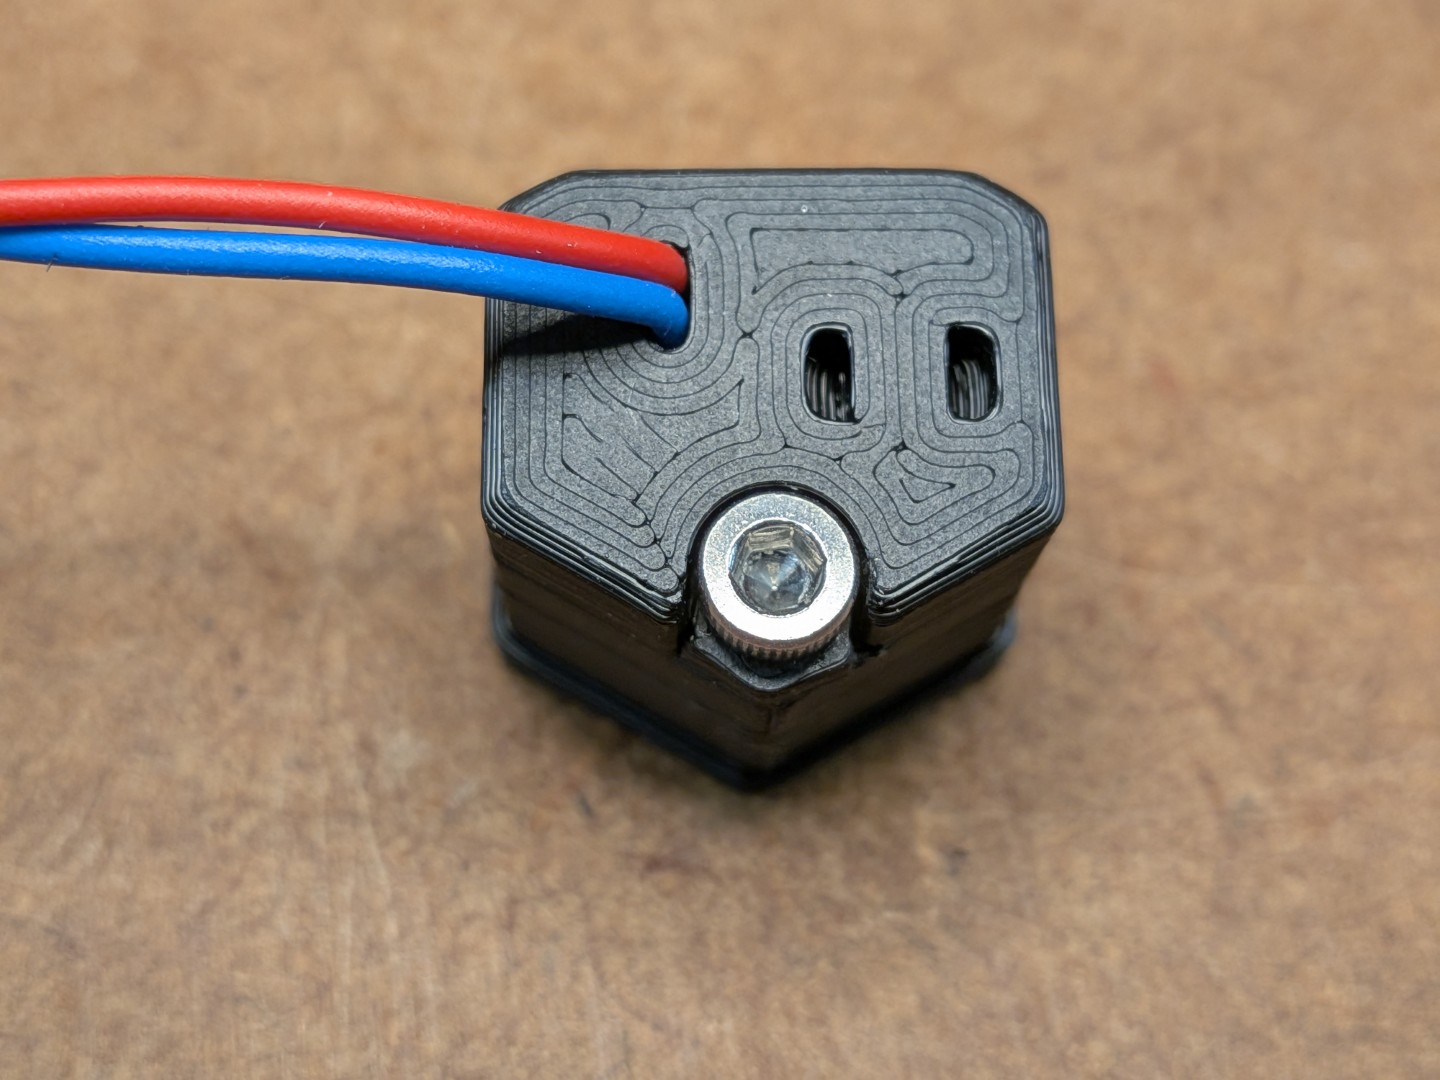
- Route the wires through the opening of the Cover Cable and attach the two parts. Make sure the wire path is straight and there is no stress on the soldering points.
- Attach the Cover Cable to the Housing using the Clip Spacer and the M3 bolt. This is to have everything compact and secured for the next steps. You will (optionally) replace the Clip Spacer by the Clip Skirt / Clip Mesh Insert after attaching it to the skirt.
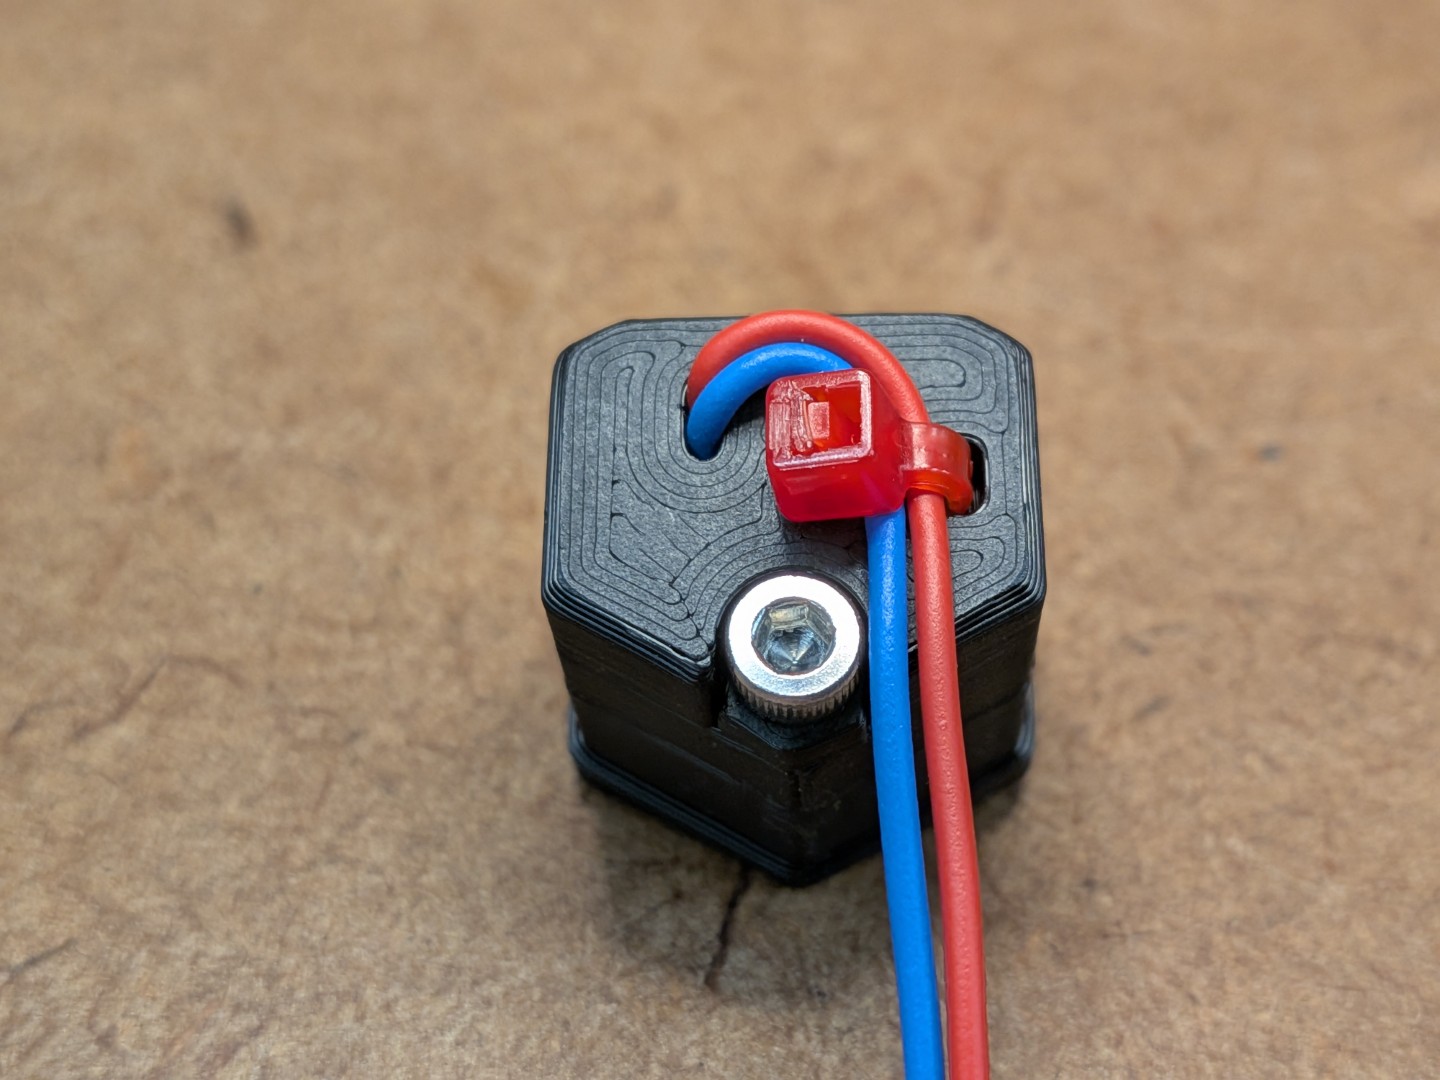 |  |  |  |  |
- Add a cable tie and fix the cables in place.
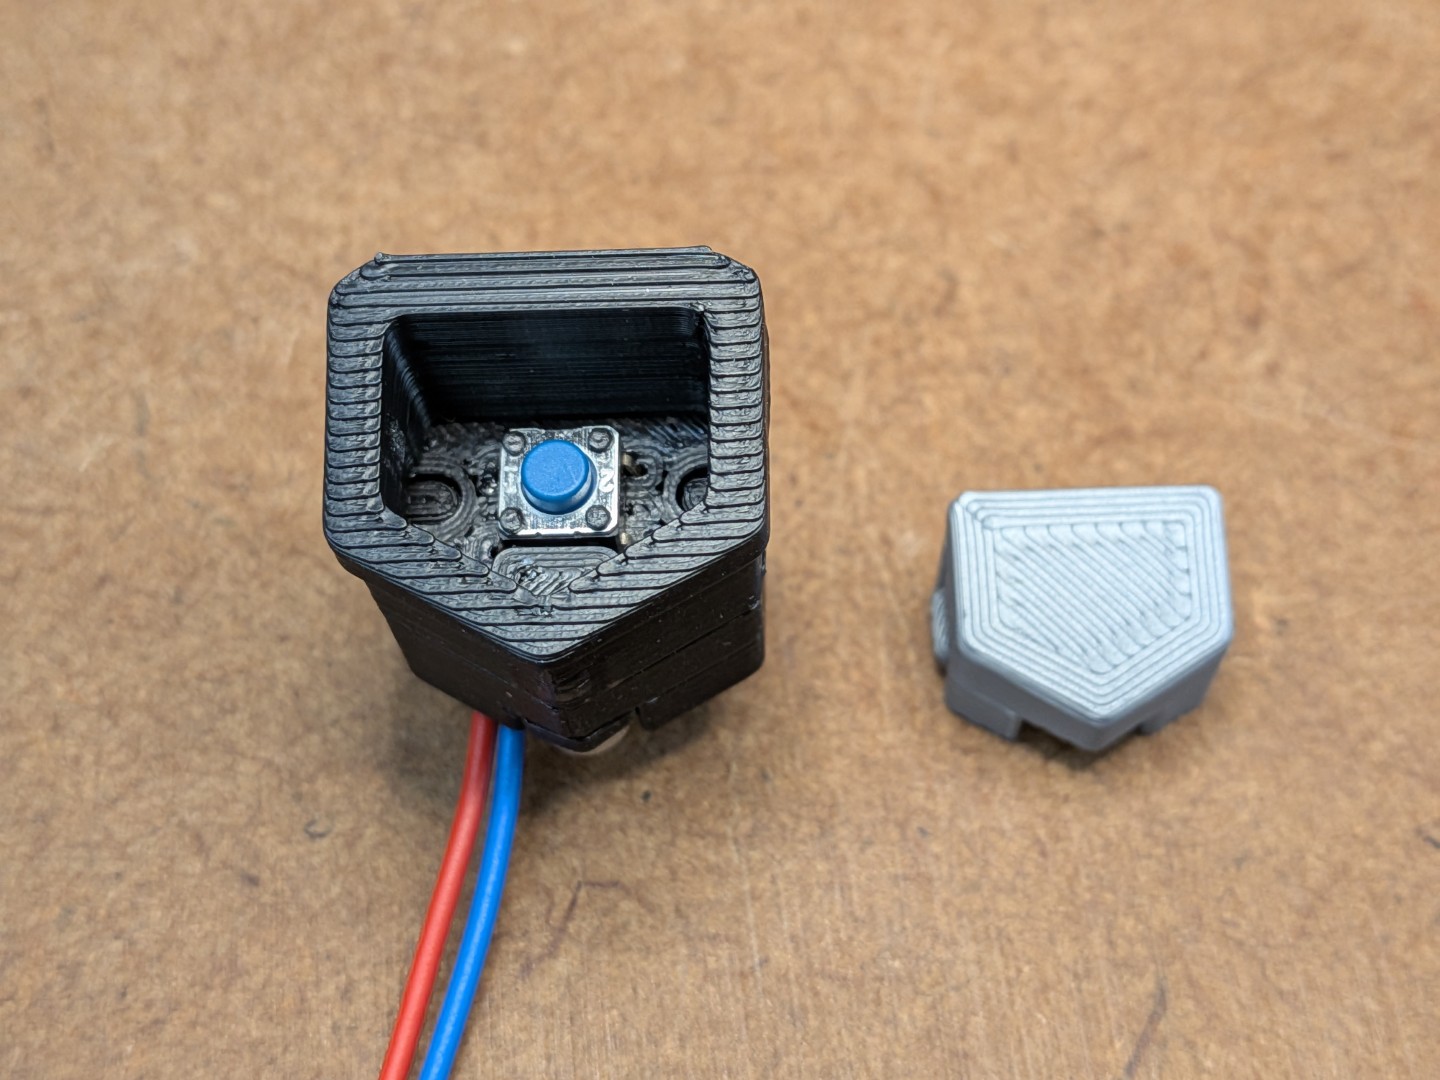
- Plug in the Button from the front
- Plug in the assembled Lane Control into the opening in the skirt
- Replace the spacer with a Clip Skirt or Clip Mesh Insert (optional)
And after doing this for all your lanes: Wire everything up and get it running! 😎
BOM
In General:
- AWG-24 wire (recommended; if you use smaller diameter make sure it's held securely by the cable tie)
Per Lane:
- 1 x Omron B3F-1026 (see Discord channel for alternatives)
- 1 x M3 Heat Set Insert Voron Spec
- 1 x M3 x 10 SHS
- 1 x Cable Tie (a small one as provided with the LDO BT Kit)
CREDITS
BoxTurtle and BoxTurtle Enclosure - Thanks to ArmoredTurtle for this awsome project!
Lane Control - What a great user-mod by Trev1Ak
Icon - … and the nice little joystick for the turtle comes from loading.io