
Update: Now in english. - Insert for Clinic Deluxe Edition (Die Klinik) with expansions until the 7. expansion.
Obliczymy ostateczną cenę na podstawie wybranego pliku. Sprawdzisz ją i zaakceptujesz przed płatnością.
Zapisane na tym urządzeniu.
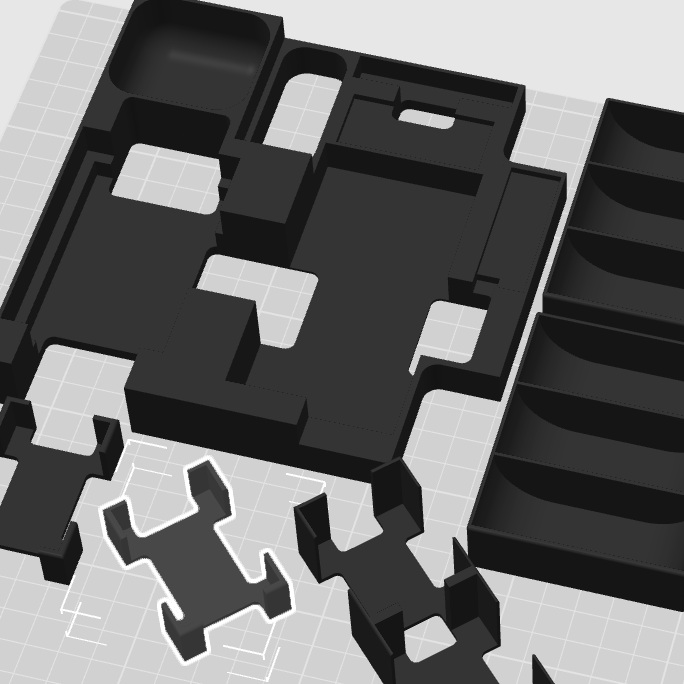
It was a mammoth task to design an insert that could hold all the content. (Excluding the newest 911. expansion)
- Ocena
- 5 / 5
- Polubienia
- 7
- Pobrania
- 34
- Wydruki
- 0
- Wyświetlenia
- 387
- Oceny
- 1
Aktualizacja u źródła:
Informacje o modelu
- Źródło
- Printables
- Kategoria
- Board Games
- Licencja
- Creative Commons — Attribution — Noncommercial — Share Alike
I have updated the project:
I have changed german through english words where applicable.
I added Level 6 for the 7. Expansion and the new Walls_Lvl1-6_x2.stl which replaces the "old" wall.
This is my custom insert for Clinic Deluxe Edition, including all currently released expansions.
I always design my inserts to store all expansions inside the base game box.
But with this one, it quickly became obvious: there’s no way everything would fit into just the base box.
The first hurdle:
The base game box has a slipcase, which means you can’t just raise the lid a bit if the insert sticks out — it has to stay flush with the box. (Not sure if that’s the case in non-German editions too.)
My solution? I cut open the slipcase and glued it onto the lid. That gave me room to go upward.
To make sure the whole thing stays solid regardless of height, I also designed structural walls to hold everything together.
My goal:
Fit each expansion’s content into its own tray.
But because the box is over 300mm long, it was clear I’d need at least two trays per expansion.
That worked out fairly well for the first three expansions.
How it’s organized:
The base game + the first two expansions form one complete level (i.e. one layer of trays).
Other expansions are grouped into additional levels/layers. That way, the insert might still work for you even if you don’t own every expansion.
(And if you want, you can always print empty trays as placeholders 😄)
Here’s a breakdown of which elements belong to each level — so you know what to print together for a full, stable layer. Obviously you can arrange the different levels as you wish:
Level 01:
Base Game (with mini-expansions)
Expansion 1
Expansion 2
Level 02:
Expansion 3
Level 03:
COVID-19
Hazardous Materials
Expansion 4
Expansion 5
Expansion 6
Level 04:
Expansion 69 Blue
Level 05:
Expansion 69 Pink
Level 06:
Expansion 07
The wall file Walls_x2.stl is designed to fit the first five levels, if you also need the sixth level for the 7. Expansion you need to print Walls_Lvl1-6_x2.stl.
If you don’t print every level, you’ll need shorter walls. I’m not sure if you can easily scale down just the height in your slicer without messing up the footprint — but feel free to reach out if you’d like a custom wall version.
Printing tips:
Only the walls require special settings — I recommend using a brim, otherwise they might not stick well to the bed.
Everything else prints just fine with standard settings.
Just be a bit careful when handling the trays: in most cases, the walls are quite thin to save space.
Happy printing!
(This text was translated from German using AI.)