
Creeper Clicker and Fidget (Keyboard Switch Based) with Moving Legs
Obliczymy ostateczną cenę na podstawie wybranego pliku. Sprawdzisz ją i zaakceptujesz przed płatnością.
Zapisane na tym urządzeniu.

Minecraft Creeper Clicker, and Fidget, with Articulated Legs
- Ocena
- 4,917 / 5
- Polubienia
- 451
- Pobrania
- 2222
- Wydruki
- 9
- Wyświetlenia
- 13 303
- Oceny
- 12
Aktualizacja u źródła:
Informacje o modelu
- Źródło
- Printables
- Kategoria
- Action Figures & Statues
- Licencja
- Creative Commons — Attribution — Noncommercial — Share Alike
Assembly video:
Update: Version 2 Added. Most people with a well-dialed in printer should use this new version.
This Minecraft Creeper fidget toy uses a Cherry MX keyboard switch, or similar (I’m using a cheap Outemu Clicky Green switch purchased from Aliexpress), and features articulated legs.
No supports are needed when printing.
[Version 1] If you want to print the face and toe caps in black, simply break the model in to parts in your slicer and print those parts separately. Of course, you could also use a color changer or multi-tool printer, but that’s overkill.
After printing, don’t take the legs off the build plate. Instead, leave them on until you slide on the main body. They are correctly located to easily slot in as a group. If you don’t do that, you’ll have to insert them separately. This isn’t difficult, but it’s simpler to do it in one operation.
Once the legs are in place, take the assembly off the build plate. Push a length of 1.75mm filament through one of the side holes using piers, and gradually feed it down until it’s all the way through, forming the hinge pin for the legs. [Don't try to rush this step. If you're not careful the filament will get kinked, and then you'll be forced to cut it off and feed from the opposite side, meeting in the middle.]
Cut the excess off with side cutters. If you have a hot air gun, a quick blast will remove the white blemish where the cut was made, making the pin blend in.
The eyes and mouth need to be glued in place. Note that the eyes must be placed with the indented corner pointing down. This is a restriction of the design being intended to be printed without the need for supports. They are intended to point inwards as shown below.

The feet caps simply push in to place. They are intended to be used without glue, but your printer tolerances may vary. Again, there is a correct orientation. The bottom of the feet caps is the side contacting the build plate.
Insert your switch in to the top of the body and then push the head down firmly.
July 17, 2025 New Version Uploaded (V2)
I was dissatisfied with the way the head was able to wobble. This is meant to be a Clicky, not a Bobblehead. So version 2 adds linear rails that eliminate excess wobble. It took a while to dial this in, making sure there is no excess friction that can cause the head to stick in the pressed down position. It's working every time when I print it (I've printed over 25 with the V2 design now), and with all the switches I have on hand, but knowing printer tolerances and switch spring strength can vary, I'm keeping version 1 available.
I've split the STLs in to two files. One for the green parts, the other for the black. This is probably more convenient for most people.
Version 2 files:
- Creeper Clicker Fidget with Moving Legs - V2 Green Parts.stl
- Creeper Clicker Fidget with Moving Legs - V2 Black Parts.stl
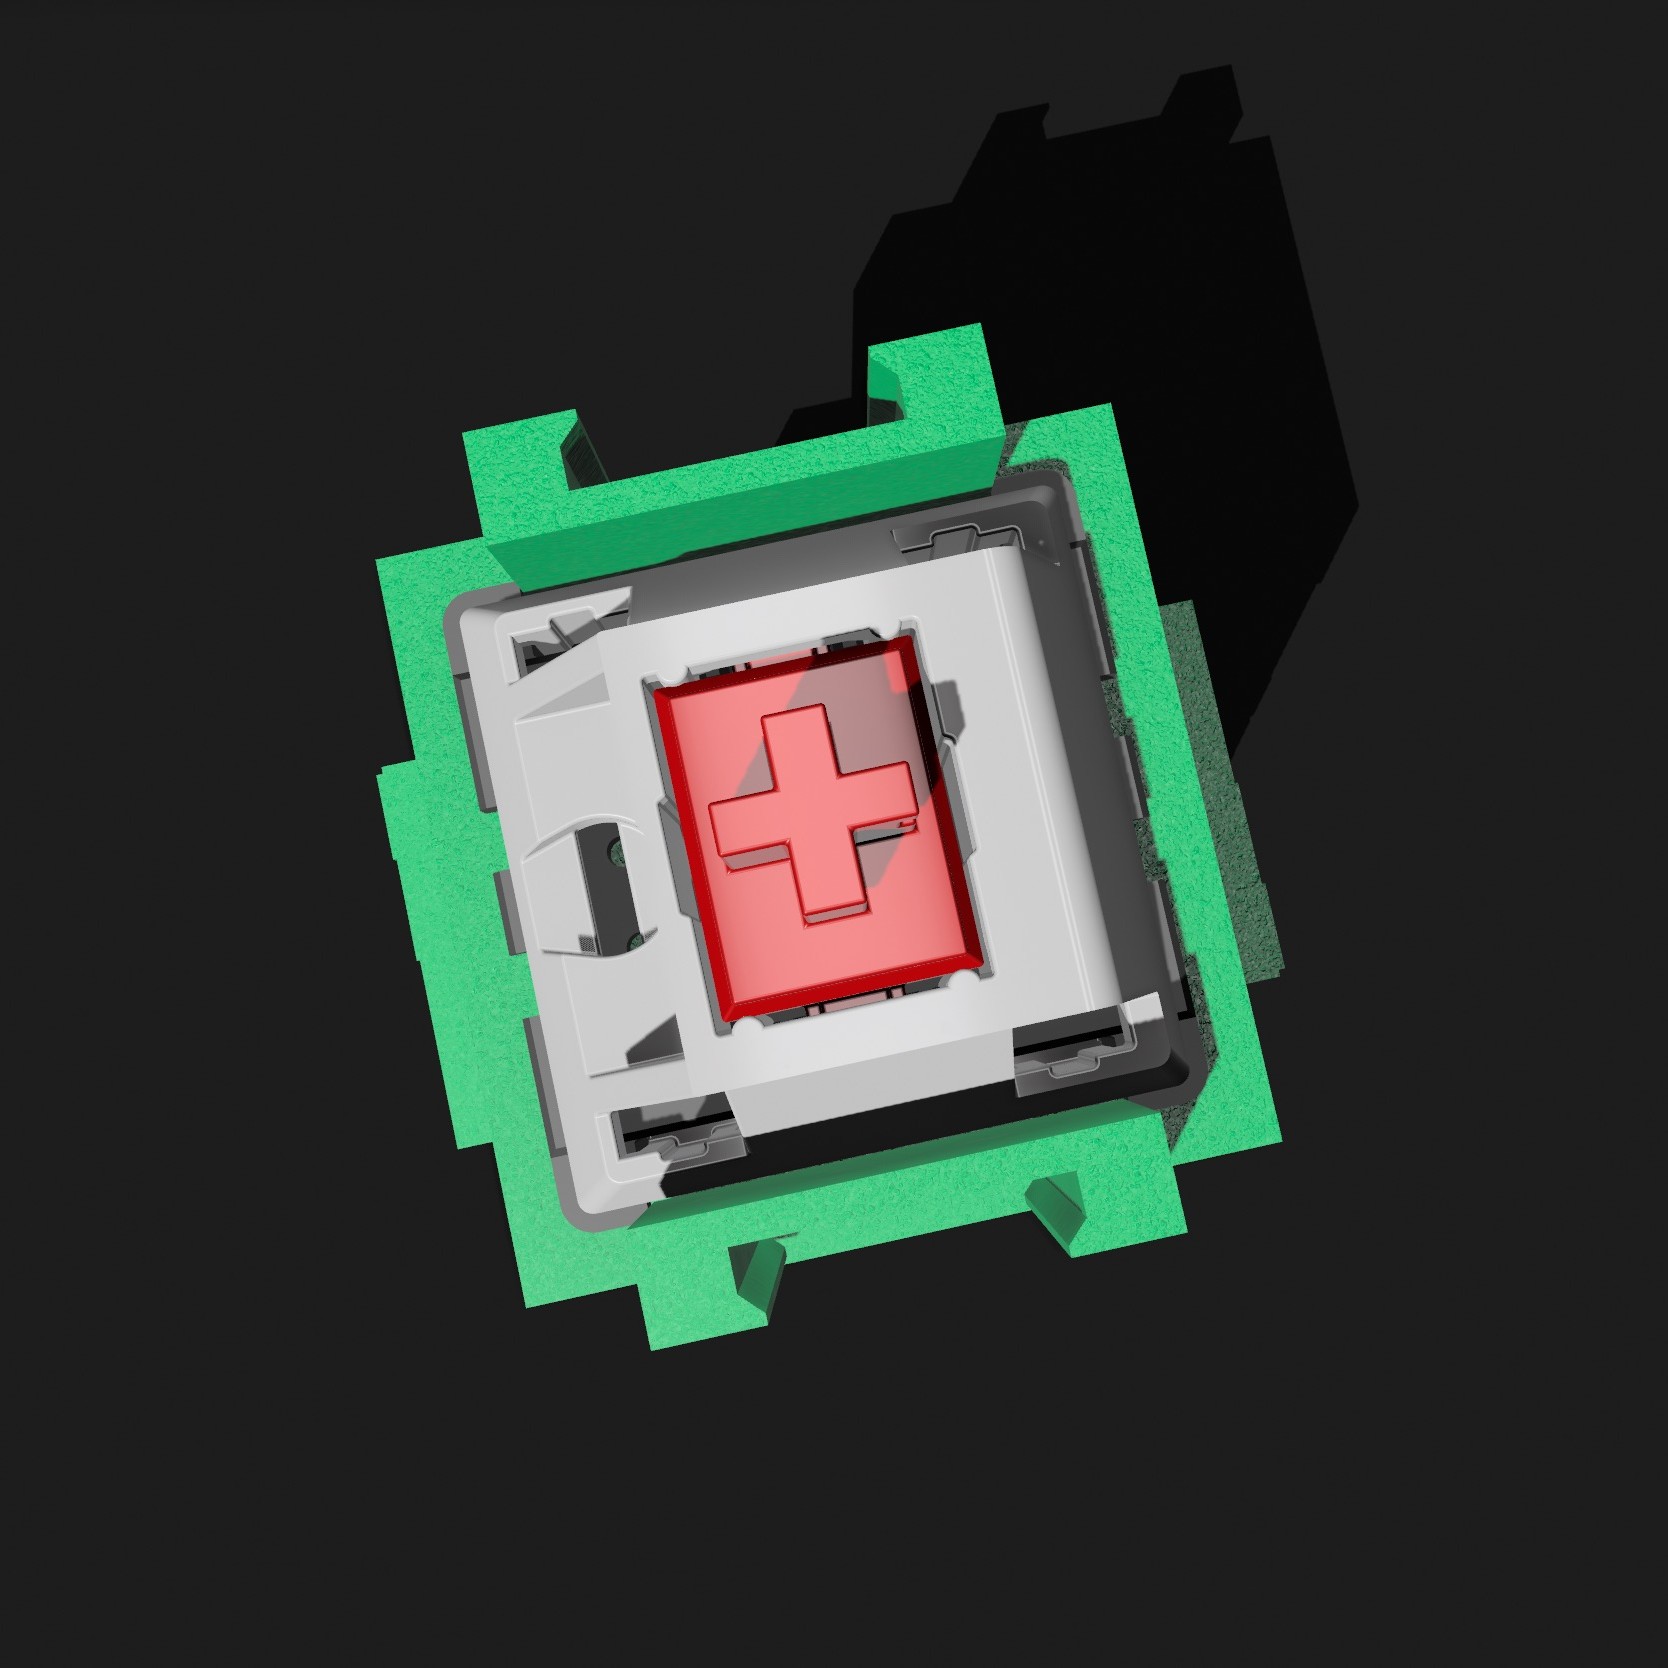
Switch Orientation
In version 2, the switch can only fit in the orientation shown here:
Toe Caps
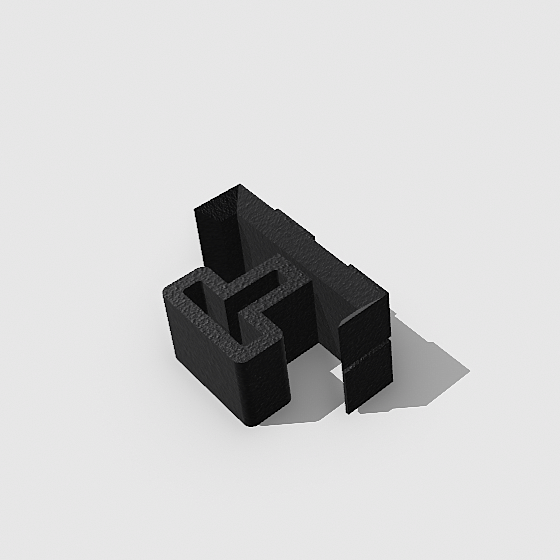
Version 2 adds the toe caps to the back legs (which is correct for Creepers). The version also has a cosmetic modification to make it easier to distinguish the top side when inserting in to the feet. There's an embossed “T” that marks the top side.
Eyes
The left and right eyes are now identical. The indented corner “pixel” should still point down. This change comes at the cost of build plate contact area, so make sure you have good bed adhesion (clean your PEI coated plate in dish soap; use a good adhesion promoter like Vision Miner Nanopolymer Adhesive; or whatever your preferred method to ensure good first layer adhesion is).
July 20, 2025 Added V2c for Dual Color-Capable Printers
Version 2c can be printed on tool changers, filament switchers, or IDEX printers. It allows the green and black parts to be printed in place, eliminating the need to glue the face parts on and insert the toe caps.
Version 2c files:
- Creeper Clicker V2c - Dual Color Printer Only - Green Parts.stl
- Creeper Clicker V2c - Dual Color Printer Only - Black Parts.stl