
Reduced size aperiodic monotile or "einstein" (requires glue)
Obliczymy ostateczną cenę na podstawie wybranego pliku. Sprawdzisz ją i zaakceptujesz przed płatnością.
Zapisane na tym urządzeniu.
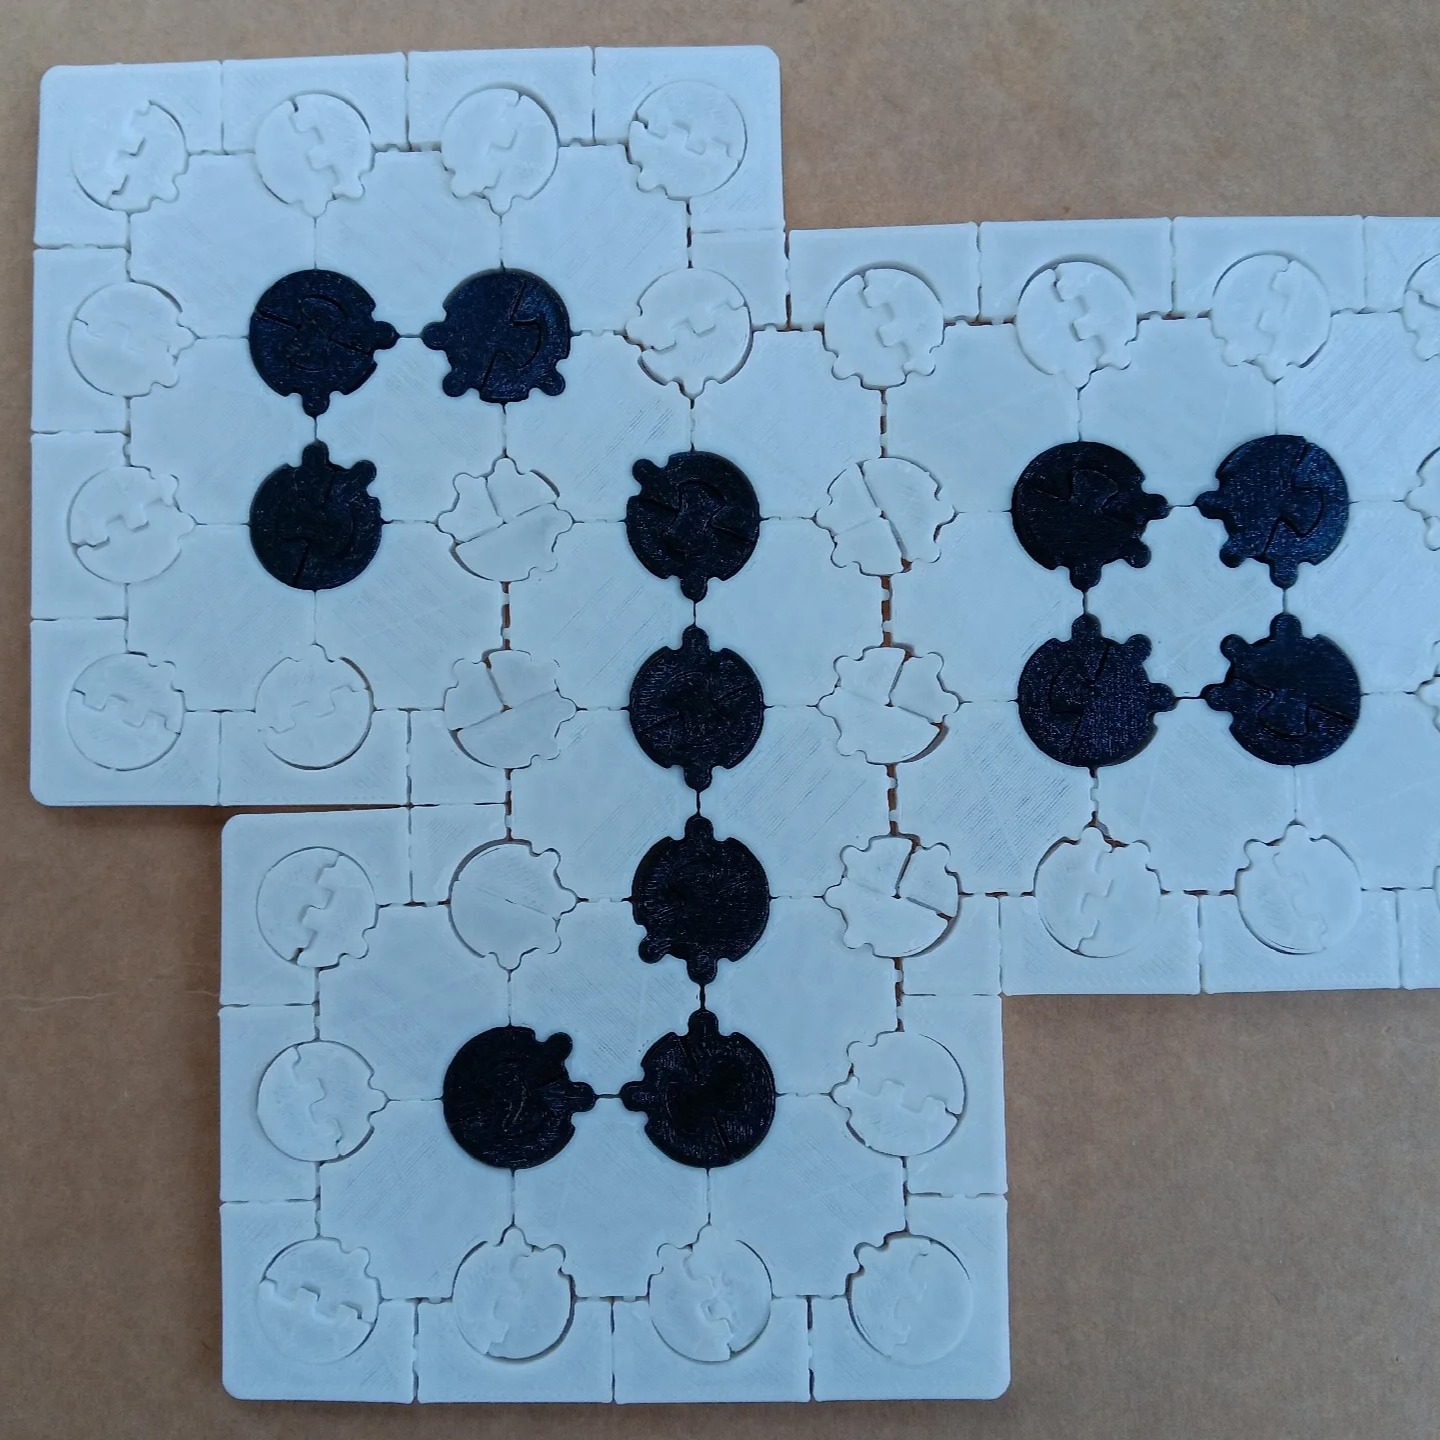
Aperiodic monotile (or "einstein" tile) with hidden tabs. Smaller than previous design but require glue assembly.
- Ocena
- 0 / 5
- Polubienia
- 2
- Pobrania
- 7
- Wydruki
- 0
- Wyświetlenia
- 76
- Oceny
- 0
Aktualizacja u źródła:
Informacje o modelu
- Źródło
- Printables
- Kategoria
- Puzzles & Brain-teasers
- Licencja
- Creative Commons — Attribution — Share Alike
This is the same two-layer tile design in https://www.printables.com/model/928547-aperiodic-monotile-or-einstein-tile-with-hidden-ta but is reduced in size. Unlike the previous one it requires glue to assemble, but this can be done easily with superglue using the provided form for alignment.
Background
An aperiodic monotile was discovered in 2023 by David Smith, Joseph Samuel Myers, Craig S. Kaplan, and Chaim Goodman-Strauss. It is “a single shape which tiles the plane, and can’t be arranged to have translational symmetry.” The discoverers call the shape a “hat” (though it looks a lot more like a v-neck T shirt to me). It is also sometimes called an “einstein” tile, punning on German for “one stone" (I find this confusing, and don't like it, but I seem to be outvoted. It has nothing to do with Albert Einstein, anyway.)
The 3D Print
The main challenge in making this printable was to produce interlocking tabs that hide under the tiles when assembled and hold them together. The tiling uses trapezoidal tabs (hexagon halves) only on the long edges of the kites that comprise the tile, and alternate them in a way that is consistent when the tile is flipped. Correctness proof is omitted, but you can try it yourself. The long edges pair up around the tile, with two pairs on a convex boundary and one on a matching concave boundary.
To avoid overhang, these tiles have two layers (see https://www.printables.com/model/1225214-improved-einstein-tiles-aperiodic-monotiles-with-h for a one-piece design). I have been reluctant to use glue in the past but happened to have some superglue (cyanoacrylate) and decided to try it. This simplifies the design, since the bottoms only need to be flat to provide a gluing surface.
Alignment is handled by printing a form to hold the pieces for gluing. To assemble a tile, first place the bottom layer upside down in the form.

Next, put a drop of superglue on the exposed surface. Something other than superglue may work as well.

Finally, place the top layer right side up in the form.

Apply a small amount of pressure to the top and remove. The tiles will be aligned consistently without any guesswork. I recommend leaving some time for the glue to dry completely before fitting tiles together. I found in a few cases, the glue leaked onto the tabs.
The main purpose of this printable was to see what I could do with glue. However, these are functional interlocking pieces and much smaller than the original design.