
Raider Nerf Launcher
Obliczymy ostateczną cenę na podstawie wybranego pliku. Sprawdzisz ją i zaakceptujesz przed płatnością.
Zapisane na tym urządzeniu.
Informacje o modelu
- Źródło
- Printables
- Kategoria
- Outdoor Toys
- Licencja
- Creative Commons — Attribution — Noncommercial — Share Alike
Small, powerful, practical. The Raider is a hand pumped nerf launcher that has enough power to launch anything you throw at it. Whether that's 111 half darts, or 7 mega XL, there isn't much it can't do!
This blaster is fully compatible with Jericho shells, but raider shells are not reverse compatible with Jericho. My shells use a 22mm orifice (vs Jericho's 12mm orifice) to fully take advantage of the power of the Raider. You could likely design a shell that uses an O ring wider than -123, and it would seal in both blasters.
IMPORTANT SAFETY INFORMATION
This is a VERY POWERFUL BLASTER. You can easily achieve velocities upwards of 300FPS on MEGAXL. That's 6 times the power of a 1g half dart at similar velocities.
- NEVER aim this at children, pets, or unconsenting adults
- Never aim the blaster at someone's head
- ALWAYS wear eye protection with straps when using this blaster. MEGAXL has enough force to knock eye pro without straps off
- If you plan to use this at an event, run it by your fields admins before using
If you are the reason this blaster gets banned from events, I will be very sad. Do not make me sad please
Alright, now that all that safety information is done, let's get to the good stuff!
Hardware
- 10 x M3 * 6mm heat set inserts - Found on OOD
- 9 x M3 * 8mm hex head bolts - Used on
Pic RailsandEjector - Head - 2 x M3 * 10mm hex head bolts - Used on
Handle - Mount - 1 x M3 * 14mm hex head bolt - Used on
Trigger - Lever - 1 x Dash 118 O ring - Used for
Frontinner seal - 1 x Dash 123 O ring - Used to for
Frontshell face seal - Standard 1.5" polycarb plunger tube O ring size - 6x 7mm pieces of 1.75mmprinter filament - Used to connect the
Grip - BottomtoGrip - Top - 1 x Diggin Active - DodgeBlaster OR Gobzooka - Found on Walmart.com or TractorSupplyCo
- Optional 1x 25mm length of nerf elite spring for the shell ejector. Not needed, but it makes shell ejection feel more crisp
Print Guide
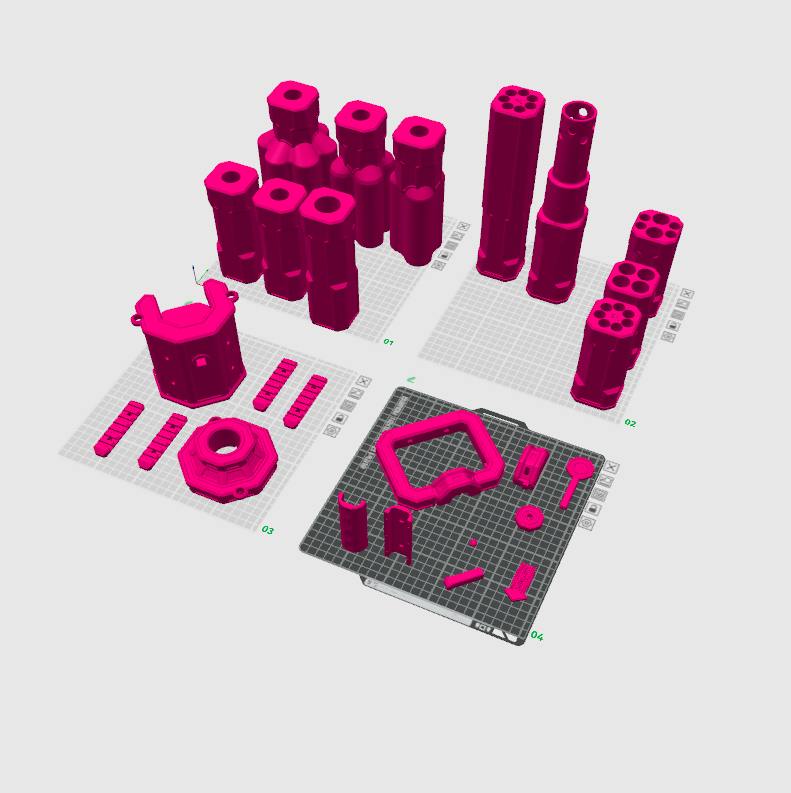
Set default print settings to 5 walls, 5 top, 5 bottom, 15% infill, brim. Add the following modifiers for these specific parts
Solid
- Ejector - Body
- Ejector - Head
- Trigger - Lever
- Trigger - Nub
- Pic Rails
- Nameplate
Supports
- Handle - Body
- Front
- Back
- Handle - Mount
Build Notes
- This is a friction fit build. Consider adding epoxy to the part where
Frontconnects to the DodgeBlaster. If you don’t, theFrontmay fly off at higher pressures - Glue the 123 O ring with superglue
- The
Handle - BodyandHandle - Mountfit may be a bit jank depending on how well the holes are drilled on the blaster. You can fix this by drilling handle holes out more. They should be centered on the tube. I like to do a dry fit with each side before assembling so the pins on each part don’t snap off. - Insert printer filament into
Grip - Bottom, then cut it down at a 45 degree angle so only 2mm is left. Then press fit + super glue it toHandle - Body - The
Nameplatefit is tight. Sand the interface edges slightly. I needed to use a rubber mallet to get mine in - Shell fit will be tight at first, but should get much better with time
- This blaster was designed so that you can use manual filament swaps to add a bunch of color without wasting material via AMS
- Do not remove the pressure relief valve found on the back of the DodgeBlaster. The 15 pumps you can get before it engages are more than enough for any shell you'd want to use.
Total Filament needs if doing manual filament swaps: (365g primary, 191g Secondary)
- Front - 262 g total (221g primary, 41g secondary)
- Rear - 99g total (48g Secondary, 51 primary)
- Other Primary - 96g
- Other Secondary - 99g
Prepping the DodgeBlaster
We need to make some modifications to the DodgeBlaster before we can use it!
Helpful tools
- Screwdriver
- Medium wire cutters
- Flush cut wire snips
- Pliers
- Sanity
- Remove all screws from handle assembly and discard all handle and trigger parts
- Pull out air restrictor
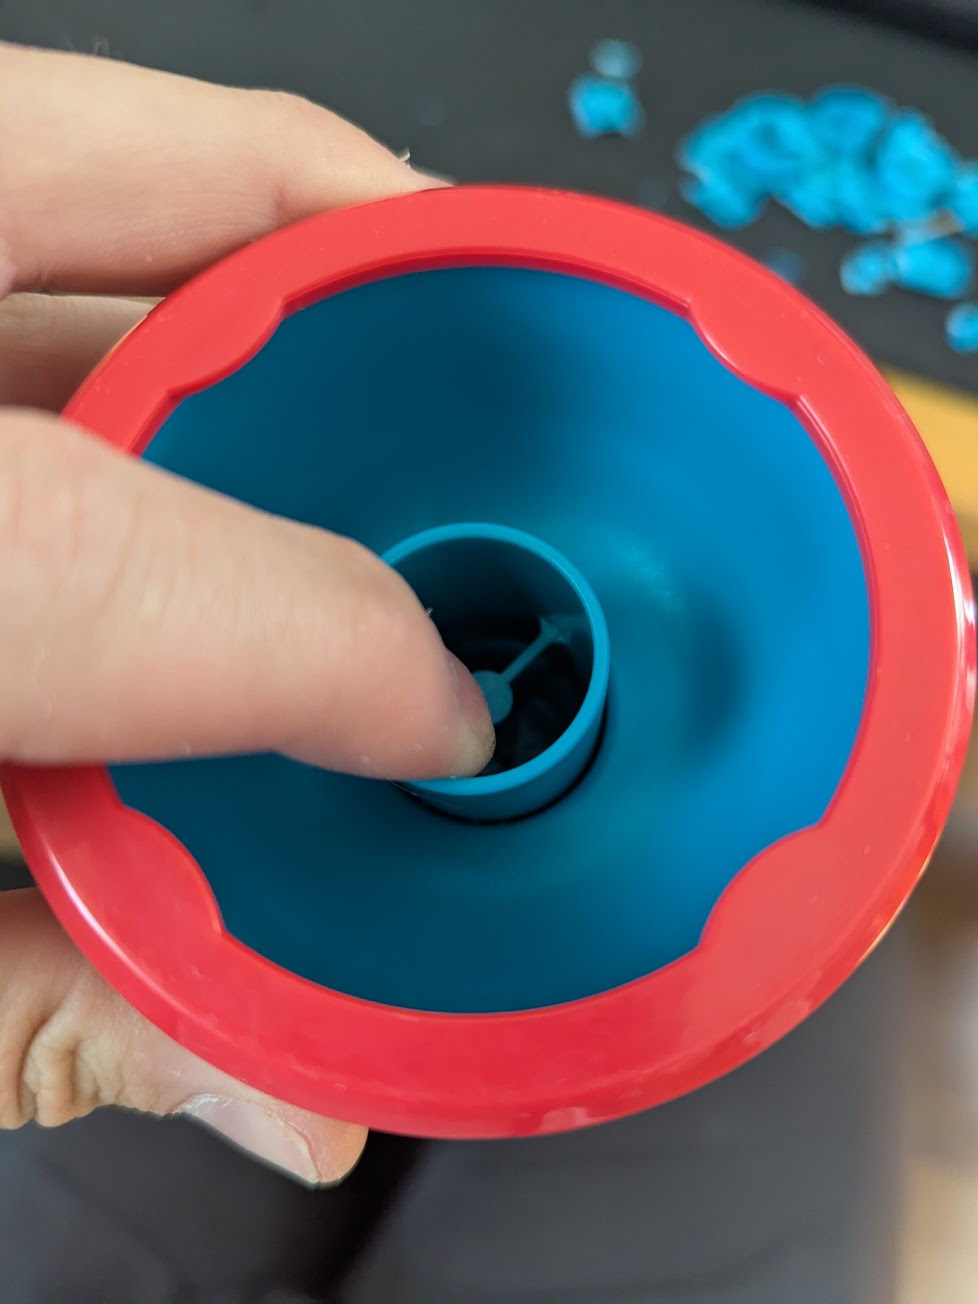
- Make 4 cuts with wire cutters as shown below
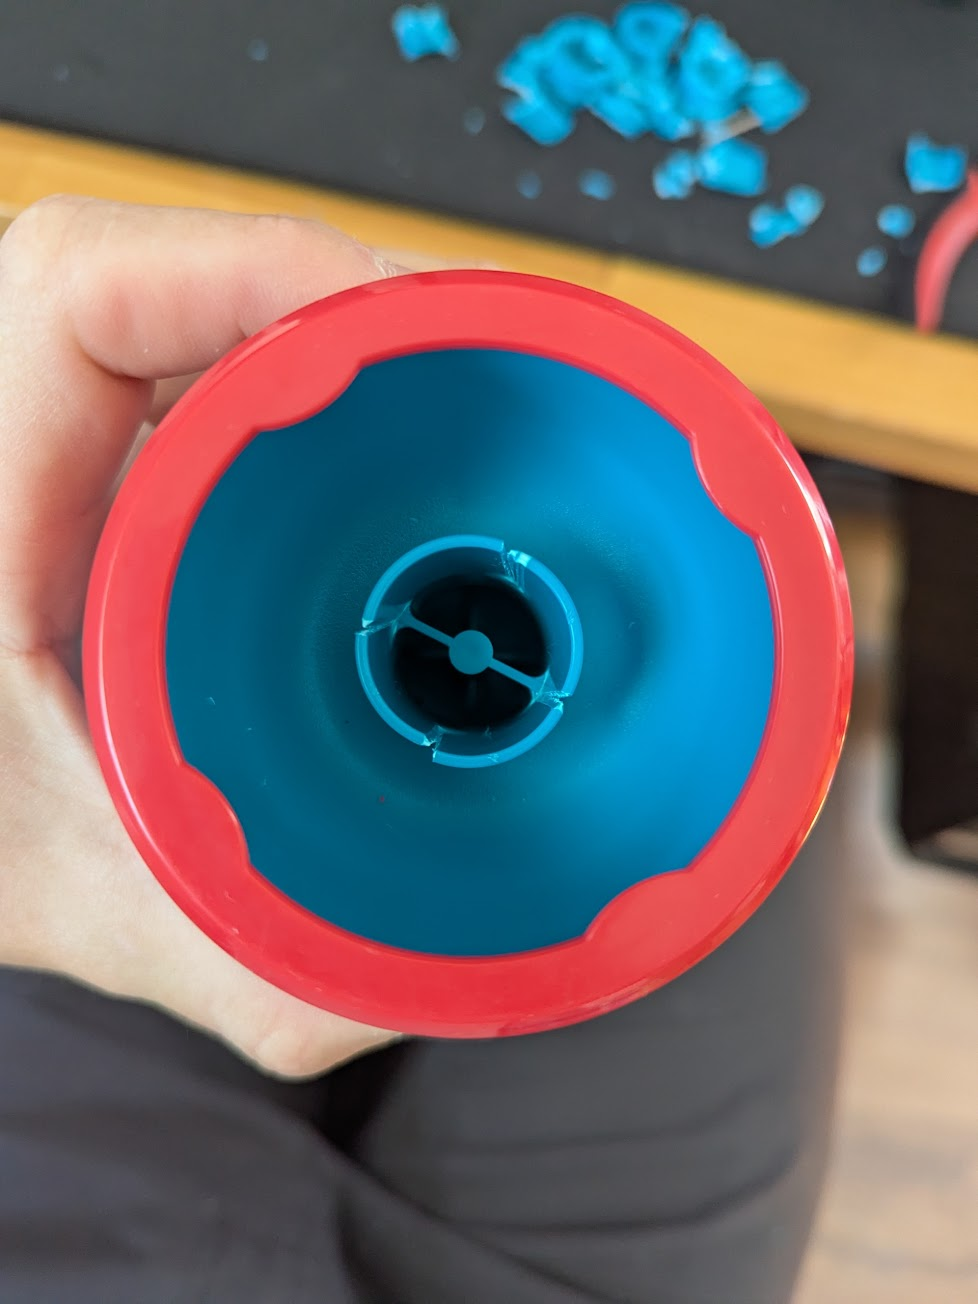
- Bend back and forth with pliers, leaving 1 tab untouched as a handle
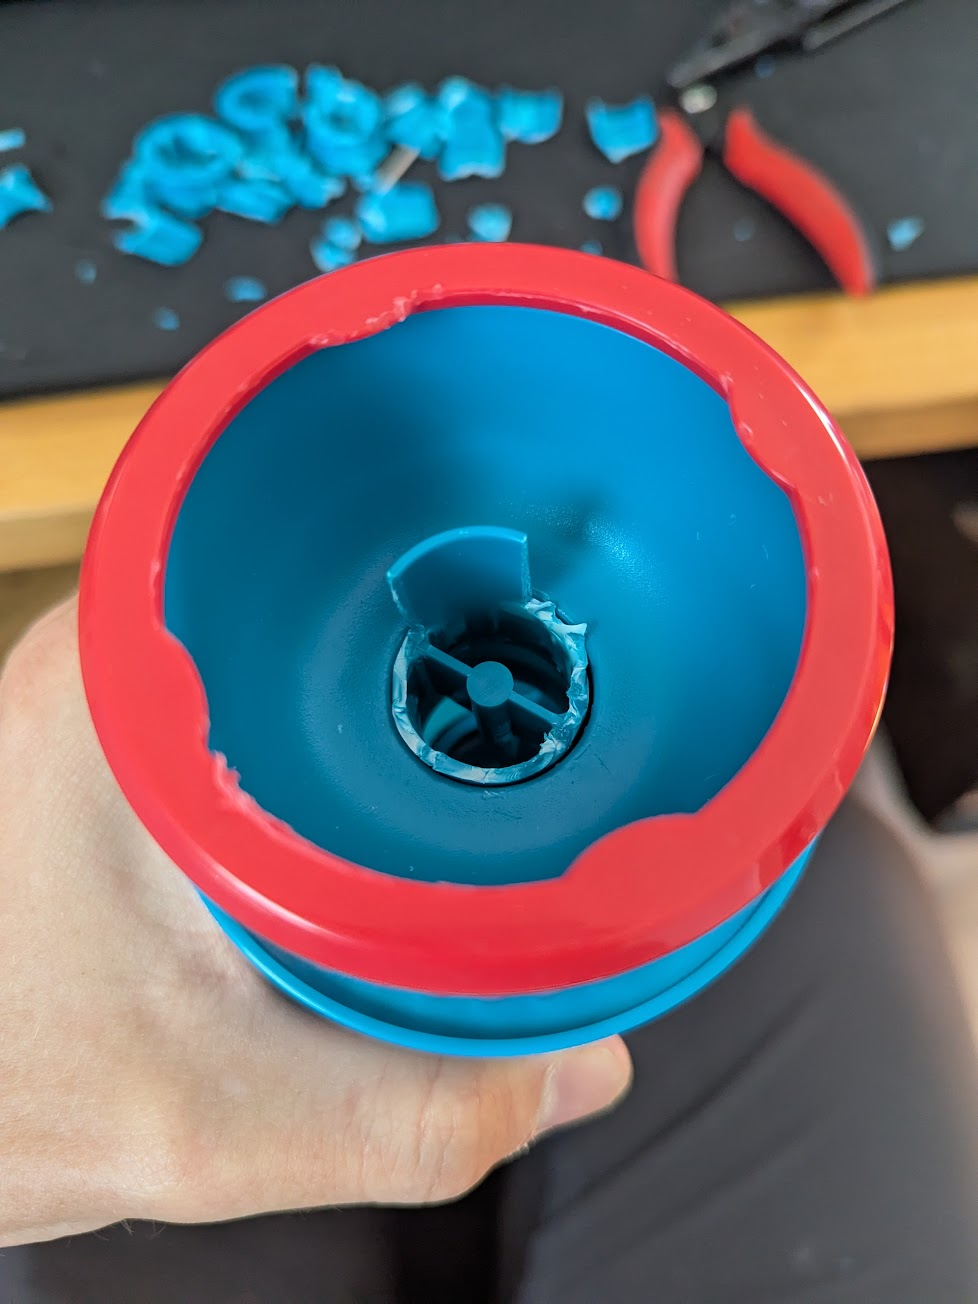
- Grab the side of the center pin and bend back and forth until snapped. Repeat for the other side
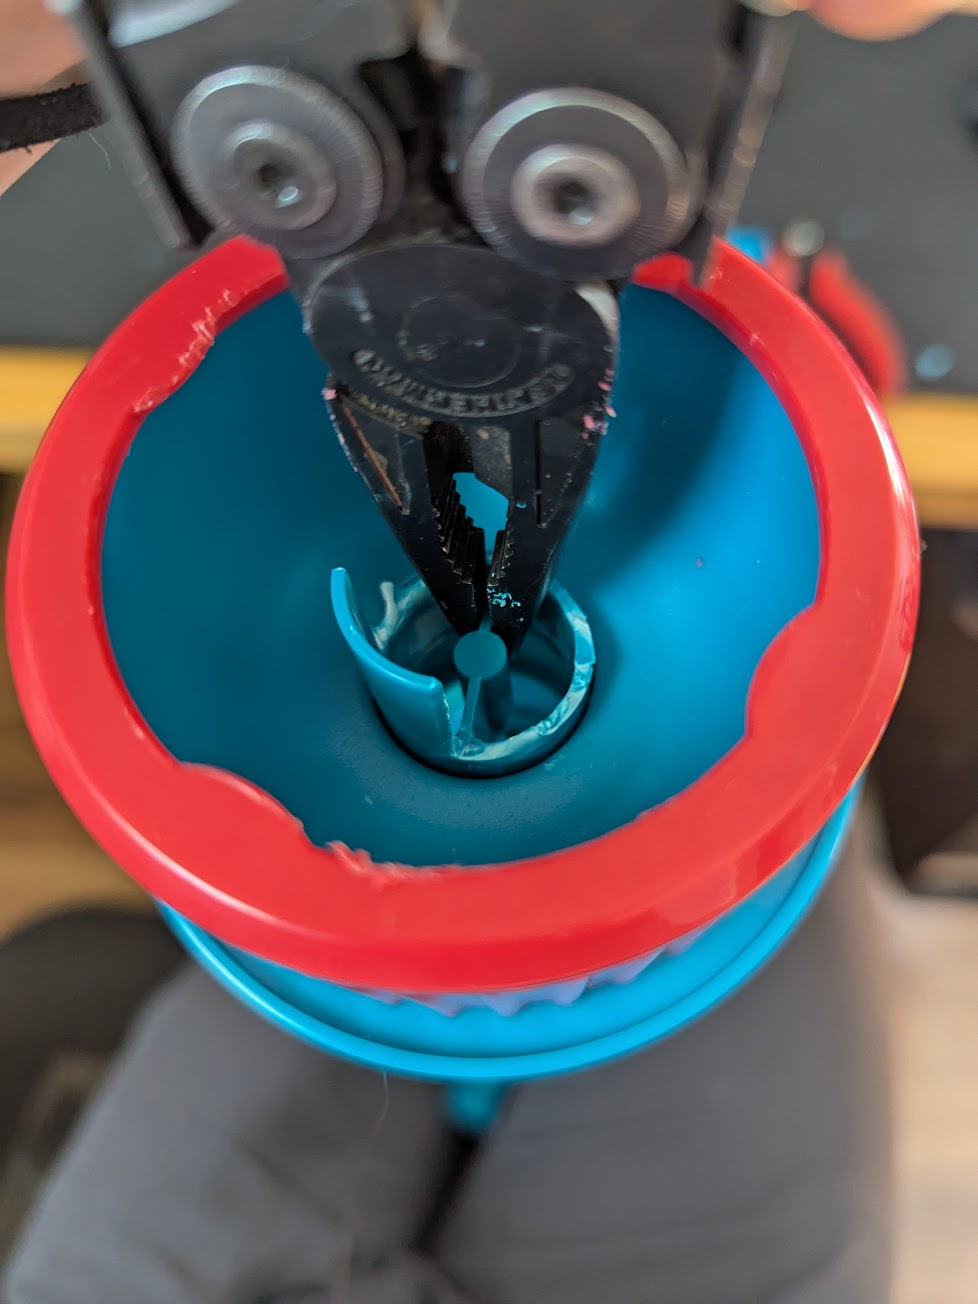
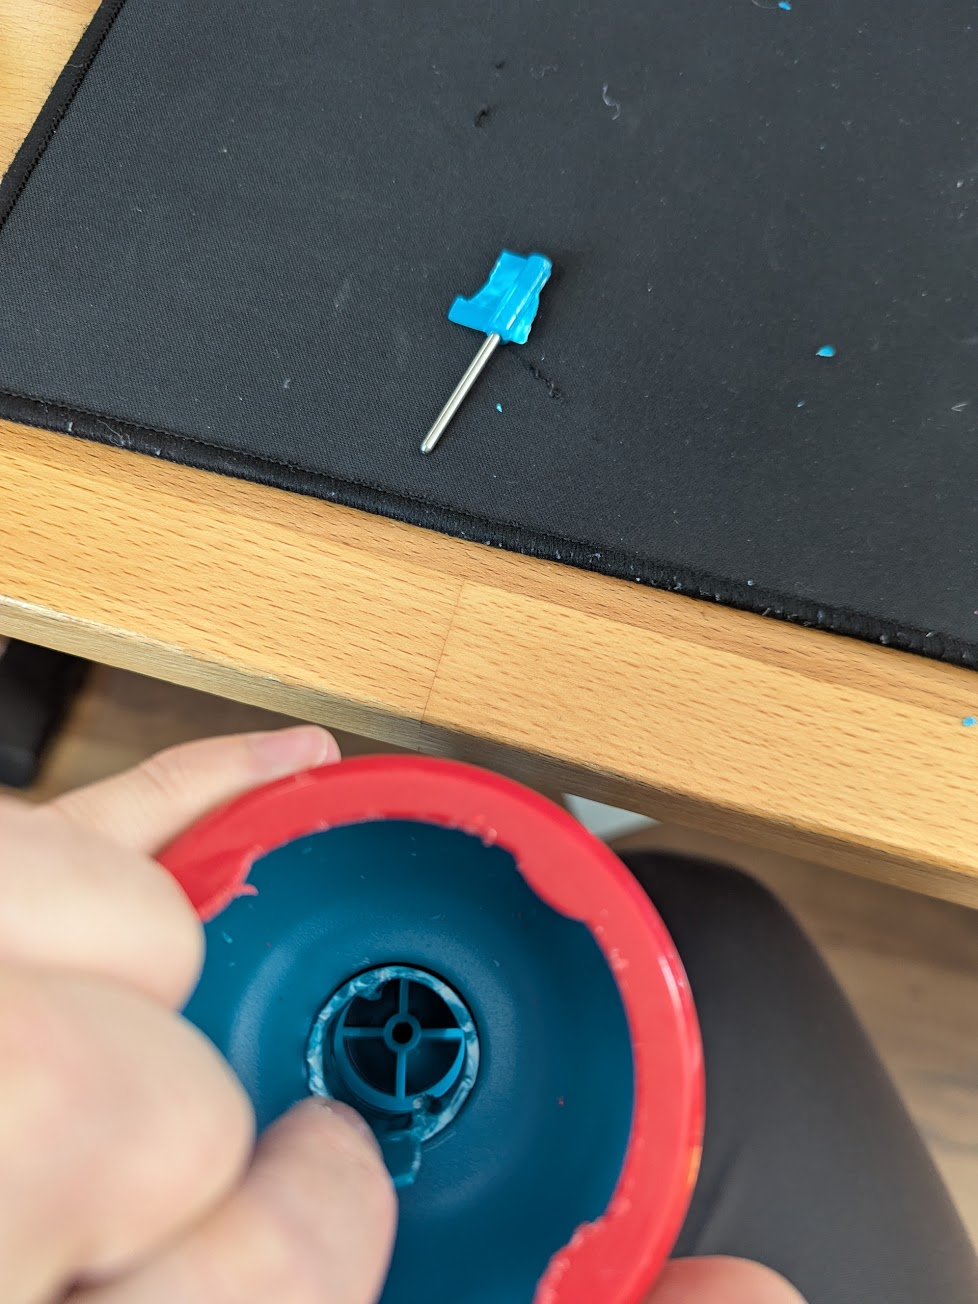
- Pull up the air restrictor and carefully trim as much excess plastic as possible
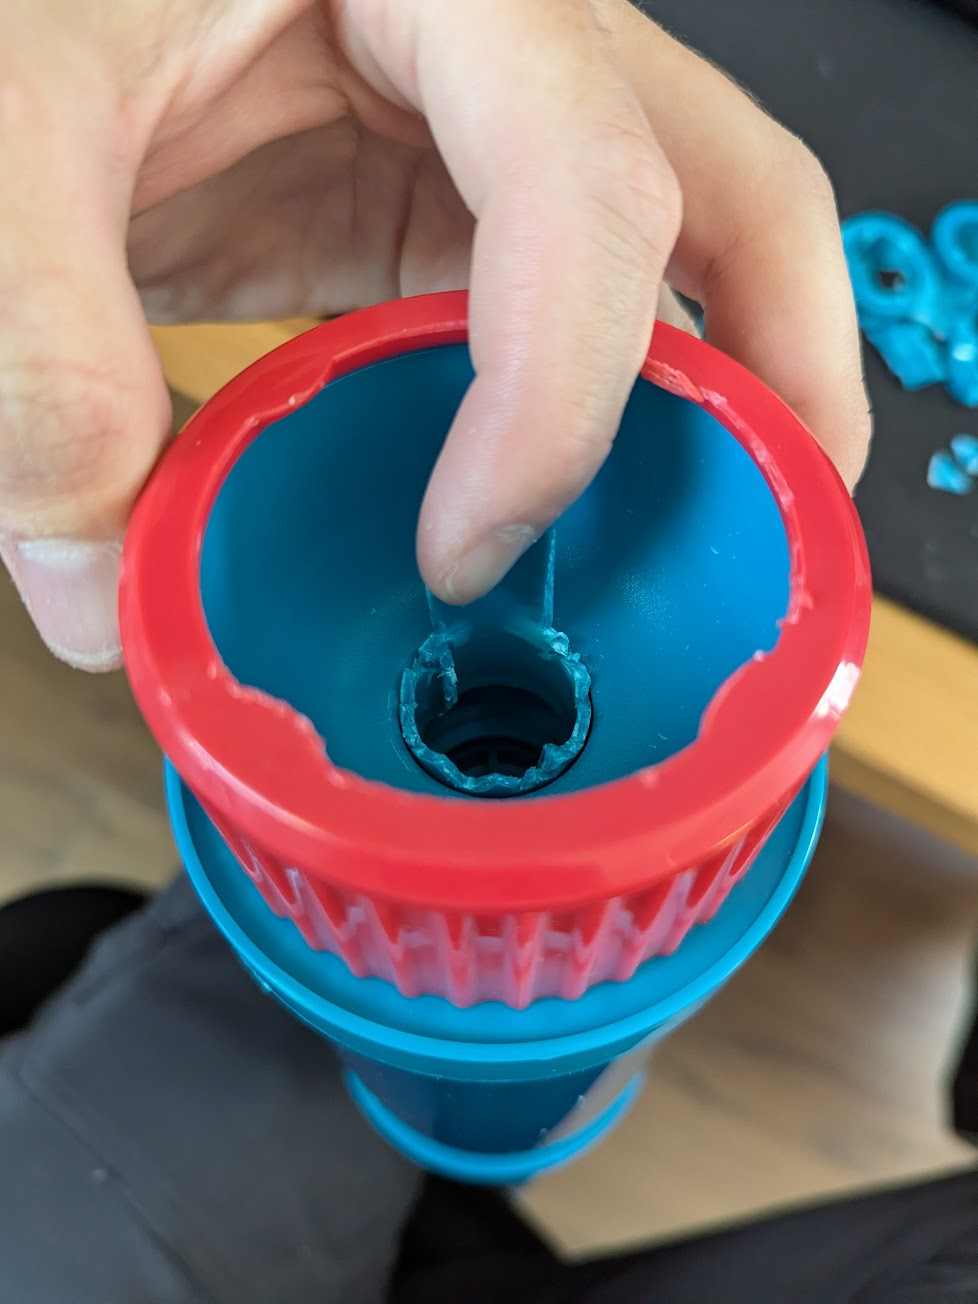
- Snip remaining tab on air restrictor and bend back and forth until removed
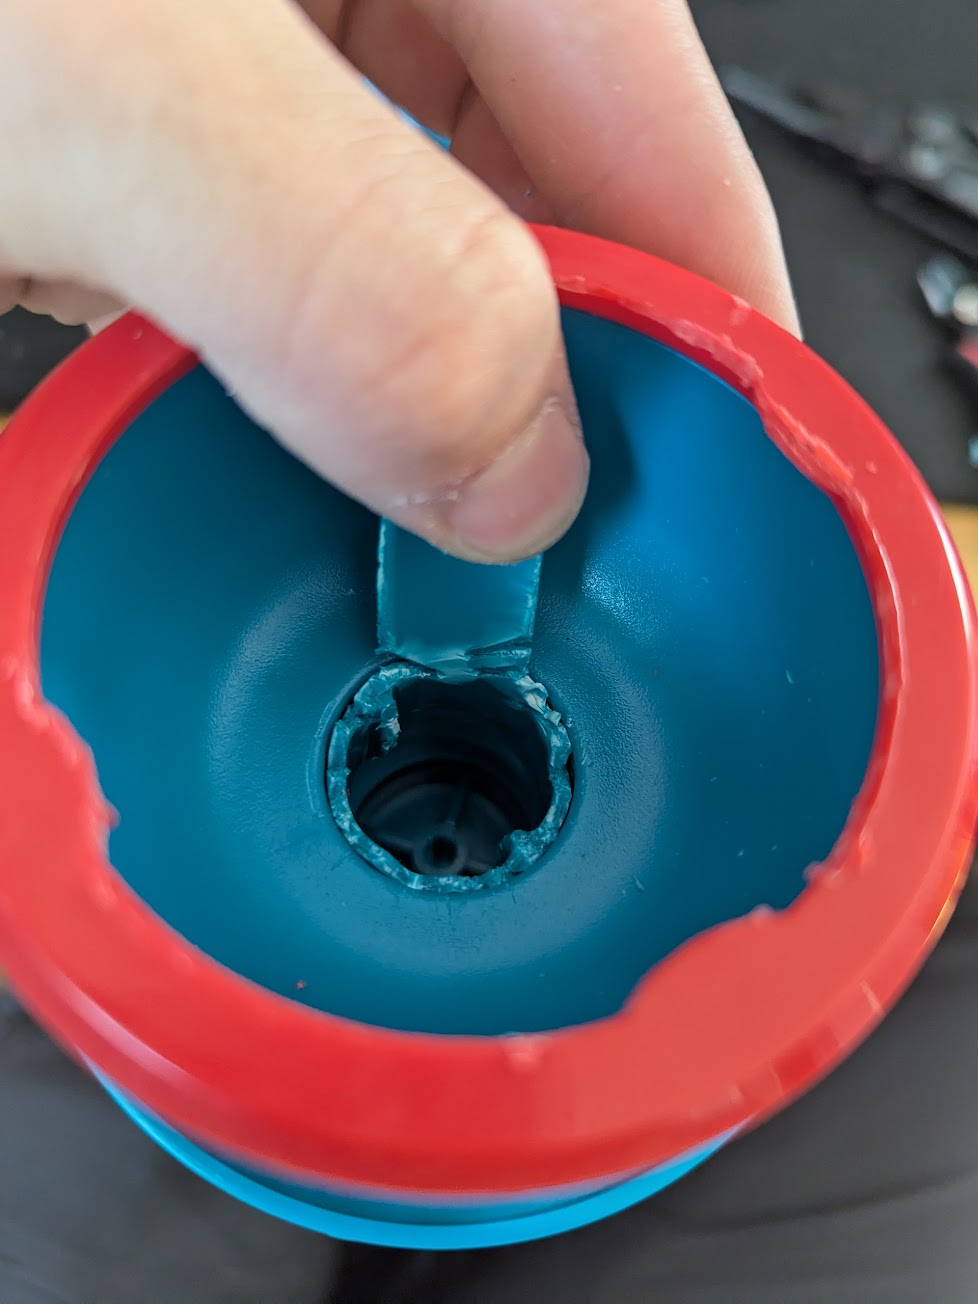
- Push air restrictor into Dodge Blaster
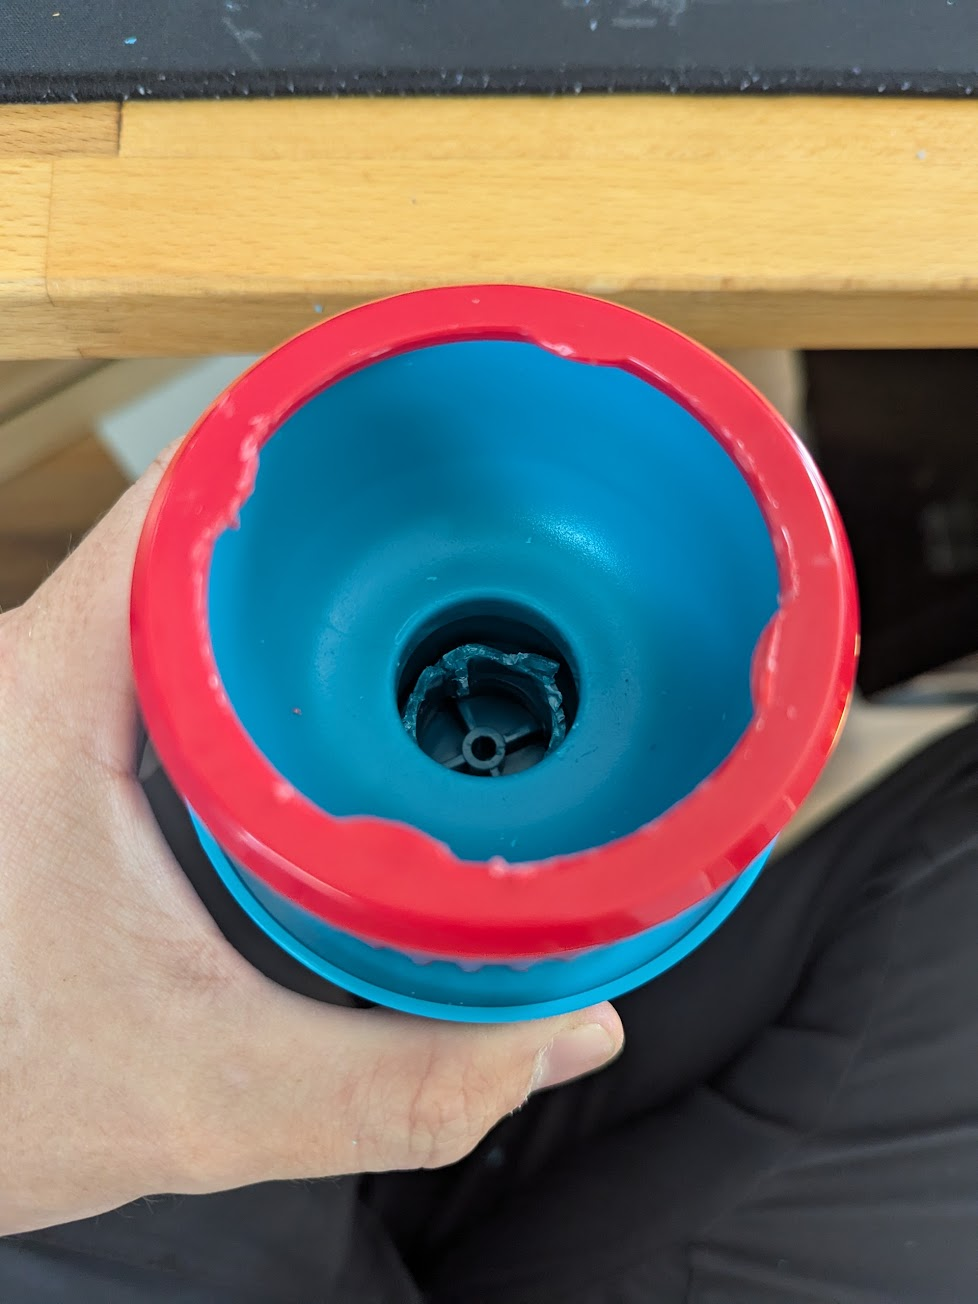
- Grab air restrictor with pliers and bend inwards until restrictor is turned 90 degrees
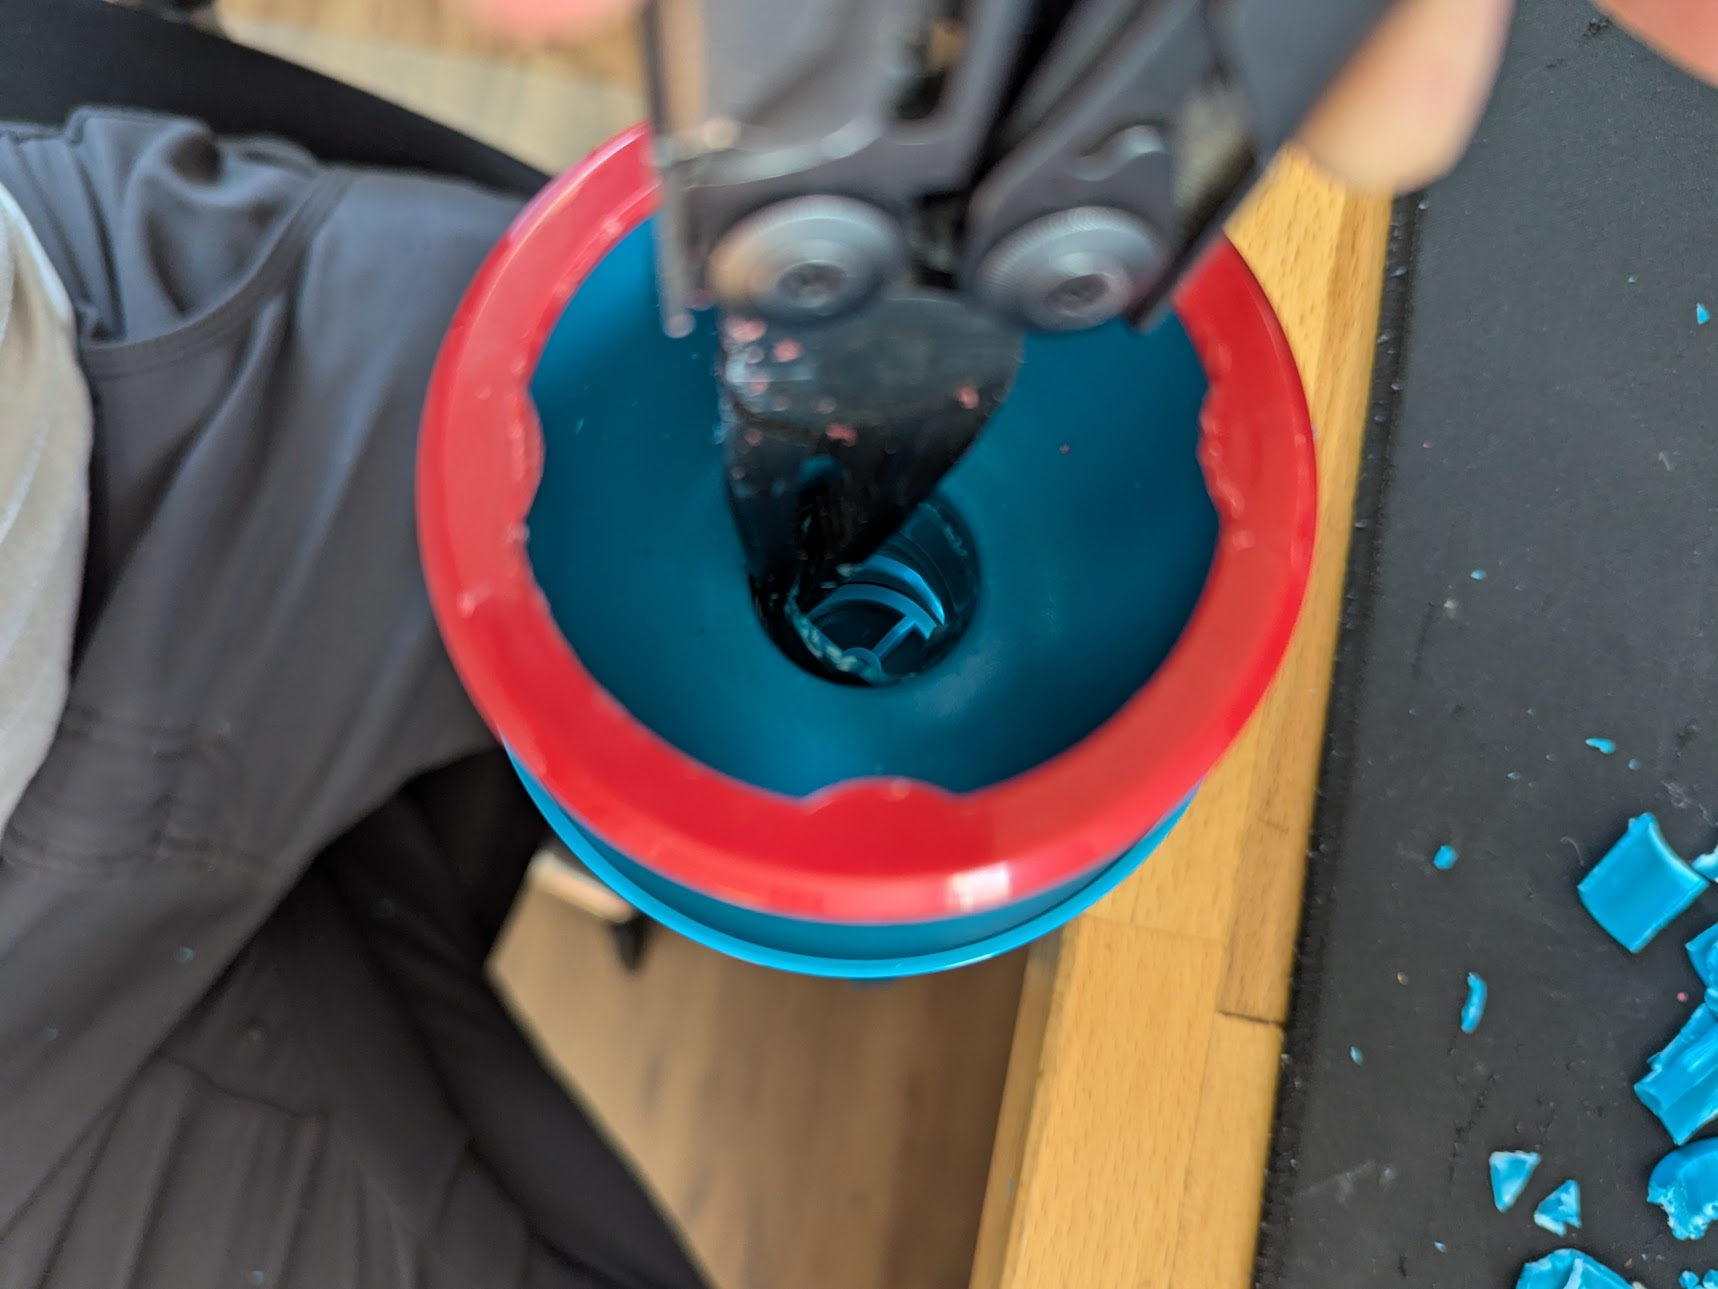
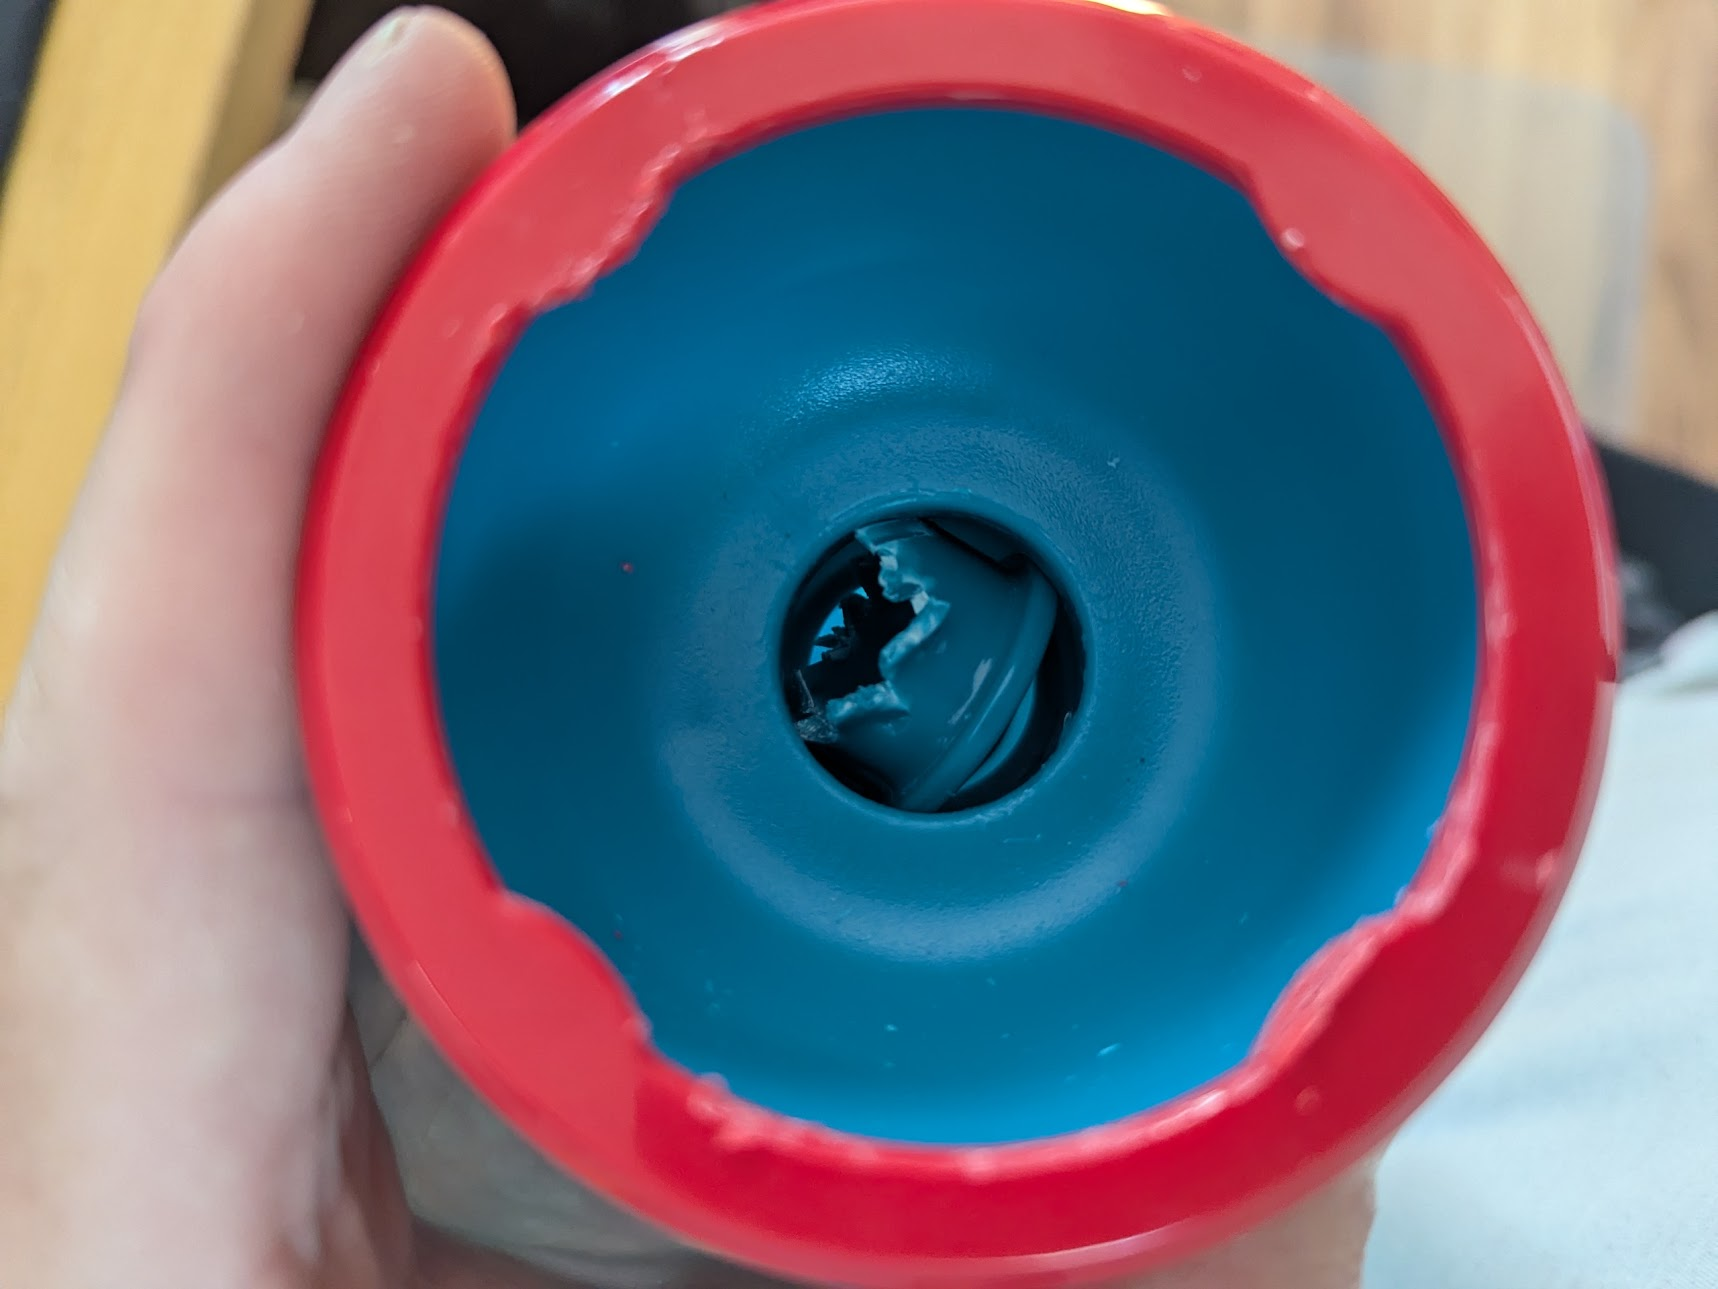
- Snip air restrictor with wire cutters
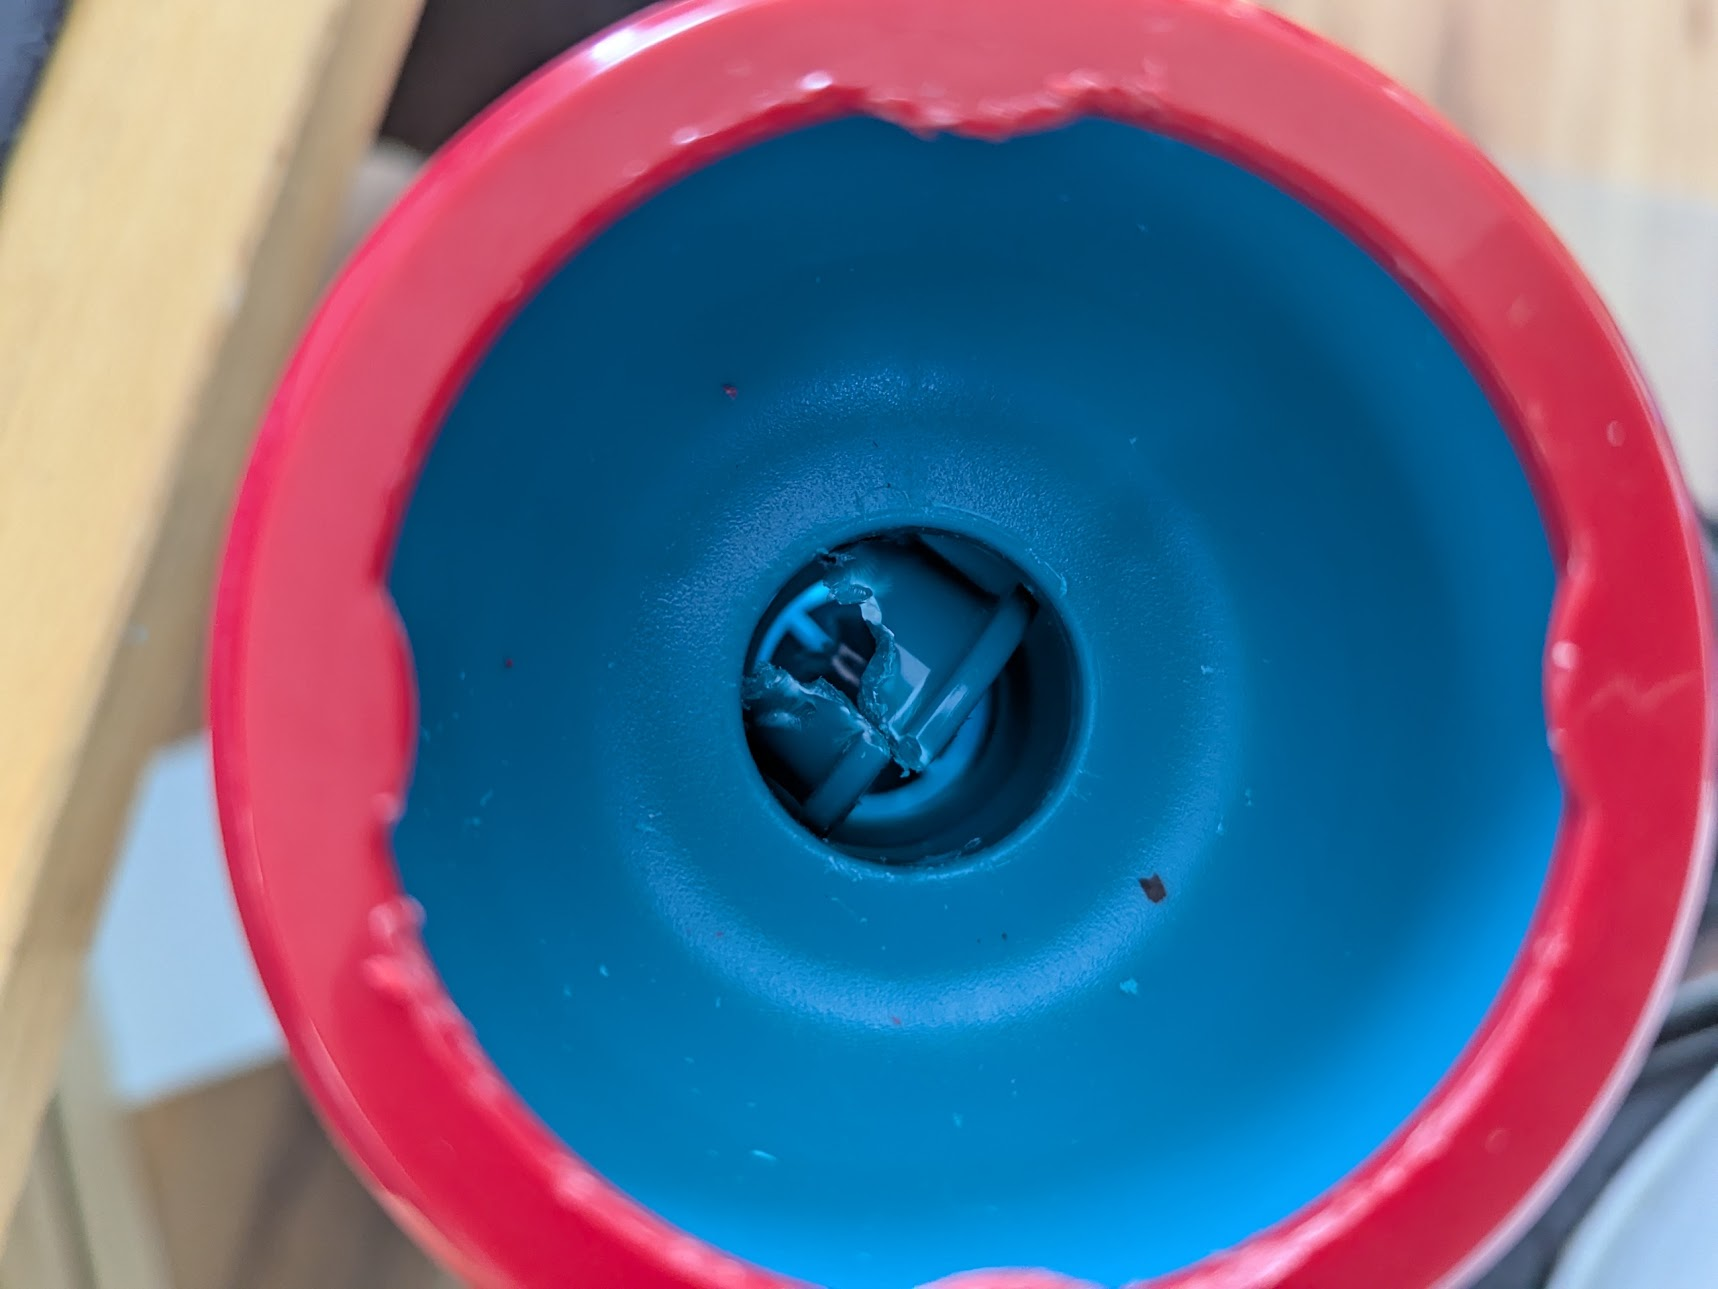
- Grab with pliers and yank out
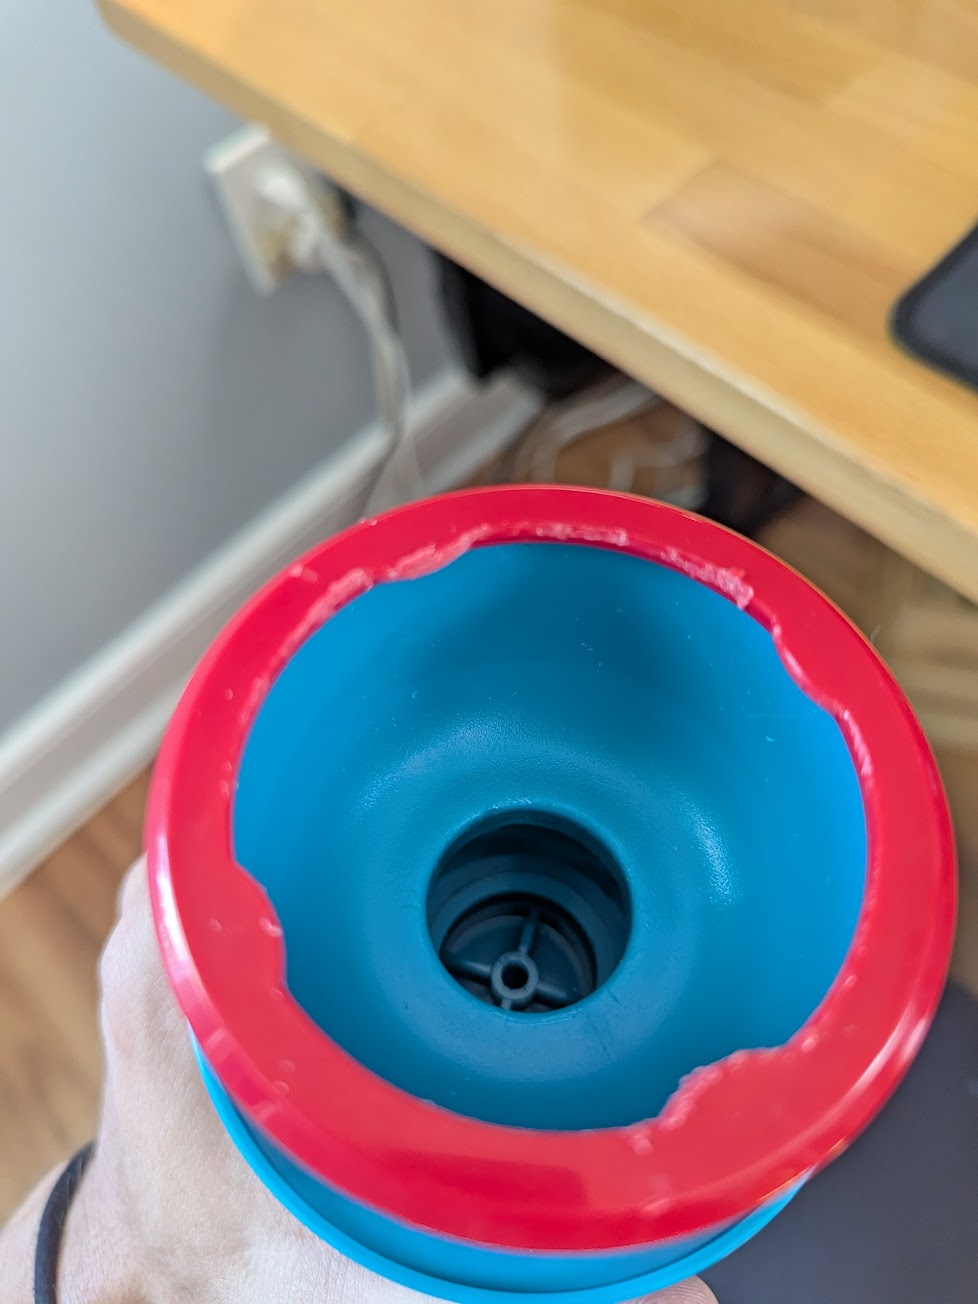
- Add a small amount of epoxy to the pin hole to prevent air from leaving the tube
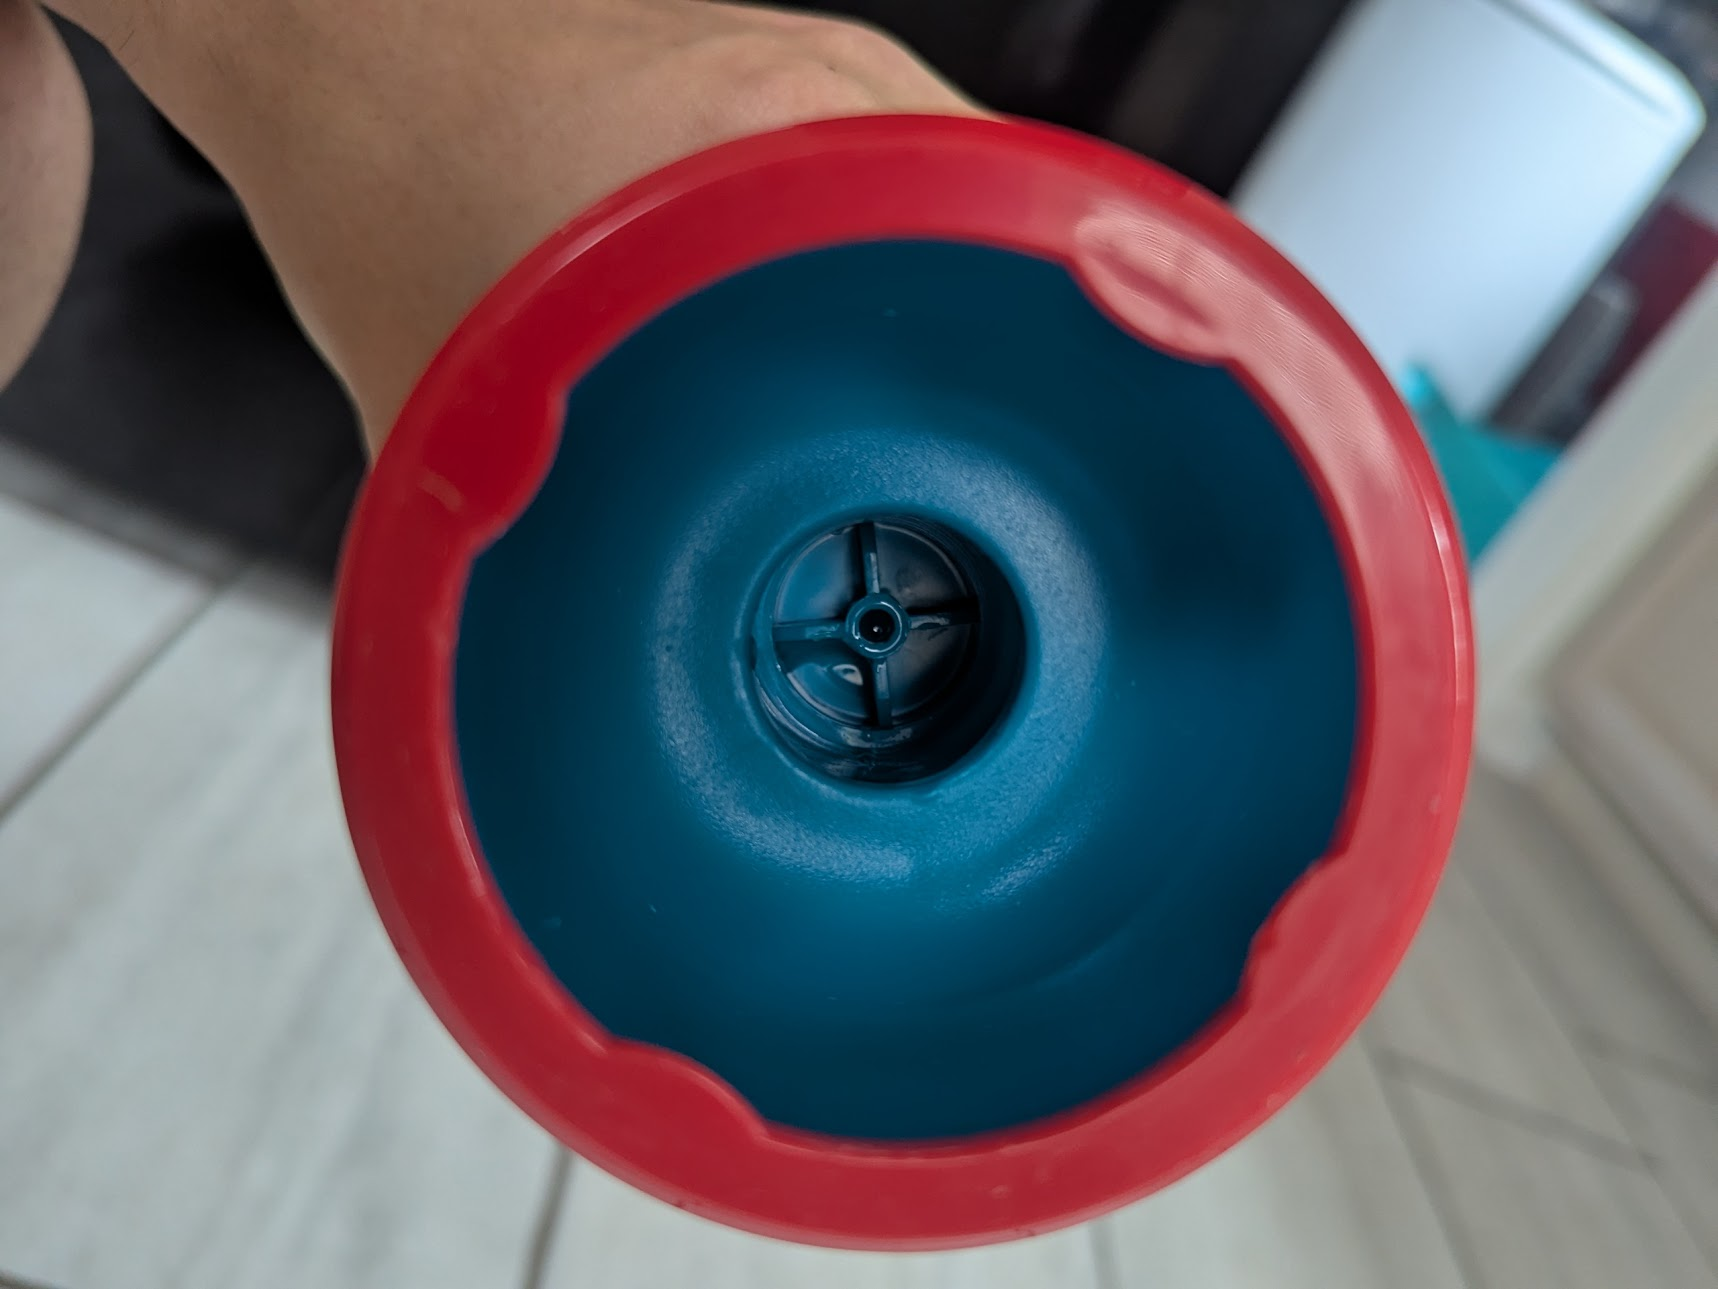
- Go make yourself a cup of tea and celebrate. The hard part is over!
Tips:
- When cutting the air restrictor, do so with the tube upside down so any extra pieces to not fall into the tube
- Do not try to dremel or saw out the restrictor, you will end up with plastic shavings in your tube
- Try not to damage the hole the restrictor sits in. This is a critical interface that seals with the
Frontpart
Thank you
Massive thank you to Wonderboy for teaching me how to mod the DodgeBlaster and Deathtree for creating the Jericho and graciously allowing me to use the shells in my project.
If you like this project, be sure to hit Deathtree up about the Jericho, it's a tire pump fed, shoulder mounted launcher
Interested in selling the Raider?
If you would like to sell the Raider, hardware kits, etc, please reach out to me and we can come to an agreement. If you are building these for your friends at cost, no need to contact me :)
This blaster is not to be sold by Frontline Foam, Derrik Sun, or The Blasterguys