
Prusa XL Rack-Stabilizer Mounts
Obliczymy ostateczną cenę na podstawie wybranego pliku. Sprawdzisz ją i zaakceptujesz przed płatnością.
Zapisane na tym urządzeniu.
No more shaky XL! Snap these mounts in, add a rack bar, and your printer chills harder than you on a Sunday morning.
- Ocena
- 0 / 5
- Polubienia
- 6
- Pobrania
- 20
- Wydruki
- 0
- Wyświetlenia
- 288
- Oceny
- 0
Aktualizacja u źródła:
Informacje o modelu
- Źródło
- Printables
- Kategoria
- Prusa Parts & Upgrades
- Licencja
- Creative Commons — Attribution — Noncommercial — Share Alike
Reduce vibrations, add rigidity, and create new mounting options for your Prusa XL!
These custom-designed Rack-Stabilizer Mounts press-fit into the left and right support beams of the XL and allow you to mount a standard 19-inch rack blank panel across the printer.
The stabilizer dramatically reduces side-to-side wobble and vibration of the XL’s arms, improving print stability and giving you a solid place to mount accessories (camera, LED light bar, etc.).
U can combine it with my camera mount: XL CamMount Bracket
Print Instructions
Material: PETG (recommended for durability & flexibility)
Layer height: 0.20 mm (important for accurate press-fit tolerances)
Perimeters: 3
Infill: 20% Gyroid
Supports: Not needed
Color: Optional – I printed mine in orange for the classic Prusa look.
⚠ Note: Each mount includes a tiny through-hole. Don’t delete or block it! It prevents vacuum/pressure locking inside the press-fit and ensures you can still remove the part if needed.
Assembly Guide
Print two mounts (left & right).
Heat-insert M5x9.5 brass threaded inserts (CNC Kitchen / also available from Prusa).
https://www.prusa3d.com/product/heat-set-inserts-m5-standard-50-pcs/

Use a standard 19-inch 1U rack blank panel as the stabilizer bar.
I used this one, if possible use the same, it fits perfectly in the small Gaps etc. Should be available around the World.
Insert the mounts into the XL’s side brackets.


Important: push them in from the front, not from the side.
Lightly tap with a rubber mallet to seat them flush.
Move the toolhead axis (X/Y carriage) all the way forward before installing the bar.
This ensures you don’t compress or stretch the frame when tightening.
Align the rack panel, insert M5x8mm screws into the brass inserts, and tighten.
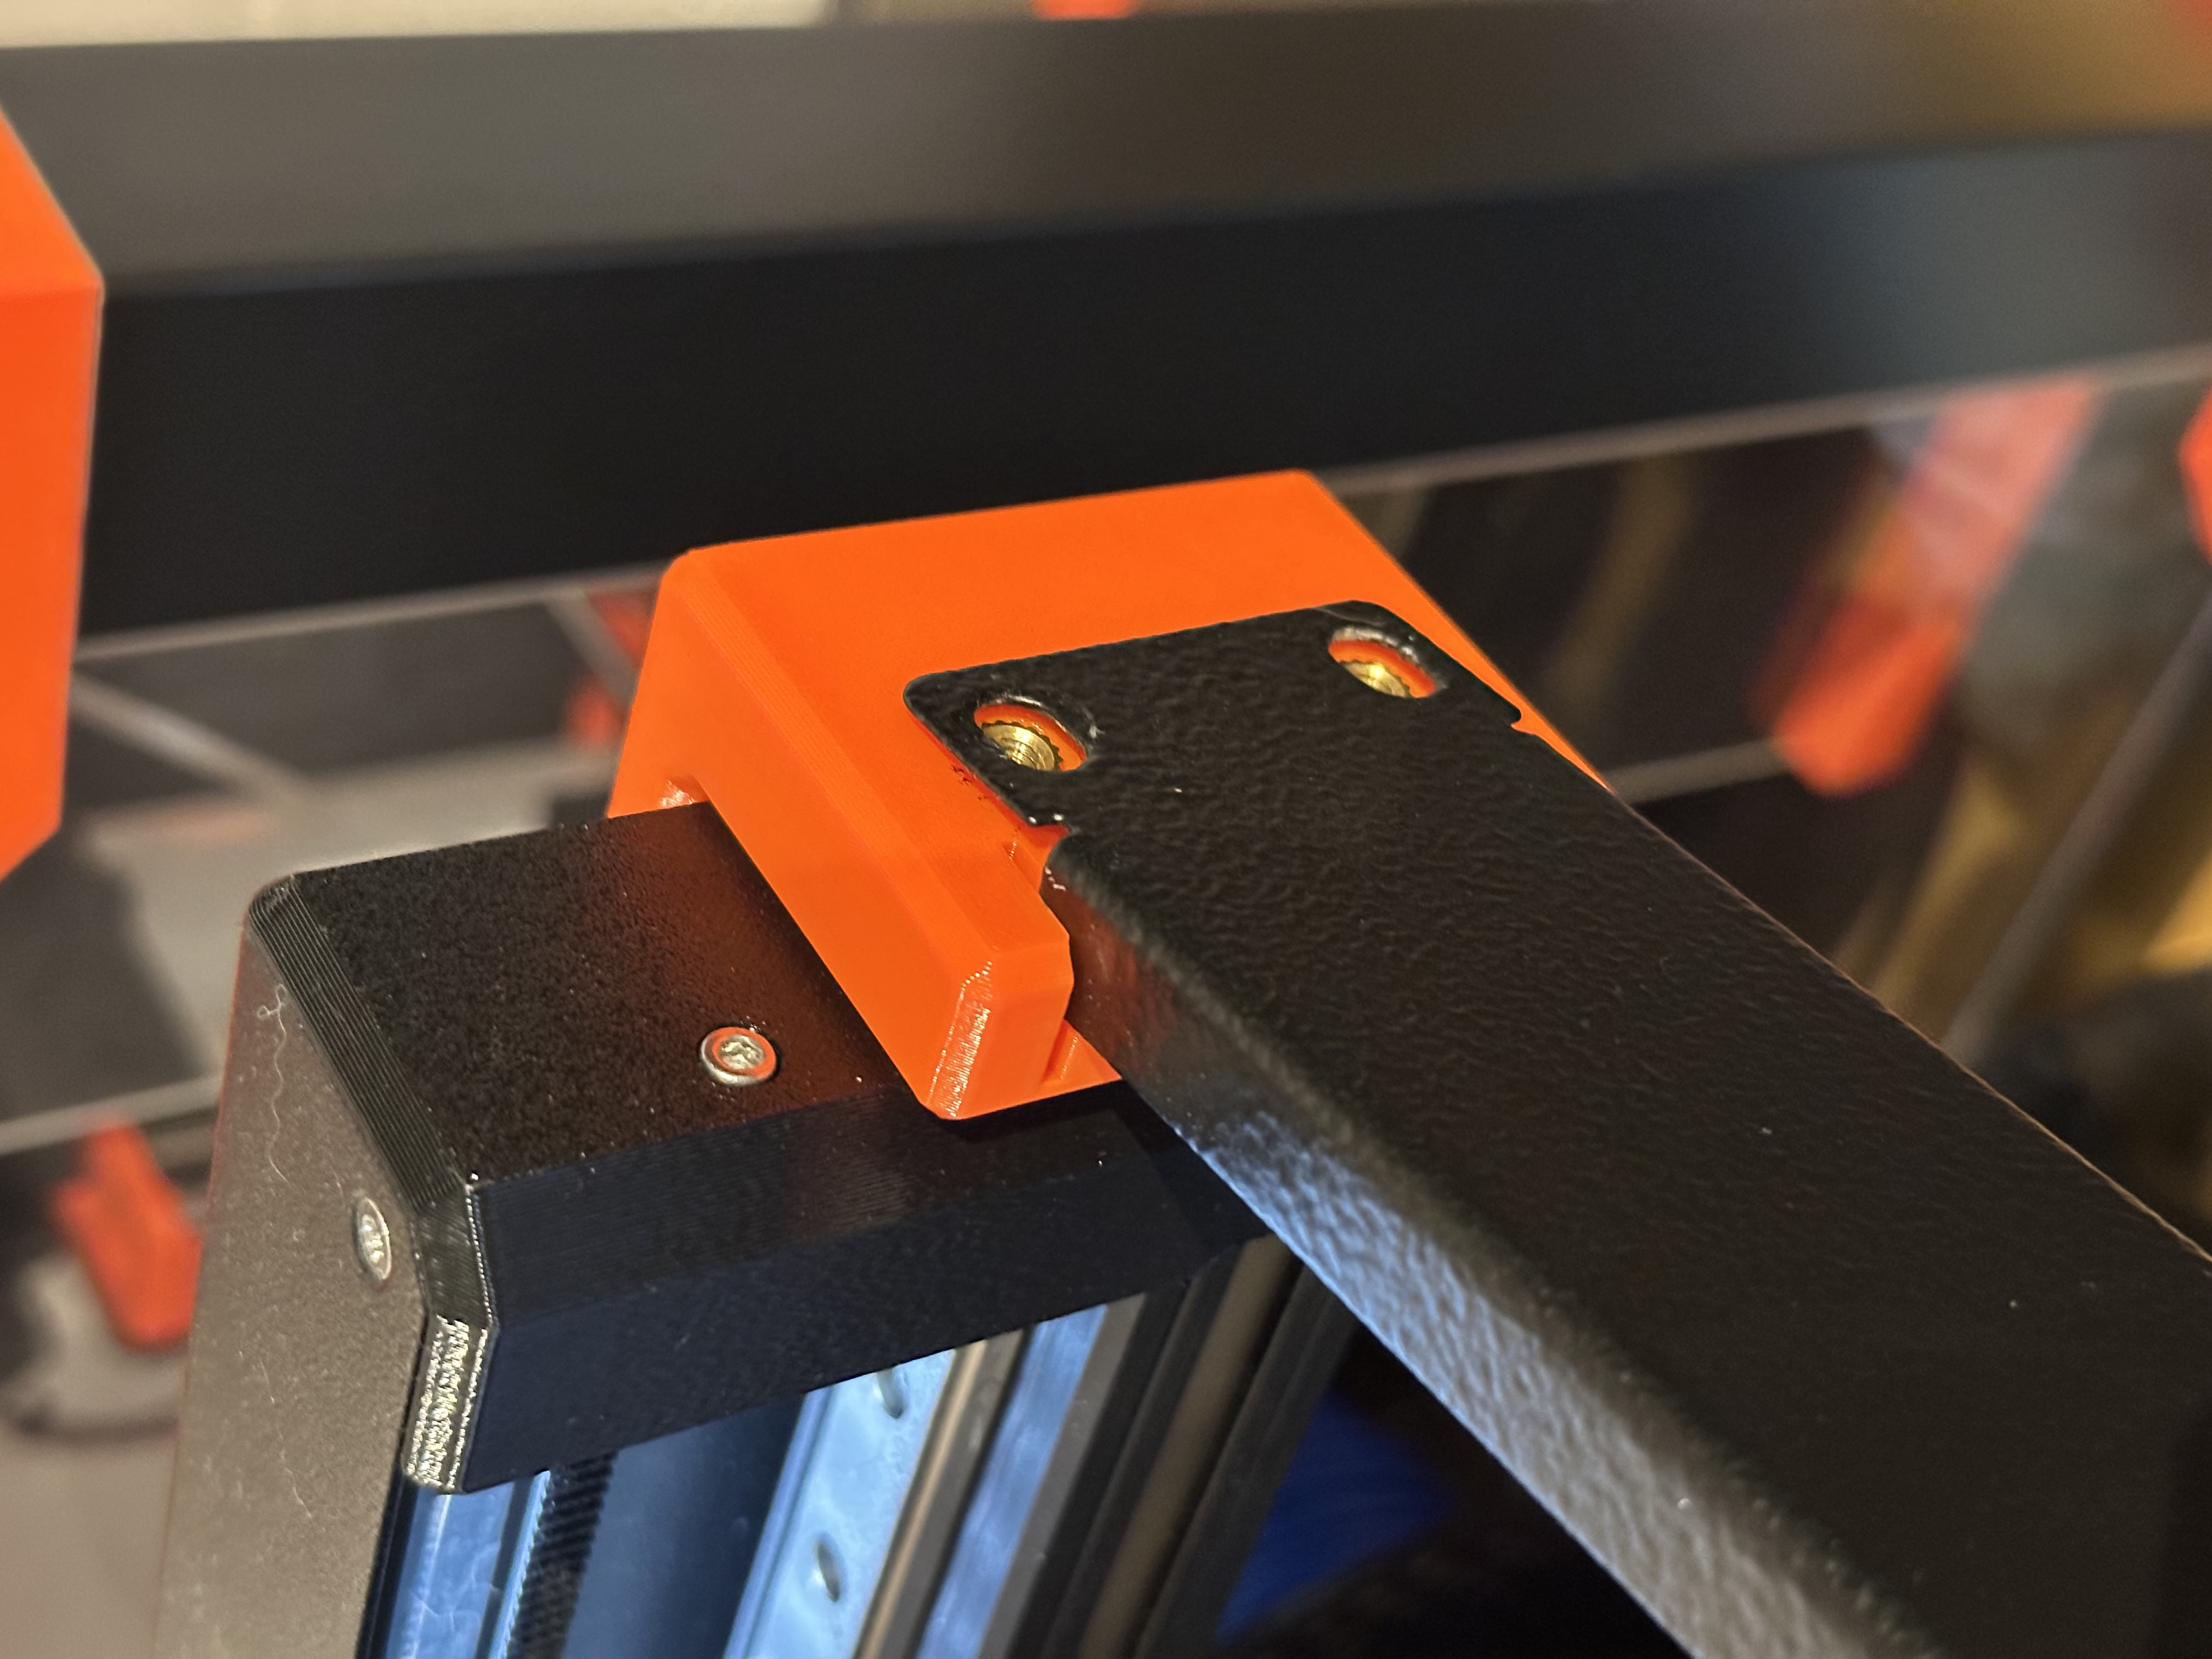
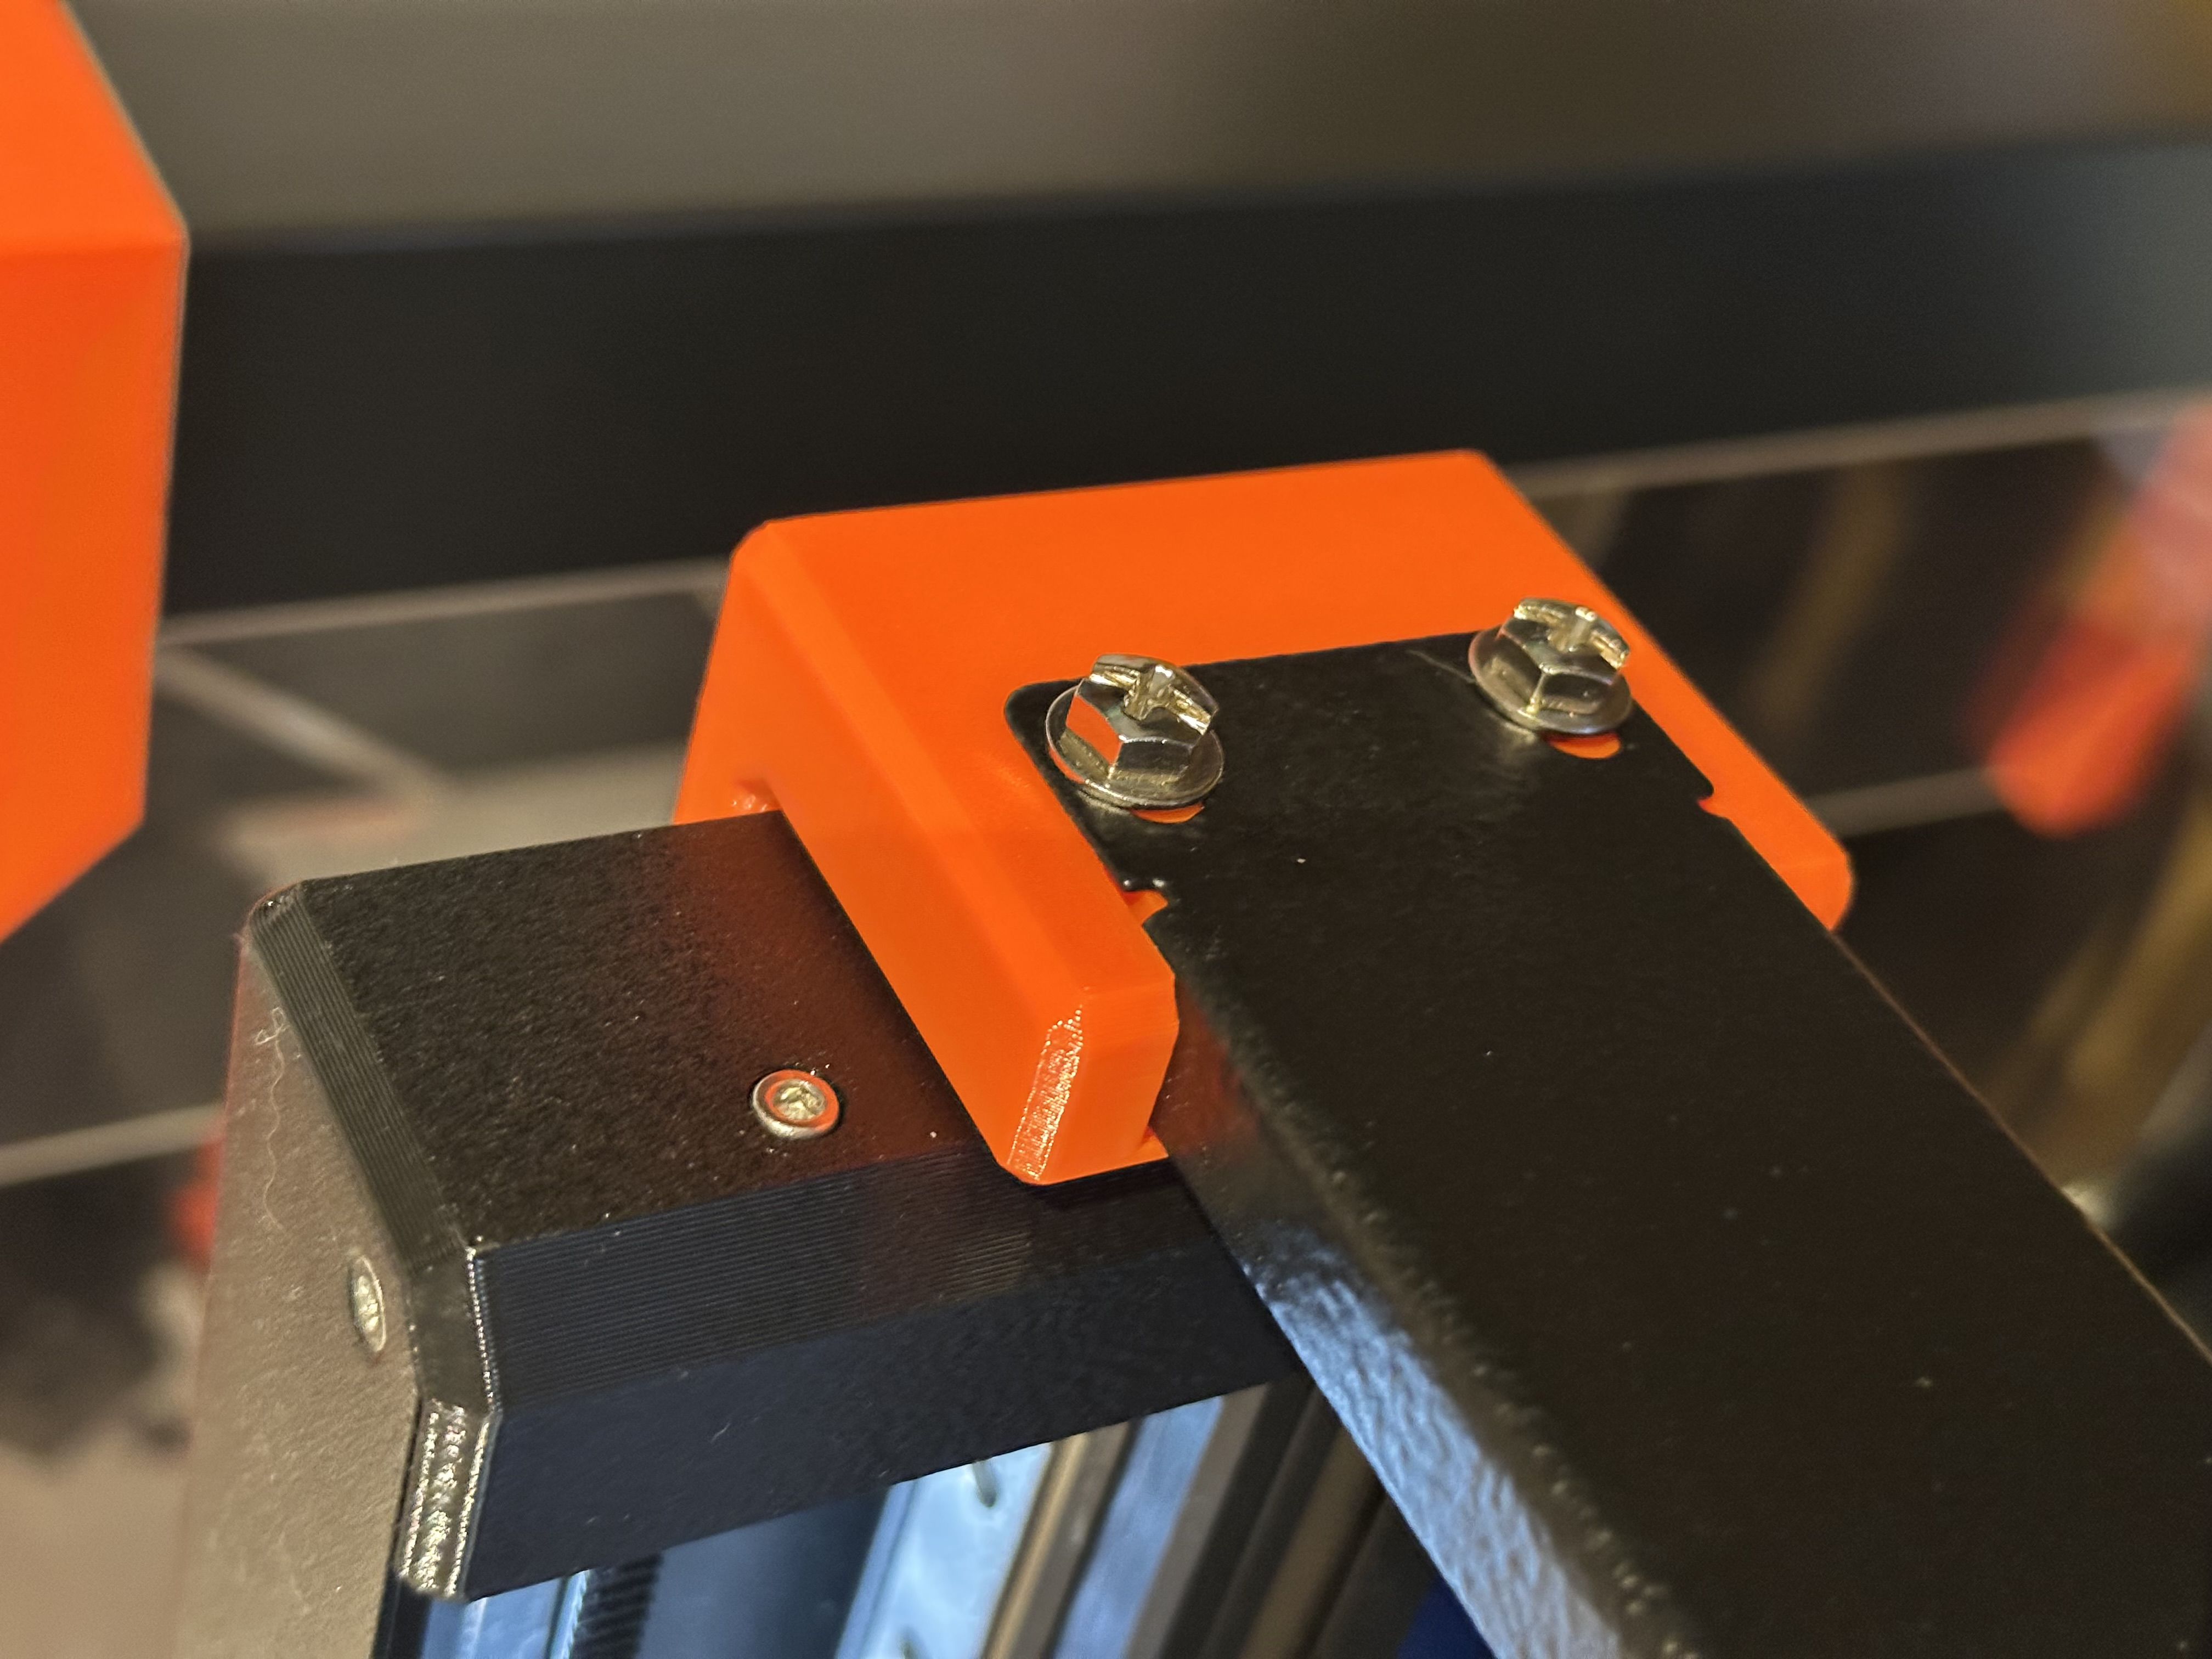
Done – your XL is now much more rigid and accessory-ready.
Fun Note
Once installed, your Prusa XL stops wobbling like it’s had too much coffee – and finally prints like it just did yoga.