
Lego UCS Venator Stand Extensions (Parametric)
Obliczymy ostateczną cenę na podstawie wybranego pliku. Sprawdzisz ją i zaakceptujesz przed płatnością.
Zapisane na tym urządzeniu.

Disappointed with how low the Lego UCS Venator sits to the ground? Elevate it! No modifications required!
- Ocena
- 0 / 5
- Polubienia
- 5
- Pobrania
- 23
- Wydruki
- 0
- Wyświetlenia
- 372
- Oceny
- 0
Aktualizacja u źródła:
Informacje o modelu
- Źródło
- Printables
- Kategoria
- Vehicles & Machines
- Licencja
- GNU General Public License v3.0
General Design
I wanted to place my Venator on top of my bookshelf, but the stand didn't raise it up enough to clear the side wall. I wanted to keep the design relatively simple while also maintaining stability of the Lego. So here we are, a simple stand for the front and back that elevates it 58mm (2.28") and widens the base. That's enough for my needs but it may not be enough for yours. Included are the STL files for the front and rear stand extensions, the STEP file, and a link below to the onshape model.
I did get a little lazy and it isn't a perfect fit. For example the smooth tiles on the front are slightly thinner than the plates on the back. I used the measurement on the rear plates for both sides. I also did not include a way to secure the Venator to this model. You could sink the feet in a couple mm further and add some ziptie loops, but I'll leave that up to someone else.
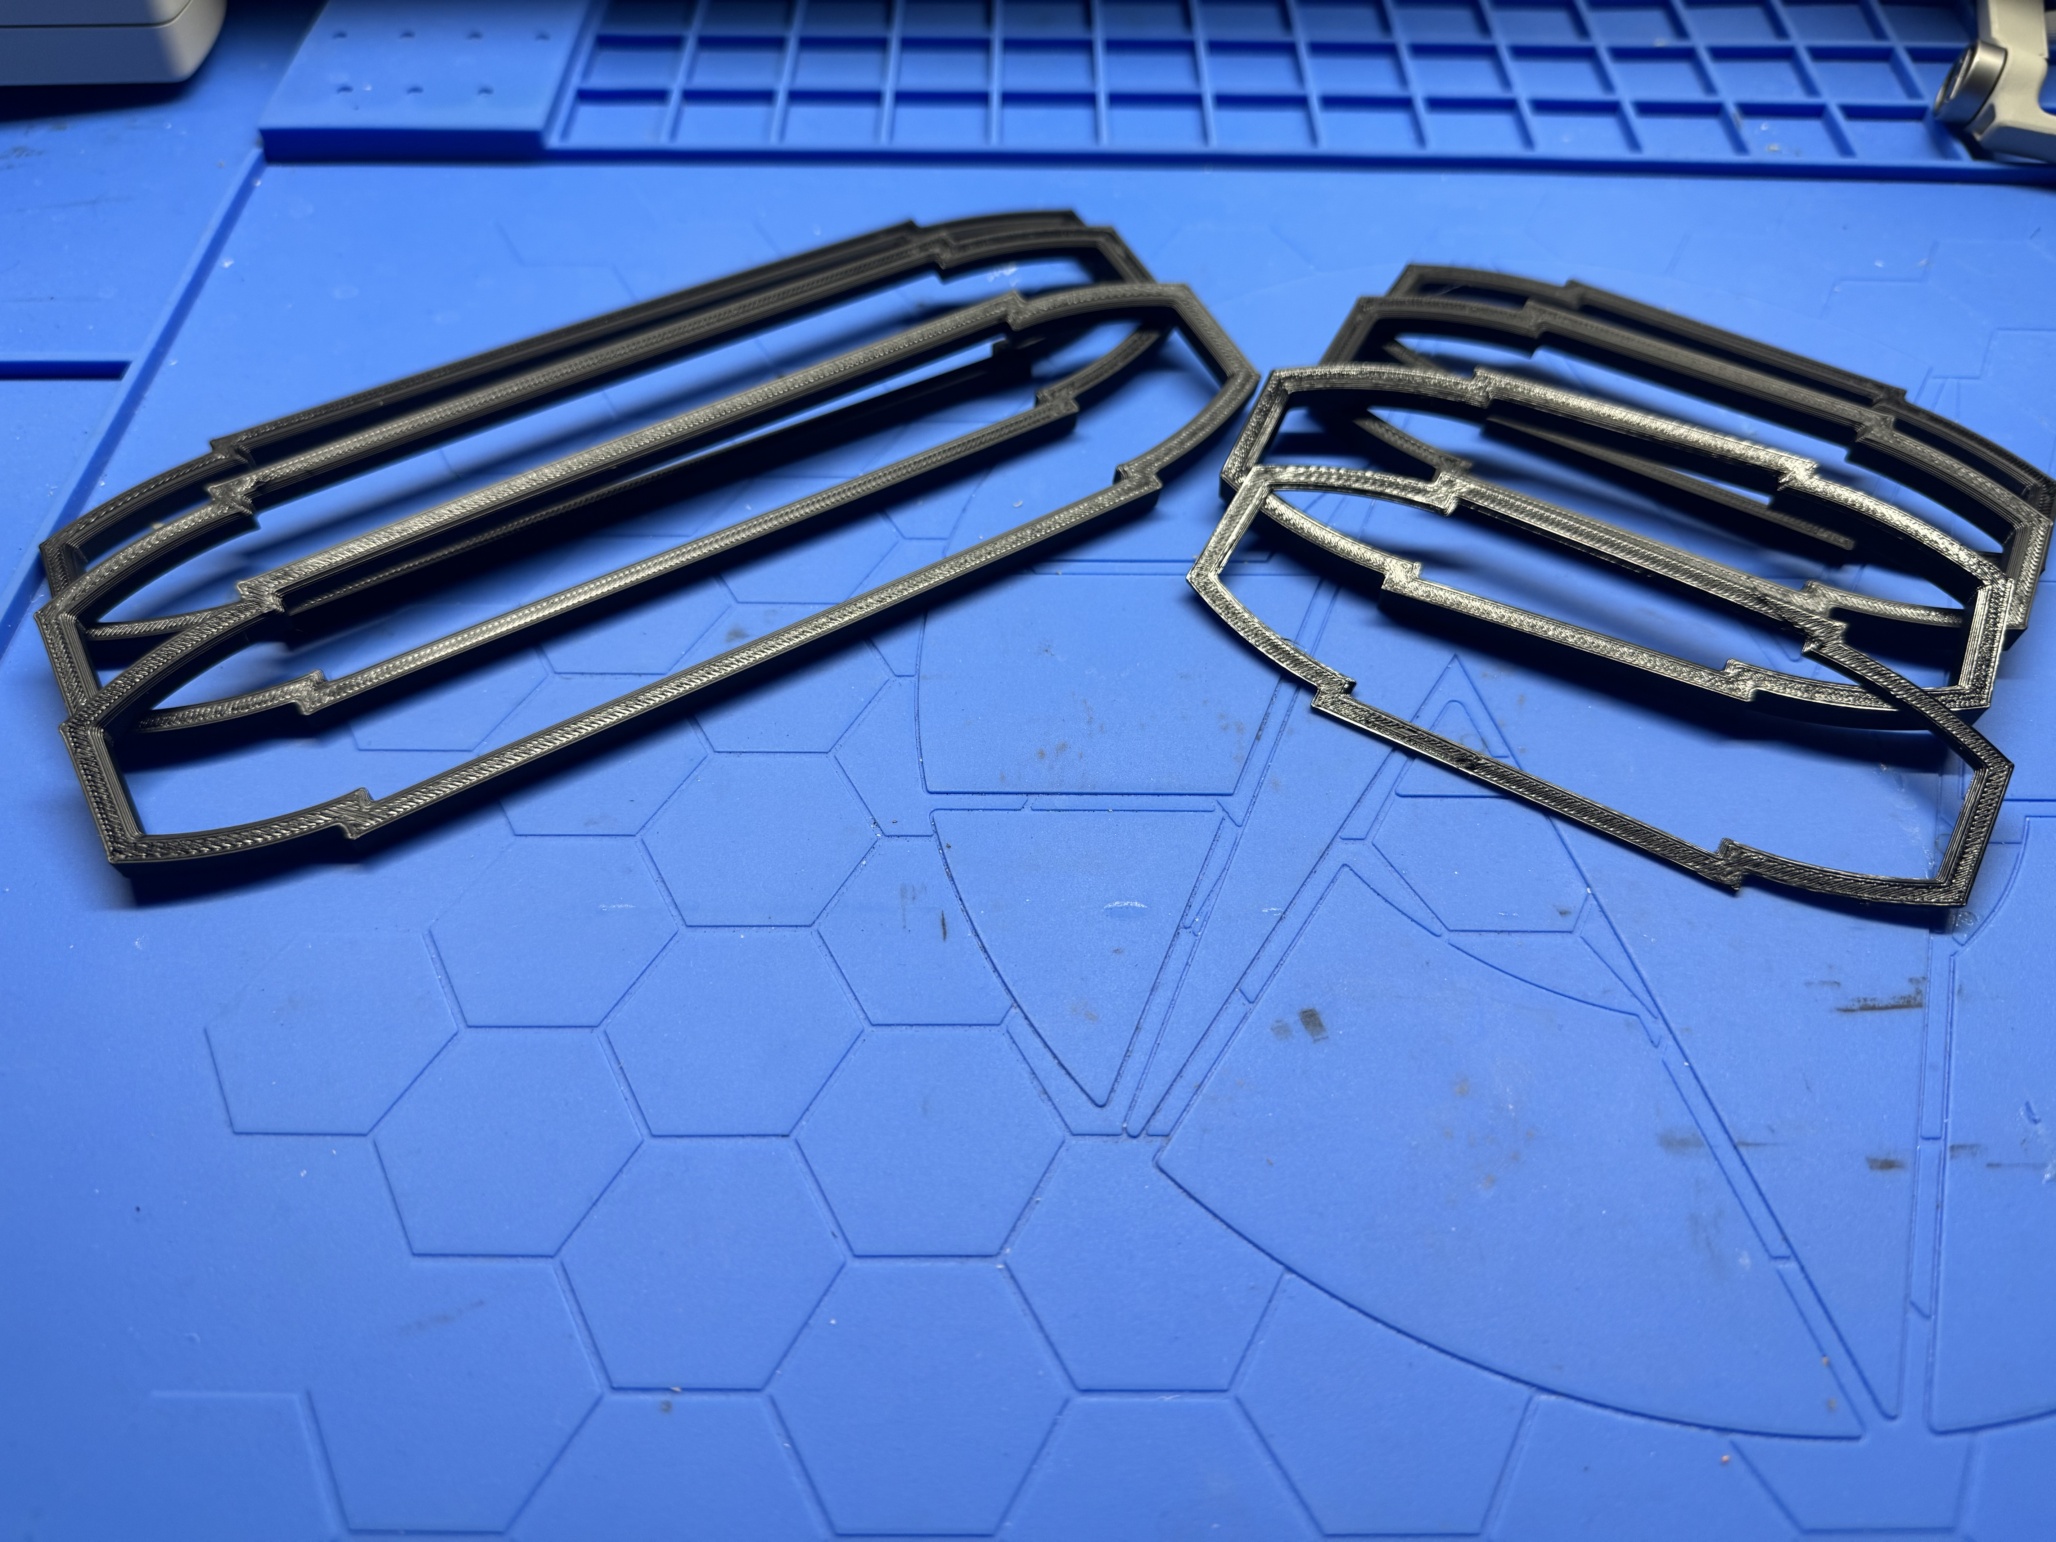
Lots of failures designing this. So many “almost” measurements. I settled for good enough at the end.
Print Details/Settings
The widest part is 230mm at its base and 65mm tall. It will not fit the print bed on the Prusa Mini even on the diagonal without editing the file. It will fit the Mk4 and Core One without issue. Default print settings should be fine, but feel free to tweak and adjust them as you see fit. I only included a bgcode file for estimated print time, I recommend slicing the STL yourself and not using my provided bgcode. I printed mine in PETG, you can use any material you want. PETG was the only material I had in black.
Note that this was a tight fit after printing on my core one. If your printer isn't dialed in, I recommend scaling the X and Y just a hair to give yourself some tolerance. That or slice the model in half along the receptacle outline (like my failed prints above) to test out the tolerances.
Onshape Model

This is the rear. For the front change 201mm to 122mm and change 138mm to 61mm.