
Stacking Latchable Project Parts Organizers
Obliczymy ostateczną cenę na podstawie wybranego pliku. Sprawdzisz ją i zaakceptujesz przed płatnością.
Zapisane na tym urządzeniu.

Do you need a tray for the parts of your ongoing projects, but need to be able to stash the parts, too? These'll do ya!
- Ocena
- 0 / 5
- Polubienia
- 145
- Pobrania
- 223
- Wydruki
- 2
- Wyświetlenia
- 1341
- Oceny
- 0
Aktualizacja u źródła:
Informacje o modelu
- Źródło
- Printables
- Kategoria
- Organizers
- Licencja
- Creative Commons — Attribution — Share Alike
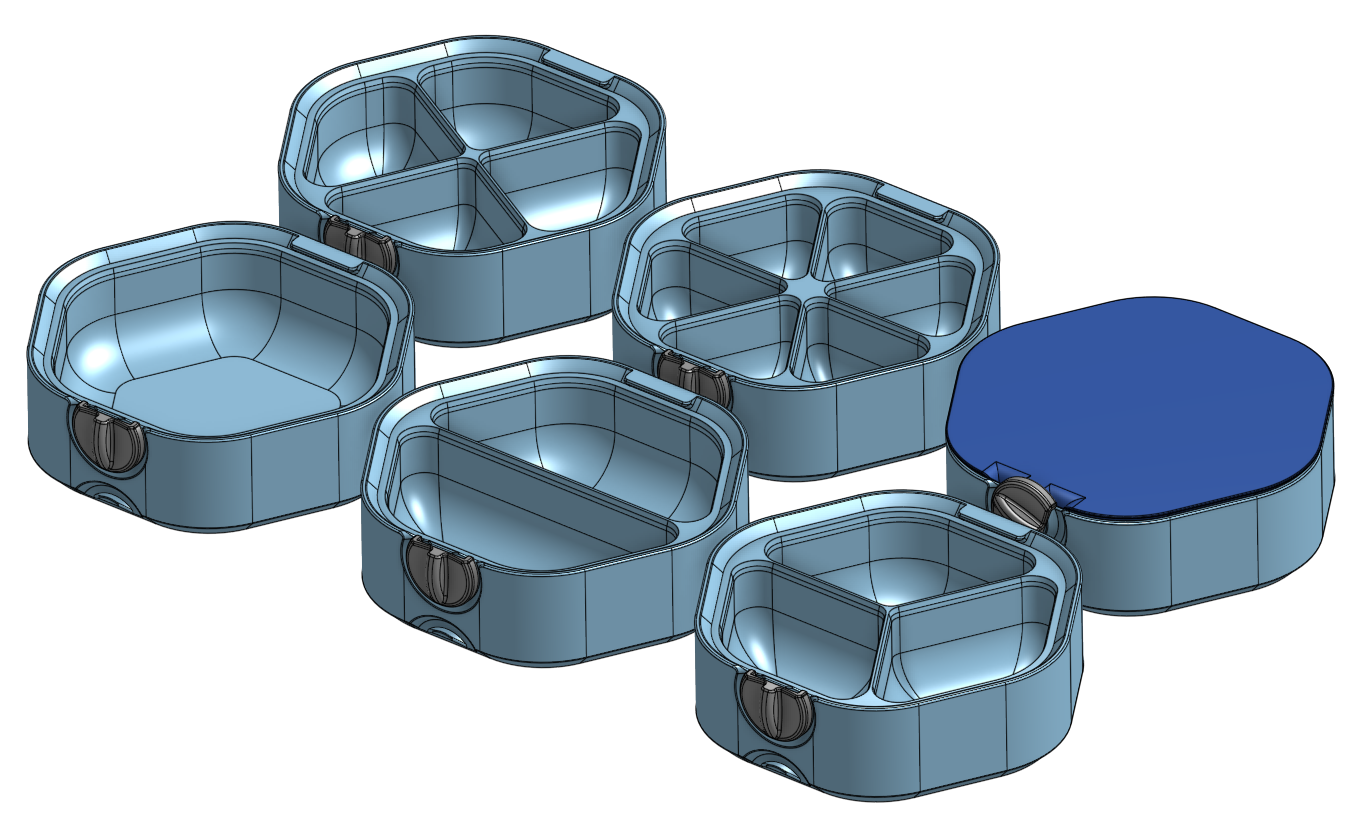
I designed these organizers to make parts available while I'm working on a project, and to provide a secure option for stashing parts when I'm working on a different project. These organizers stack on top of each other and feature a latch that will lock one tray on top of the one below it. Also available is a lid to keep the top organizer closed as well. Quite useful if you're in a shared living space like a dorm and need to be able to spread out a project or pack up at a moments notice.
I've made trays with zero, 2, 3, 4, and 6 divided bins and I've exported trays that are 140mm across and 220mm across. If you'd like other sizes, feel free to make a comment requesting the size you'd like or configure your own size preference in the configurator on OnShape.
Printing

The bowl should print on it's large flat side on the bed The lid should print with the top of the lid on the bed. The latch should print with the cut flat part on the bed.
The lid and base should not need any supports. There's a long overhang (~40mm) that you may want to support, but I've found it prints fine as a bridge without supports.
The latch has a curved overhang that I found works better with supports. Depending on your bed adhesion, you probably also need a brim for the latch since it's got a pretty small first-layer contact area.
You'd be fine printing this at 3 walls & 10% infill. 4 walls would be quite strong.
Parts & Assembly
Only one piece of hardware is required: a M3x12 bolt, ideally socket head (SHCS) but a button head bolt should work too.
Bolt through the hole in the bowl and into the back of the latch. The bolt should be a tiny bit too long when you bottom it out which means that the latch should spin a little freely rather than tightening up against the bowl.
Once you have several assembled, slide one tray onto the top of another making sure they engage. Turn the latch so that they top one is secured into place.