
Model of Marcel Duchamp's Why Not Sneeze, Rose Sélavy? by williamCromar
Obliczymy ostateczną cenę na podstawie wybranego pliku. Sprawdzisz ją i zaakceptujesz przed płatnością.
Zapisane na tym urządzeniu.
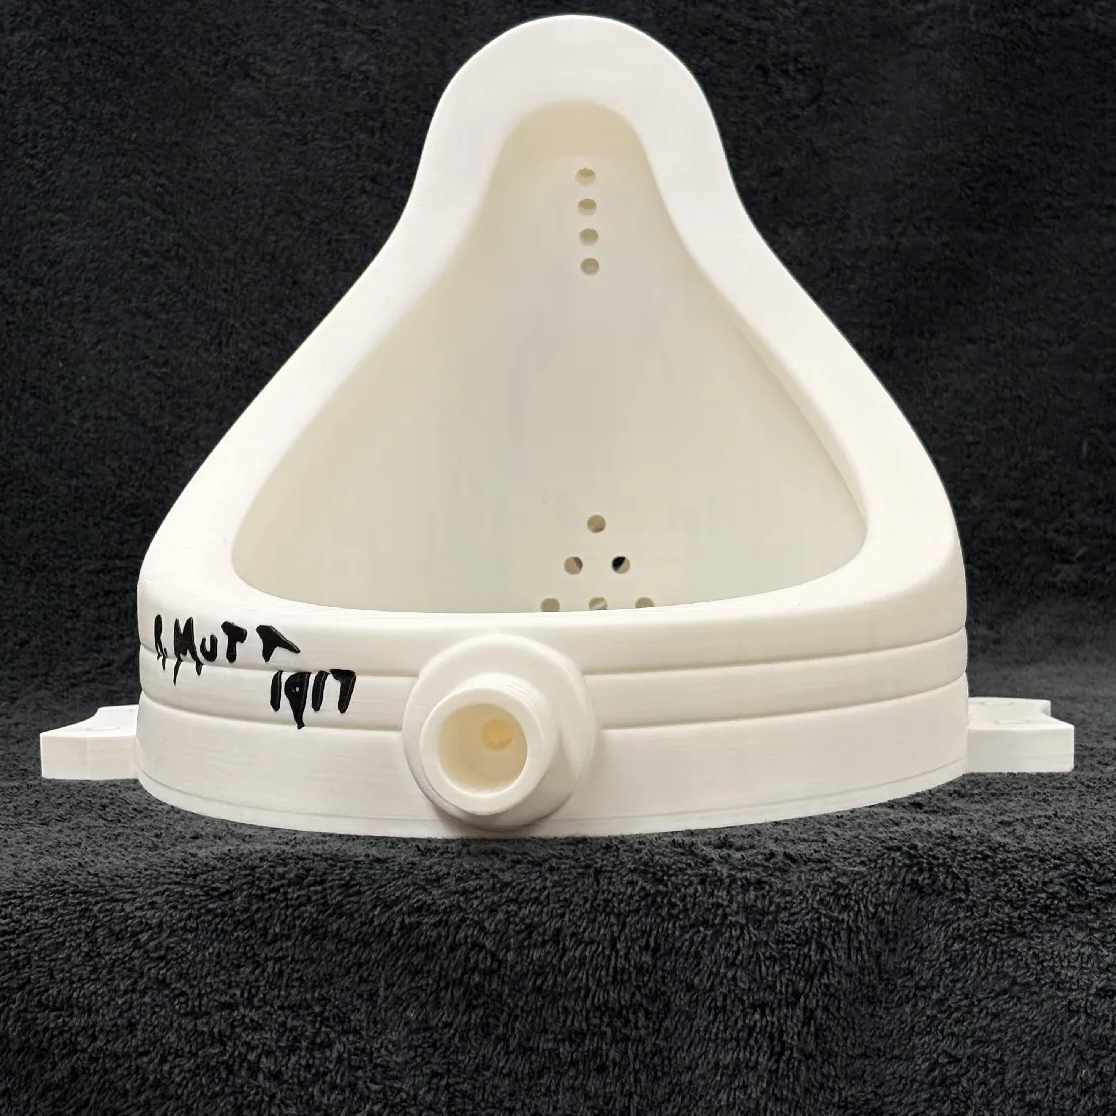
Heavy sugar cubes in a birdcage with no bird create a visual pun in Duchamp's assisted Readymade of 1921
- Ocena
- 0 / 5
- Polubienia
- 2
- Pobrania
- 9
- Wydruki
- 0
- Wyświetlenia
- 128
- Oceny
- 0
Aktualizacja u źródła:
Informacje o modelu
- Źródło
- Printables
- Kategoria
- Sculptures
- Licencja
- Creative Commons — Attribution — Noncommercial — Share Alike
This open-access reference model is one of the collection Prêt à Faire: Printable Readymade Models. As a small object, this model is full-scale with no premium alternative. However, to explore full-scale deluxe editions or alternative structural component archives operating under a separate commercial license framework as part of this broader marketplace critique, view the premium tiers associated with this collection.
1 | Concept & Provenance
This asset is an independent, transformative performance by williamCromar exploring distributed culture through the lens of public-domain source geometry. The historical referent—the 1921 Why Not Sneeze, Rose Sélavy?—is one of the most elaborate configurations in the Readymade canon. Duchamp classified it as an "assisted Readymade," combining a painted common metal birdcage, 152 white marble cubes, an ordinary thermometer, a cuttlebone, and a small porcelain dish.
To support an instructional research initiative funded by a faculty grant from Penn State Abington, I forensically modeled this geometry from the ground up using public historical data. While the 1921 original is preserved at the Philadelphia Museum of Art, this digital study cross-references public dimensional layouts from various historical mid-century versions—including the 1964 Milan variation with its distinct reverse-reading baseline inscription—rather than copying any proprietary museum archives.
Explore the historical research context of this study at:
Historical reference parameters analyzed:
 Philadelphia Museum of Art |  Moderna Museet, Stockholm |  Hirshhorn Museum, Washington |
Duchamp intentionally designed the work to be unexpectedly heavy, playing on the visual expectation of lightweight sugar cubes. A primary goal of this digital series is to explore this interactive, tactile philosophy. While picking up the historical object will quickly get you into trouble with museum security guards, printing your own reference model allows you to directly activate the haptic qualities of the project. The files are drawn at true historical scale and must be fabricated without scaling to ensure the cage bars maintain the structural strength required to support the assembly when lifted by the top ring.
2 | Printing Notes
This is a detailed, complex model assembly, but all individual components are engineered to fit within a standard desktop print bed (such as an MK3 or MK4). The components are organized into two primary material groups:
THE CAGE CONTENTS
CUBES | To engage with the unexpected weight distribution of the historical referent, you can choose to maximize your infill density. Printing all 152 cubes completely solid uses a significant amount of material. The uploaded reference images document a standard build plate containing 76 cubes (half the required set). Slicing these with a 77% infill rate provides a highly effective compromise between weight and material conservation. If you prefer to focus strictly on the visual composition, you can lower the infill parameters, though I find this to be an unsatisfying outcome.
CUTTLEBONE | Slicing this organic shape requires support structures. By angling the file in your slicer as shown in the reference images, you generate a layer pattern that reflects the texture of an actual cuttlebone, and any minor support scarring on the underside fits right in with that natural surface look. A bone or ivory-colored PLA works best.
THERMOMETER | Two alternative file configurations are provided. Alt 1 features a subtle lower indentation designed for localized multi-material painting in your slicer (allowing you to isolate transparent paths for the glass body, metallic tones for the framing, and a red filament path for the mercury core). Print this version solid to maximize visual clarity. Alt 2 separates the thermometer into a multi-part assembly, allowing the primary body to be fabricated using transparent resin if desired. You may need to clean out the core with an aircraft (i.e. long) drill bit.
DISH | A single white polymer dish is included (though historical documentation notes some variants included a pair).
PERCHES | Use a wood-infused or light brown filament to execute the perches.
THE CAGE | If you've seen the Bicycle Wheel in this series, you're aware that these thin material elements need a bit of compromise to print. To ensure the thin wire bars slice and print reliably without structural failure, the geometry incorporates minor fabricative adaptations optimized for layer-by-layer deposition. I recommend slicing the cage components with a solid infill using a cream or ivory off-white filament to contrast with the pure white cubes. It is comprised of the following sub-assemblies:
BASE | Features a geometric offset to ease multi-material text painting for the dark baseline title inscription.
CAGE WALLS AND GATE | Position these elements flat against the build plate, using the flat faces of the round structural bars as your primary orientation guide.
FEET | Best executed in a light tan material.
Print assembly parts in the following quantities:
Cubes: Print 152 (2 build plates of 76 each on an MK3/4)
Cuttlebone, Thermometer, and Dish: Print 1 of each (you may print 2 of the dish if you wish)
Cage top, top backing, sides, and gate backing: Print 2 of each
Cage feet: Print 4
Perches: Print 4
All other Cage parts: Print 1 each
Recommended materials:
Creality White Hyper PLA: All cage parts (it's a good off-white to distinguish cage color from cube color)
Hatchbox Matte Black PLA: Lettering on base
Prusament Pristine White PLA: Cubes and dish
Prusament Vanilla White PLA: Cuttlebone
SUNLU Matte Red PLA, Prusament Galaxy Silver PLA, and Polymaker Natural PLA: Thermometer multi-material print
SUNLU Maple Wood PLA: Perches
Elegoo Beige PLA: Feet
My general settings:
Print Settings: 0.2 mm Structural
Filament: Prusament PLA or as appropriate
Printer: Prusa MK3 or MK4 with MMU (for multi-print of base and thermometer)
Supports: Needed only for the cuttlebone; see illustration
Infill: 15%
Brim: None
Advanced settings:
Layers and perimeters: All defaults
Infill: Gyroid fill pattern, Aligned Rectangular top and bottom fill pattern
Support material: Organic style where needed
Custom settings differing from above:
Infill 80-100% at cubes for a proper sense of weight
Enable fuzzy skin for the cuttlebone and feet
Stats for the print:
Total material used:
~1000 grams bright white for cubes and dish
~255 grams off-white for cage, 2 grams black for cage lettering
~24 grams vanilla white for cuttlebone
~33 grams wood color for perches
~9 grams clear, 5 grams silver, and 1 gram red for thermometer
~5 grams beige for feet
Total time: ~98.5 hours (4 days, 2.5 hours)
Total number of build plates: 12 (2 with multi-material)
3 | Assembly Notes
ASSEMBLING THE CAGE
Use super glue to attach the base bottom to the base top.
Use super glue to attach feet to the base.
Next, attach the cage gate to the cage front before full assembly.
Note the small bulges on one of the bars on the front cage wall. Identify two corresponding indentations in the gate frames and place the gate on these bulges.
Then attach the 2 gate frames using super glue to trap these and create a hinge. My experience required no sanding or fitting for tolerance: your mileage may vary.
Now attach the large and small latch backing pieces to the back of the gate latch, being careful with alignment. The gate latch should allow the door to stay closed but should open with a little resistance.
Attach the 2 top frame backing pieces to the 2 cage top elements.
Insert the small rake-like tabs on the top elements into the slots on the cage sides and super-glue. You will have 2 inverted L-shaped cage elements when done.
Now attach the cage front to the base, and then to the top frame.
Lay the cage front on the work table and attach one cage side/top assembly.
Slip the cage top frame into the large slot at the top frame and secure with super-glue, and align the cage side slot with the angled protrusion on the base, also securing with super-glue.
Small hobby clamps or clothespins are helpful with this step to maintain alignment — I recommend a slow-dry gel CA glue.
Attach the top handle, aligning the small hole in the side with the center bar “bump” found on the top frame. Use the photo of the sculpture as a guide. Secure with super-glue. If using the visual handle, wait until after step 10 and attach from the top.
Attach the second cage side/top assembly in the same manner as the first.
Before adding the contents, position the 4 perches in a similar manner to the photograph of the actual sculpture. You may wish to super-glue them, but friction will also hold them in.
ADDING THE CONTENTS
Place the small dish inside.
Add all 152 cubes. In some editions, the cubes completely cover the dish; in others, it's visible. Use your judgement.
Now add the cuttlebone and thermometer to the contents. In many versions of the edition, the cuttlebone sticks out of the top of the cage, and the thermometer is leaning up against a perch with the sensor side down among the cubes.
4 | Presentation Notes
Place the finished physical manifestation on a table or pedestal that invites haptic engagement, allowing spectators to interact with the weight and form of the assembly. To explore the inverse text layout of the baseline inscription, position the cage over an integrated mirror or place the model on a transparent glass shelf with a reflective mirror surface positioned underneath, activating the visual game documented in the historical 1964 variant.
5 | Change Log
2 AUG 2026: Major file optimization updates: Reconfigured all preconfigured 3MF plating layouts. Refined geometric tolerances on high-resolution STL and universal STEP assets. Integrated the Alt 2 multi-part thermometer file for clear resin fabrication setups. Revised technical documentation to align with these file updates.
17 DEC 2025: Added minor tolerance adjustments to separate component files, and included preconfigured multi-material 3MF slicing profiles.
26 NOV 2025: Uploaded structural component modifications, added fresh photographic documentation, and revised the description layout for consistent formatting across the Prêt à Faire collection.
5 NOV 2025: Slicing scale correction: Identified a dimensional variation in early prototype cube files and uploaded an updated, correctly scaled geometric cube asset.
SEP 25 2025: Fabricated initial cage prototypes to validate physical fit and joint strength. Modified the underlying file parameters to export reinforced cage bars following structural prototyping.
Disclaimer
Prêt à Faire is an autonomous artistic project, scholarly reference work, and institutional critique by williamCromar, supported by a faculty grant from Penn State Abington with fabrication assistance from the Abington MakerSpace. This project is entirely independent and maintains no formal affiliation, endorsement, or sponsorship with Association Marcel Duchamp, the Estate of Marcel Duchamp, ARS, ADAGP, or any curating museum. When referencing or sharing this work, users must maintain a clear distinction in authorship and nomenclature from the historical referent. Cite this asset as: Model of Marcel Duchamp’s [Object Name] by williamCromar. Basic models are available under a CC BY-NC-SA 4.0 license; premium tiers operate under a separate commercial framework. For full conceptual and legal text, visit https://sites.psu.edu/pretafaire/disclaimer-and-licensing/