
Wind Spinner / Whirligig Wood Chopper
Obliczymy ostateczną cenę na podstawie wybranego pliku. Sprawdzisz ją i zaakceptujesz przed płatnością.
Zapisane na tym urządzeniu.

A garden wind spinner with a chopping man
- Ocena
- 0 / 5
- Polubienia
- 6
- Pobrania
- 98
- Wydruki
- 0
- Wyświetlenia
- 543
- Oceny
- 0
Aktualizacja u źródła:
Informacje o modelu
- Źródło
- Printables
- Kategoria
- Outdoor & Garden
- Licencja
- Creative Commons — Attribution — Noncommercial
The Wind Spinner / Whirligig Wood Chopper is an easy-to-make wind spinner in the style of the classic wood chopping mechanism. It can be made with either 2, 3 or 6 blades, according to your choice, and only needs a few M4 bolts/screws to secure everything in place. If you have a clean run of wind, we would recommend starting with the 2-blade version. This is the first upload, so it should be considered work in progress, but it’s been running happily outside for the last week. It can also be made without the Chopping Man, creating an elegant, simple spinner.
Parts:
1 x M4 (4mm x 60mm) Phillips Pan Head Machine Screws - Steel (Pack of 20) DIN 7985. This is the main bolt holding the spinner.
6 x M4 12mm countersunk screws - I have linked to a pack of screws, but a general mixed box of screws is always useful to have in stock. These fix the blades to the hub.
2 x M4 x 10mm - These fix the legs to the base. A mixed box of M4 bolts/nuts/washers is generally useful to have on hand.
1 x M4 x 12 mm and 2 x washers - This attaches the wood chopper's body to the legs
2 x M4 x 20mm bolts/nuts - again often part of a mixed box of nuts/bolts. These fix the tail onto the base.
1 x M8 x 40mm bolt/washer - this attaches to the post fixing, allowing the spinner to rotate towards the wind.
The Build is mainly self-explanatory - the blades slot (with a little force) into the hub and are screwed in.
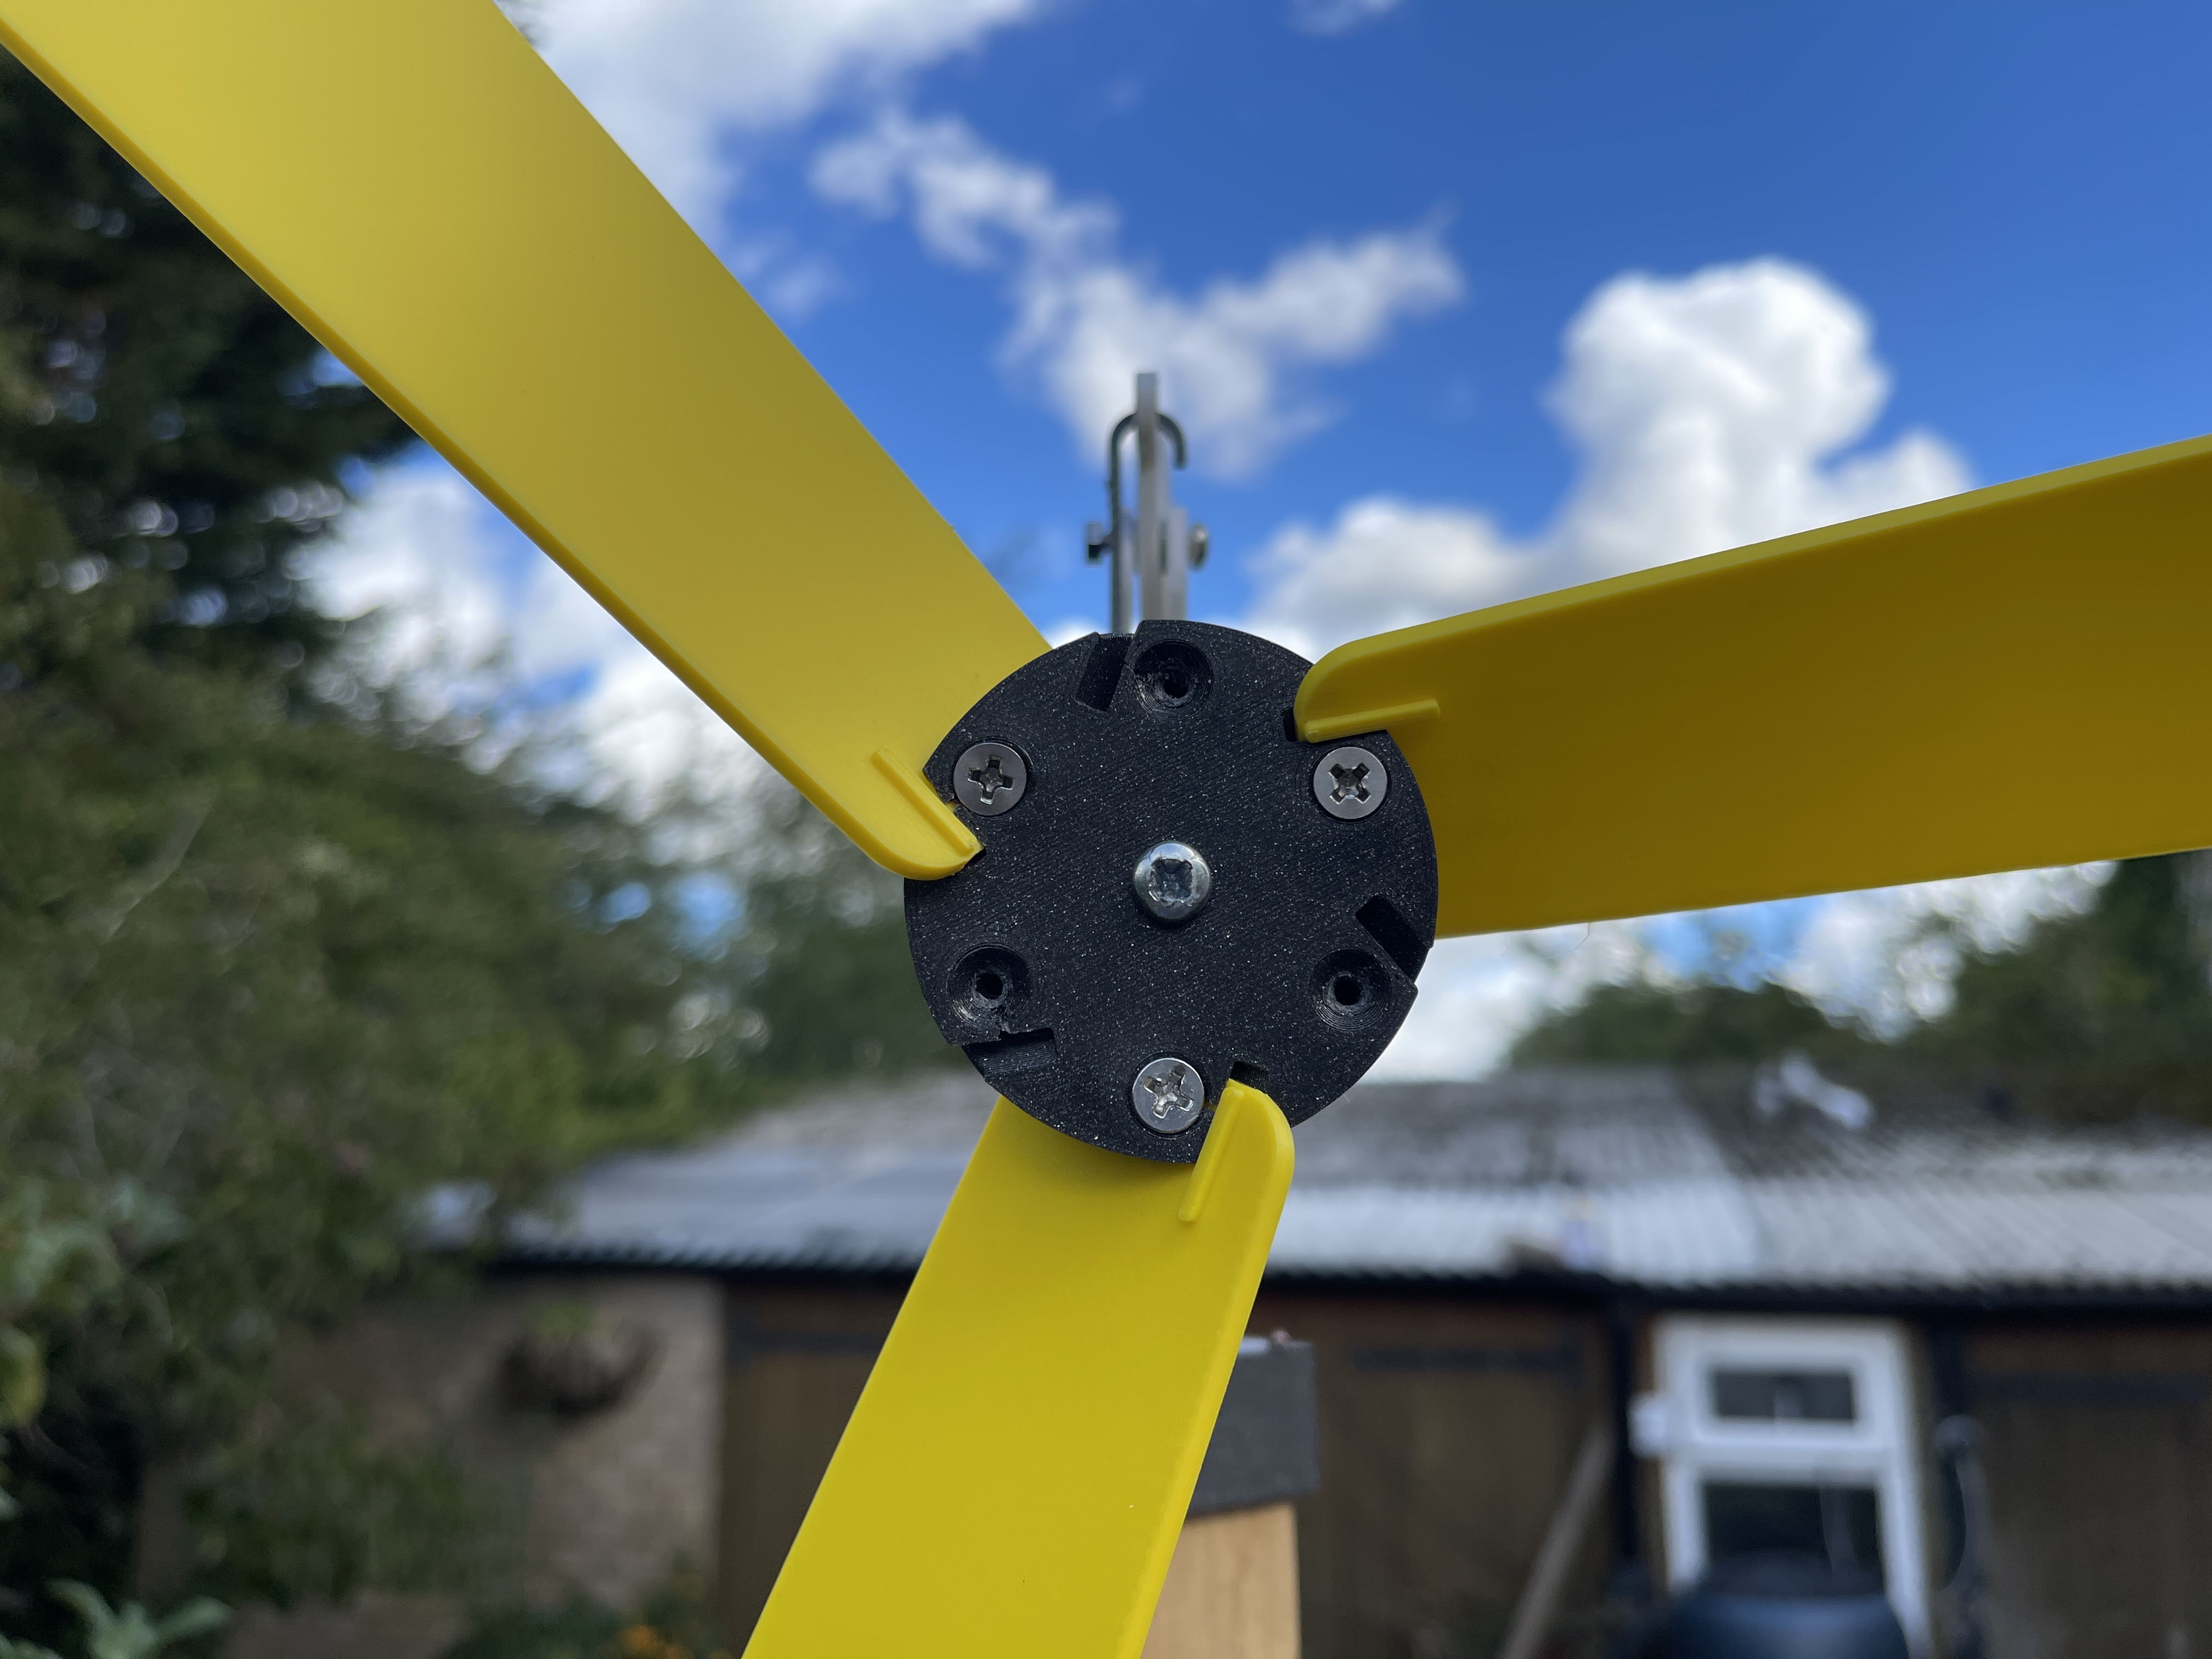
The 60mm M4 bolt screws into the hub and slides into the main base secured with a washer and nut, the Cam then screws onto the bolt - where the Hook slides in to lift the Chopping Man up and down, this is rounded off with an end stop that pushes on (after attaching the hook to the man). The Main Cam and M4 nut need a dab of super glue, just to keep them from unwinding in high winds.

The Chopping Mans body is printed in two halves, with the slicer set to change colour - these two halves are glued together and secured to the legs with an M4 bolt. Slide the Hook into the hole on the Chopping Man and then over the cam, using the end stop to secure it in place.


The tail is fixed, again with M4 bolts and nuts, and finally, the whole base is fixed to the central pole mount with the M8 bolt; this is a tight turn, allowing enough play for the whole unit to spin around.
When the main blades are turned, the man will start chopping…
Do let us know if you build one or would like any help/different mounts.