
Models of Marcel Duchamp's L.H.O.O.Q. by williamCromar
Obliczymy ostateczną cenę na podstawie wybranego pliku. Sprawdzisz ją i zaakceptujesz przed płatnością.
Zapisane na tym urządzeniu.
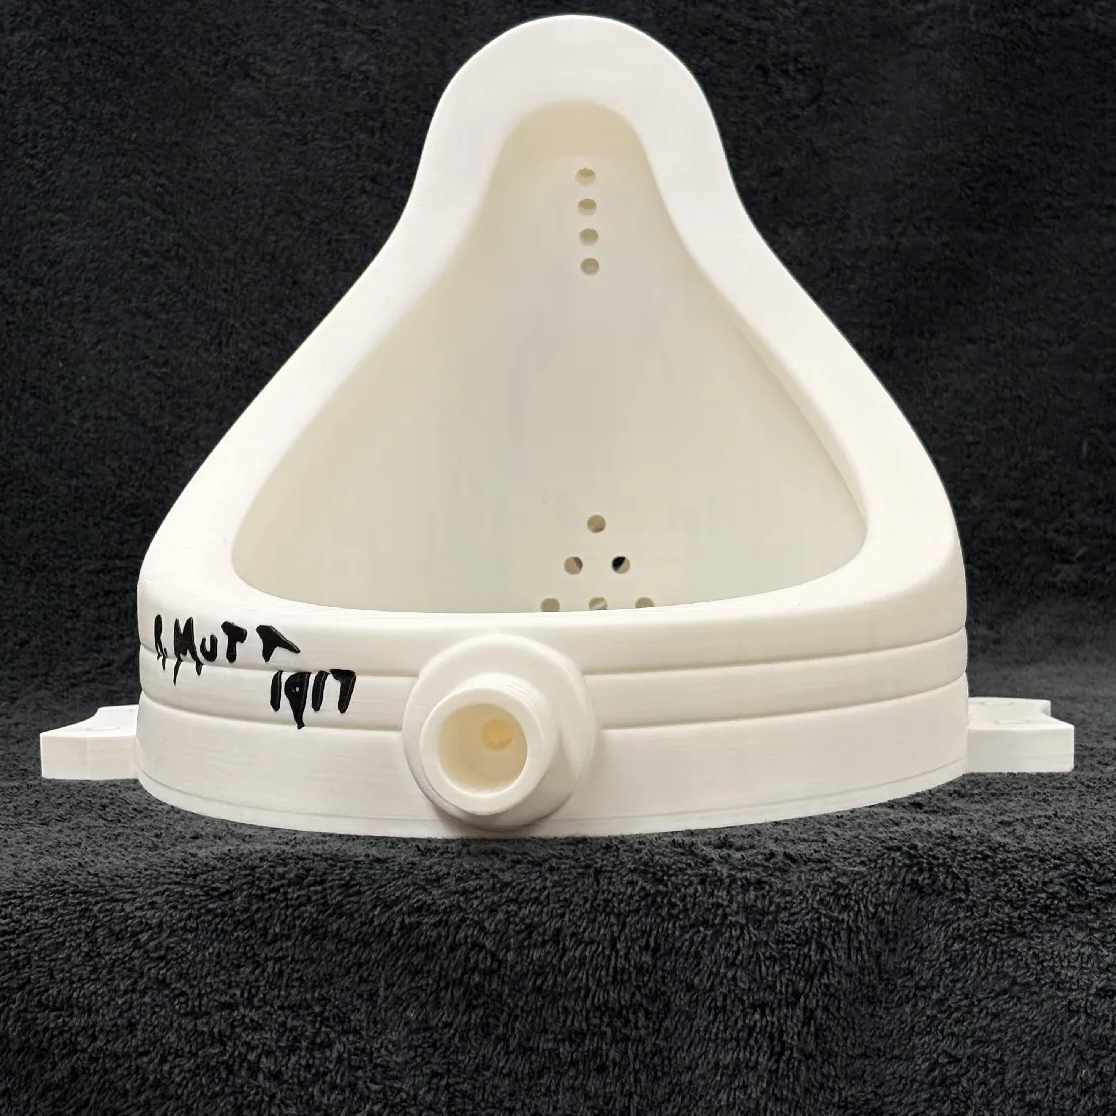
Part of Prêt à Faire, an independent transformative performance supported by Penn State Abington. CC BY-NC-SA 4.0.2
- Ocena
- 0 / 5
- Polubienia
- 2
- Pobrania
- 8
- Wydruki
- 0
- Wyświetlenia
- 94
- Oceny
- 0
Aktualizacja u źródła:
Informacje o modelu
- Źródło
- Printables
- Kategoria
- 2D Plates & Logos
- Licencja
- Creative Commons — Attribution — Noncommercial — Share Alike
This open-access reference model is one of the collection Prêt à Faire: Printable Readymade Models. To explore the deep-dive technical documentation detailing our color separation algorithms operating under a separate commercial license framework as part of this broader marketplace critique, view the premium tiers associated with this project:
1 | Concept & Provenance
This asset is an independent, transformative performance by williamCromar exploring distributed culture through the lens of public-domain source geometry. The historical referent—the famous 1919 Dada gesture L.H.O.O.Q.—involved altering a common reproduction of Leonardo da Vinci's Mona Lisa with graphite and a provocative linguistic puzzle, executing a blistering critique of institutional art canonization.
To support an instructional research initiative funded by a faculty grant from Penn State Abington, I developed this geometric study from the ground up to analyze pixel density shifts within an additive manufacturing environment. Rather than copying any proprietary museum data, this project transforms the historical two-dimensional visual motifs into a series of three-dimensional multi-material lithophane lightbox performances. The project cross-references the distinct layout and scaling parameters of three historical mid-century variations:
The original 1919 historical variant (originally documented in Paris).
The 1920 monochrome publication layout printed by Francis Picabia in the journal 391 (No. 12).
The 1930 curated limited edition variation housed at the Centre Pompidou, Paris.
Much has been written about this seminal, iconic, take-no-prisoners work, and you can explore the historical research context of this study at:
 Moderna Museet, Stockholm |  Francis Picabia's publication |  Pompidou Centre |
 Stolen, never recovered |  Private collection |  Schwarz edition of 35 |
The historical visual motifs analyzed here have been famously referenced, appropriated, or commented upon by a long lineage of contemporary practitioners, including but not limited to:
 |  |  |
 |  |  |


2 | Scope & Lithophane Material Research
As a work of Post-Appropriation and remix praxis, these models are independent digital manifestations optimized specifically for FDM color-blending fabrication, structural enclosure tolerances, and scale stability. The geometry deliberately adapts historical visual motifs into a printable, light-transmitting medium. Each of the three configurations must be fabricated at its true drawn scale to ensure proper interlocking clearance between the lithophane panels and the custom structural lightboxes.
Reconstructing color graphics into flat, layer-by-layer material coordinates presents a complex technical challenge. Standard browser-based lithophane generators like MakerWorld convert pixel inputs into variable material thicknesses based on non-AI mathematical formulas. While initial tests utilized standard CMY color-blending filament arrays, the material properties of molten material proved inadequate. Ink-based CMYK printing depends on a complex interplay of hue and saturation that filament cannot easily reproduce. Replacing K (black) with a density of white filament proved an imperfect analog to pigment mixing, while the cool color temperature of LED light panels introduced a noticeable blue cast.
So, where traditional CMYK reproduces a wide gamut through four-color process printing, I knew that spot-color systems such as Pantone achieve precision through custom pigment mixes. I began searching for a lithophane generator that took a similar approach, or combined both methods. This research turned up:
Vextrude, PrintPal, and 3DP Rocks, all without meaningful color-generation options.
Lithophane Maker, offering another variation on CMY mixing.
ItsLitho, which combines filament density for value with a color JPEG printed behind the lithophane.
Though I did not find exactly what I was seeking, ItsLitho offered an important clue. Here is the color JPEG it generated for the 1930 edition:
 Original |  ItsLitho color separation |
|---|
Notice how yellows and oranges dominate. By auto-tracing those colors into spot-tone vectors, converting them into color separations, and experimenting with filament combinations, I achieved a reasonable iteration of my conceptual goal: a fully 3D-printed spot-color lithophane requiring no traditional ink printing. I later modified the color separations for more accuracy, and I describe that process in greater detail in a special-edition version of the work available to Club members, which includes all the color-separation generator files.
3 | Configurations & Fabrication Notes
3.1 Variants
1919 Variant Layout: Optimized as a multi-material spot-color lithophane. This configuration features an idiosyncratic aspect ratio and includes a custom rear enclosure designed to fit standard integrated LED lighting panels. It can be executed on standard desktop beds equipped with a multi-material tool-changer or extruder assembly (such as an MK3/MK4 with an MMU). The structural frame geometry is optimized for silver-pigmented filaments to interpret the historical leaf finish.
1920 Variant Layout: Configured as a monochrome, high-contrast lithophane mapping Francis Picabia's journal layout. This file provides an entry point for advanced fabricators operating single-extruder setups. Utilizing a beige or tan polymer represents the aged, oxidized paper tones of the historical print. It incorporates a specialized low-clearance lightbox enclosure and frame.
1930 Variant Layout: Configured as a massive, multi-tone spot-color lithophane that requires a large-format manufacturing bed (such as a Prusa XL) to clear the outer enclosure tolerances. The surrounding frame geometry is optimized for dark bronze or antique brass PLA.
Each variant has an idiosyncratic proportion, but I've created custom lightboxes and frames that work with a standard LED lightboard for the Bambu system.
3.2 Recommended Materials
For the lithophane: While the original version used the Printed Solid Jessie Premium PLA Color Lithophane Bundle for the CMY color separations in the 1919 and 1930 versions, for the new spot-color version I recommend:
Bambu Lab Translucent Gray PETG
Push Plastic Translucent Amber PETG
Anycubic Translucent Brown PETG
Prusament Clear PETG
Bambu Lab Translucent Orange PETG (offsets the blue in the LED)
For the 1920 monotone lithophane:
Creality Beige PLA (emulates faded newsprint)
For the frames:
Prusament Jet Black PLA (for all lightboxes)
Prusament Galaxy Silver PLA (for 1919, 1920)
Amolen Aged Brass Gradient PLA (for 1930)
Additional materials:
Imdinnogo Lithophane LED Backlight Board kit
Sabrent USB Extension Cable, 3 to 10 feet in length, white
Aluminum foil and 3M Adhesive Transfer Tape (for 1920)
3.3 Recommended Settings
My general settings across all editions:
Print Settings: 0.2mm Structural for frames, 0.15 for lithophane color layers
Filament: PLA or PETG with appropriate profiles for the abovementioned materials
Printer: Prusa XL 5T or MK4/MK3 with MMU
Supports: Paint-on as appropriate, Organic preferred
Infill: 15%
Brim: For the plugs, if needed (I printed successfully without)
Advanced settings:
Layers and perimeters: All defaults
Infill: Gyroid fill pattern, Aligned Rectangular top and bottom fill pattern except where noted below.
Support material: Organic style
Special note on the use of Hilbert Curve infill:
I used a custom Hilbert Curve for the top layer of all lithophanes. This created a texture that emulates fine art paper, canvas, and/or engraving patterns found in fine art prints.
For the silver frames 1919 and 1920, I used a custom Hilbert Curve bottom infill, which makes a superior texture that emulates silver leaf.
In both instances, the infill direction was set to 90 degrees.
4 | Assembly Notes
Generally, the order of assembly should be clear:
The interior back receives the LED plates, with the cord inserted in the bottom hole. Use archival tape to keep the LED plates together if they are tricky to work with.
The interior front snaps onto that assembly to secure the LED plates in place.
The lithophane and color diffuser layers are inserted into the notch in the frame. Use archival clear tape right at the edge to secure them into the notch while assembling. I run tape along the edge so that it overlaps the lithophane ONLY AT the notch, to avoid any chance of seeing it after assembly.
The frame snaps over the interior light box assembly.
Any mitered frame elements are glued to the frame box.
The cord plug is inserted into the hole to secure the cord.
Special case for the 1920 and 1930 assemblies:
The interior backs are printed in one piece
The interior fronts are broken down into a top, 2 sides, and a bottom piece for printing. These must be glued together. Super glue may be used, but I used Weld-On 16 for a stronger chemical weld. There are notches on the wall edges to aid with alignment (which also increases the surface area for gluing).
The frame box is similarly broken down and must be assembled the same way.
Use the exploded view in the picture above as a guide for assembly; 1930 is shown, but 1920 is very similar if you mentally omit the front frame elements.
On the 1920 lightbox, the fit between the standard Bambu LED plate and the artwork format is awkward. You'll need some reflective material on the angled surfaces to help distribute the light. I used double-sided tape and shiny aluminum foil... use the picture above for reference.
5 | Presentation Notes
The assembled lightbox manifestations are designed for vertical wall-mounting display, incorporating one or more keyhole slots configured for standard bell-head mounting hardware. To maintain clean visual presentation within a gallery space, managing integrated wiring paths utilizing low-profile white USB extensions is highly recommended.
6 | Change Log
29 JUL 2026 | Major file optimization updates: Developed an advanced 9-tone, 2-separation color diffuser architecture for the 1919 and 1930 files using spot-color vector mapping. Updated all technical documentation and reference images.
18 JUL 2026: Replaced early slicing layouts with high-resolution models generated via the ItsLitho parsing engine to optimize value distribution. External frame dimensions remain identical to ensure backwards compatibility with legacy enclosures.
21 DEC 2025: Uploaded completed physical prototyping photos for the 1930 large-format model and applied minor tolerance revisions to adjacent components.
12 DEC 2025: Cleaned up text formatting for collection consistency. Integrated documented artist precedents, added a compact alternative frame for the 1920 model to clear standard desktop beds, and added an exploded isometric assembly diagram.
18 OCT 2025: Structural refinements to the 1930 frame assembly. Locked down all open-access lithophane boundary margins to a rigid 2 mm width and 1 mm depth to ensure standard frame fits without external scaling. Shifted primary file distribution to 3MF formats to optimize color separations.
13 OCT 2025: Completely redesigned the rear lightboxes to form a light-tight seal around standard 48 mm x 144 mm daisy-chaining LED panels. Validated structural tolerances on the 1919 frame through active physical prototyping.
Disclaimer
Prêt à Faire is an autonomous artistic project, scholarly reference work, and institutional critique by williamCromar, supported by a faculty grant from Penn State Abington with fabrication assistance from the Abington MakerSpace. This project is entirely independent and maintains no formal affiliation, endorsement, or sponsorship with Association Marcel Duchamp, the Estate of Marcel Duchamp, ARS, ADAGP, or any curating museum. When referencing or sharing this work, users must maintain a clear distinction in authorship and nomenclature from the historical referent. Cite this asset as: Model of Marcel Duchamp’s [Object Name] by williamCromar. Basic models are available under a CC BY-NC-SA 4.0 license; premium tiers operate under a separate commercial framework. For full conceptual and legal text, visit https://sites.psu.edu/pretafaire/disclaimer-and-licensing/