
Play Stand Mixer
Obliczymy ostateczną cenę na podstawie wybranego pliku. Sprawdzisz ją i zaakceptujesz przed płatnością.
Zapisane na tym urządzeniu.

An easy to assemble multi-part toy kitchen stand mixer perfect for play kitchens.
- Ocena
- 4 / 5
- Polubienia
- 98
- Pobrania
- 145
- Wydruki
- 2
- Wyświetlenia
- 776
- Oceny
- 1
Aktualizacja u źródła:
Informacje o modelu
- Źródło
- Printables
- Kategoria
- Other Toys & Games
- Licencja
- Creative Commons — Attribution — Noncommercial
Play Stand Mixer
Intro
This was made as an entry for the Printables Play Kitchen Design Contest. It has multiple moving parts such as the mixer, mixing head and dial. The bowl can be removed.
I would recommend scaling the parts as large as your print bed allows if to be given to children under 7 due to the possibility of choking hazards if a piece breaks off. I would also recommend enabling ironing on all the pieces that have large flat surfaces such as the walls, base and pin caps as this will give a much cleaner look.
PLA works fine and PETG should also be suitable.
Assembly
Intro:
The model is split into multiple parts for ease of printing and colour variations. Super glue is recommended to assemble the model especially on the hinge pins. The STL files are all in the correct orientation for printing so there shouldn't be need for supports. My print featured in the images was a scaled down V1 for testing the print orientation so keep in mind that your final model will look slightly different.
Instructions:
- When all parts are completed arrange them so that you can identify each part according to the STL list.
- Take the 2 walls and the center bracket and slot them together with a dab of glue to hold them in place.

- It is easiest to attach the dial now so get the dial and dial pin and slot them into the left wall making sure to glue only the pin and dial together without getting it onto the wall as this will prevent it from turning.

- Next take the base and already assembled pieces and slot them together with the sloped edge of the walls facing the larger rounded area of the base

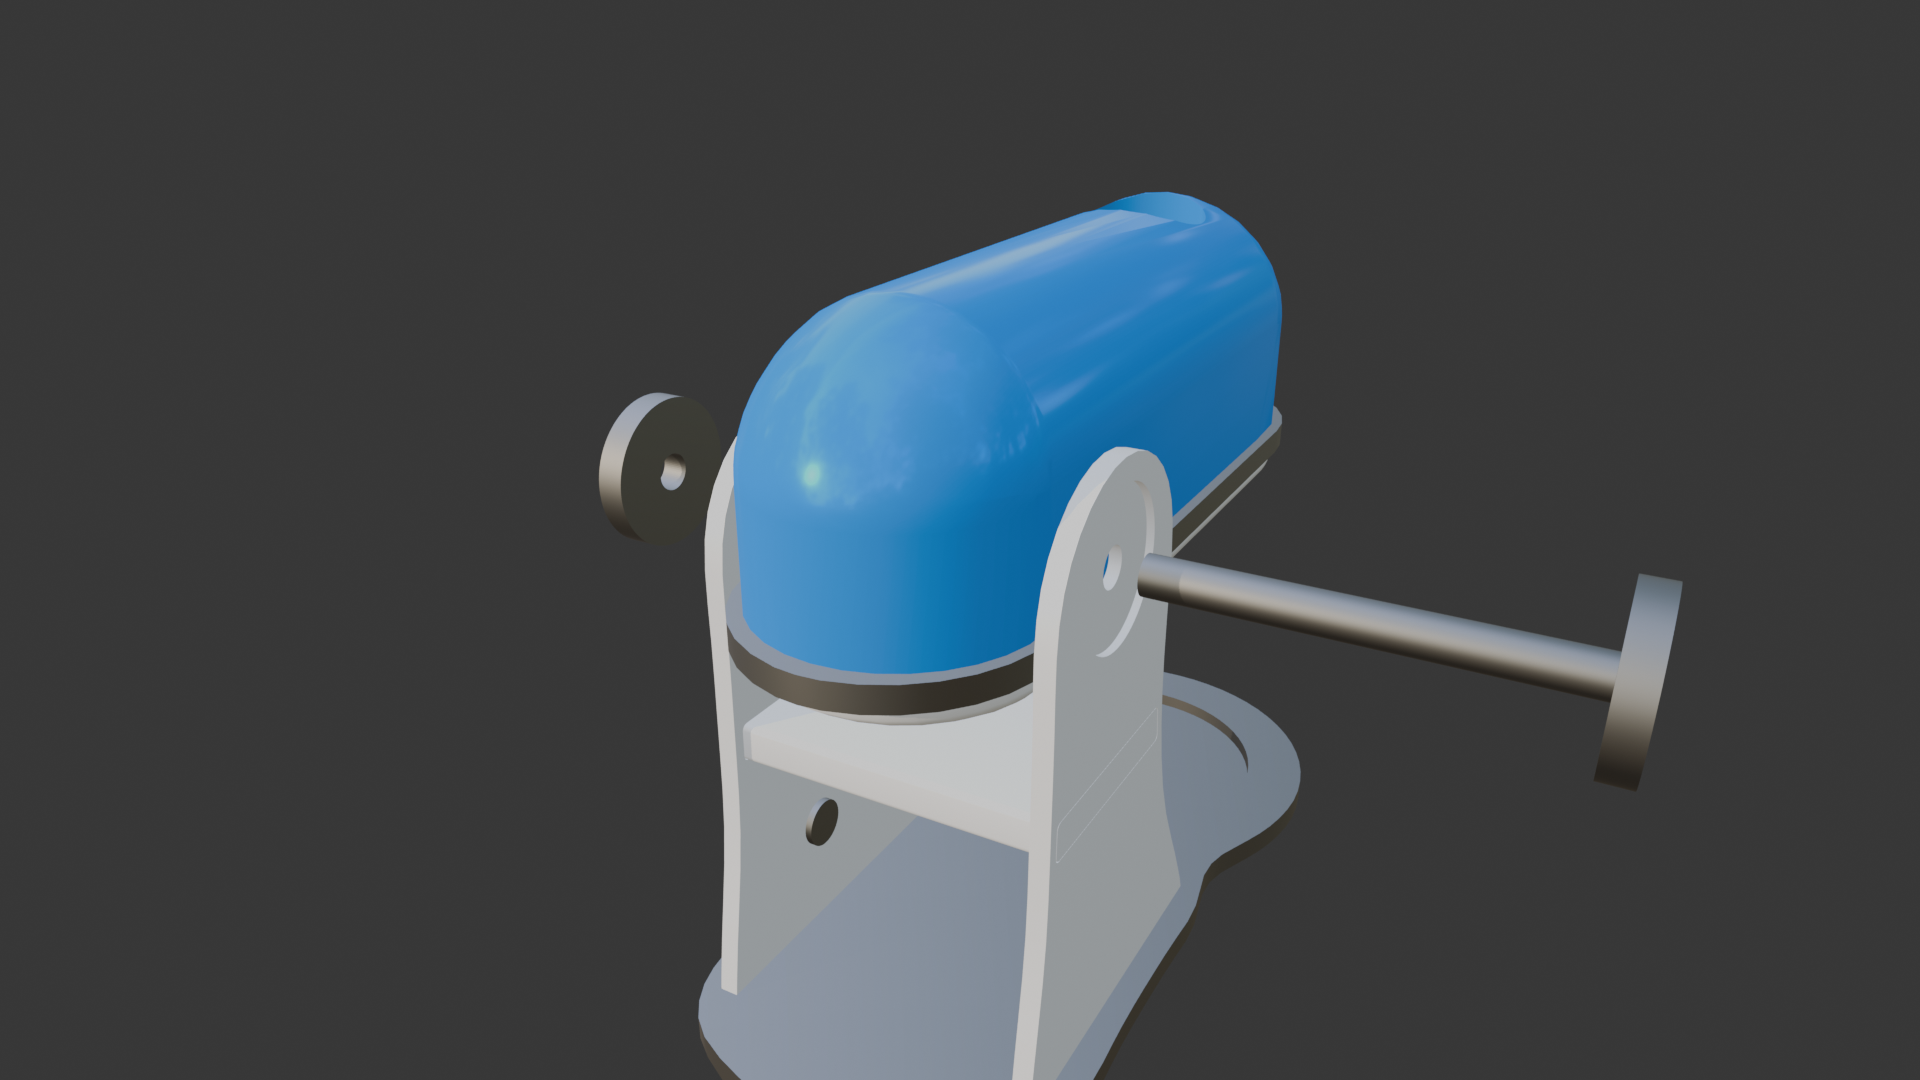
- Now to assemble the mixing head, glue the trim and Main body top casing together. When dry, spread a little glue on the flat bottom surface of the top and bottom casings and align them with the trim.

- Get the mixing head and slot it between the walls of the assembled base. this part can be a bit fiddly so i would do this with it lying on its side. line up the holes on the walls and thread them through with the main body pin.
- glue the main body pin and cap together only after the mixer head is between the two walls and make sure to not get glue on the walls or mixing head.
- Take the mixing arm and mixing arm knob and glue them together using the slot on the base of the arm as a guide. Then slot it through the top of the mixing head and glue the beater attachment to the arm.

- Slot the bowl into the base and it should now be completely assembled.
