1 / 28
Personalized automatic spring stamp — zdjęcie 1
1 / 28

Personalized automatic spring stamp

Zamów wydruk tego modelu

Obliczymy ostateczną cenę na podstawie wybranego pliku. Sprawdzisz ją i zaakceptujesz przed płatnością.

Zapisane na tym urządzeniu.

Informacje o modelu

Źródło
Printables
Kategoria
Office
Licencja
Creative Commons — Attribution — Noncommercial — Share Alike

I present my automatic spring stamp, very useful for creating your own custom
stamps For the text stamp, I used TPU because it is softer and gives better results, but you can also use PLA
Assembly:

Assembly is not complicated, but requires a little patience
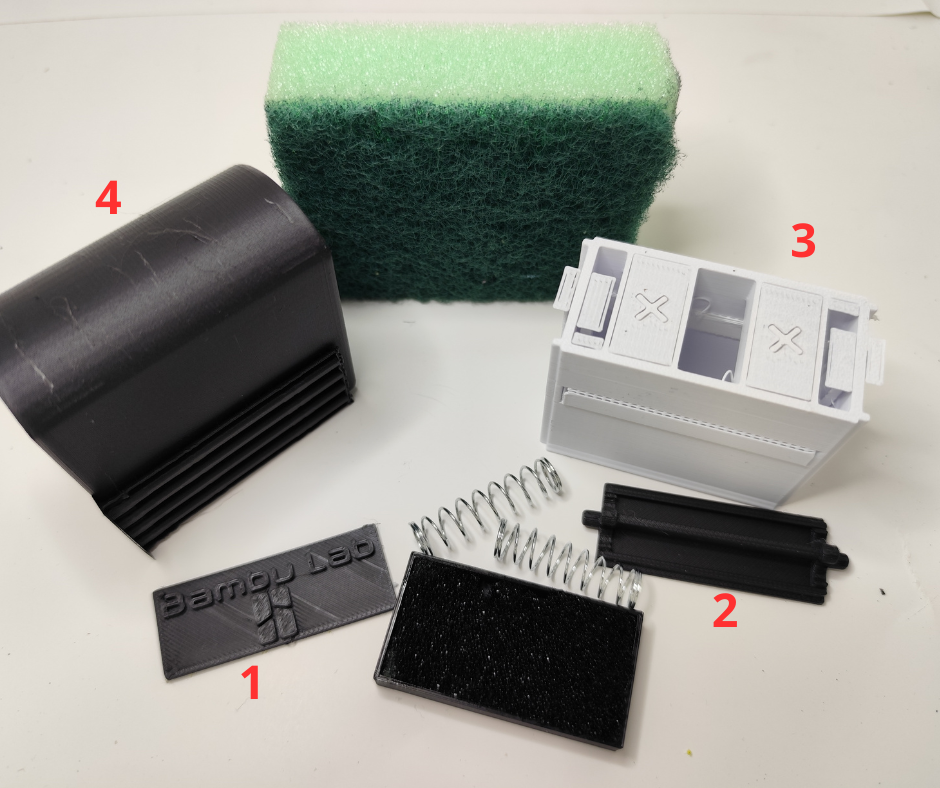


1) First, remove all the supports from the various parts; Supports are necessary for good printing
 

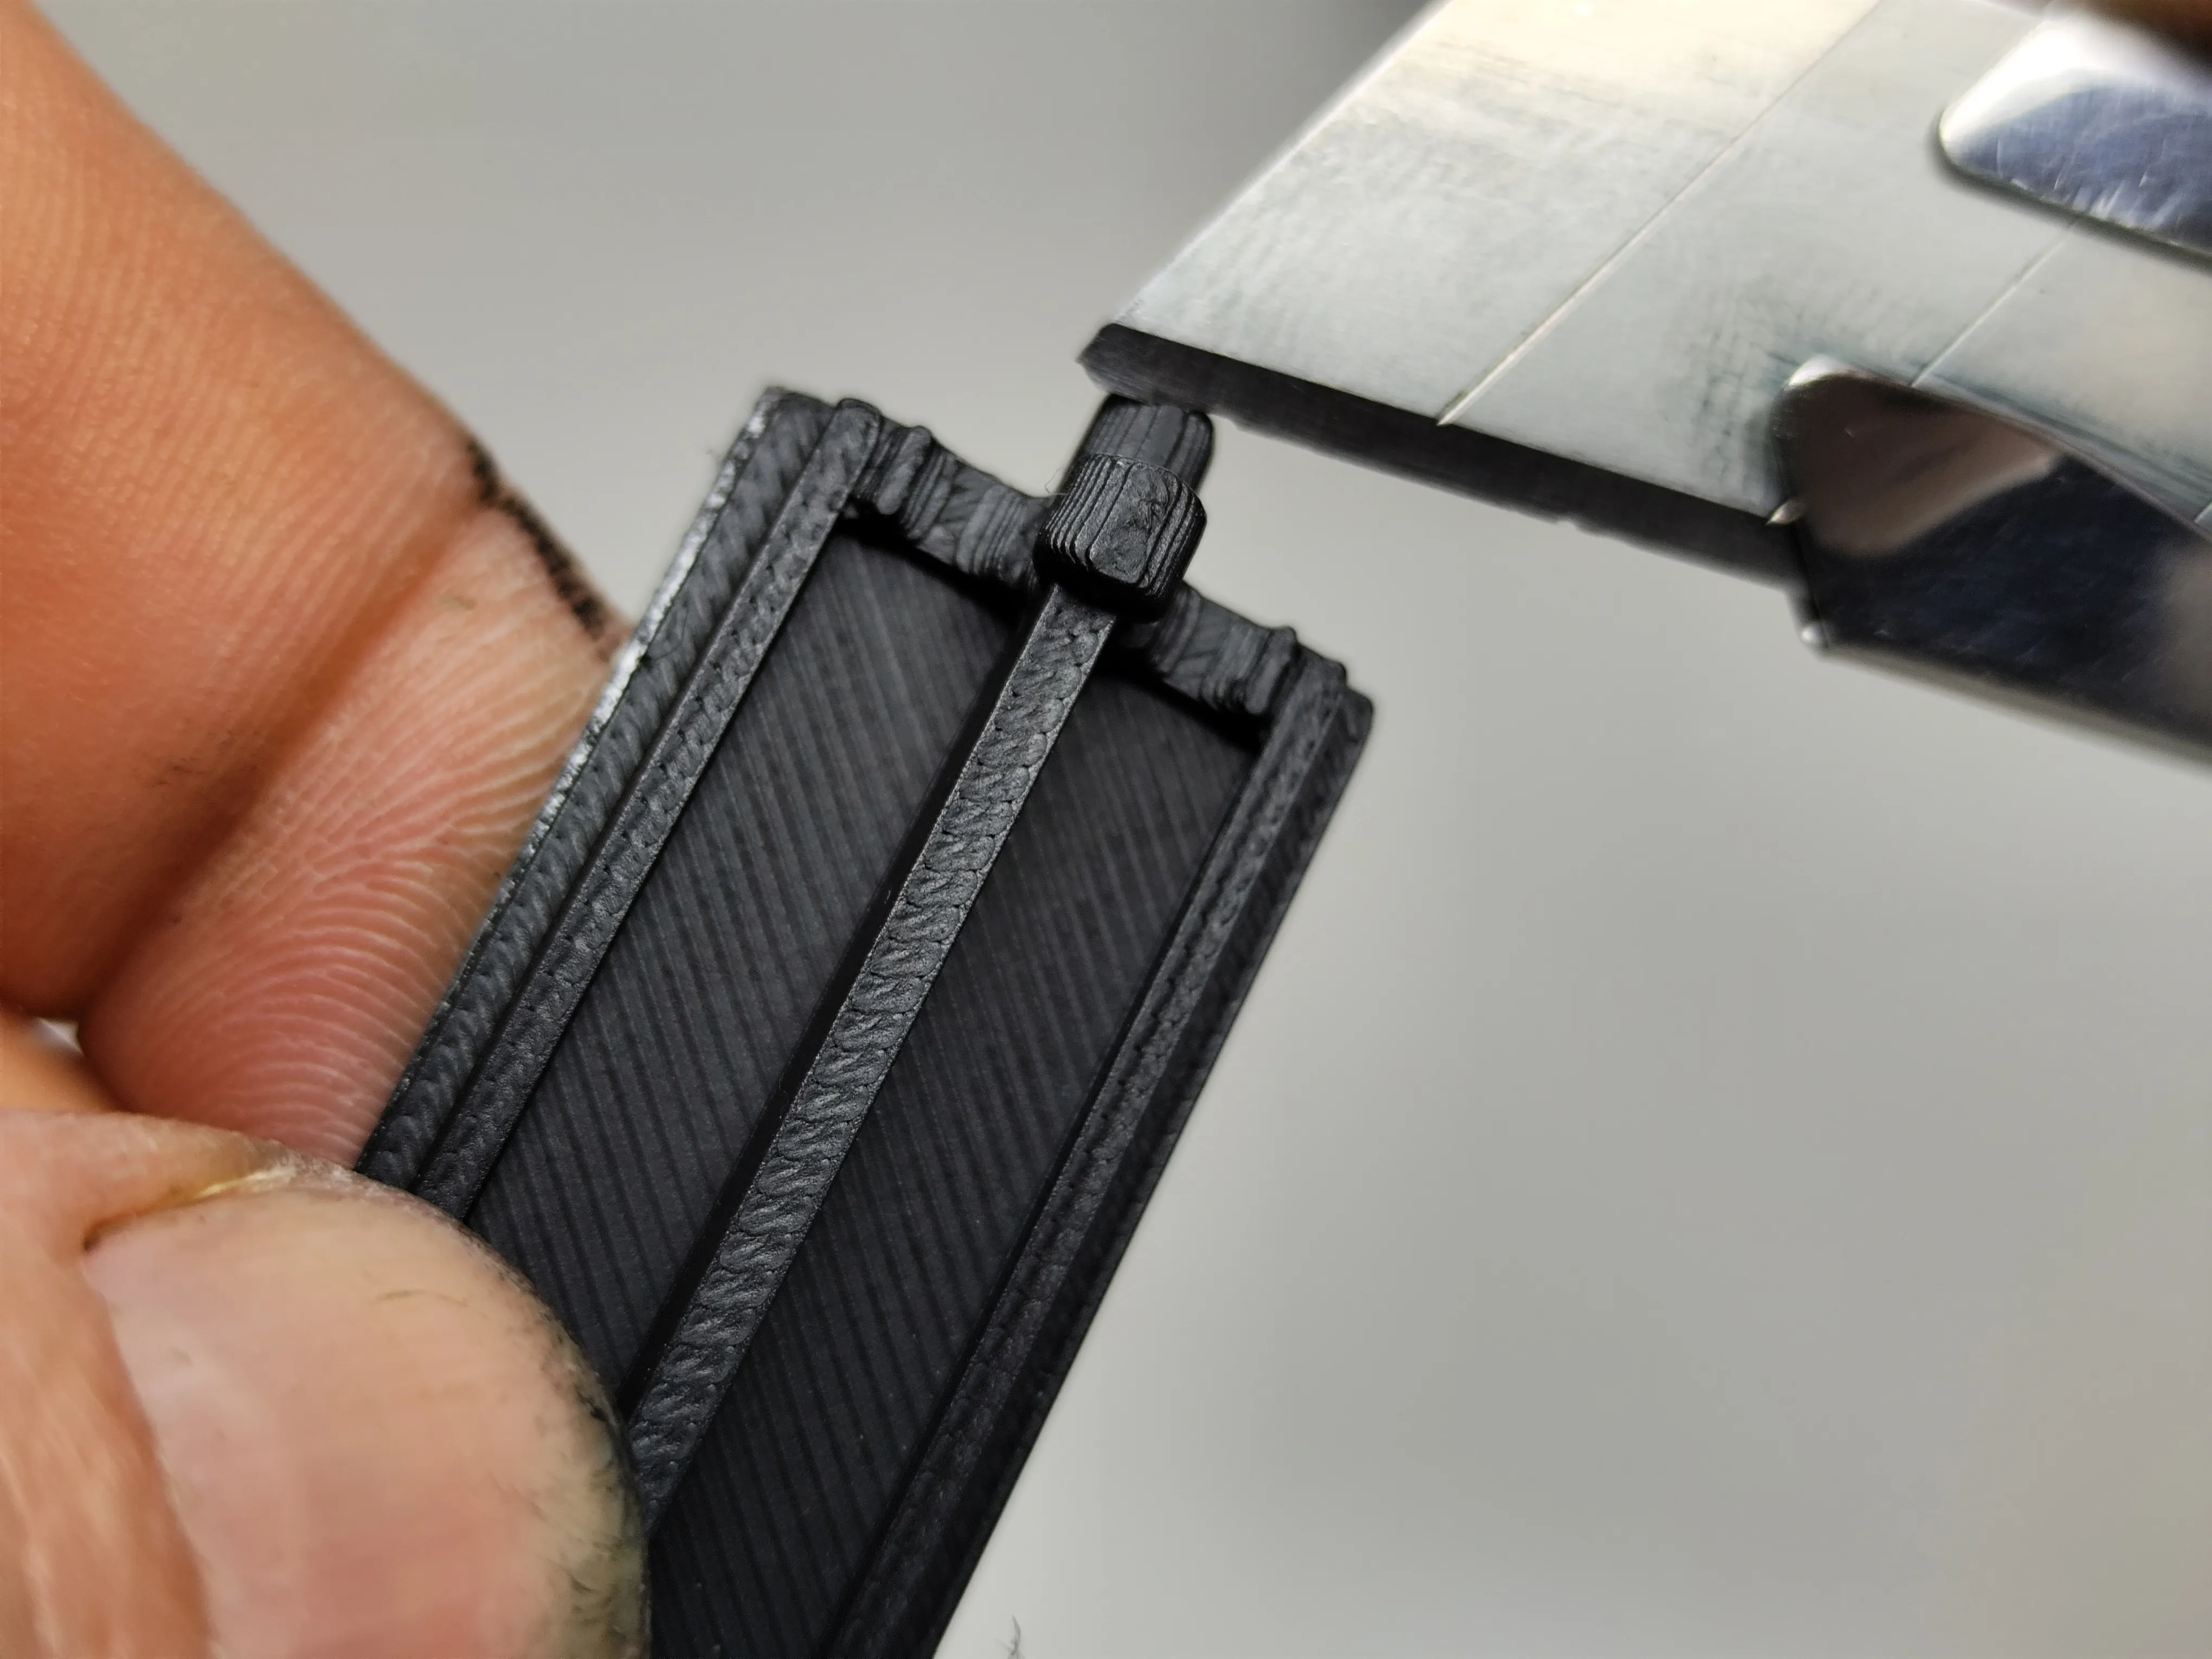
2) Remove any protrusions created by the supports from the workpiece (No. 2)


3) Using double-sided tape, glue your printed text (No. 1) to the piece (No. 2)


4) Insert the piece (No. 2) into the white case, as shown in the photo


5) Insert the two springs into the white shell, corresponding to the crosses


6) Insert the black cap into the white case until it clicks into place


7) Finally, place the tray with the ink-soaked sponge in the slot

For the drawer I cut a dish sponge and soaked it in ink