
Ultralight Gaming Mouse
Obliczymy ostateczną cenę na podstawie wybranego pliku. Sprawdzisz ją i zaakceptujesz przed płatnością.
Zapisane na tym urządzeniu.
Modified Vancer Gretxa inspired heavily by the zero mouse by Optimum but without the hefty price tag.
- Ocena
- 0 / 5
- Polubienia
- 7
- Pobrania
- 21
- Wydruki
- 0
- Wyświetlenia
- 325
- Oceny
- 0
Aktualizacja u źródła:
Informacje o modelu
- Źródło
- Printables
- Kategoria
- Electronics
- Licencja
- Creative Commons — Attribution — Noncommercial — Share Alike
This is a lightweight finger tip grip gaming mouse based on the vancer gretxa mouse internals. I've gotten the weight down to 22g with asa cf and a 150 mah battery or 26g with the same filament and a 250mah battery. The Vancer Gretxa is still a great, low cost mouse even without the mods so I'd highly recommend it for $30. The two parts don't need to be glued, they will hold together under their own tension.
You will be in direct skin contact with carbon fibers or glass fibers. I haven't noticed any negative effects but that doesn't mean it'll be the same for you. Consider adding a clear coat to seal them in.
BOM:
- Starlight 12 Small mouse wheel https://www.aliexpress.us/item/3256807160265244.html
- Vancer Gretxa v2 mouse (red, pearl white, blue, pink for white pcb) (I sourced mine used for a bit cheaper) https://yuki.gg/products/vancer%E2%84%A2-gretxa-wireless-gaming-mouse-v2-black-transparent
- Glass mouse skates (don't use with a glass mouse pad) https://www.aliexpress.us/item/3256807934562509.html
Optional:
- 150mah battery (same company offers a slightly larger 250mah which lasts quite a bit longer) https://www.amazon.com/dp/B08215WQMQ
- Switches in the photos https://www.amazon.com/dp/B0DHWPY9FZ
- Filament from photos https://www.amazon.com/dp/B0FBRG6BCL
Important Print Settings:
- 0.12mm layer height, 0.2mm first layer
- .4 line width all around
- 4 perimeters, 4 top layers, 4 bottom layers
- 97% rectilinear infill
Support Settings:
- Tree (Auto)
- On buildplate only (on)
- 0.14mm top z distance for supports
- 4 top interface layers
- 0mm top interface spacing
Tips:
- Unless you have an active chamber heater, print this slow and hot for better layer adhesion.
- Tuning support settings, pressure advance and extrusion multiplier is incredibly important along with dry filament.
- The starlight 12 mouse wheel we're using is a softer plastic and can loosen in the encoder over time. If you notice this, put a small dot of ca or super glue on a toothpick and carefully apply it inside the encoder hole (careful not to glue the rotating portion). The action feels much more satisfying afterwards.
- If you want to keep the indicator led like in the photos, the pins will need to be shortened to roughly 4.8mm to properly fit under the brace.
- Use flush cutters to remove small bits of the tree supports rather than trying to pull them out in a single piece.
Filament Recommendations

- Fiber filled filaments (gf/cf) are much easier in regard to removing support material and getting clean bottom surfaces.
- Asa cf is lower density than many other common materials, though the difference in end weight seems negligible.
- Asa will be softer so lighter mouse clicks than abs.
- If you don't plan on printing it in cf/gf, I'd highly recommend abs. Asa is softer, petg is even softer than asa and pla will creep over time.

- Use support painting to force interface layers. Click the
- paint bucket tool and select “On overhangs only” before clicking on all 10 overhangs shown.
- The 3mf included should have all necessary settings but some will need to be adjusted for your specific machine. Make sure you change things like accelerations, speeds and square corner velocity as well.
Gretxa Teardown, TURN THE MOUSE OFF
- On the bottom of the mouse, remove the bottom two ptfe mouse skates to reveal two philips head screws. Make sure to fully remove both screws from the body before the next step. These screws aren't used in the final assembly

- Slide the bottom housing forward and down to un-clip the two front hooks

- The entire top shell should come off easily and reveal the main pcb, battery, and side buttons. Remove the lower two screws and set them aside. These two screws will be used in the new frame

- On the left side, slide the small, vertical pcb with the two side buttons up and remove the plug from the main pcb. The new frame doesn't have side buttons to reduce weight. On the main pcb to the side of either left/right switch, there's a plastic tab holding the pcb in place. Bend one side out and lift the pcb before doing the same to the opposite side.
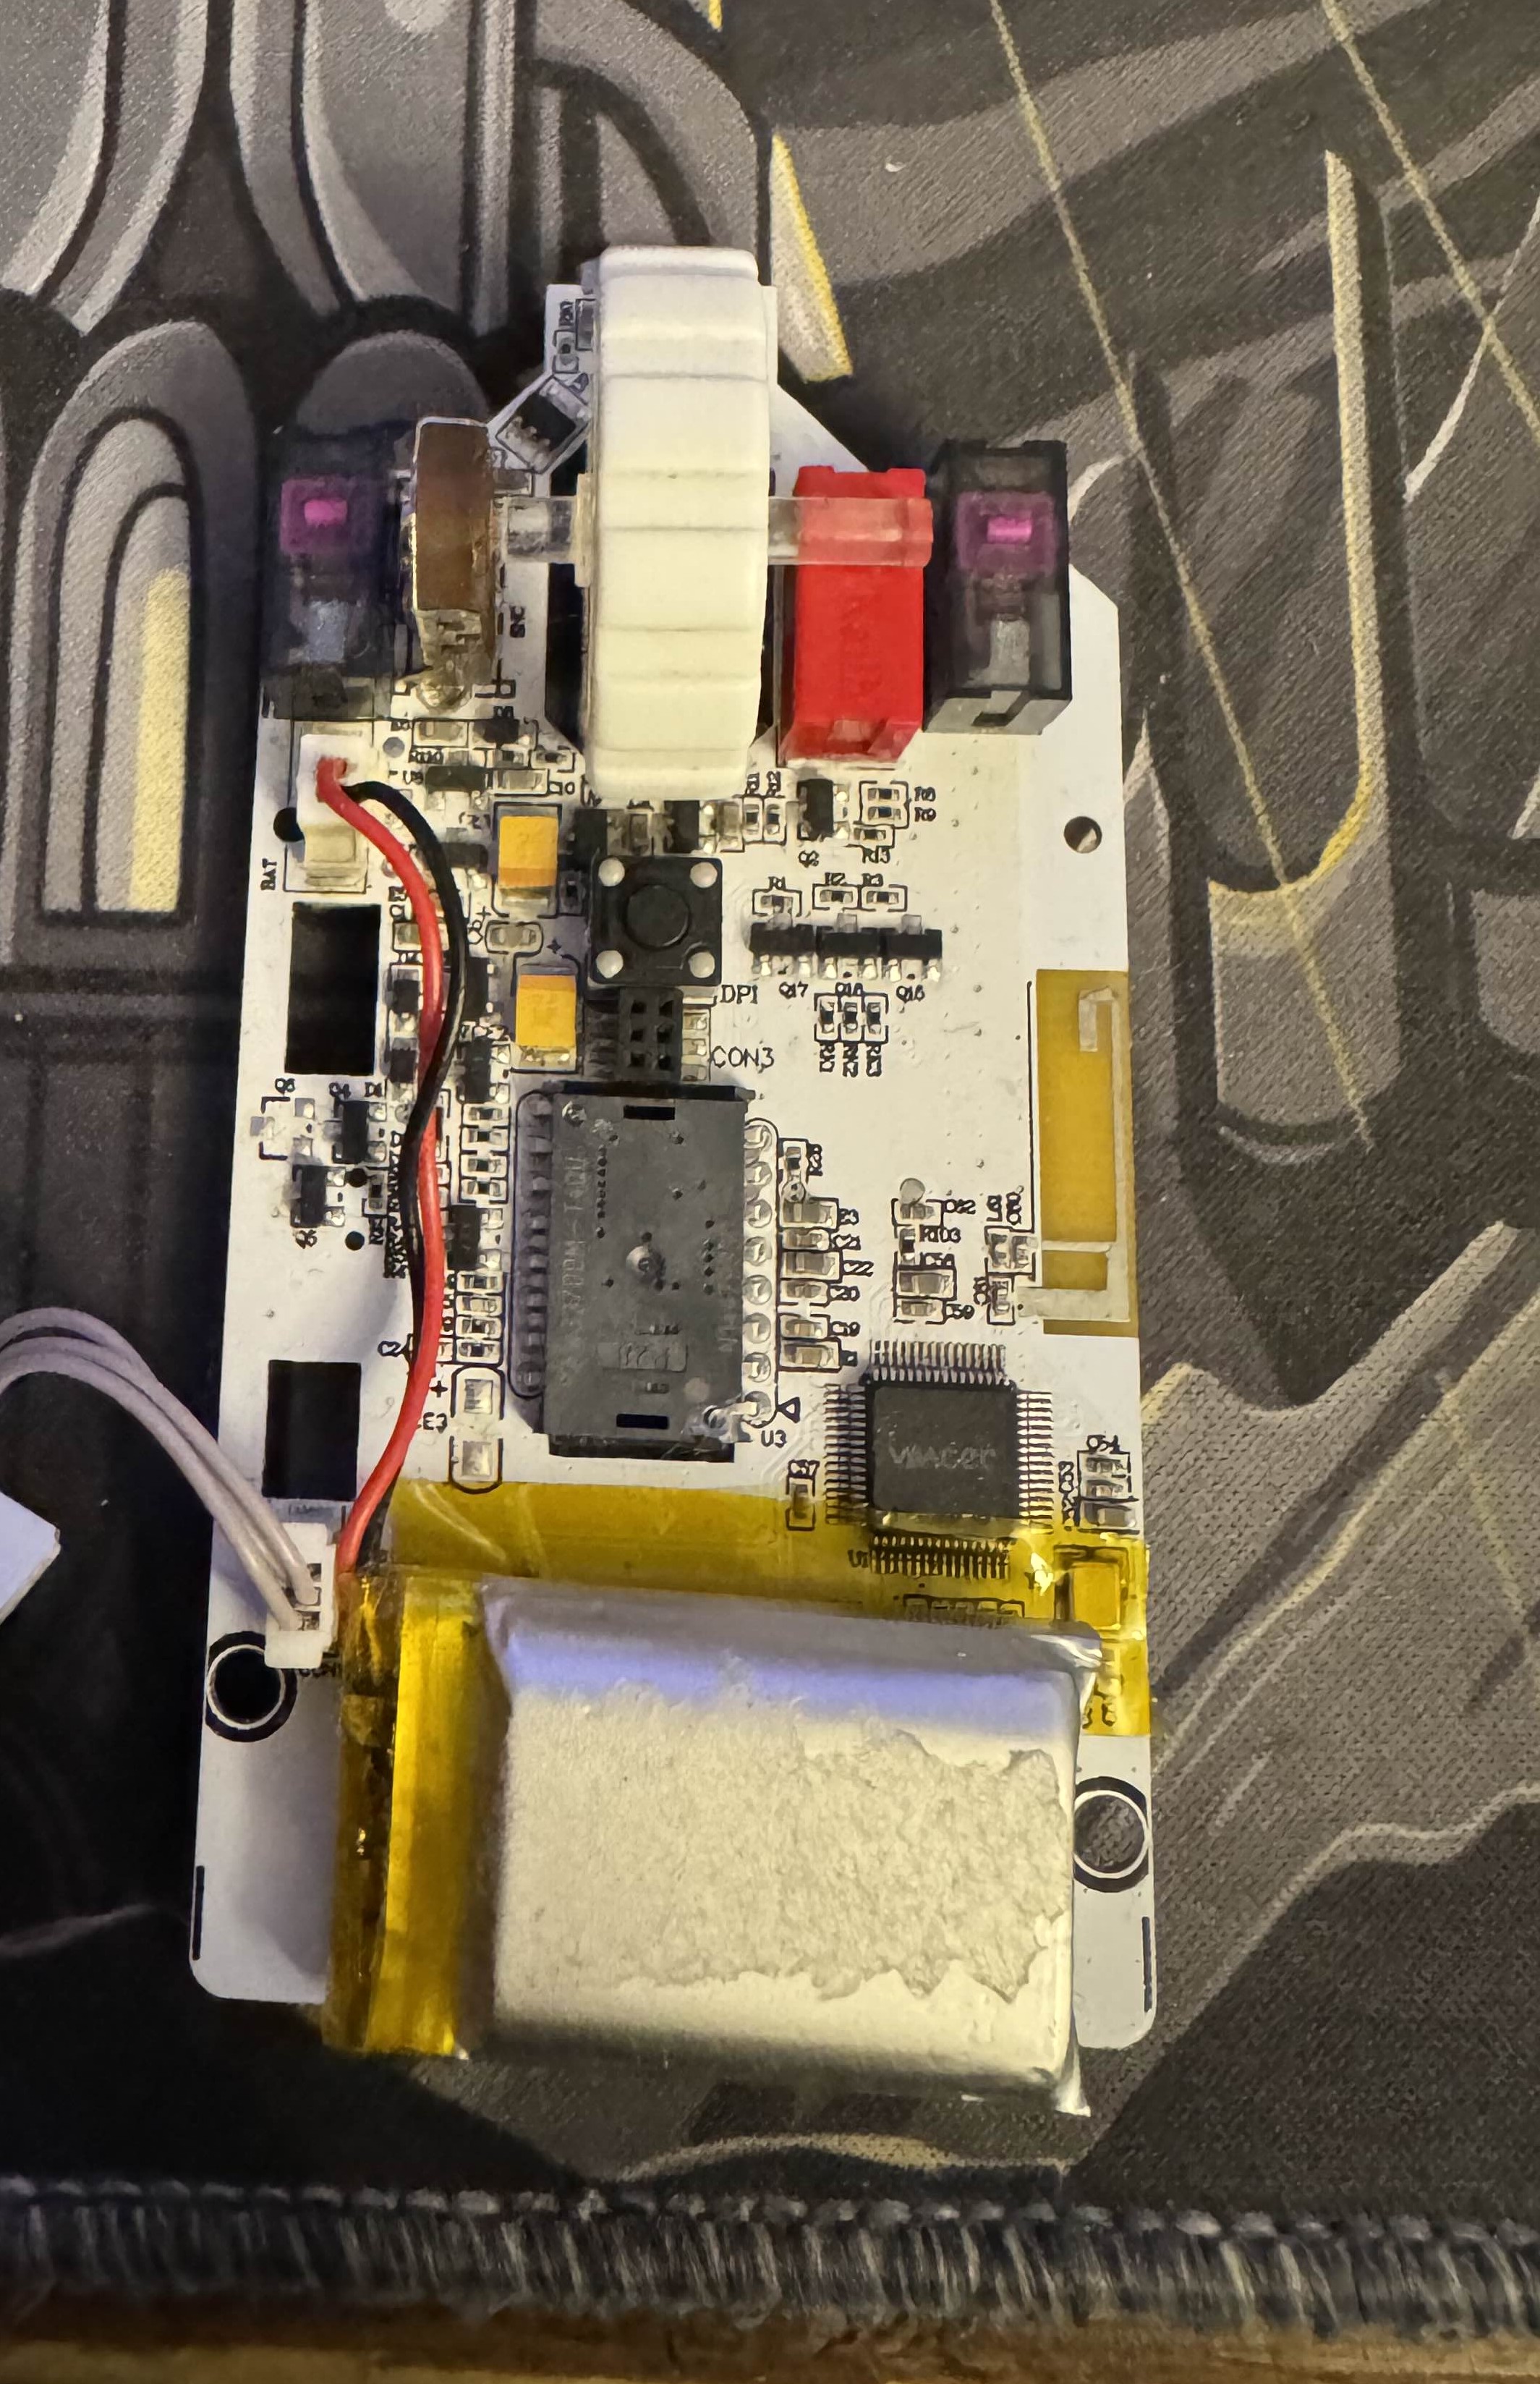
- Slide the scroll wheel to the right and remove it from the encoder. I'll be posting a version to use the original scroll wheel but I'm not a fan of the texture and the new wheel is a couple grams lighter.
- Original scroll wheel version: (Not Yet Posted)

- You should be left with a partially bare pcb similar to the photo but with different switches and a different battery. If you want to replace either one, I'd recommend doing it now. Unplug the battery before soldering new switches
- The new scroll wheel can now be slid in from left to right and the 6 legs on the status led pcb can be cut to 4.7-4.8mm.
- To assemble the new mouse, slide the pcb under the mouse buttons on the frame. You'll need to bend them up slightly to get them over the encoder and right side of the mousewheel. If it breaks when doing this, you need to increase hotend temperature, heatsoak your chamber, reduce cooling and reduce speed.
- The final step is to slide the brace in place and push the side grips together to make sure it's fully seated.
Happy Printing!