
Marvel X-Men Sentinel Wearable Helmet
Obliczymy ostateczną cenę na podstawie wybranego pliku. Sprawdzisz ją i zaakceptujesz przed płatnością.
Zapisane na tym urządzeniu.
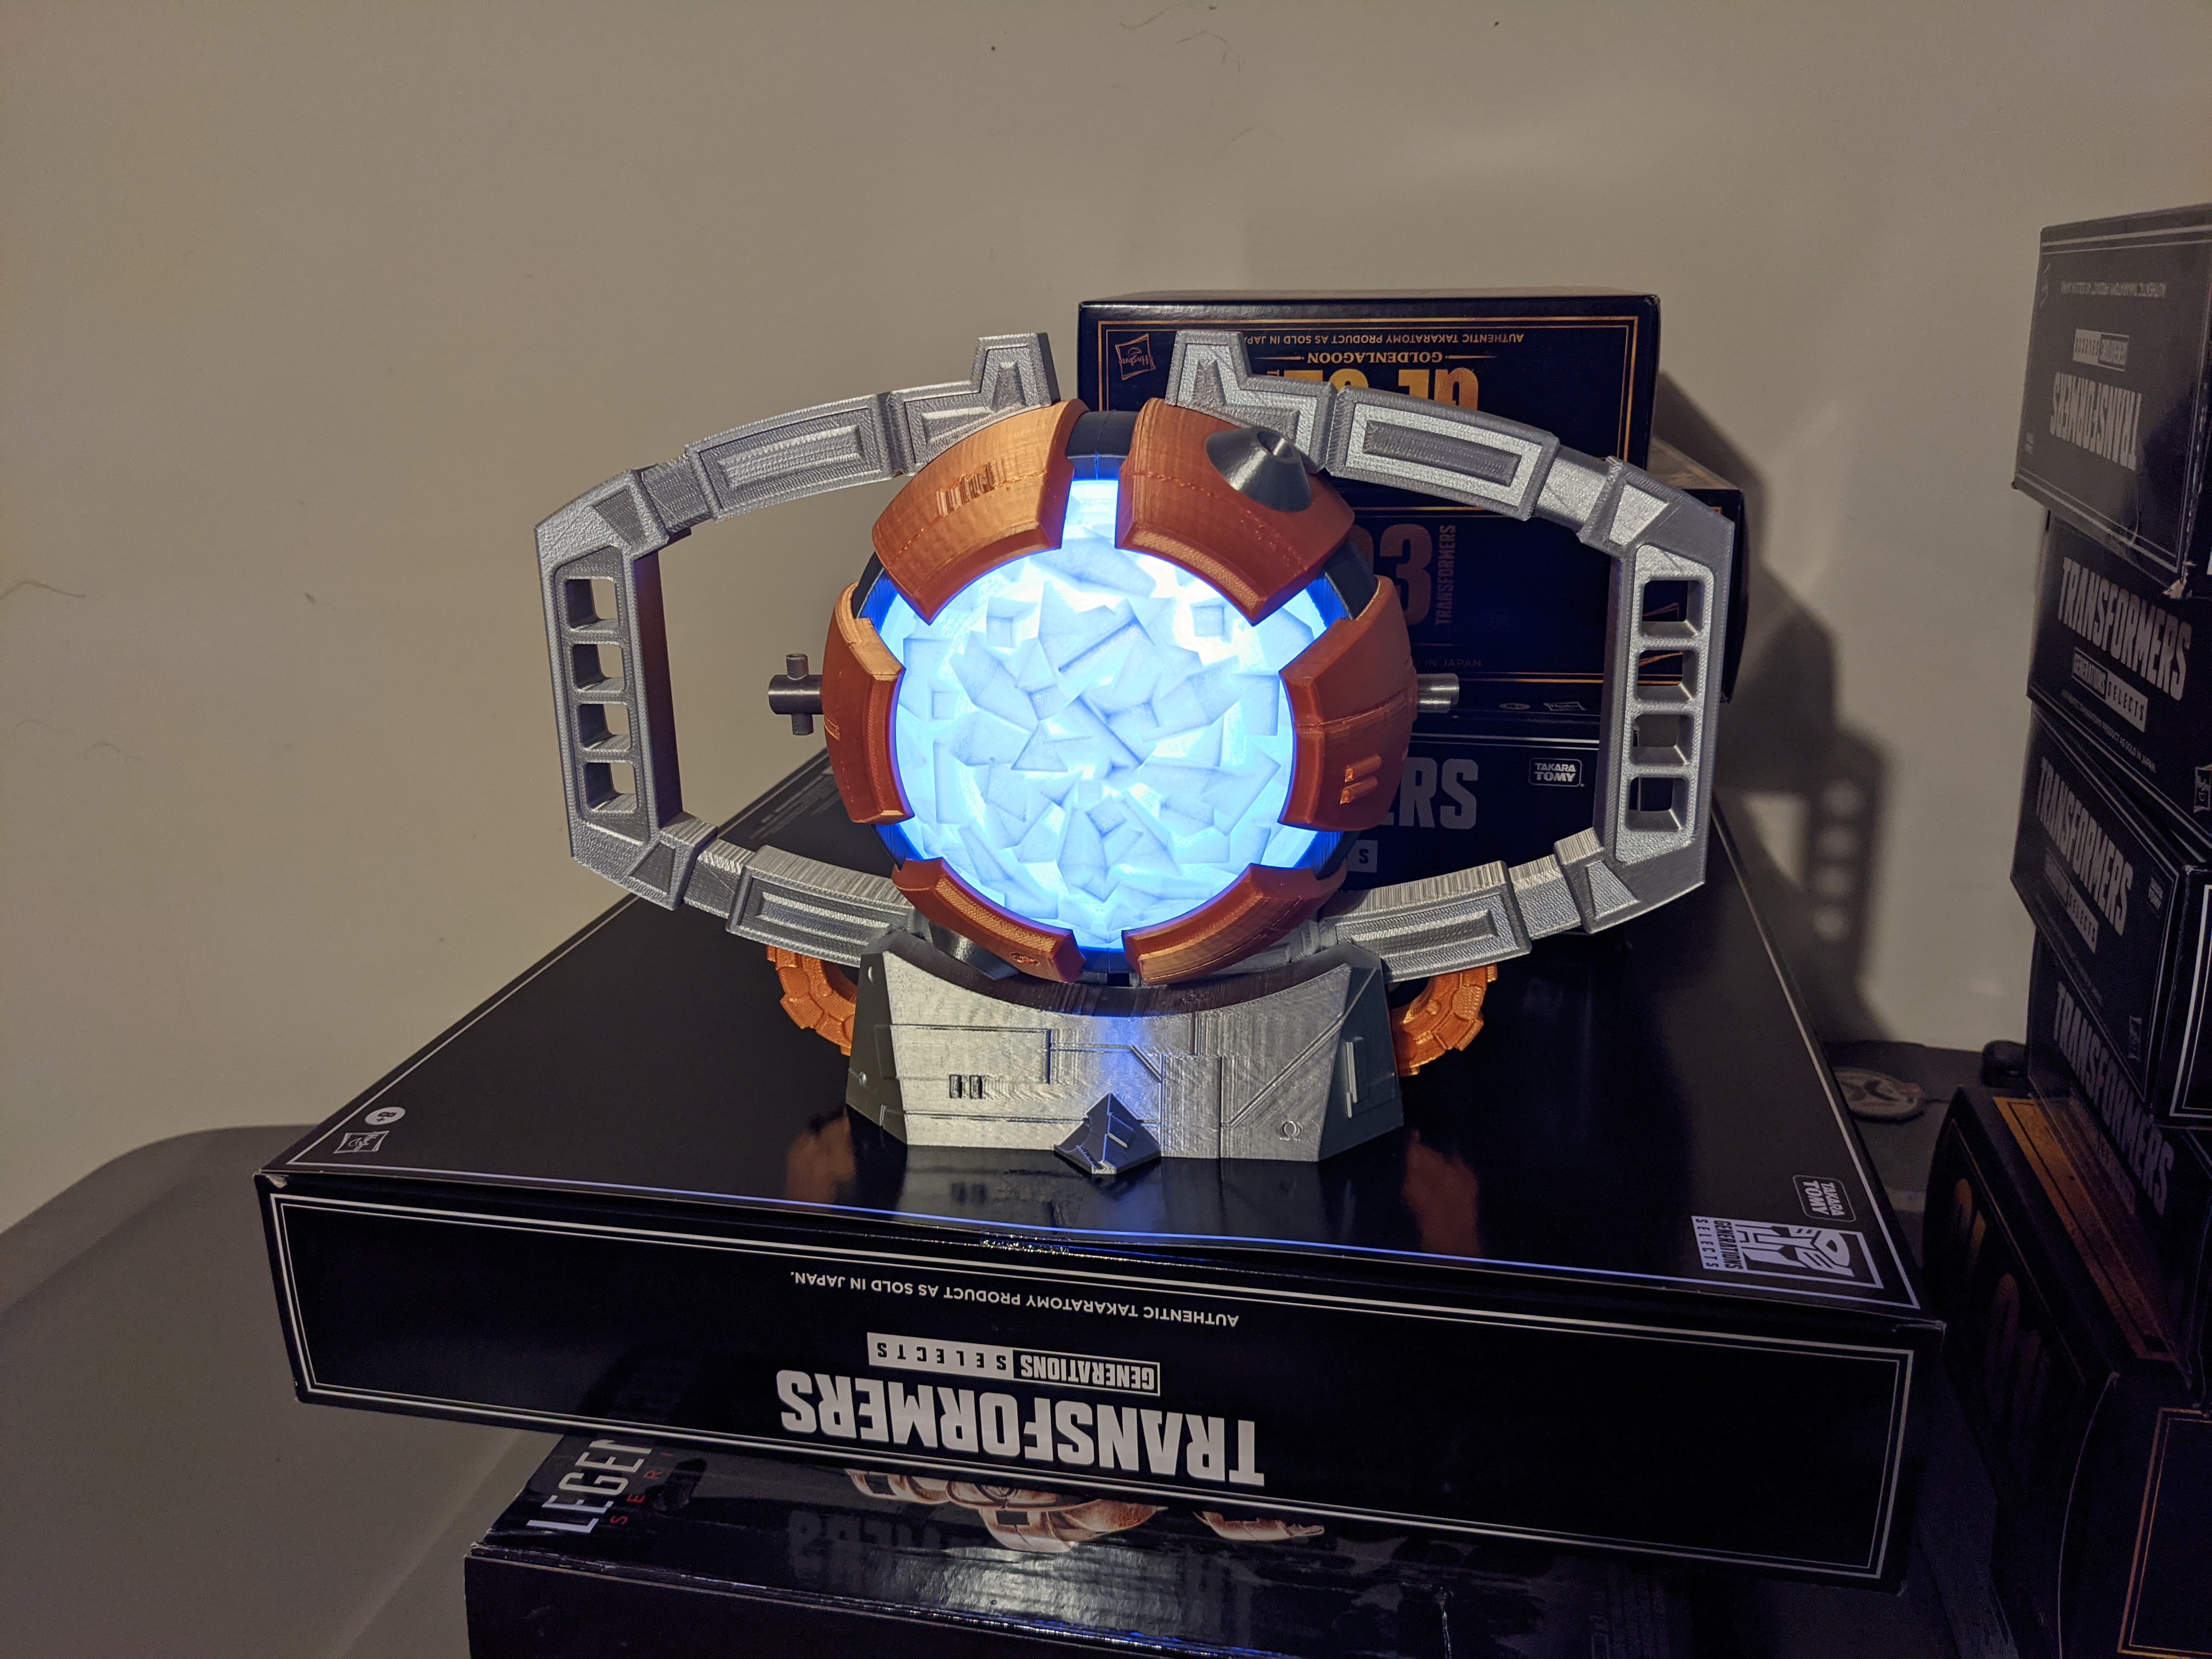
Wearable helmet version of the X-Men Sentinel character.
- Ocena
- 0 / 5
- Polubienia
- 20
- Wydruki
- 0
- Wyświetlenia
- 529
- Oceny
- 0
Aktualizacja u źródła:
Informacje o modelu
- Źródło
- Printables
- Kategoria
- Masks
- Licencja
- Commercial Use - No Derivative
A wearable version of the Marvel Sentinel head, based heavily on the X-Men Marvel Legends Sentinel & Bastion set, and the Funko Pop Jumbo X-Men Sentinel that used the same design. This version has options for LED lights in the eyes and a magnetically removable back plate for easier placement. All parts were printed with a multi-color Prusa XL. I used Silk PLA from several suppliers for the final product.
The largest part in this set is 278mm x 238mm (Helmet Ring). This has been split into two parts with max of 230mm x 131mm. Ensure your print bed is large enough or plan to cut the parts in your slicer software to fit.
Printing:
Most of the files are already oriented in the best way for FDM printing with minimized surface artifacts, but not all. Specifically, the left and right cheek wiring, chin, and eye surrounds need to be pulled into slicing software and oriented to the print bed.
This design was created for a multi-color printer with parts separated out for color assignment in your slicer of choice. If painting the model later, just add the parts together as singe units and print in a single color. Cheeks, Skull Caps, Chin, and Helmet Rings were all intended for multiple colors. The remaining parts can be printed in single color.
The Helmet Ring is the largest part at 278mm x 238mm that should fit large-format printers. It's also been split into Front and Back halves if using a smaller print bed.
Supports and brim: Use your best judgement and slicer prompts on what supports or brim need to be added. Some parts, such as the Face and Helmet Back can be printed without either. Others, such as the Helmet Ring and Jaw parts, need supports or brim for best results.
NOTE: Registration holes are included in most parts which should be excluded from support structures. Trying to remove support material from 2.1mm holes isn't fun.
Assembly:
Most of the parts need to be glued together for the final product. These parts have 2.1mm holes added to insert 1.75mm filament as pegs to align pieces when gluing. The best order of assembly is:
- Skull Cap front and back
- Helmet Ring
- Face
- Jaws (with Helmet Back temporarily in place to help alignment)
- Chin
- Mask and Cheek Wiring
- Mask Silver Braces
- Eyes
Helmet Back Main and Helmet Back Magnet Ring should be glued together first. The Helmet Back Pack should be glued last, after the full helmet is assembled, to make sure it aligns with the Helmet Ring correctly. Helmet Back Connectors are optional. These can be used with extra magnets to hold the back in place more firmly. I've found they haven't been necessary for casual wearing.
Magnets (optional):
The Helmet Back can remain removable using 10x2mm rare earth magnets. Holes are provided for 10 magnets around the back of the head, although 6 should be sufficient. The optional Helmet Back Connectors take a further 8 magnets if made fully removable, or 4 magnets if glued to the Helmet Back with only the front magnets used.
There should be enough space to slide the helmet on without removing the back. In that case the Helmet Back can be glued directly to the rest of the helmet without using any magnets.
LEDs:
The Eye Surround 3mm parts include holes to insert 3mm LEDs at a slight angle to light up the Iris when printed in translucent/natural material. Wiring is up to you. Space is provided inside the Headband to attach a battery holder and a slot is included in the Chin to attach a standard miniature slide switch (such as https://www.amazon.com/dp/B08947137H).
Display Stand:
Parts for a custom display stand can be found here: https://www.printables.com/model/1449419-marvel-x-men-sentinel-helmet-stand