
Yarn spinner improved design / Verbesserter Garnabwickler
Obliczymy ostateczną cenę na podstawie wybranego pliku. Sprawdzisz ją i zaakceptujesz przed płatnością.
Zapisane na tym urządzeniu.
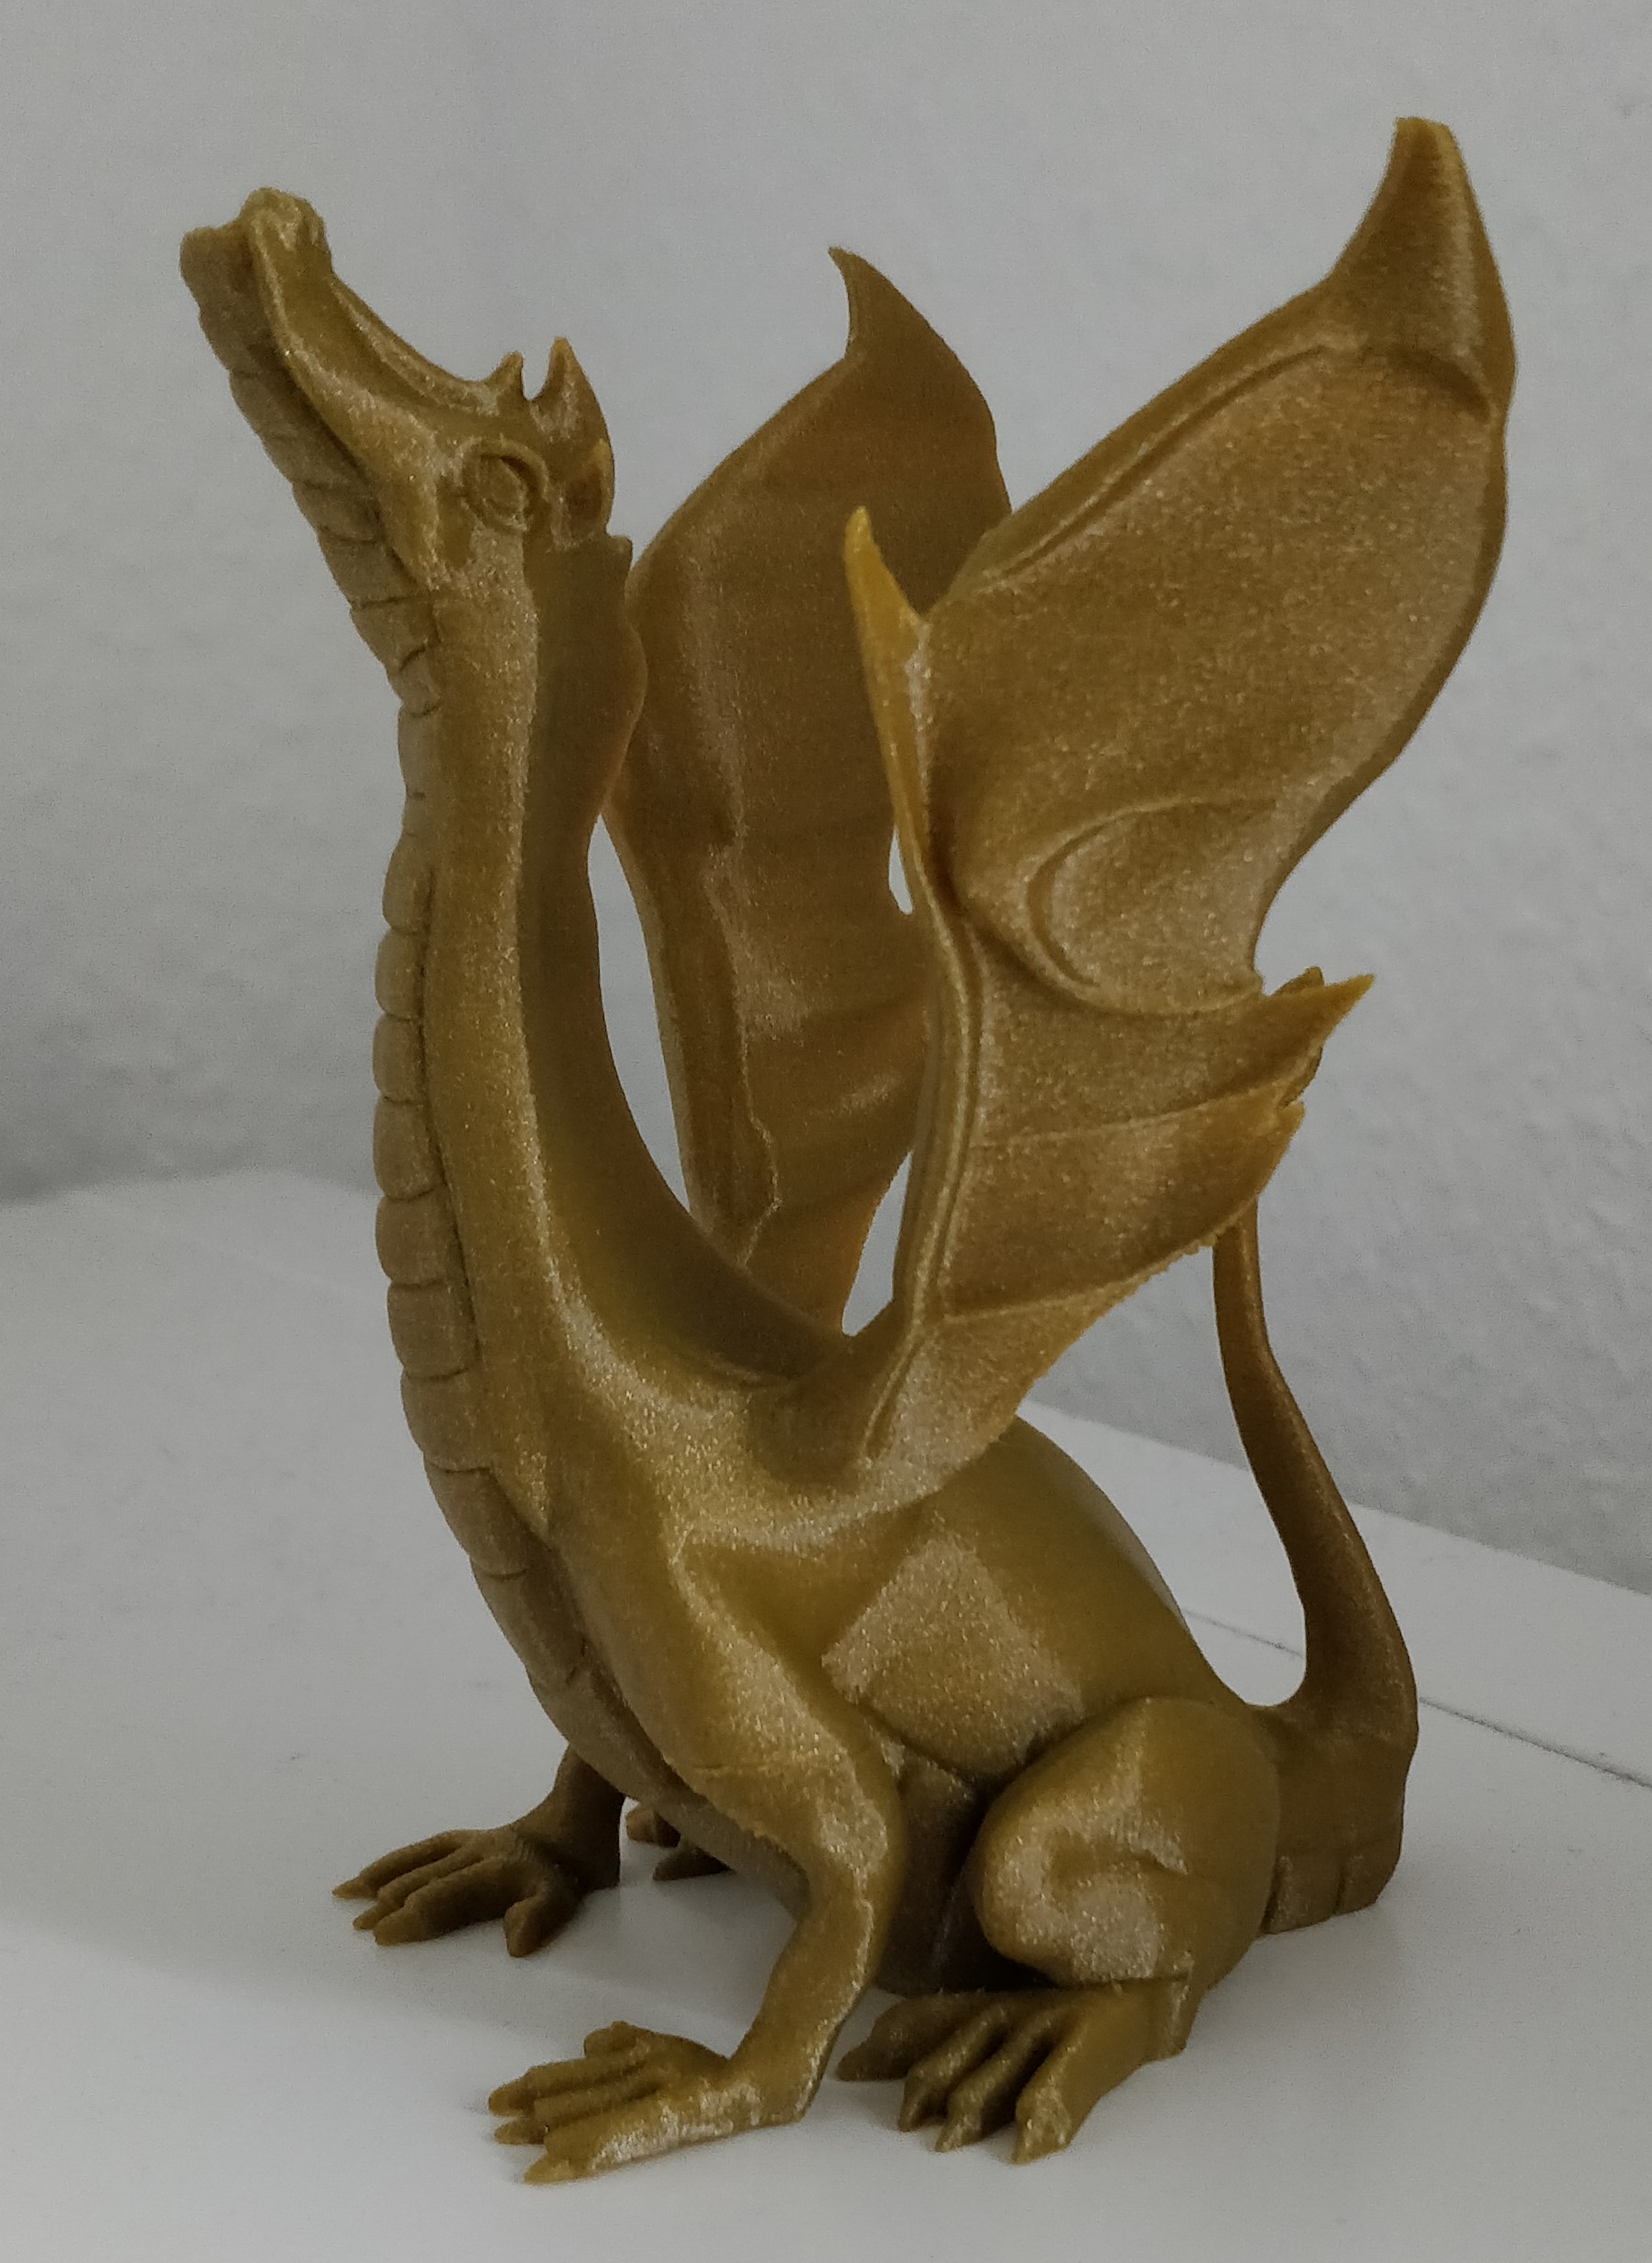
A few small improvements of the great yarn spinner and a base prepared for resin or plaster.
- Ocena
- 0 / 5
- Polubienia
- 6
- Pobrania
- 18
- Wydruki
- 0
- Wyświetlenia
- 312
- Oceny
- 0
Aktualizacja u źródła:
Informacje o modelu
- Źródło
- Printables
- Kategoria
- Other Ideas
- Licencja
- Creative Commons — Attribution — Noncommercial — Share Alike
***deutsche Version unten***
I really liked the original yarn spinner, but I had two problems with it.
First, the ball of yarn was to tight to stick it on the holder. So I adapted th espindle to take an old knitting needle with a diameter of 5mm. Teh 3mf file of the spindle has a test pieße on the second bed to test your calibration.
I shortened the peg to fit my new holder. You might need to scale it up or down depending of the calibration of your printer.
The secold problem was the base being to lightweight and tipping over. So i adapted the base by removing the circular imprints in the base for feet. When you use the 3mf file of the base I have already modified it in the slicer to not have bottom layers and to have just a few percent of gyroid infill. That way you can easily fill it with resin or plaster to make it heavier.
If you use resin, you don't really need the “Boden” file. If you use plaster, you should print the file with TPU to protect furniture surfaces from the plaster. But you should only glue it on after the plaster has fully dried to not trap any moisture in the base. You actually don't have to glue it on at all.
Other than the “Boden” file I would use PETG or ASA for the parts.
***english version above***
Ich mochte den originalen Wollabwickler sehr, aber ich hatte zwei kleine Probleme mit ihm.
Zuerst konnte ich das Wollkneul nicht über die Spindel stecken, weil es zu eng gewickelt war. Also habe ich die Spindel angepasst, um eine alte Stricknadel mit dem Durchmesser von 5mm zu nutzen. So ist es viel einfacher, die Kneule aufzustecken. Die 3mf der spindel enthält ien Testobjekt, um die Passungen zu testen.
Im Zuge dessen habe ich den kleinen Bolzen etwas gekürzt, um in meine neue Spindel zu passen.
Je nachdem, welcher Drucker verwendet wird, muss der Bolzen im Slicer etwas vergrößert oder verkleinert werden.
Das zweite Problem war, dass die Basis zu leicht war und der Abwickler immer wieder umfiel. Also habe ich die Vertiefungen im Boden für die Füße entfernt und eine 3mf Datei vorbereitet in der keine Bodenschichten gedruckt werden und nur ein bisschen Gyroid Infill verwendet wird. So kann sie einfach mit Kunstharz, Beton oder Gips gefüllt werden, um Gewicht hinzuzufügen.
Insbesondere bei der Verwendung von Beton oder Gips kann noch der Boden aus TPU gedruckt werden, um die Wohnung vor Staub zu schützen und den Stand zu verbessern. Der Boden kann angeklebt werden, dass sollte aber nur geschehen, wenn die Füllung vollständig getrocknet ist.
Außer dem Boden würde ich alle Teile aus PETG oder ASA drucken.